SeeTestAutomation- Capture A Scene
Please note that this tool is classified as a Legacy tool. We recommend transitioning to our updated solutions to maintain optimal performance and security in your workflows. For more information on this matter, please reach out to technical support .
Capture a scene offline
Step 1: Go to the "Debug" tab.
Step 2: Click on "Capture Application" button.

Step 3: Select device from drop down list (in our example – iOS device).
- If for some reason you can't find the required device in the drop-down list, try to click on the 'Refresh' button (
 )
)
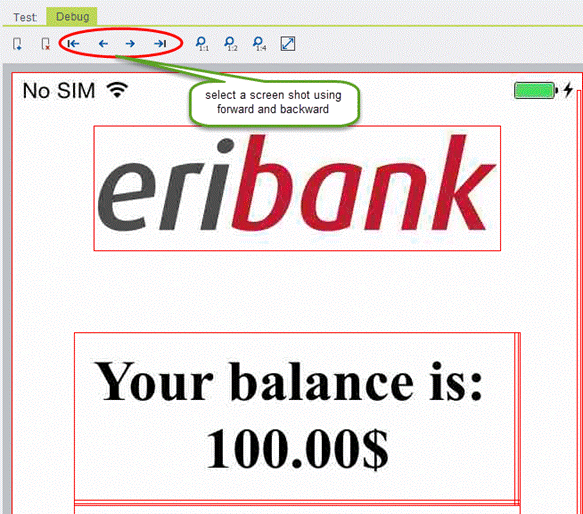
A screenshot of the current screen of the mobile device – in our example the 'EriBank' application - shows up in the 'Debug' tab.

The screenshot includes the NATIVE properties on the captured page (as if you have clicked the 'Object Spy' button)
Automatically captured Scenes
In certain situations a Scene will be automatically captured and will be available in the Debug Tab:
-
- In Object Spy, Selecting the Extract Object, Extract Multiple Elements or the Extract Filtered Elements options will Capture the Scene.
- In non-dynamic recording, a Capture will be taken whenever a new Repository Element is created.
- When Running A test, if there is an Error , A Scene of the error will be captured.
- When Reviewing a failed test Report, opening the Result Screenshot of the failed step, will open the relevant Scene in the Debug Tab, if that Scene is not saved there , the Scene will be recreated in the Debug Tab.
Select a Scene that has already been Captured
You can select an existing Capture from the "Debug" tab and use it to extract a new element if the element appears there.