SeeTestAutomation - Connecting An Android Device
Please note that this tool is classified as a Legacy tool. We recommend transitioning to our updated solutions to maintain optimal performance and security in your workflows. For more information on this matter, please reach out to technical support .
SeeTest Automation gives you the ability to test real Android devices and wearable tech.
Prerequisites:
- The USB driver for your device should be installed on the user machine.
Each manufacturer has its own USB drivers. The following link provides links to the websites for several original equipment manufacturers (OEMs), where you can download the appropriate USB driver for your device.
http://developer.android.com/tools/extras/oem-usb.html - If multiple devices are connected, they should have serial numbers (SN). Otherwise, SeeTest Automation will identify only a single device. In general, each device has a unique SN, but in some case, devices might have same SN (for example 123456).
- The device should be "USB debugging" enabled.
Note: On devices, which are version 4 and lower, to enable "USB Debugging", go to Settings->Applications->Development and set the "USB debugging" to enable.
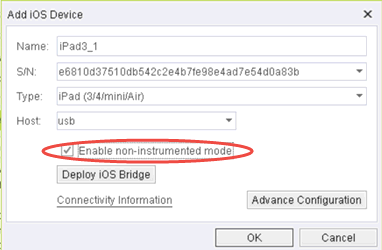
Note: On devices, which are version 4.2 and higher, to enable "USB Debugging" follow these steps:
- Settings > About Phone > Build number > Tap it 7 times to become developer
- Settings > Developer Options > USB Debugging Click 'OK' when the 'Allow USB debugging' pop-up shows up, after connecting the USB cable.

Note: On wearables, follow this link to enable "USB debugging": https://developer.android.com/training/wearables/apps/creating.html#SetupDevice.
Step 1: Connect the device to SeeTestAutomation .
-
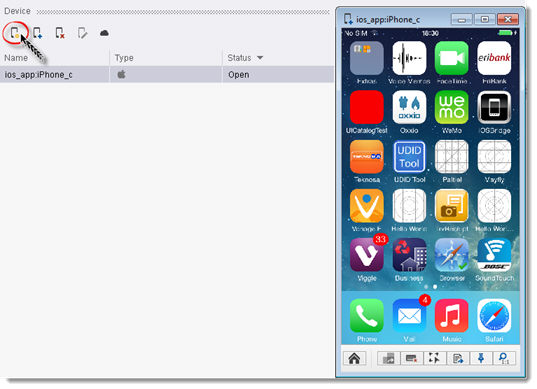
In SeeTest Automation go to Device tab.
-
Click the Add Device icon and select Android from the drop-down list.
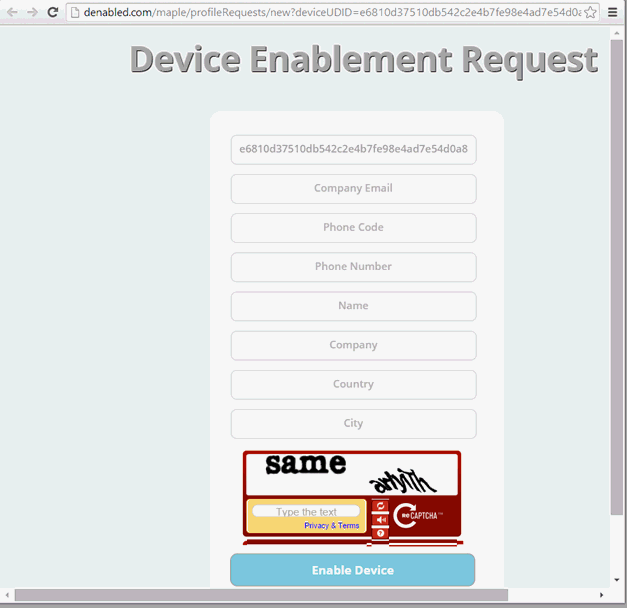
If no Android device is detected, a pop-up window will appear offering several USB drivers links for download.
-
Once the USB driver is installed, repeat step (1).
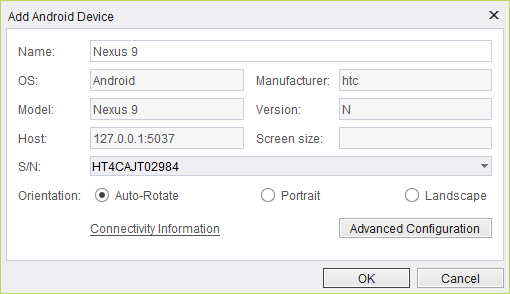
A pop-up will appear and you will then see the serial number of the Android device.
You can choose in which orientation the device will be open:
a. Auto-Rotate - the device will open according to its real condition and orientation will change automatically if you will move the device.
b. Portrait.
c. Landscape. Name the device, and then click on the "OK" button.
The selected device will appear in the "Device" list.
Step 2: Select the device and click the Open Device icon (check that its status changes from Ready to Open).
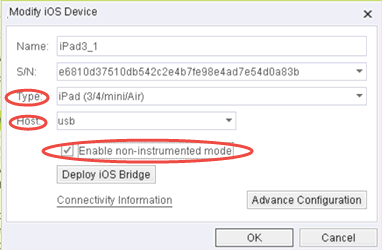
The device's reflection should then appear on your desktop.
