SeeTestAutomation - Instrumenting iOS Applications
Please note that this tool is classified as a Legacy tool. We recommend transitioning to our updated solutions to maintain optimal performance and security in your workflows. For more information on this matter, please reach out to technical support .
The .ipa file should not be one that you downloaded from iTunes. Such files have DRM restrictions which will not allow instrumenting the application. The application should be a production build version without DRM restrictions.
To illustrate the process of instrumenting iOS applications, we provide two non-instrumented demo applications for iOS devices which can be found in the installation folder under .../bin/ipas:
(Links can be opened only from iOS devices)
- EriBank.ipa (bundle identifier: com.experitest.ExperiBank)
- BrowserO.ipa (bundle identifier: com.experitest.BrowserO)
In the same folder are copies of the same files already after instrumentation. They will automatically be available in the Application manager.
Note: You can use distribution profiles for the instrumentation process.
Note: By default, the provisioning profile that will be used for signing is automatically selected. To select a specific provision profile do one of the following:
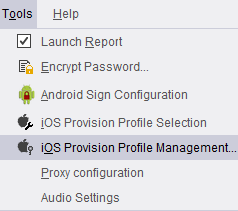
- From SeeTest Studio using the SeeTestAutomation - iOS Provision Profile Selection wizard,
- Using the command line tool - Keyle.
Instrumentation process
Step 1: On the SeeTestAutomation UI, Choose Help Tab and select iOS Sign Configuration option.

Step 2: On the SeeTestAutomation- iOS Sign Configuration you can configure the needed files for the instrumentation.
Step 3: If you do not have an apple account, you can use a DEF file. You should receive by email a DEF file (Device Enablement File).
Step 4: With this file, complete the SeeTestAutomation- iOS Sign Configuration process as depicted in the page.
Step 5: Import the .IPA file (should be available on your local disk) via the Application manager.
Step 6: In the Application manager click the Install button. It will install the application on the device. During the installation process, the application will also be instrumented.
Step 7: Once the installation is over users will be prompted with a message box to launch the application.
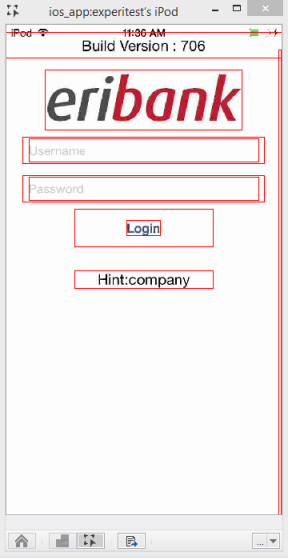
Step 8: Applications will be launched instrumented (Screen of the device with an instrumented app on object spy mode).

- There is an option to instrument your application with basic capabilities only (doesn't include features like Simulate Capture, Mock Authentication). This option is recommended only when experiencing problems with the default instrumentation.
- To set Basic Instrumentation, add the following line to the app.properties file: ios.instrument.with.basic.frameworks=true
- For advanced usage, you can import entitlements to your application during the installation process. This option is recommended only when experiencing problems with entitlements.
- You must supply a valid entitlements.plist file for your application.
To instrument applications with custom entitlements.plist you will need to add the property:
- override.entitlements.file.path_<BundleID>=<Pathe_To_entitelments.plist> to the app.properties file.
- For more information on that matter, please contact
- support .