Android
Please note that this tool is classified as a Legacy tool. We recommend transitioning to our updated solutions to maintain optimal performance and security in your workflows. For more information on this matter, please reach out to technical support .
Prior to instrumentation, you need to configure either of the following app properties:
-
Set android.instrument.fingerprint to true if your app implements a standard fingerprint authentication dialog.
-
Set android.instrument.fingerprint.secure to true if your fingerprint implementation involves security authentications for the responses received from the user.
After instrumenting the Application with mock authentication property the application may not support manual authentication (can't authenticate with a real fingerprint).
In order to use setMockAuthenticationReply command on your application, your application needs to be Instrumented, you can achieve this by:
-
Import or re-instrument your app via Application Manager or use install command with instrument=true.
- For iOS applications, you can also use manual instrumentation to instrument the app manually. For more information see SeeTestAutomation - Manually Instrumenting iOS Applications.
It is recommended to use this command before the application. i.e., the command sets the desired reply for future authentication requests.
Examples
The following examples are demonstrated in the BiometricAuthentication sample application. Note that some of the dialogs can change, depending on the device vendor and Android version.
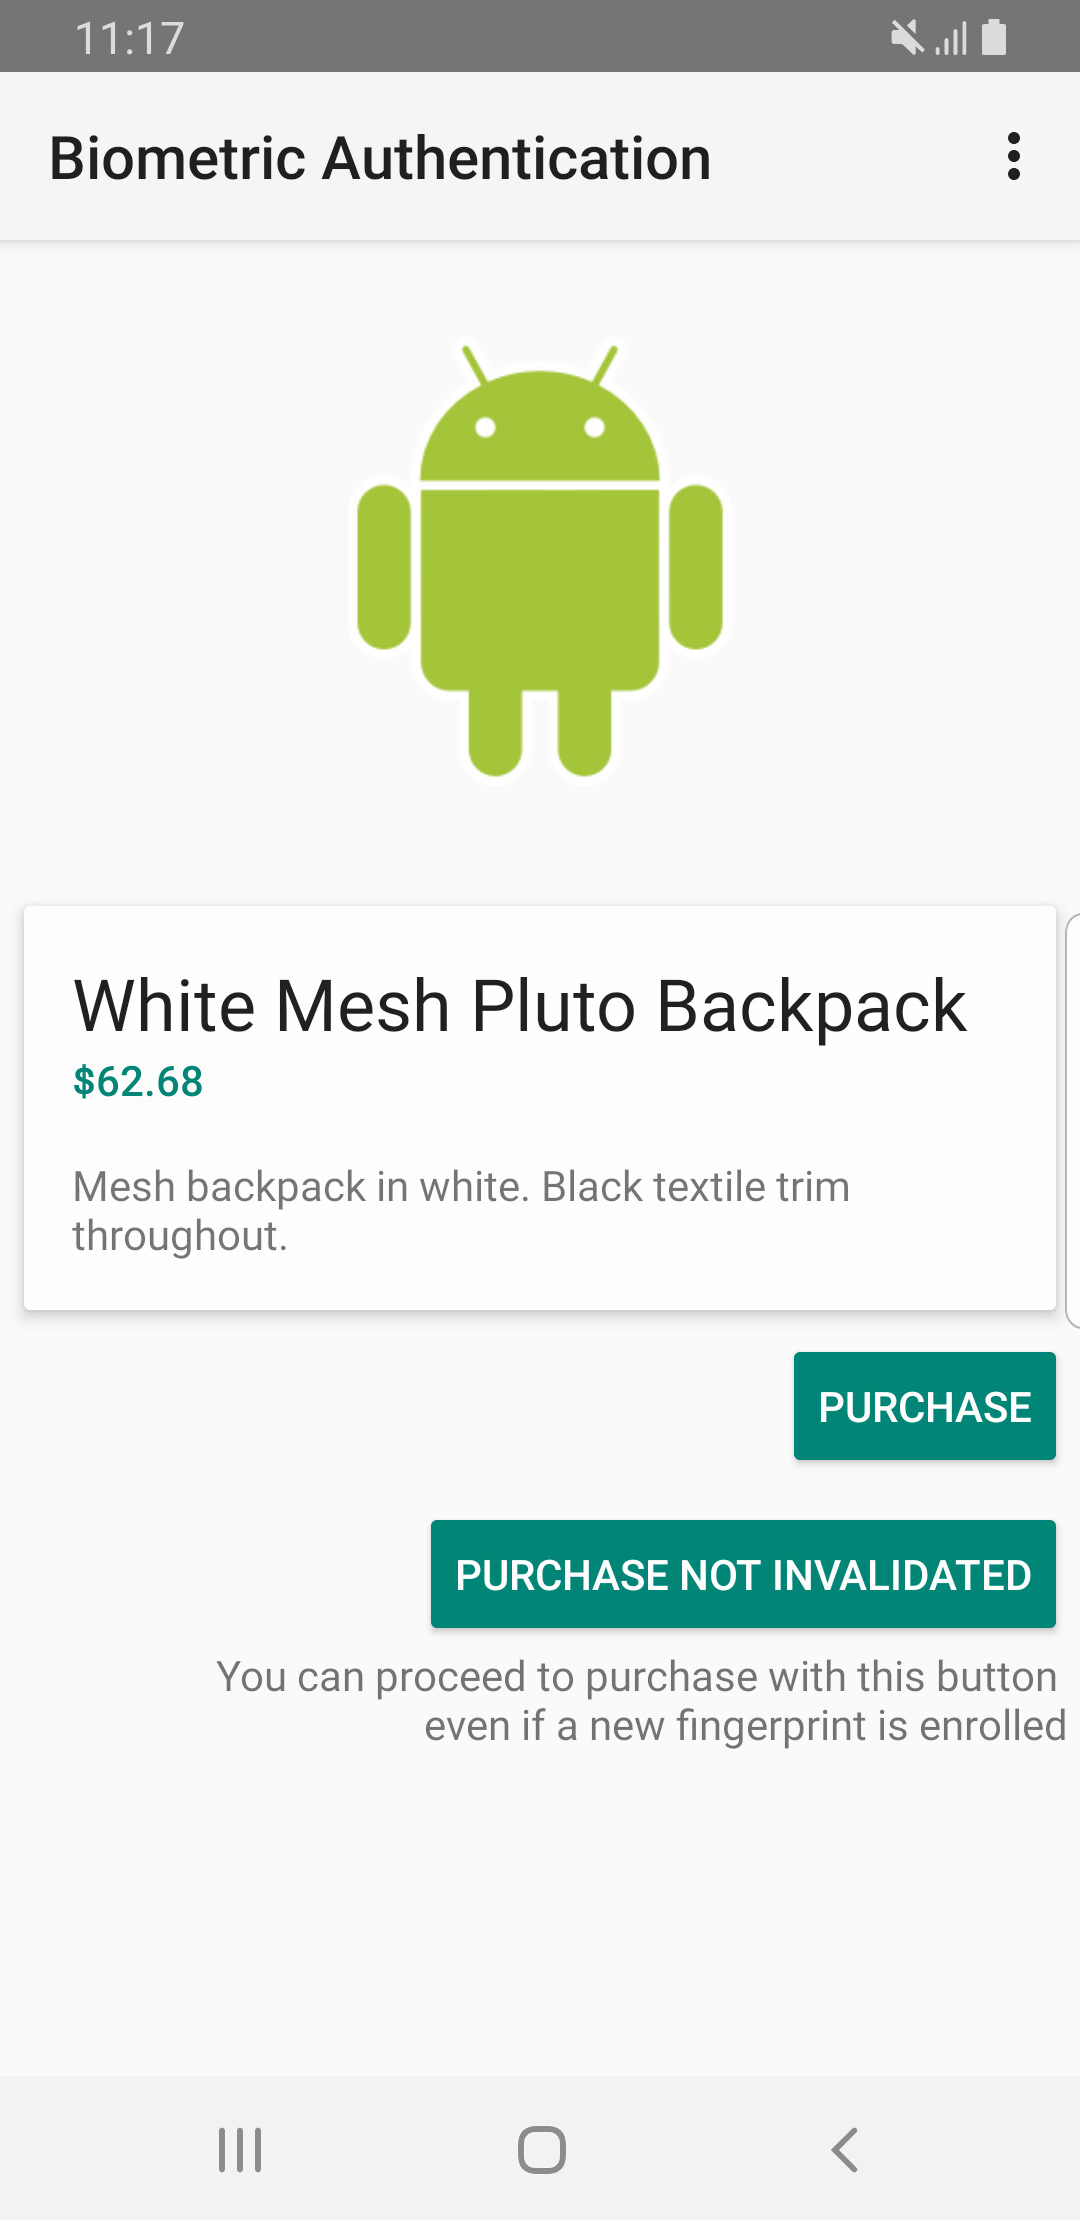
Initial Application View
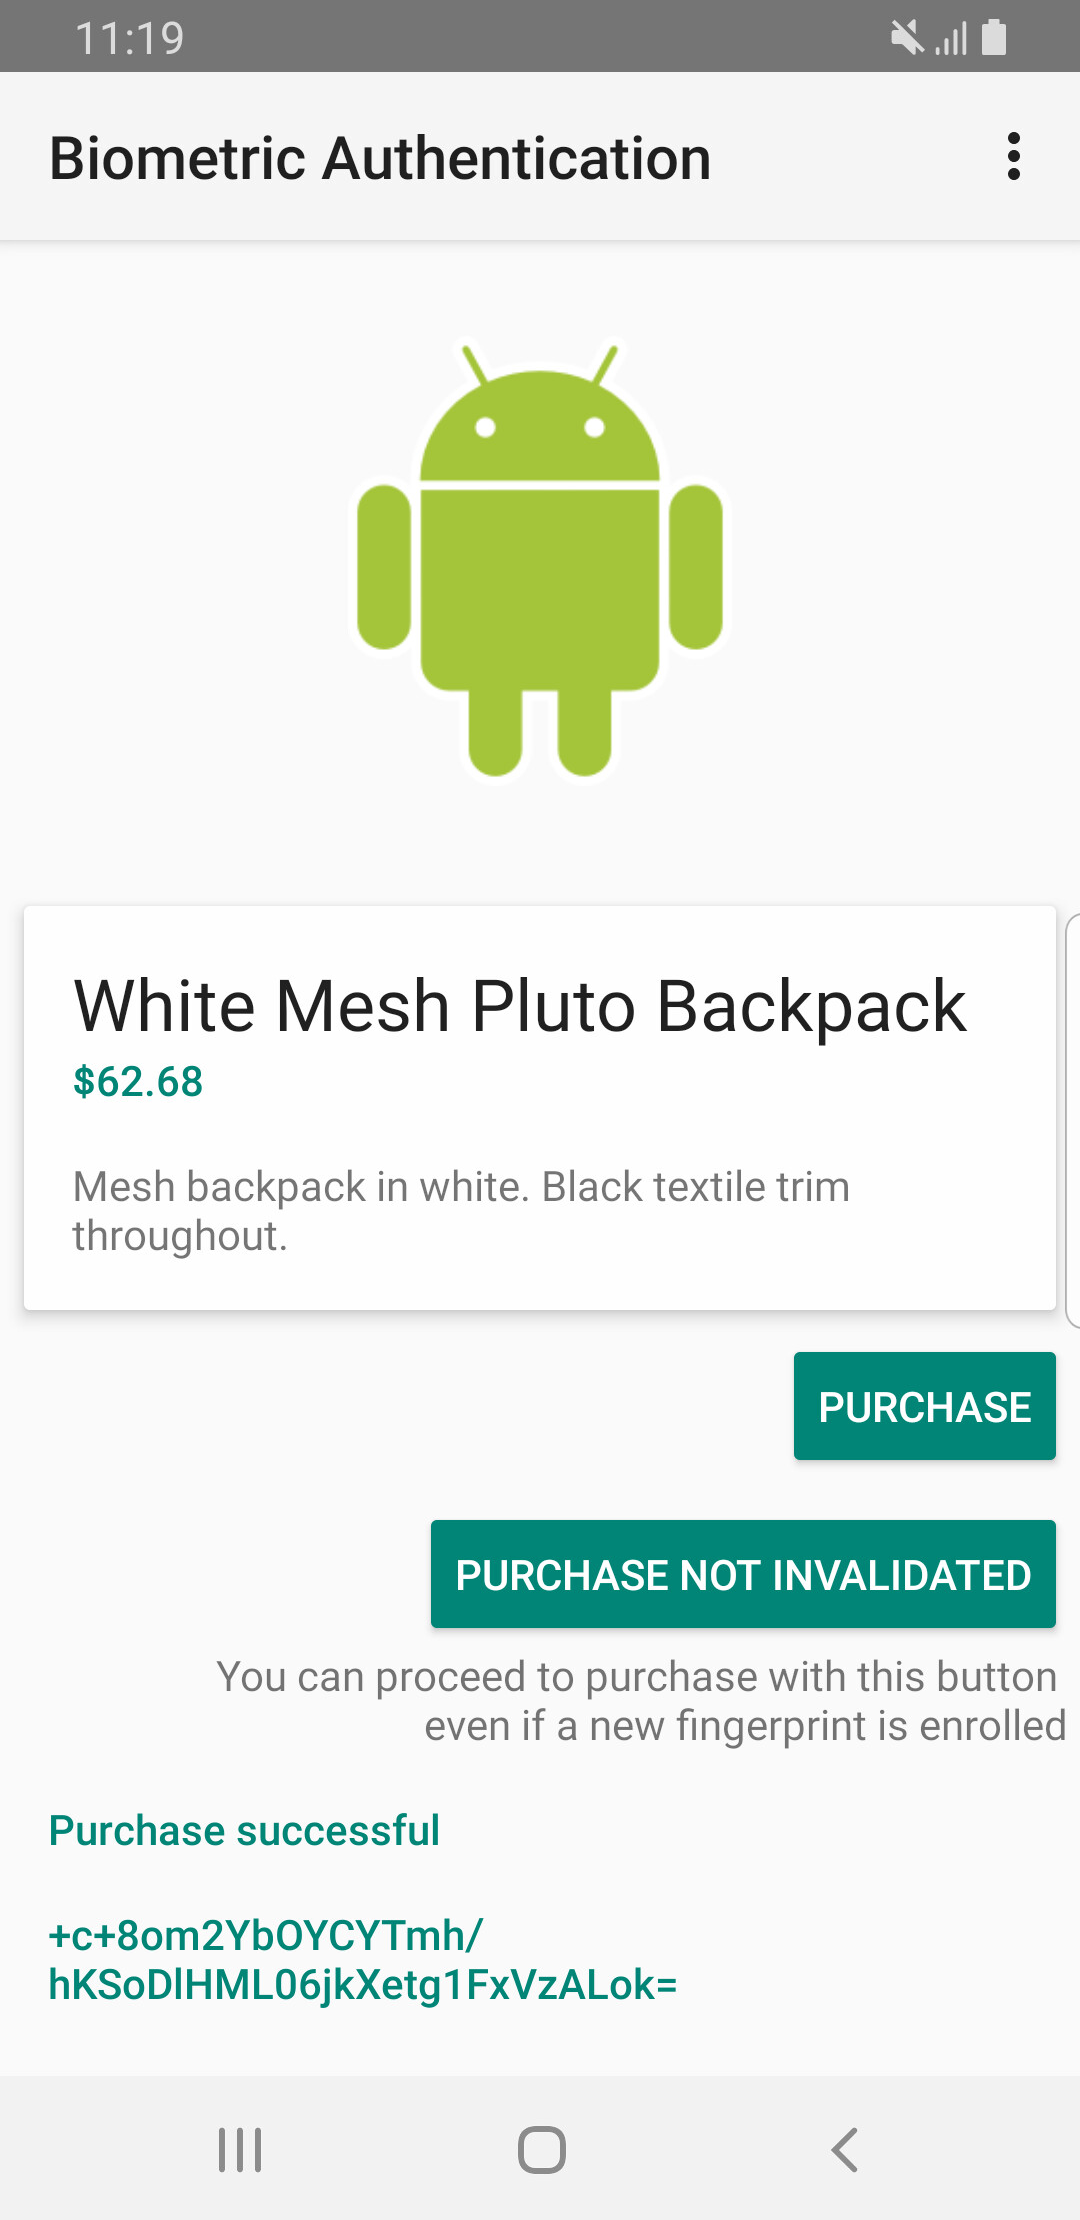
Success Result
Executing the following to display a "Purchase successful" message.
client.setAuthenticationReply("AUTHENTICATION_SUCCEEDED", 0);

client.click("NATIVE", "xpath=//*[@text='PURCHASE']", 0, 1);
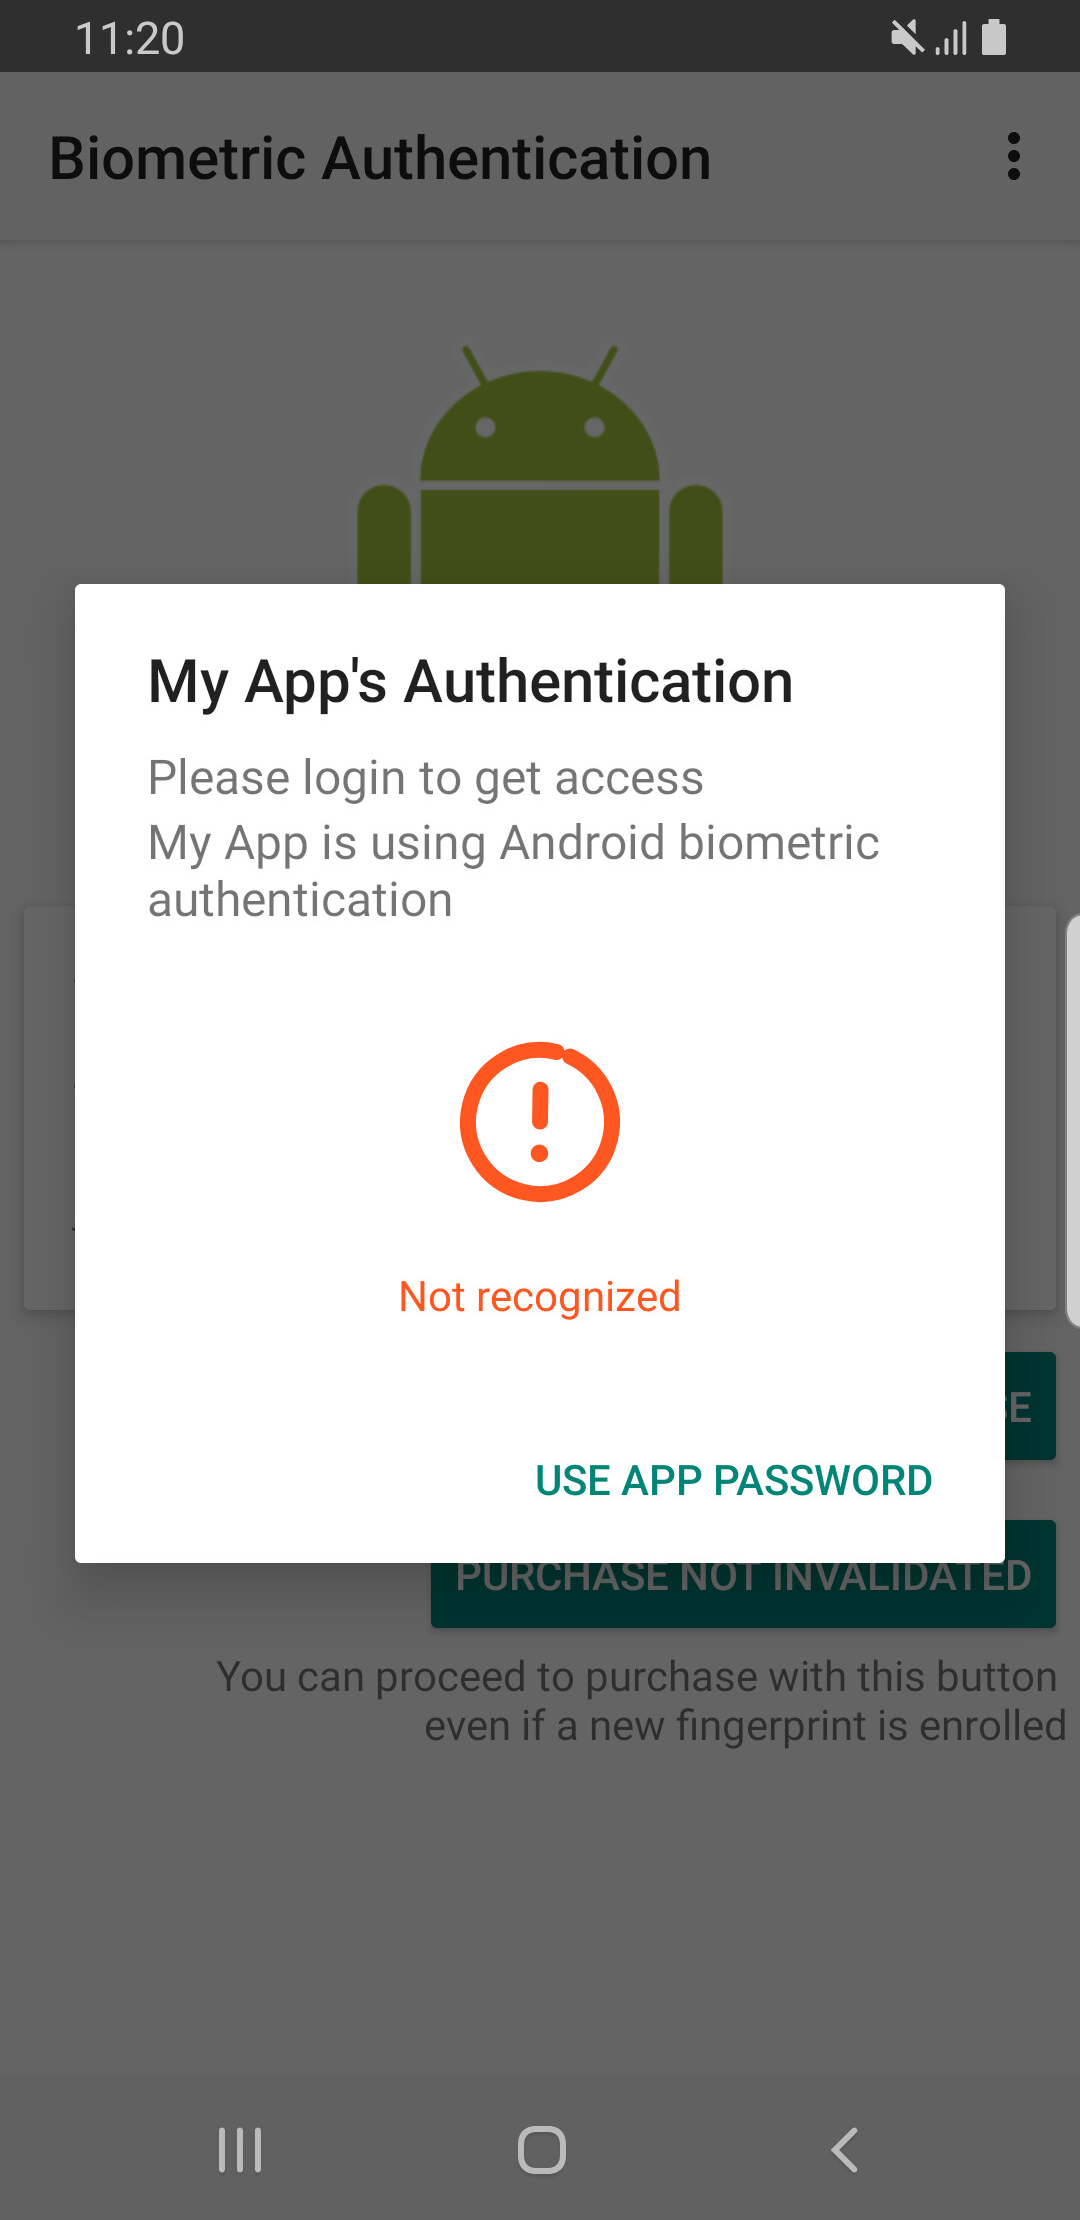
Failure Result
Executing the following to display the authentication request with a failure message.
client.setAuthenticationReply("AUTHENTICATION_FAILED", 0);

client.click("NATIVE", "xpath=//*[@text='PURCHASE']", 0, 1);
It will result in
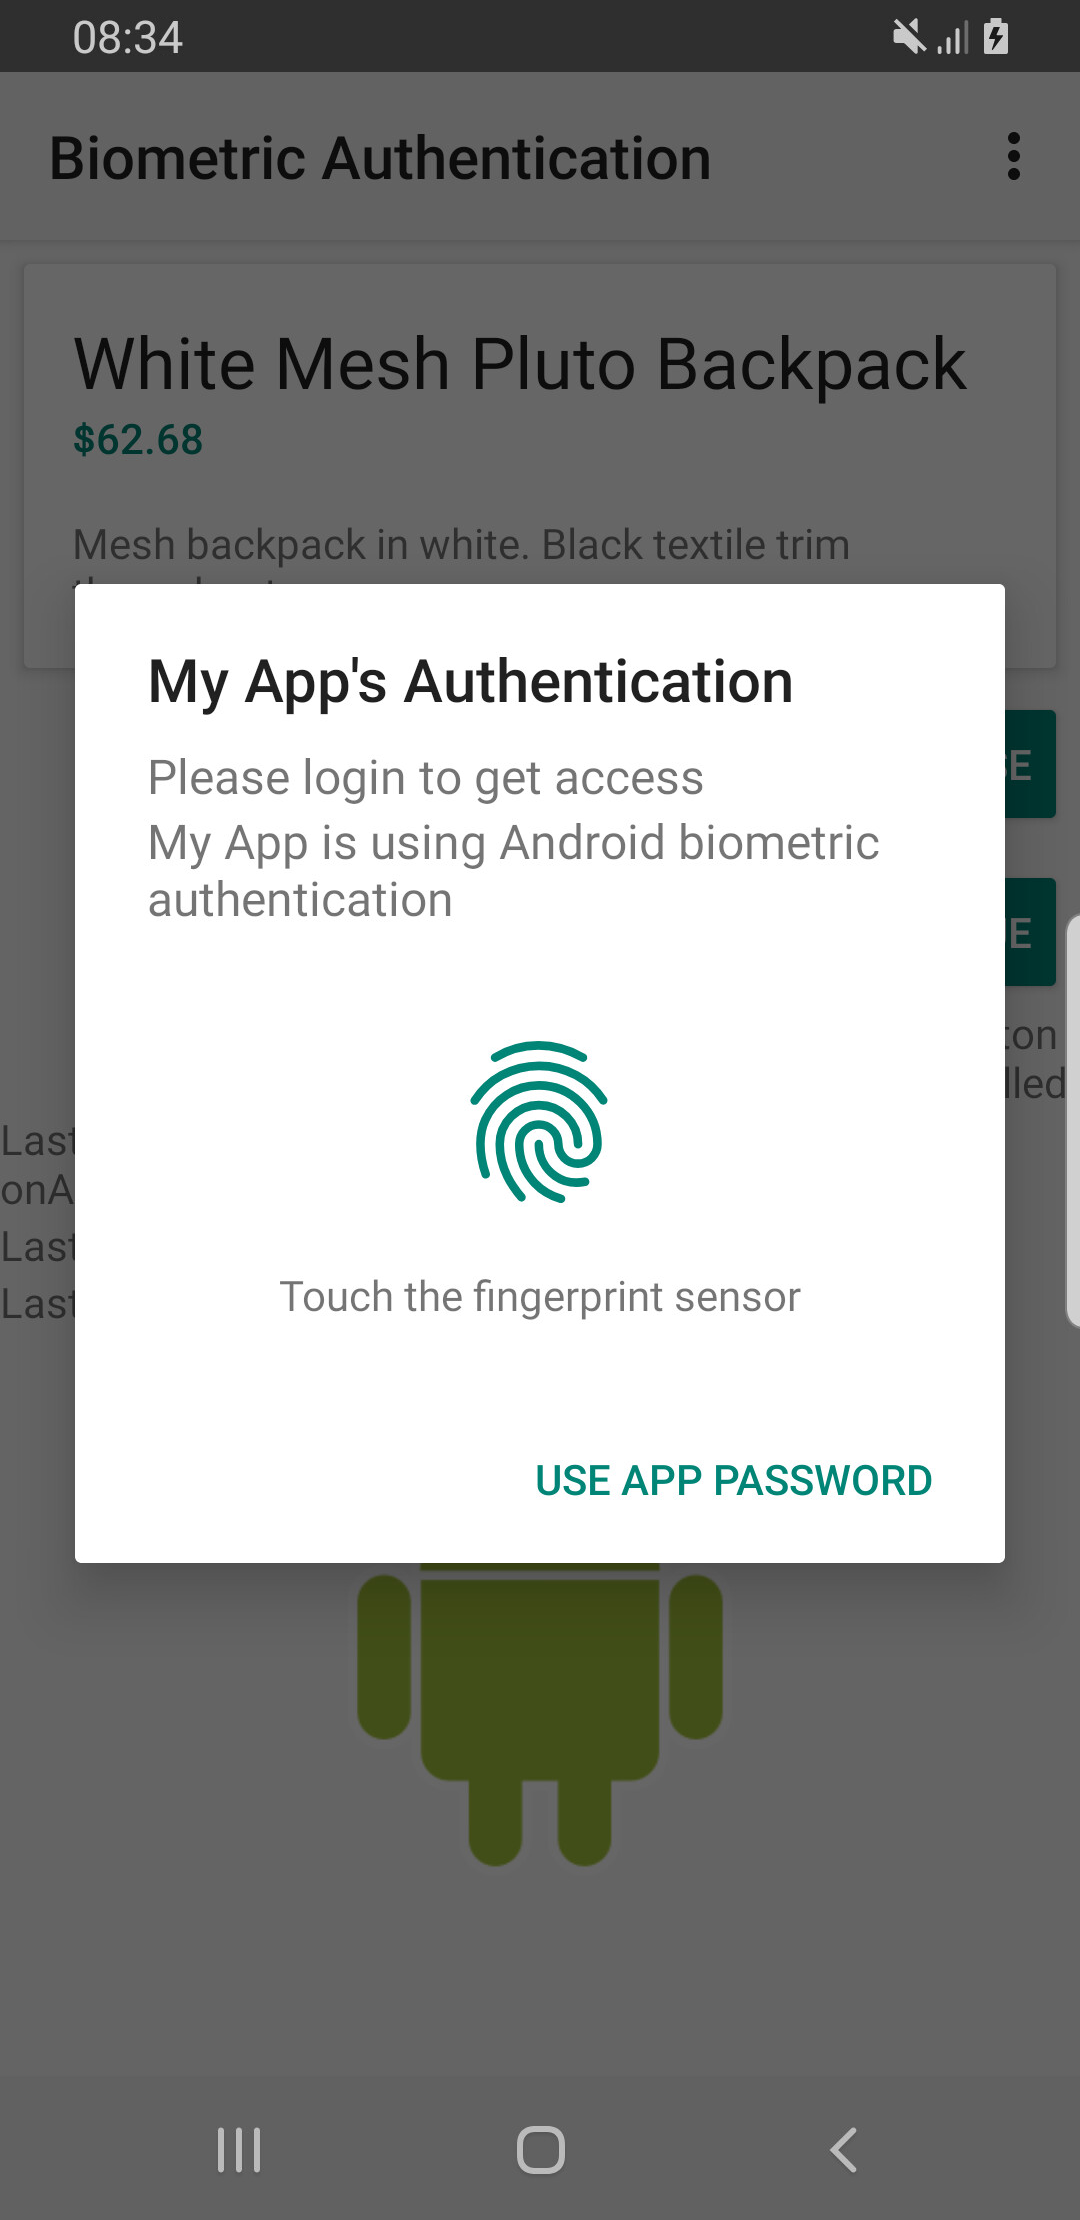
Clear the Mocked Reply
To set a different reply or to reset the mocked authentication reply state, close the dialog if open and then execute:
client.setAuthenticationReply("CLEAR_MOCK", 0);

client.click("NATIVE", "xpath=//*[@text='PURCHASE']", 0, 1);
This results in displaying the original dialog, which is waiting for real user authentication.
In case the application requests authentication upon launch, set in advanced the desired reply as a launch environment using Launch With Options.
For example, if com.company.MyApp presents the on-screen authentication pop-up as soon as it launches, and we want to respond with a successful authentication, we would write the following in our test:
@Test
public void launchAndAuthenticate() {

    // Grid
        client.launchWithOptions(
        "cloud:com.example.android.asymmetricfingerprintdialog/.MainActivity",
         "{\"relaunch\":true,
         \"instrumented\":true,
         \"ANDROID_MOCK_AUTH_REPLY\":\"AUTHENTICATION_SUCCEEDED\"}"
         );


    // Appium OSS
        DesiredCapabilities dc = new DesiredCapabilities();
        dc.setCapability("udid", device);
        dc.setCapability("accessKey", "ACCESS_KEY");
        driver = new AndroidDriver(new URL(authority + "://" + host + ":" + port + "/wd/hub"), dc);
        JsonObject launchOptions = new JsonObject();
        launchOptions.addProperty("relaunch", true);
        launchOptions.addProperty("ANDROID_MOCK_AUTH_REPLY", "AUTHENTICATION_SUCCEEDED");

        String appActivity = "com.example.android.asymmetricfingerprintdialog/.MainActivity";
        driver.executeScript("seetest:client.launch", appActivity, launchOptions.toString());
}
The list of supported Auth reply:
- CLEAR_MOCK // Clear mock response.
- AUTHENTICATION_SUCCEEDED // Fingerprint Authentication succeeded.
- AUTHENTICATION_FAILED // Fingerprint Authentication failed.
- ERROR_CANCELED // The operation was canceled because the fingerprint sensor is unavailable.
- ERROR_HW_UNAVAILABLE // The hardware is unavailable. Try again later.
- ERROR_LOCKOUT // The operation was canceled because the API is locked out due to too many attempts.
- ERROR_NO_SPACE // The operation cannot be completed due to insufficient storage.
- ERROR_TIMEOUT // The current request has been running too long.
- ERROR_UNABLE_TO_PROCESS // The sensor was unable to process the current image.
- ERROR_VENDOR_BASE // Vendor-specific error base.
- FP_ACQUIRED_GOOD // The image acquired was good.
- FP_ACQUIRED_PARTIAL // Only a partial fingerprint image was detected.
- FP_ACQUIRED_INSUFFICIENT // The fingerprint image was too noisy to process.
- FP_ACQUIRED_IMAGER_DIRTY // The fingerprint image was too noisy due to dirt on the sensor.
- FP_ACQUIRED_TOO_SLOW // The fingerprint image was unreadable due to lack of motion.
- FP_ACQUIRED_TOO_FAST // The fingerprint image was incomplete due to quick motion.
- FP_ACQUIRED_VENDOR_BASE // Vendor-specific acquisition base.
More information
The application used in the examples demonstrates the use of the new Biometric API, which replaces FingerprintManager, which is deprecated since API level 28.
In Android, mocking authentication is supported for applications which use the native implementation.
Mock authentication is not supported for third party libraries.