Version: Early Access

Workflow to Install Release Runner with Cloud Connector

Before You Begin

This tutorial involves working with a variety of tools and technologies such as Digital.ai Release, Runners, Kubernetes, GitHub, and so on. You can perform this task by simply following the instructions. However, being familiar with these tools and technologies can help you considerably when you try this out in your test environment.

What's the objective?

The objective is to illustrate how to use the Digital.ai Release runner install with Digital.ai Cloud Connector workflow in Digital.ai Release to install the Runner with an embedded Kubernetes cluster using the Digital.ai Cloud Connector.

Though the Digital.ai Release supports GitHub, GitLab, and BitBucket repositories, this tutorial is built with the GitHub repository for illustrative purposes.

What do you need?

You must have the following:

  • A computer that runs Windows, macOS, or Linux to install and run the kubectl and other CLIs.
  • A Kubernetes cluster where the runner will be installed.
  • You need a Digital.ai Cloud Connector for this option.
  • kubectl

What do you have?

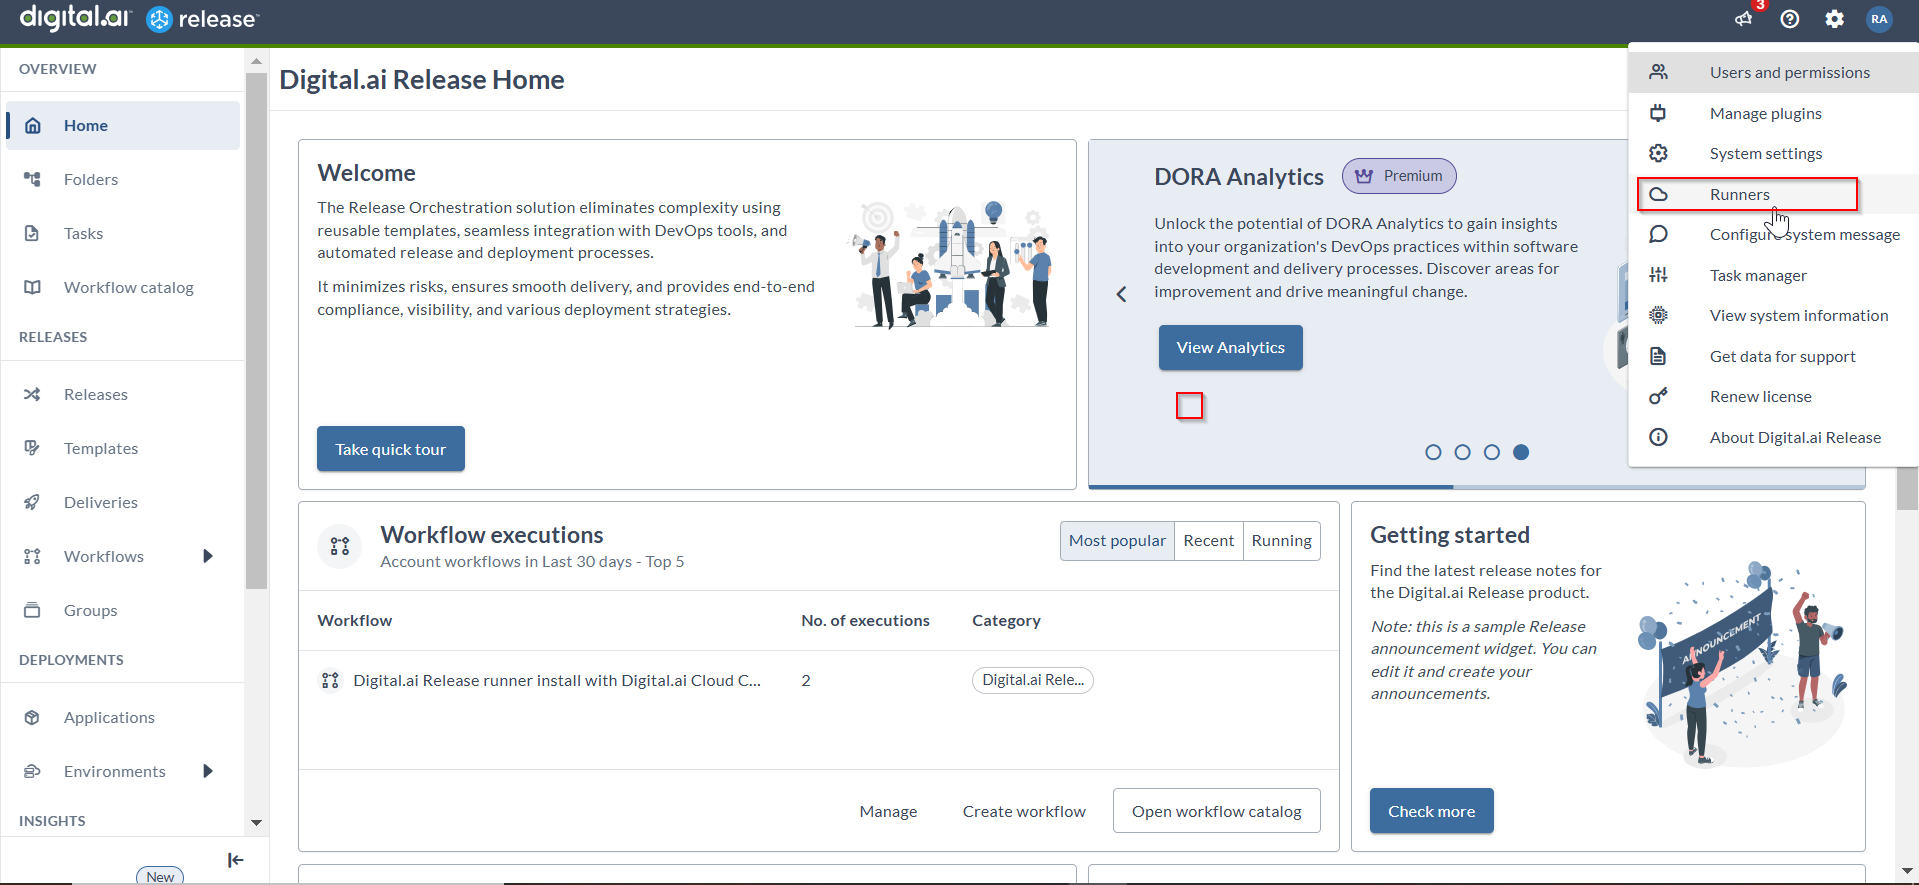
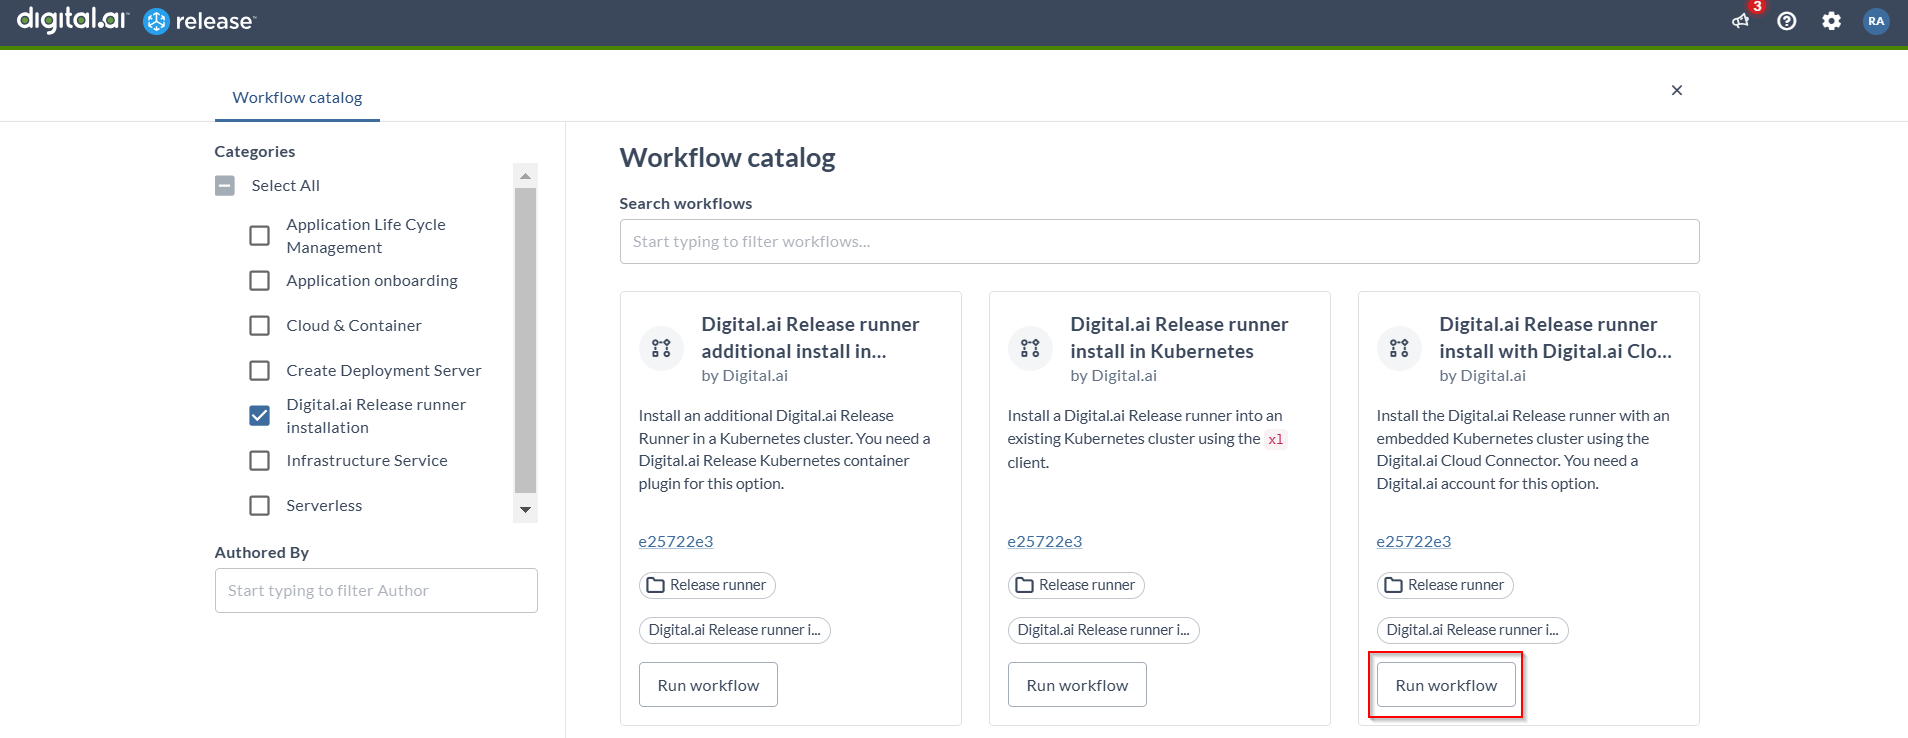
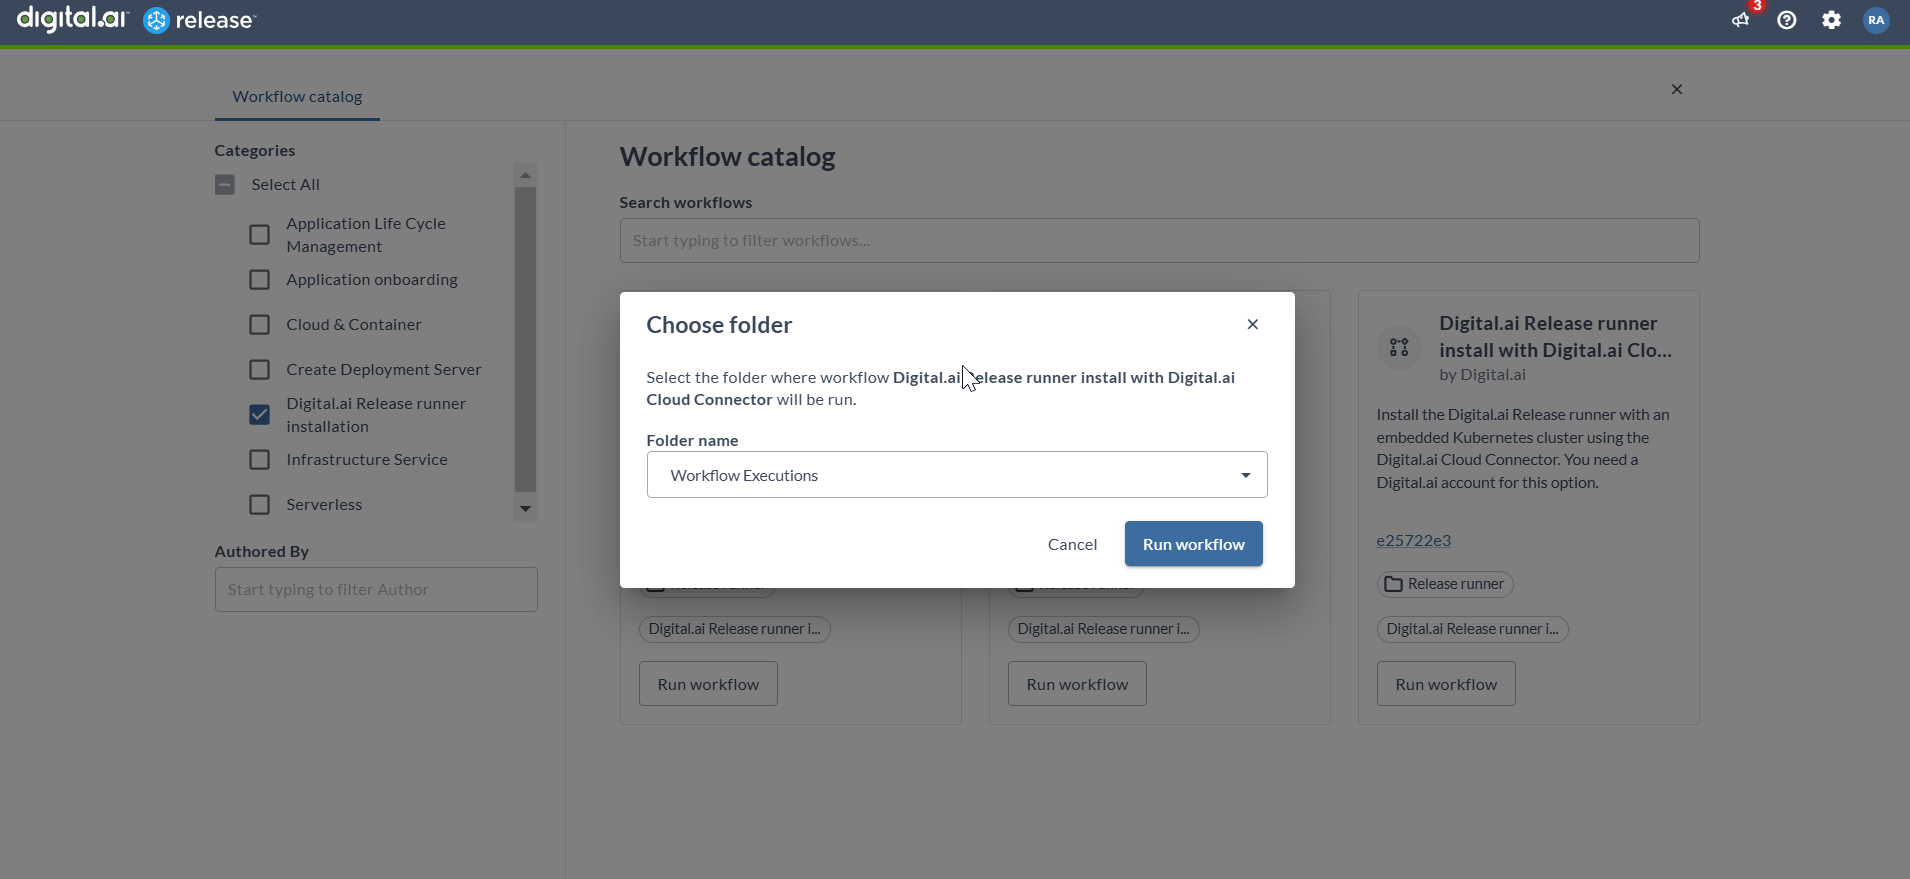
To get your Digital.ai Release runner install with Digital.ai Cloud Connector workflow, see how to Run Workflows.

Note: A default folder called Digital.ai-official is now available in Release. It contains the downloadable workflows and templates that are published by Digital.ai in the shared content folder repository.

Here's a detailed step-by-step.

Step 1 - Select Digital.ai Platform server

In this step, you will specify the Digital.ai Platform server to install the Cloud Connector.

Step 2 - Get available Agent Runtimes

In this step, you will fetch all available Agent Runtimes from the Digital.ai Platform server.

Step 3 - Get available Cloud Connectors

In this step, you will fetch all available Cloud Connectors from the Digital.ai Platform server.

Step 4 - Map Agent Runtimes and Cloud Connector names

In this step, you will map the Agent Runtimes and Cloud Connectors to their names and populates the lookup for next task.

Step 5 - Select Agent Runtime and Cloud Connector

In this step, you will select the Agent Runtime and Cloud Connector to install the new Runner. You can select an existing Cloud Connector, but in that case you will pick all existing Agent Instances from the Cloud Connector, so if you want to use a new one, select Create a new Cloud Connector.

Step 6 - Set new Cloud Connector name

In this step, you will enter a name for your new Cloud Connector.

Step 7 - Create new Cloud Connector

In this step, you will create a new Cloud Connector definition on the Digital.ai Platform.

Step 8 - Set Cloud Connector ID

In this step, you will set a Cloud Connector ID to create a Runner Agent instance.

Step 9 - Set Agent Runtime and Cloud Connector

In this step, you will set the Agent Runtime ID and Cloud Connector ID for creating a new Runner Agent Instance on Digital.ai platform.

Step 10 - Get Platform access token

In this step, you will fetch the access token from the Digital.ai Platform server. The token is required for installing the Cloud Connector locally.

Step 11 - Install the Cloud Connector

In this step, you will see that the Digital.ai Platform provides a customized installer with a unique token for the new tenant.

Step 12 - Prepare Digital.ai Release URL

In this step, you will enter URL of your Digital.ai Release instance that is accessible from the Kubernetes cluster.

Step 13 - Create user and token for Runner registration

In this step, you will create a new user and generate access token as follows.

Create Runner user and assign permissions

  • Create a new user called runner.
  • Create a global role called Runners for the runner user.
  • Assign global permission called Runner registration for the Runners role.

Create access token

  • Login with runner user.
  • Go to the Personal access tokens from the top-right corner of the screen.
  • Create a new token called Runner token and copy it into the Runner token field.

Step 14 - Set Runner name

In this step, you will provide a name for the Runner. Also, this is the name of all Runner related services in Kubernetes cluster. Consider choosing a name without whitespaces, using only letters, numbers, or hyphens, to ensure compatibility and simplicity across Kubernetes cluster.

Step 15 - Create Agent Instance

In this step, you will create a new Agent Instance in Digital.ai Platform for selected Agent Runtime and Cloud Connector.

Step 16 - Install template container plugin

In this step, you will see that the newly created Runner is registered and visible in the Runners page.

You can install container plugins to run on Release runners.

Step 17 - Create and run a template

In this step, you will use the container plugin to run a task on Release runners.