Exercise 1: Basic Use of the API Console
Overview
This exercise will give you some experience with using the API Console and get you started with basic queries using the Digital.ai Agility API.
Prerequisite
Access to a Digital.ai Agility instance. You will be using a new tool that is a part of your VersionOne instance called API Console. You can find it by browsing to your Agility instance and appending APIConsole.mvc. For example, if your URL is https://www.17.v1host.com/MyVersionInstance, just add /ApiConsole.mvc to the end.
What you'll learn
-
How to browse to the API Console
-
A basic query of the root Scope
Step 1: Getting Ready to use API Console
Using the API Console is a fairly simple. It was written as a subset of general purpose HTTP query tools, but only works with Agility. It works directly with Rest APIs by capturing and sending requests to the VersionOne server.
For this exercise, you will use a locally installed Agility instance, but you can practice on the publicly accessible instance mentioned above. Note that if you are not logged into VersionOne, you will be prompted for your username and password.
After logging in, the tool will look like this:
![]()
Step 2: Run the Default Query
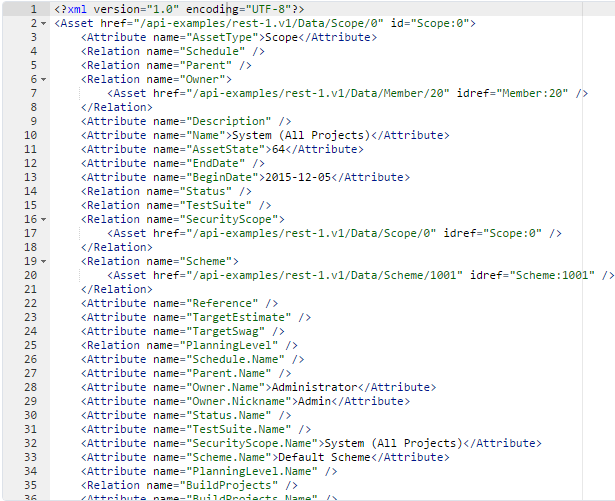
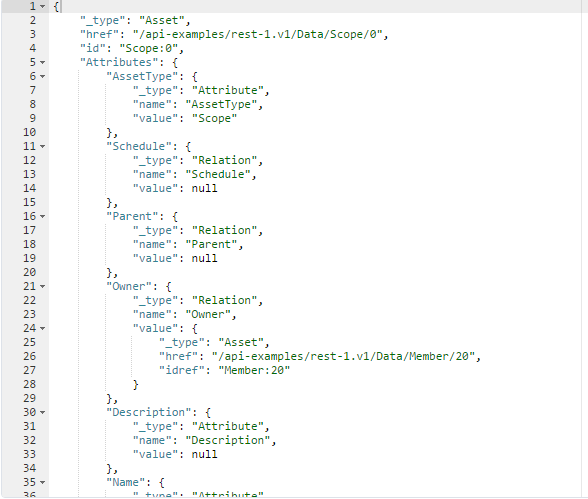
Our goal is to query your VersionOne instance by asking questions about Scope 0. Scope is a system name for a project. When we do our query we will see the name of the project that is know in the system as Scope:0. This project is the root project.
Click Send.


This default "http Get" query is invoked by clicking send. As you can see, the results of the query is a in the XML on the left and JSON on the right. You have the option to choose either. For the next few lessons, the XML results display until we get to POST section and bring the JSON format back into these lessons.
Review
-
Appending APIConsole.mvc to your Agility instance will display the API Console page.
-
The default query lists the attributes associated with your root project in Agility.