General Settings
This topic explains how to configure General settings in Release.
To configure Release, select Settings > General from the top menu. The General settings page is only available to users who have the Admin global permission.
The System Settings screen is reorganized to make the navigation more user-friendly. The settings are now grouped by theme, to easily locate and access the features.
Navigate to the upper-right corner of the screen, click ![]() > System Settings > General.
> System Settings > General.
The General settings page is available only for Administrators, who have the Admin global permission.
Customization
The Customization section allows you to perform some the basic customizations in Release.
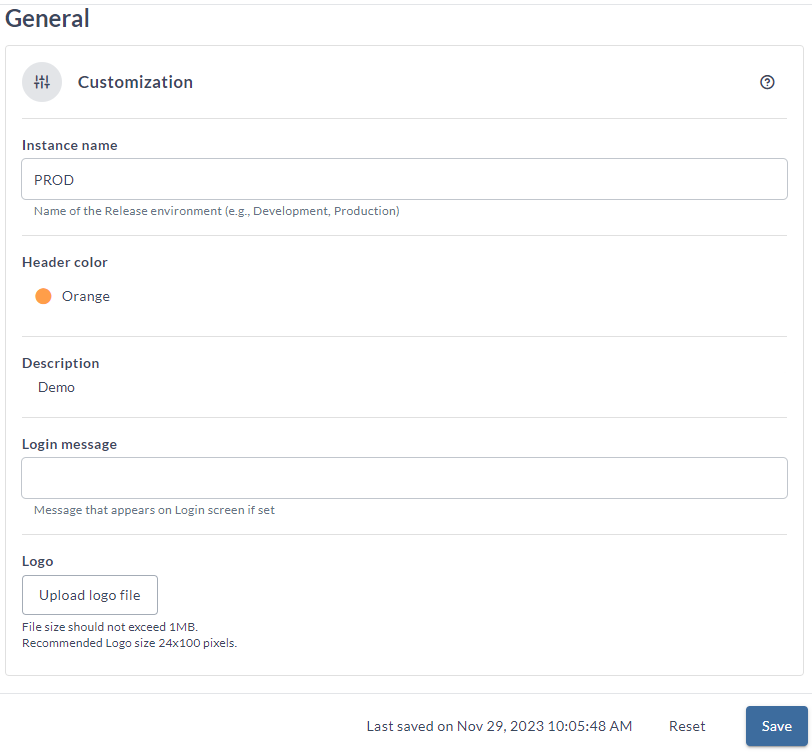
- Enter the name of your Release environment in the Instance name field. For example, Production or Development.
- Select the color of the Release header by clicking the Header color button. It displays a drop-down with a lits of colors to choose. For each type of your Release instance, you can define an associated color.
- Double-click in the Description field to enter a short description for the selected Release instance.
- Enter a login message for your Release instance in the Login message field. This message appears when you log into Release.
- Upload a custom logo for your Release instance using the Upload logo file button.
Once configured, all notification emails from Release will display this logo in the footer. Newly generated audit reports (including user permission and runner reports) and custom dashboard PDF exports also use the current logo configuration.
- File size of the logo should not exceed 1 MB.
- Recommended logo size is 24x100 pixels.
- Supported formats:
GIF,JPEG,PNG,SVG,TIFFandICO - If no custom logo is configured, Release uses the Digital.ai logo.
Product Analytics
This feature delivers in-app walkthroughs, guidance, and release notes in Release using the Pendo.io platform. Anonymous usage analytics are collected in order to improve the customer experience and business value delivery. To learn more about this feature, see Pendo analytics and guidance.

- By default, the Enable Analytics and in-app guides checkbox is selected. This enables the Product Analytics and Guidance feature.
- Select the Allow users to opt-out check box to let individual users opt out of sharing usage analytics and in-app guides.
PAT for SSO Users
This feature allows the Personal Access Token (PAT) type of authentication to be enabled for SSO users for various authentication protocols like SAML, OAuth, OIDC, and so on. To learn more about this feature, see Personal Access Token for Authentication.
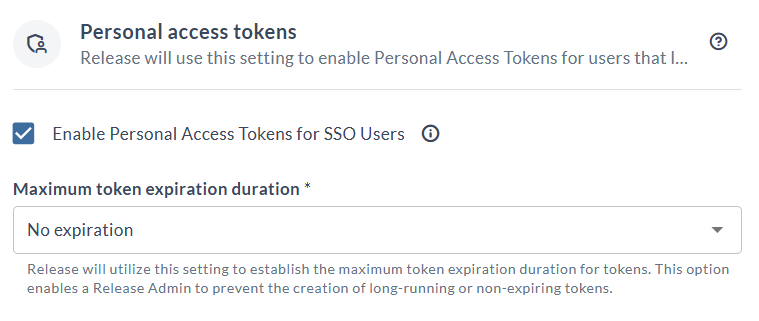
The Enable Personal Access Tokens for SSO Users checkbox is enabled by default. This enables the PAT type of authentication for SSO users.
The default token expiration is set to No expiration. The available values are as follows:
- 7 days
- 30 days
- 45 days
- 60 days
- 1 year
- No expiration
The PAT remains active even after the SSO user is deleted from the system.
External ID for User Profile
You can use the External ID label field to create a unique identifier for the external users as per your requirement. For example, Employee id or GitHub id. To learn more about this feature, see Set up OIDC Authentication for Release.

- Select the Show external ID for User profile checkbox to enable the External ID label field.
- In the External ID label field, enter the ID for the external user.
Show Home Page
You can now see the Release home page that offers a high-level overview, simplifying access to critical information.. To learn more about this feature, see Digital.ai Release Home Page.

The Show Home page checkbox is enabled by default. This enables the Release home page for all the users.
DevOps enabled Deployments
Use this setting to manage the Application deployments dashboard. To learn more about this feature, see DevOps enabled Deployments.
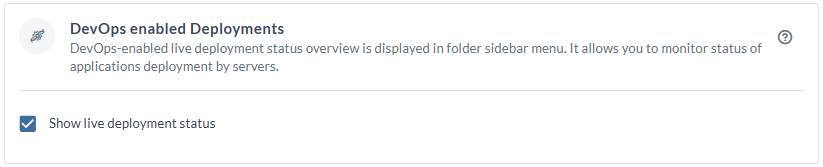
The Show live deployment status checkbox is enabled by default. This enables the Application deployments dashboard to view the live status of the deployed applications.
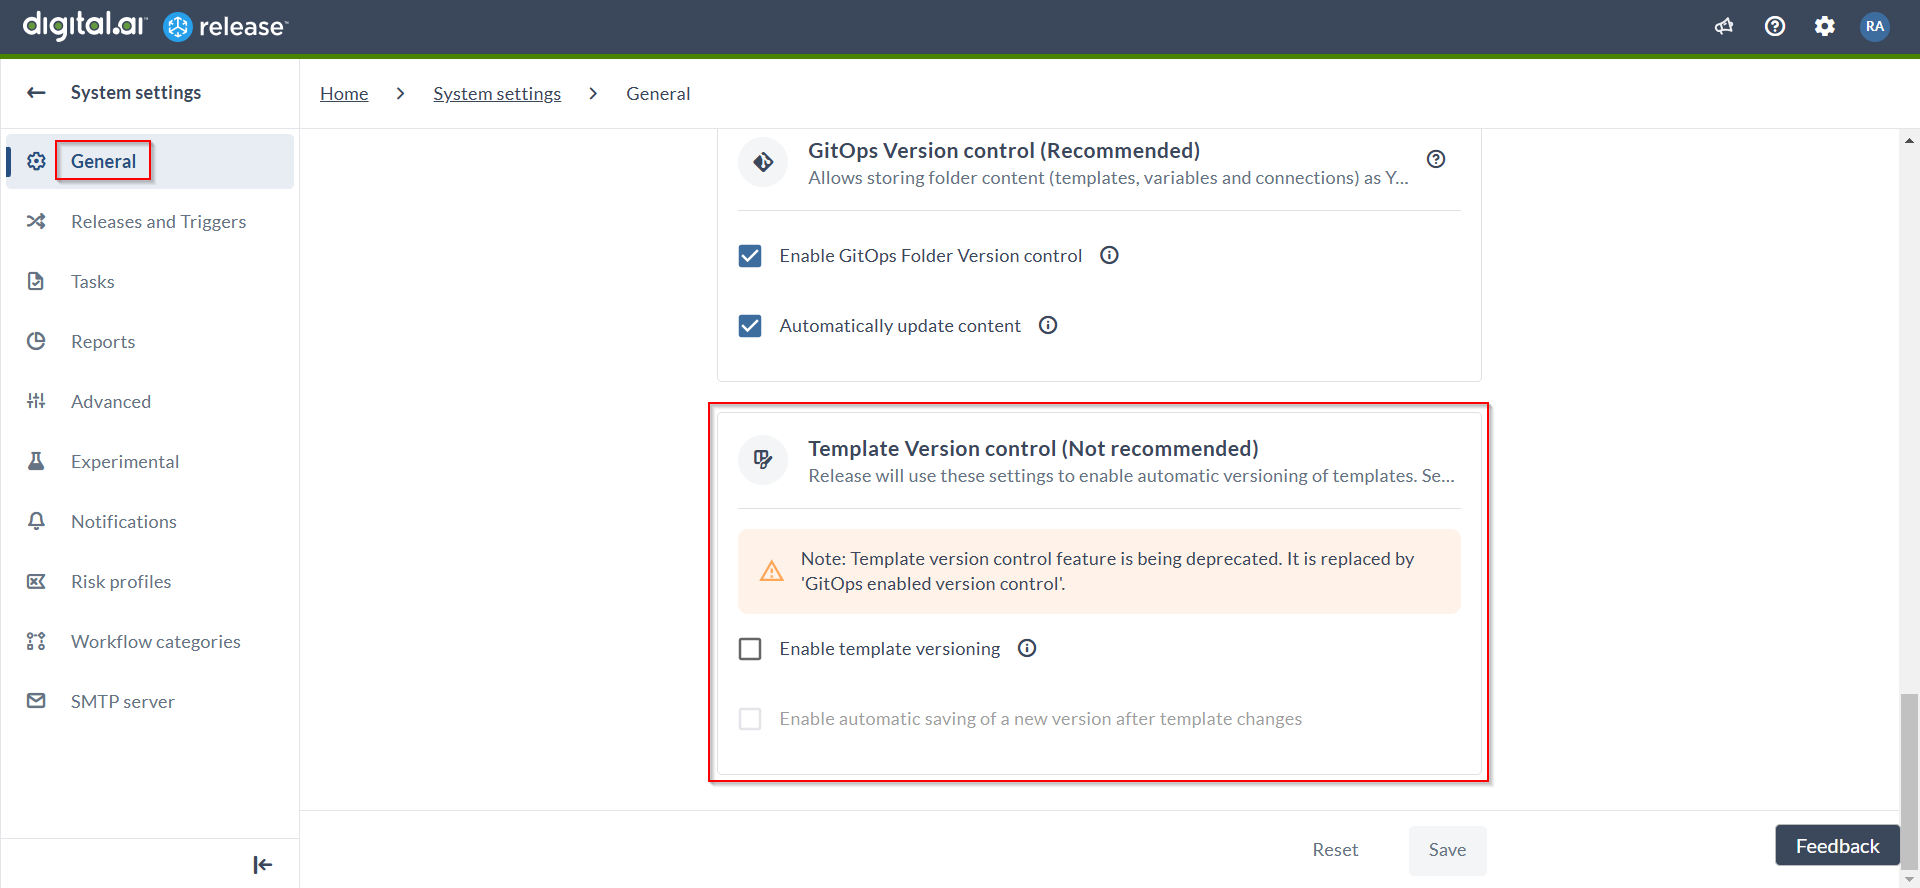
GitOps-enabled Folder versioning (Recommended)
GitOps enabled version control allows you to store folder content like templates, variables, and configuration as YAML code in Git and enables a GitOps style workflow to author, review, and promote content between Release environments.
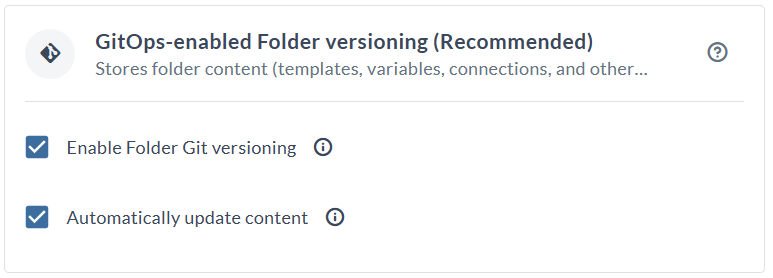
By default, the following options are enabled when GitOps folder versioning is available:
Enable Folder Git versioning - Enables GitOps-based version control for folders in Release. When selected, the Git versioning tab is available in folders. To disable GitOps folder versioning entirely, clear the Enable Folder Git versioning checkbox.
Automatically update content - Automatically fetches new versions of content from the Digital.ai Git repository and applies them to the Digital.ai official folder. To stop automatic updates, clear the Automatically update content checkbox.
For more information, see GitOps-enabled Folder Versioning.
Template Version control (Not recommended)
:::warning Deprecated Feature Template version control has been replaced by GitOps-enabled folder versioning. We recommend using GitOps-enabled folder versioning to manage templates, variables, connections, and other entities.
For more information, see GitOps-enabled Folder Versioning. :::
- Enable template versioning (not enabled by default) - Select the Enable template versioning to display the Version control tab in templates.
- Enable automatic saving of a new version after template changes (not enabled by default) - Select the Enable automatic saving of a new version after template changes checkbox, to enable automatic versioning of templates. This check box is diabled if template versioning is disabled. This setting will take effect after one minute.
Save Settings
Whenever, you update a setting on this screen, the Save button is enabled.
- Click Save to save the changes.
- Click Reset to return to the default setting of the screen.