Viewing Defect Details
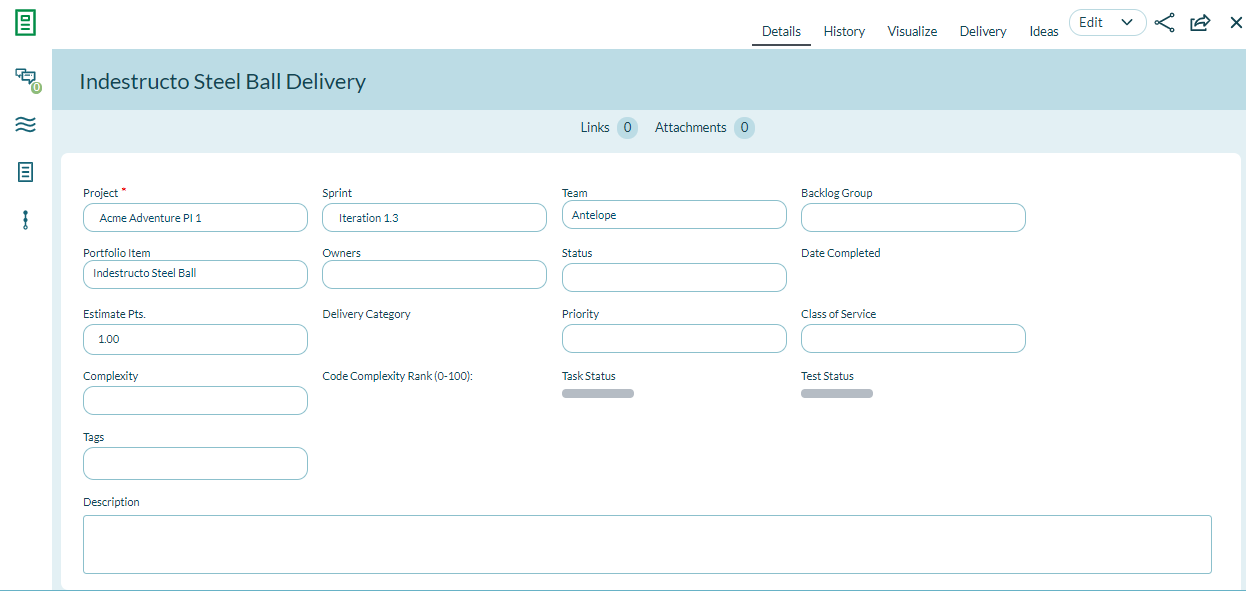
The Defect Details page allows you to view and update all details pertaining to a selected defect. Here, you can manage all the attributes of defects.

Accessing the Defect Details Page
To access the Defect Details page, click on a defect title or ID anywhere within the application.
Managing Defect Details
From the Defect Details page you can perform the following high-level functions using the tabs at the top right of the grid:
| If you want to... | Do this... |
|---|---|
| View all defect details | Click the Details tab. |
| View the change history for a defect | Click the History tab. |
| View a graphical representation of the defect's relationships to other assets | Click the Visualize tab. |
| Edit defect details | Click the Edit tab to open the Defect Details page. You can also open this drop-down menu to perform many more granular functions (Add Task, Add Test, Copy, Sign Me Up, Block, Split, Quick Close, Close, Convert to Story, Delete, and Watch Defect). |
| Close a defect | Choose Close or Quick Close. |
Viewing or Managing Defect Relationships
From the Show Relationships section at the bottom of the Defect Details page, you can perform the following functions by clicking the Add or Assign buttons for the associated action. For any items you add or assign, you can click Remove in the grid to remove them from the selected defect.
| If you want to... | Do this... |
|---|---|
| Add a new task | Go to Tasks and click Add. |
| Add a new test | Go to Tests and click Add. |
| Assign upstream dependencies from available backlog | Go to Upstream Dependencies and click Assign. |
| Assign downstream dependencies from available backlog | Go to Downstream Dependencies and click Assign. |
| Designate all builds containing the defect | Go to Found In Pipeline Runs and click Assign. |
| Designate the most current build(s) affected by the defect | Go to Last Affected Pipeline Runs and click Assign. |
| Select existing backlog items that are affected by the defect | Go to Breaks Workitems and click Assign. |
| Select an existing issue to assign as a blocking issue | Go to Blocking Issues and click Assign. |
| Select an existing defect that breaks a pipeline run | Go to Broken By Defects and click Assign. |
| Select an existing request | Go to Requests and click Assign. |
| Identify (select) issue(s) that have been resolved | Go to Issues Resolved and click Assign. |
| Add a new link to remote documentation | Go to Links and click Add. |
| Add a new file attachment | Go to Attachments and click Add. |
Related concepts
Related references
Why did I receive a type error when converting a story to defect and defect to story