Workflow Category Settings
Workflows are bundled within the Release application itself, and are categorized into multiple types based on its use-cases. Additionally, you can also create new workflows and assign it to a specific category.
Note: The System Settings screen is reorganized to make the navigation more user-friendly. The settings are now grouped by theme, to easily locate and access the features.
Navigate to the upper-right corner of the screen, click > System Settings > Workflow categories.
Note: The Workflow categories settings page is available only for Administrators, who have the Admin global permission.
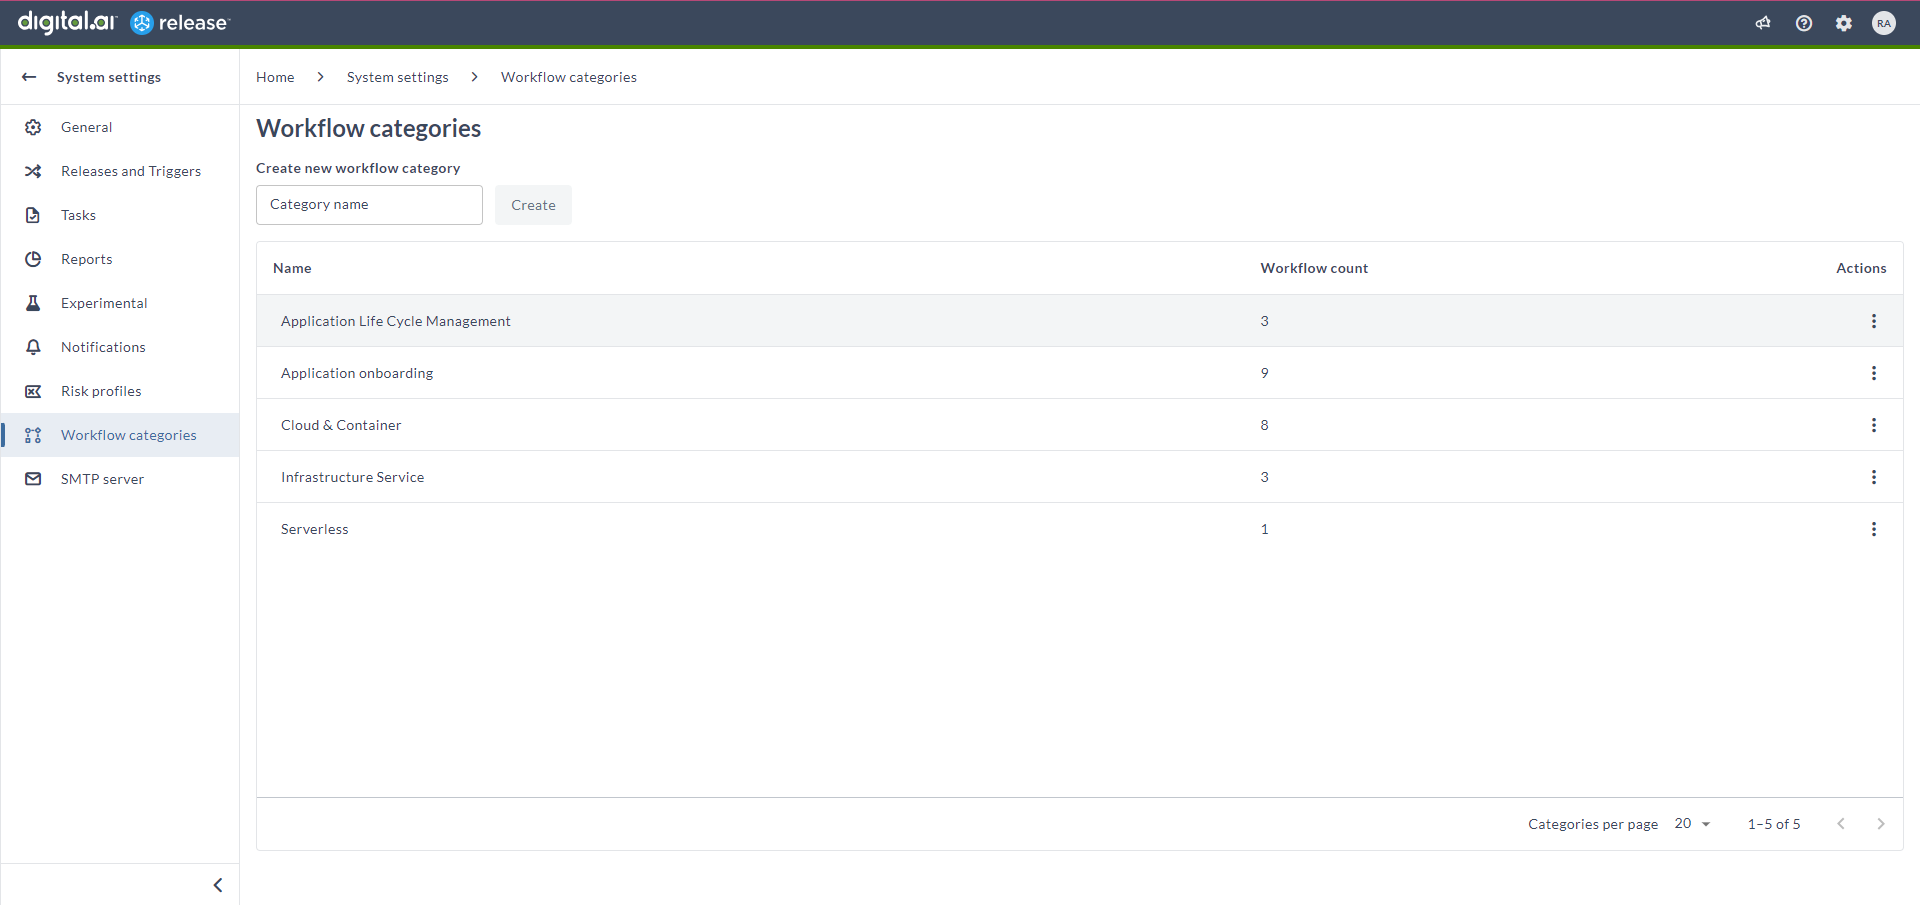
Here's how the Workflow categories screen looks like.

- Enter a unique category name in the Create new workflow category field and click Create. A new workflow category is added to the table below. Additionally, this newly created category is added to the Workflow catalog screen.
- Click the ellipsis menu > Open templates in the Actions column. This displays the workflows relevant to that specific category in the Workflow catalog screen.
- Click the ellipsis menu > Delete in the Actions column. This deletes the category and the workflows relevant to that specific category in the Workflow catalog screen.
Note that, you can modify the name of the existing categories by clicking on the name of the category in the row.