SeeTestAutomation - Creating Your First Test On an iOS Device
Please note that this tool is classified as a Legacy tool. We recommend transitioning to our updated solutions to maintain optimal performance and security in your workflows. For more information on this matter, please reach out to technical support .
Follow these steps to create a test script on an iOS device:
Step 1: To start recording a script on an iOS mobile device with the Native Recorder, you need to:
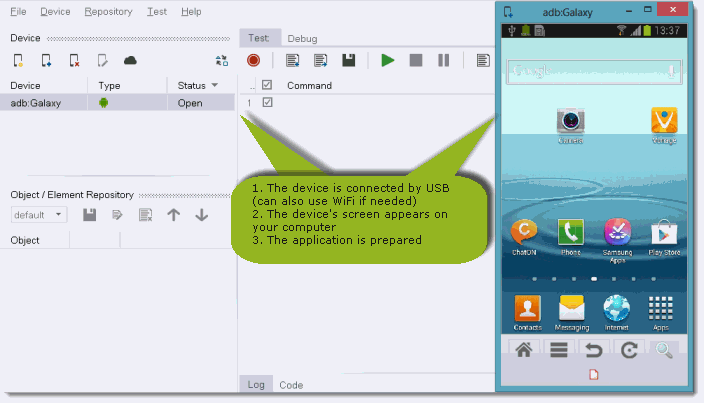
- Connect a mobile device to your computer via USB. (for device connectivity instructions please follow Connect Device - Option B )
- Have the application instrumented and installed on the device (see Native Application Instrumentation process for iOS).
-
In this example, we will use one of our demo instrumented applications for iOS - [eri-Bank] (open this link from the iOS device)
-
We begin by launching the application on the test device. Launch the application using the 'SeeTestAutomation - Launch' command.
-
iOS9 - When the iOSBridge app or the Simple Browser is started for the first time on an iOS 9 device, the user is presented with a dialog about "Untrusted Developer". In order to be able to launch the iOSBridge or Simple Browser, the user needs to do the following:
-
Go to the "Settings" application
-
Select the "General" section
-
Then select "Profile"
-
Choose "Experitest Ltd" item and click "Trust".
-
**
**
Step 2: Start the recording session
-
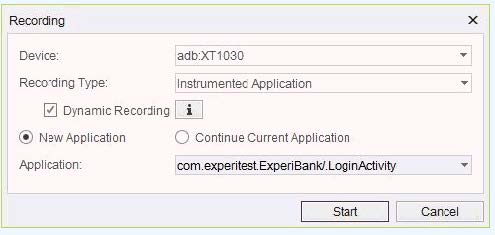
In SeeTestAutomation go to the "Test" tab and click on the "Record" button.
-
Choose the device you wish to record and choose the tested application name (for Native Recording).
Note: The recommended way of recording is ' Dynamic Recording ' which can be done by ticking the 'Use dynamic' button. we will use the ' Native Recording ' in order to cover object-oriented features in the examples.
Step 3: Go to the device screen that appears on your computer screen (with the app launched on it), and complete the exact sequence of actions you want in the test.
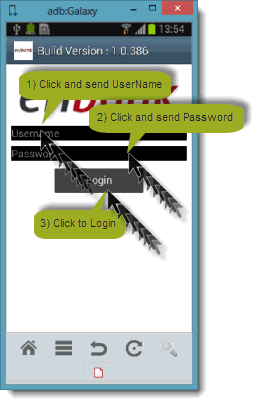
In this example, We will run a test on the "eriBank" application that logs into our bank account, I will complete the following sequence of actions:
-
-
Click on the "Username" field, enter 'company'
-
Click on "Password", enter 'company'
-
Click on the "Login" button
-
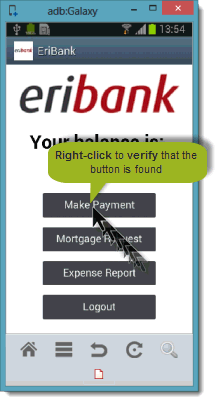
Right-click on the "Make Payment" button to verify that it is found.
-
Note: Tips to ensure a more successful recording session:
- Click the center of the image/icon/link
- Record slowly
- Event recording is possible thru the reflection window only.

Step 4: Return to SeeTestAutomation and click on the "Stop Recording" button.
Step 5: You will see a progress bar indicating that the recorded data is being analyzed, and your test script will then appear in the script area.
Note: The script you recorded can be edited later. (Please refer to the "Edit Test Commands" & "Edit Test Objects" section in the guide for instructions on how to edit).

Step 6: Click the "Play" button to run the script:
Step 7: Once the test has been executed, you will receive a report indicating whether each test step was executed successfully or not, including a screenshot of the tested application in runtime.

You can run the test script from UFT as well.