Using the Release Plugin in Backstage
Before You Begin
Before you can use the Release plugin for Backstage, certain prerequisites needs to be met within the Digital.ai Release. These involve creating a new API access token. For example,
- Login as admin or user and create an access token with “Audit data” permission.

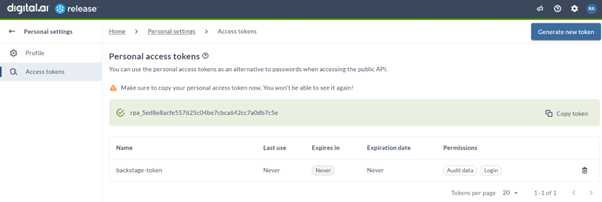
- Alternatively, you can create a new user in Digital.ai Release for Backstage. For example, ‘backstage-user’.

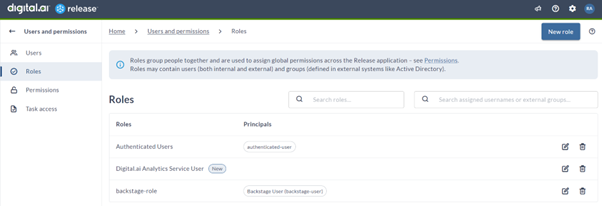
- Create a new role “backstage-role” and add principal “backstage-user”.
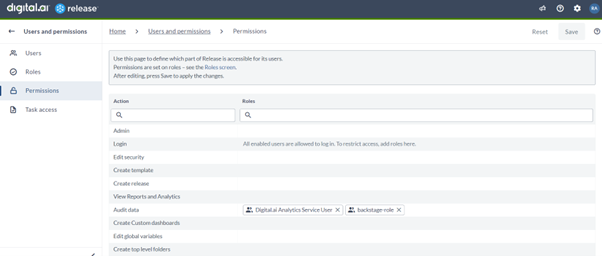
- Assign “Audit data” permission to “backstage-role”.
- Login as “backstage-user” and create an access token with all permissions.


Using the Release Plugin in Backstage
Active Releases
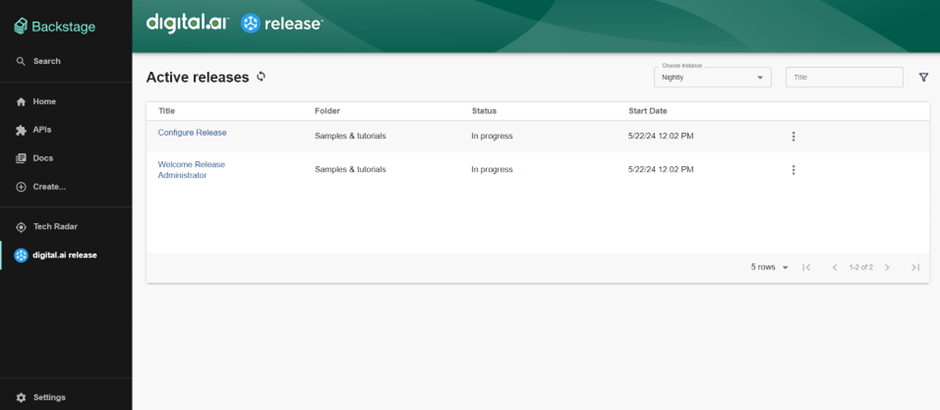
- Open your Backstage application and from the sidebar, click Digital.ai release > Active releases.
The page displays details such as:
- Title: Title of the release.
- Folder: Available releases categorized by folder.
- Status: Release status.
- Start Date: Release start date.
- Under Title, click the link to view the release flow.
The latest release appears on top.
-
From Choose Instance dropdown, select the instance required.
-
Click the filter icon. This opens the Filters dialog,initially empty.
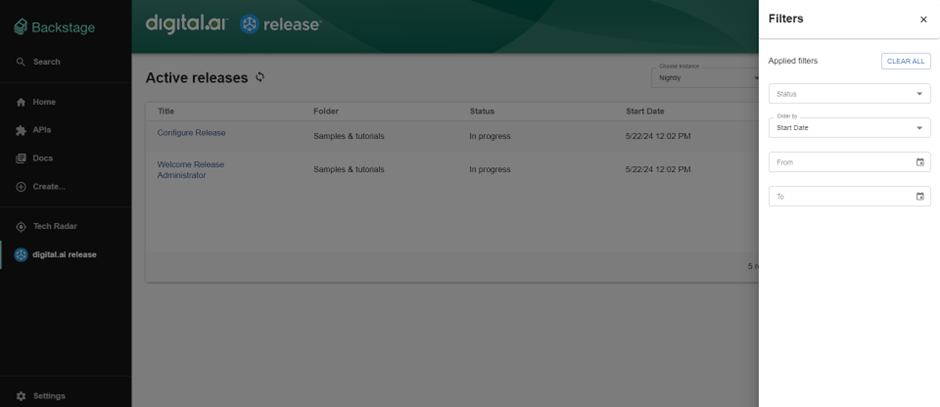
As needed, you can filter based on Release Status, and Start Date, From, and To. The dashboard displays the active release details for your selected filter.
- You can use the pagination option at the bottom to navigate through the multiple pages of active releases.
Sample Release Flow in Backstage
The following example shows the release flow in Backstage.
- Log in to Release, and go to Releases. You can view the current status of all the releases.
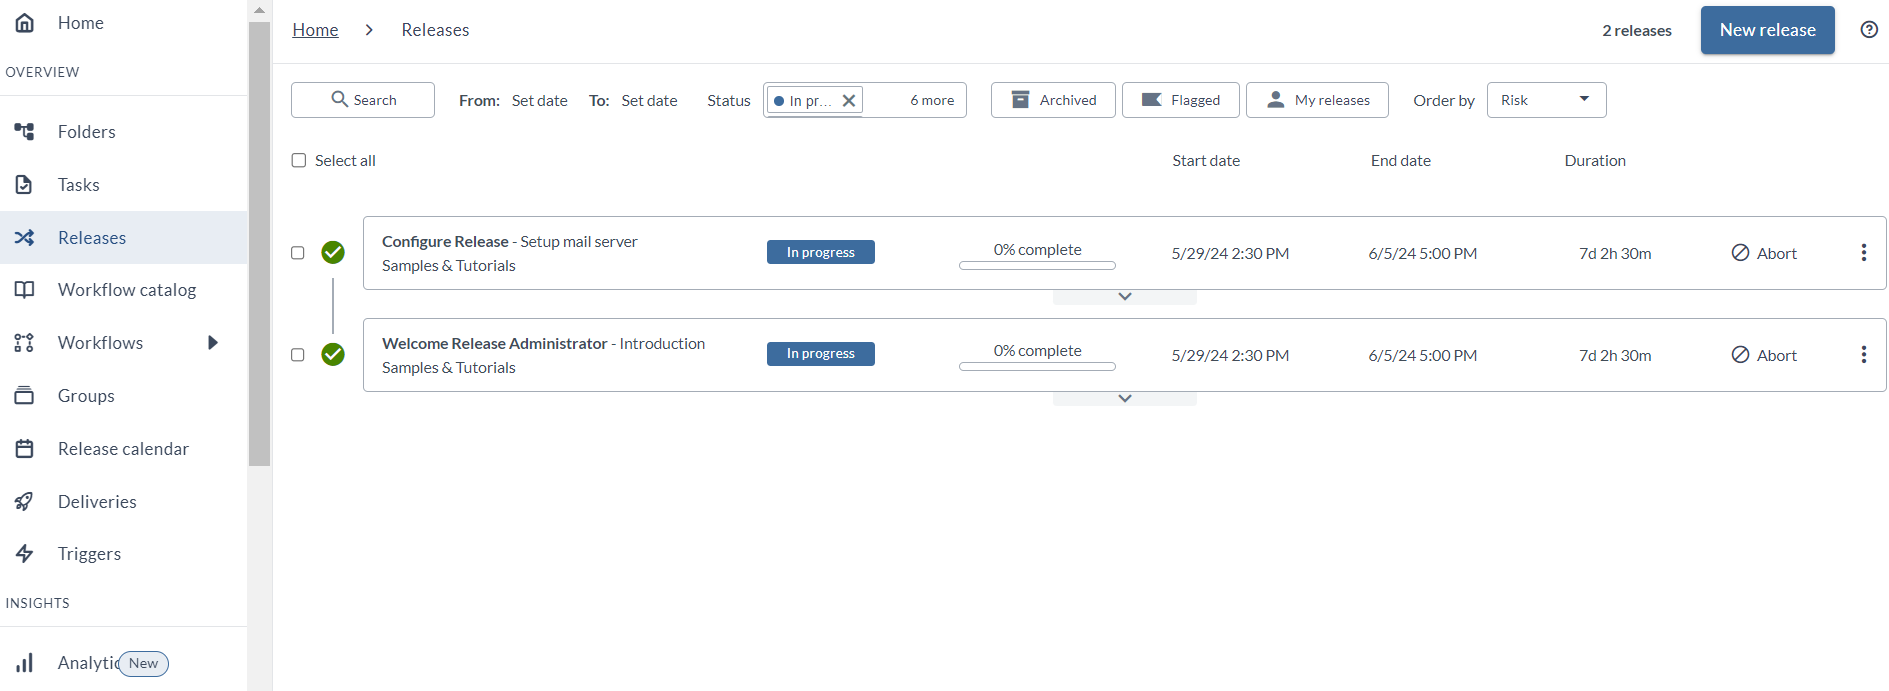
- To create a new release, click New Release. The Create new release dialog appears.
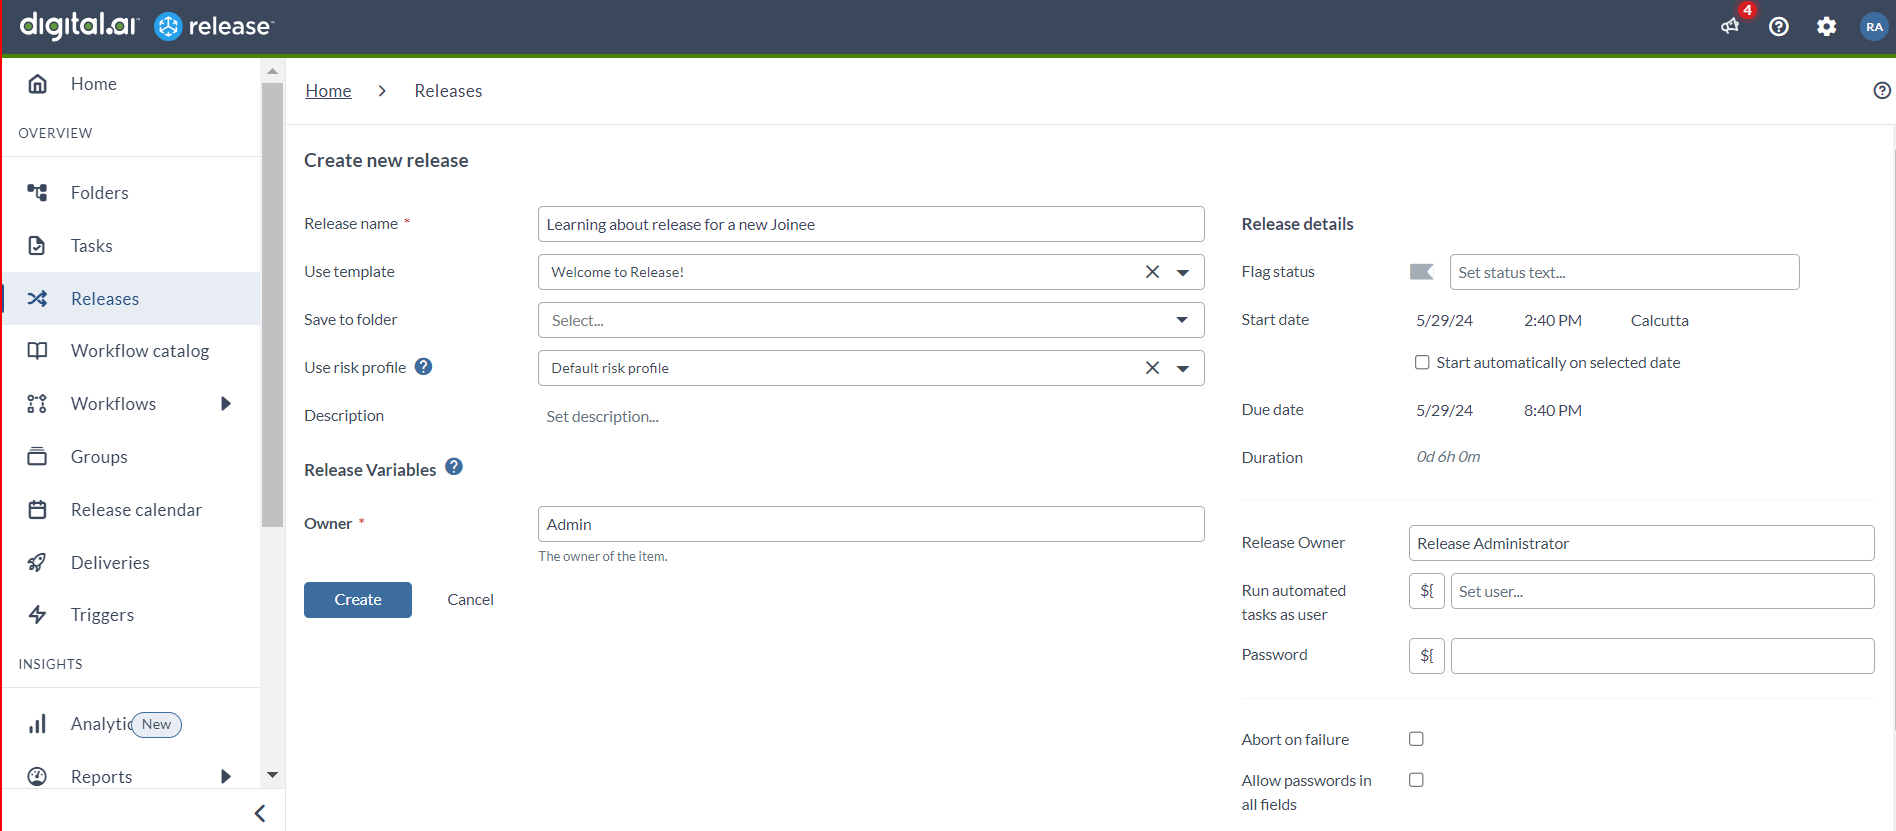
- Provide the required details and click Create. The new release flow is initiated with the status Planned.
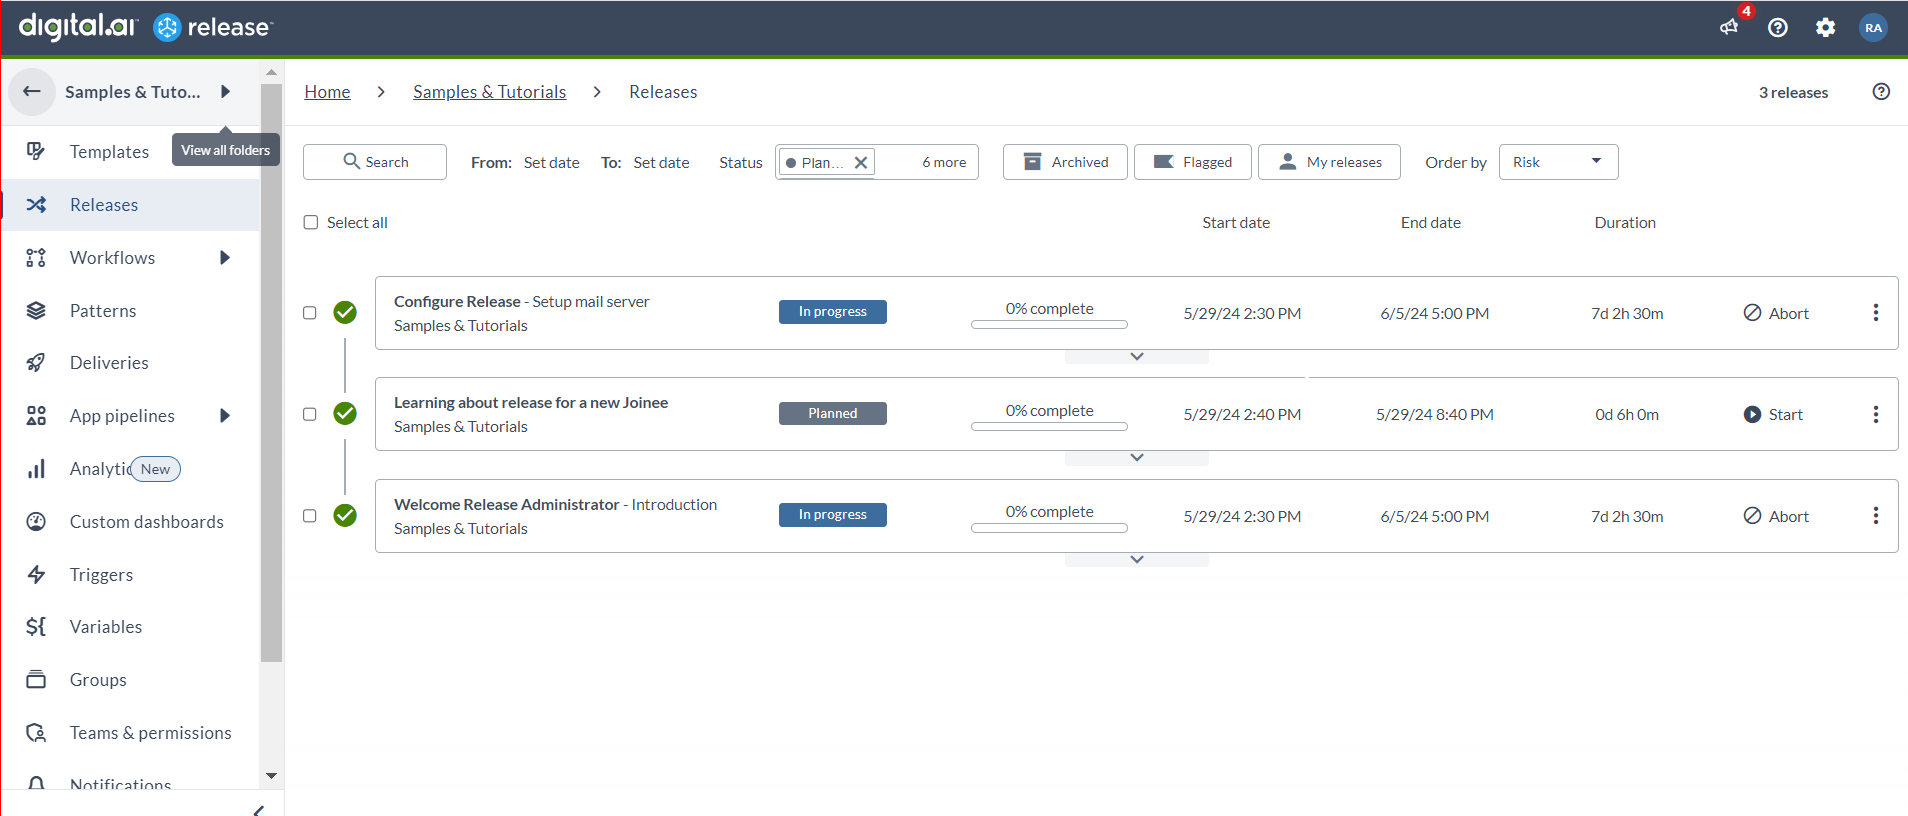
- Next, log in to Backstage to view the active releases. You will see the new release flow listed with the status Planned.
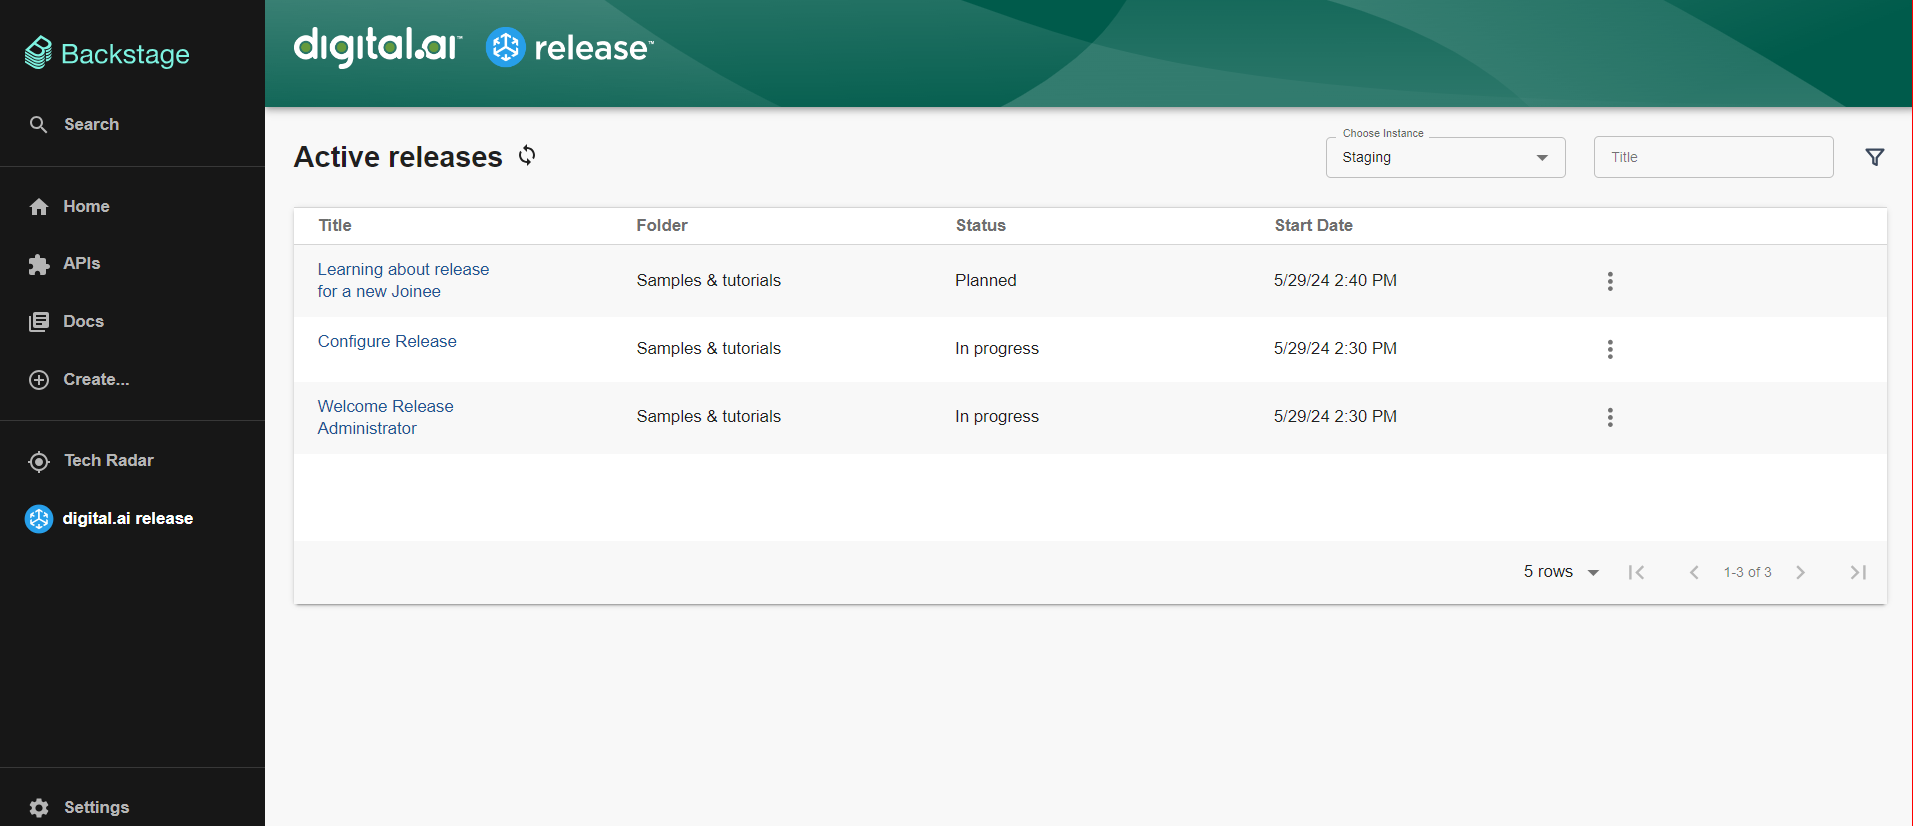
- To start the release flow, Click Start release in Release portal. The status of release flow changes to In progress.

- Refresh the active releases page in Backstage. The status is updated to In progress, and once the release flow is complete, it will change to Completed upon refresh.
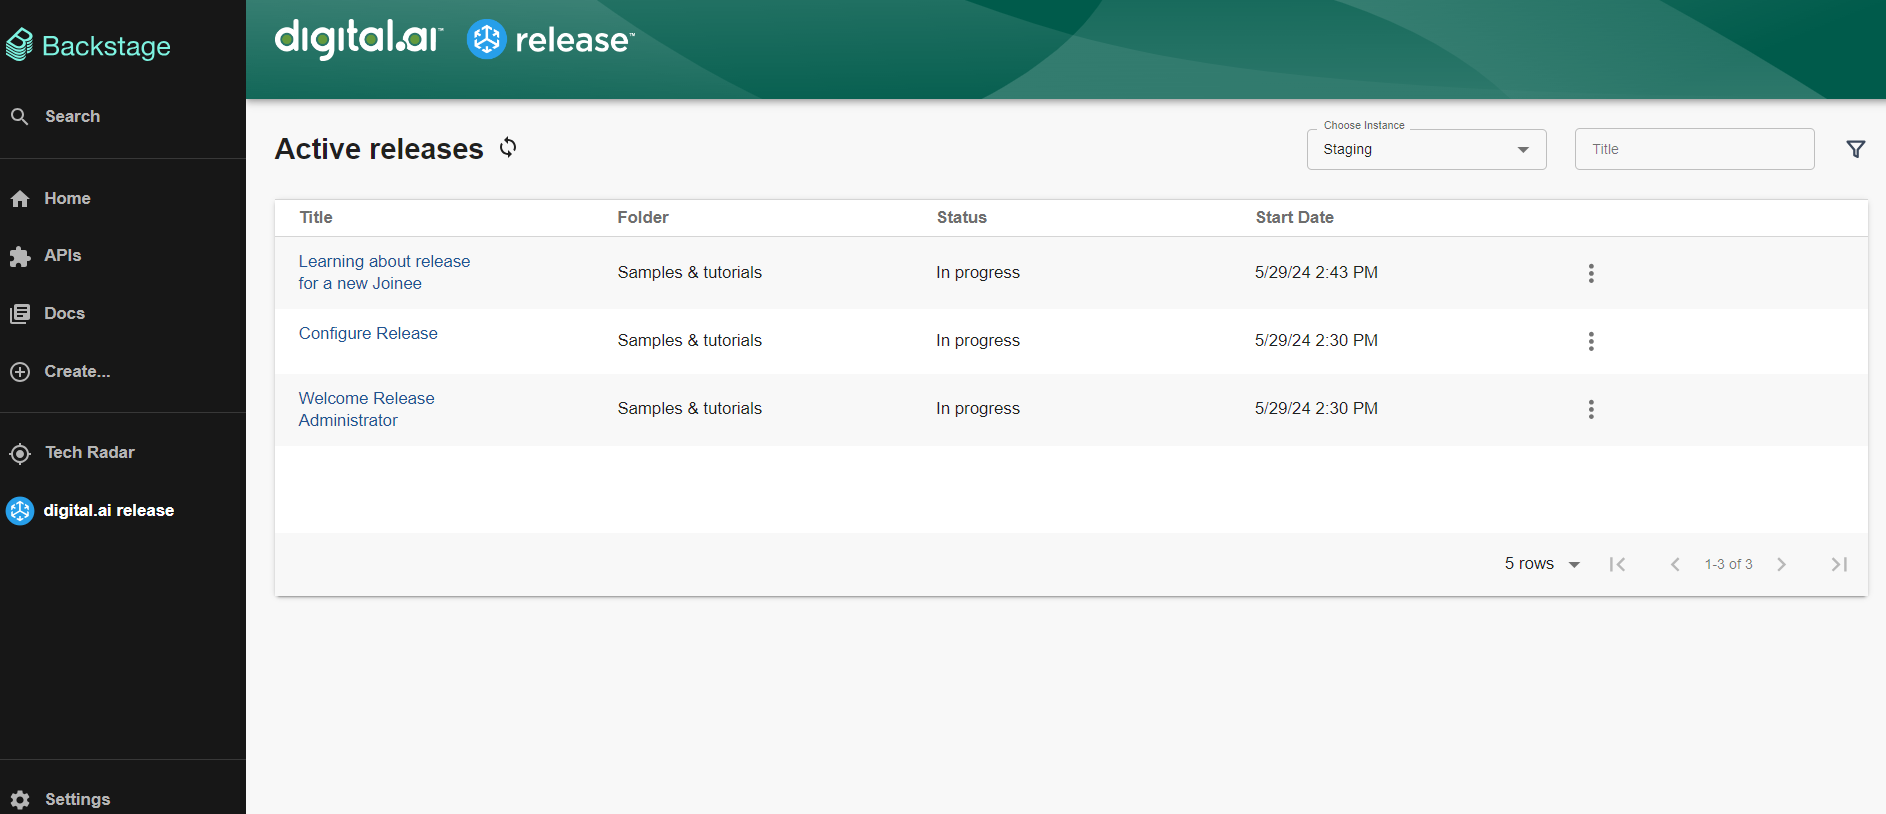
If you abort the release flow , the status will be updated to Aborted.
Templates
You can view and manage the templates from the Release in Backstage.
- Open your Backstage application and from the sidebar, click Digital.ai release > Templates.
The page displays details such as:
- Name: Name of the template
- Folder: All available templates categorized by folder.
- Action: Option to create a new release directly from Backstage.
-
Click the Name of a template to open it in Release.
-
Click + New Releases to create a release using the selected template.
-
From Choose Instance dropdown, select the instance required.
-
Use the Search bar to find templates by Name or Folder.
-
Click the filter icon. This opens the Filters dialog,initially empty. As needed, you can filter based on Release name, and tags. The dashboard displays the template details for your selected filter.
Note: You can filter based on multiple tags as well.
- Click the ellipsis icon to view meta-information such as Source Control Management details.
Errors and Warnings
- The following error occurs if you do not have network connectivity. Verify your network connectivity to prevent this error.
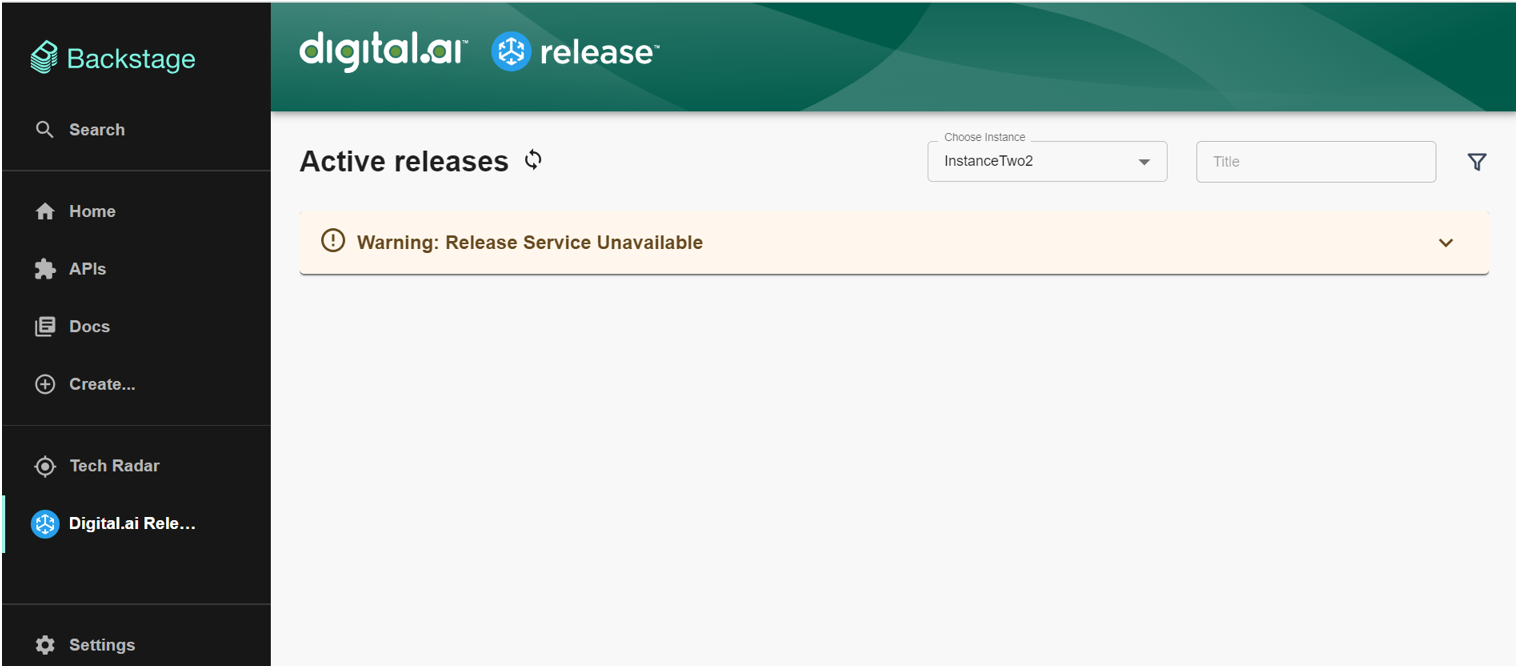
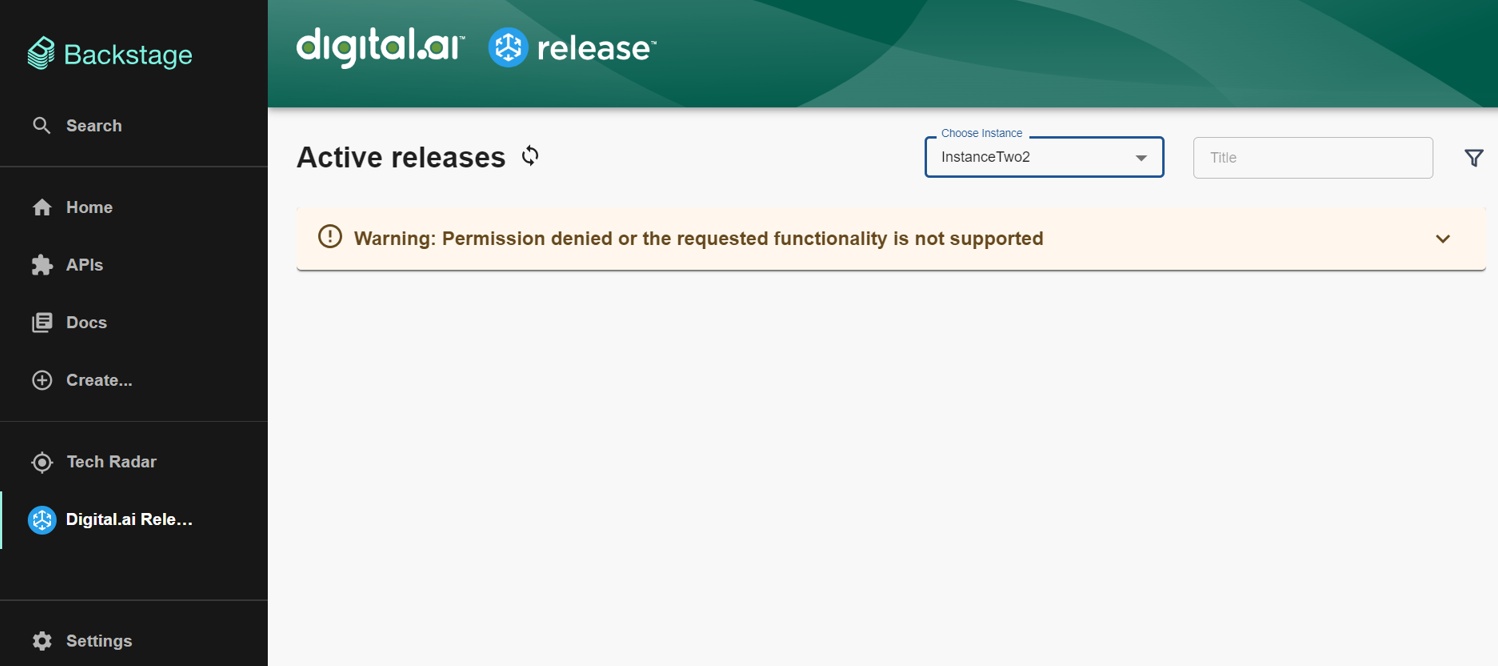
- The following error occurs if you do not have the required permissions. Verify the permissions assigned to the Backstage user in Release to prevent these errors.
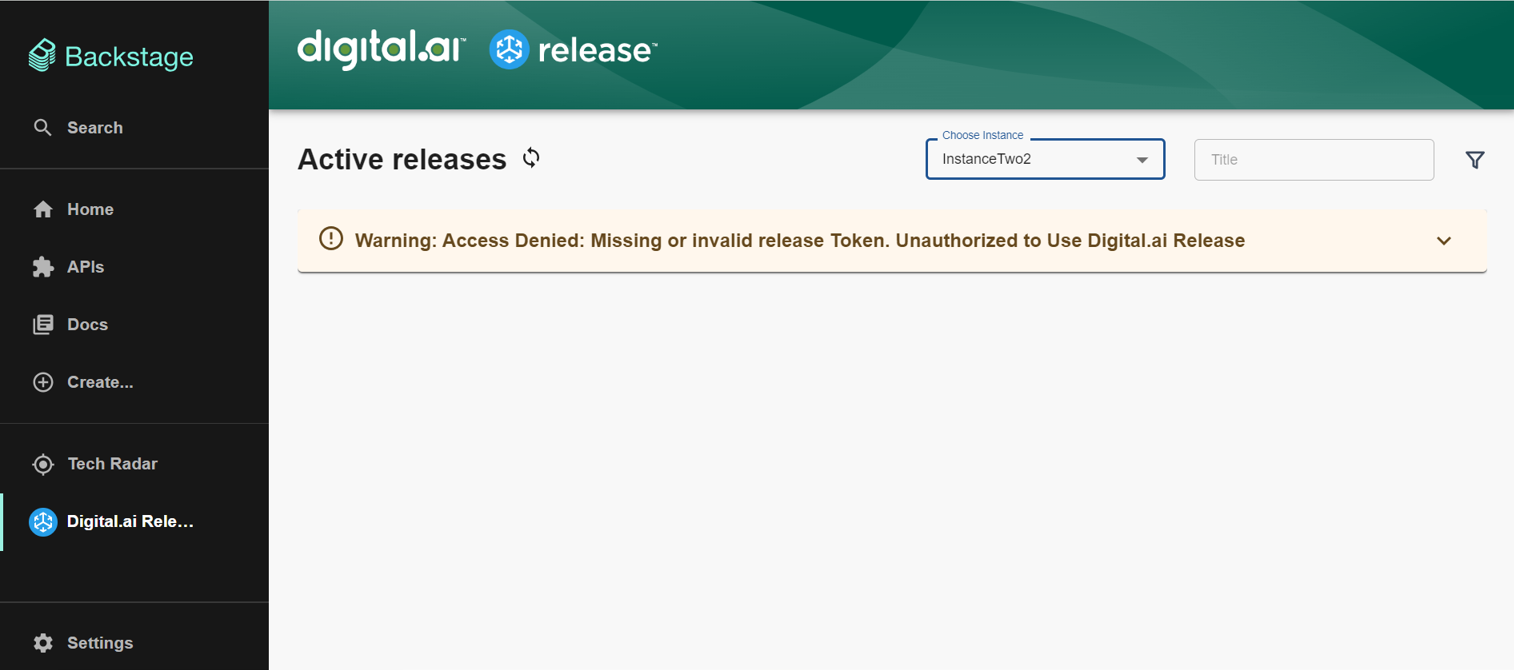
- The following error occurs if the logged-in user does not have permission to access the release plugin in Backstage.
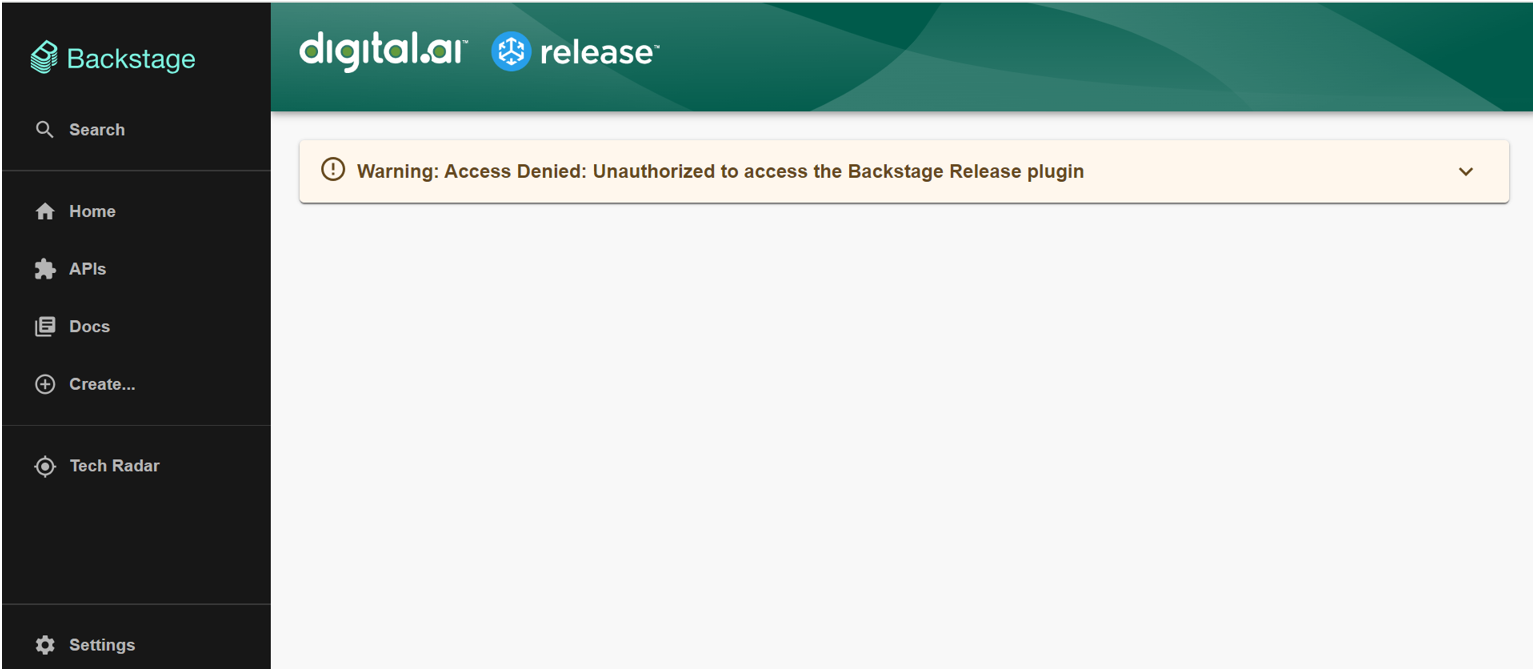
- The following error occurs if you miss or add invalid instance configurations while creating a multi-instance setup.
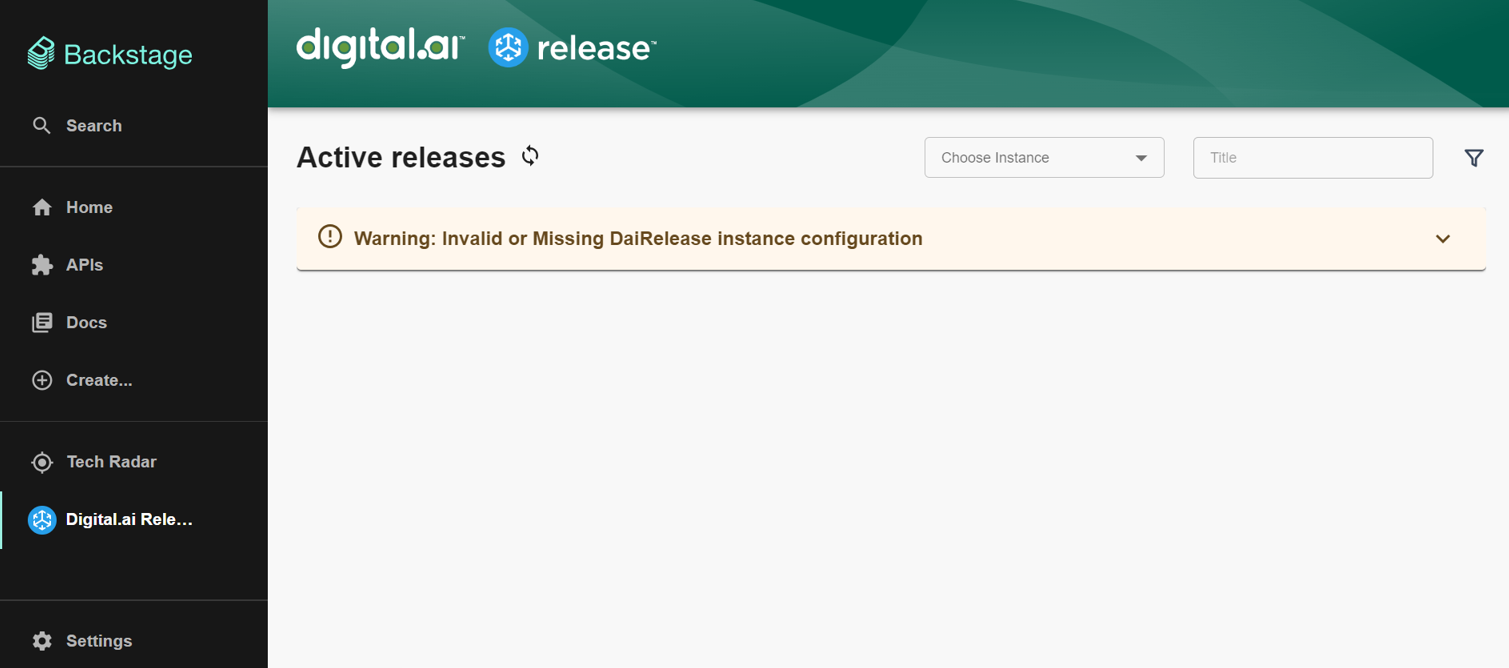
- The following error occurs if the permission is denied.
