SeeTestAutomation- Offline License Activation
Please note that this tool is classified as a Legacy tool. We recommend transitioning to our updated solutions to maintain optimal performance and security in your workflows. For more information on this matter, please reach out to technical support .
To activate your studio license through a self-service customer licensing portal:
-
Make sure you have installed the latest version of the studio.
-
Obtain the product key from your Experitest sales representative. The product key is an alphanumeric string in the following form: xxxxxxxx-xxxx-xxxx-xxxx-xxxxxxxx
-
Go to the self-service portal URL: https://licactivation.com/ems/customerLogin.html
You may need to install additional SSL certificates in order to access it. To install additional SSL certificates, please contact your network administrator.
-
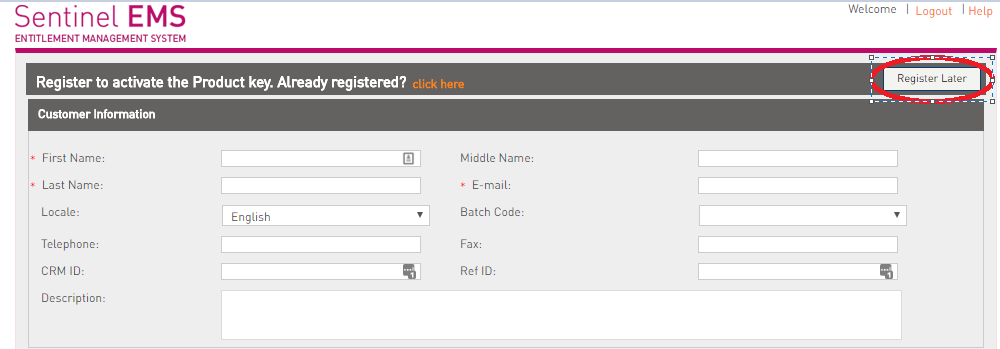
When presented with the login screen, enter your product key and click Login. You will then see the following screen:

-
Click on "Register Later".
-
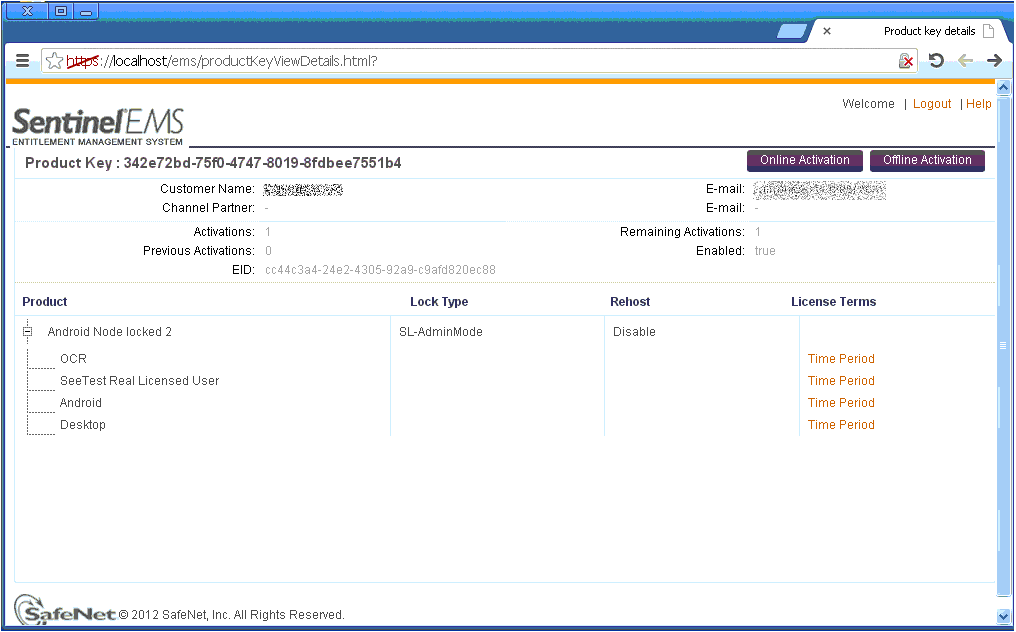
After Clicking on "Register Later", you will be presented with your license details.
-
We will use 'Offline Activation'. During offline activation, we will use a tool supplied with the SeeTest Automation product to a generate fingerprint of the machine on which the SeeTest Automation product will run. This fingerprint will be uploaded to a self-service portal for the final license activation.
-
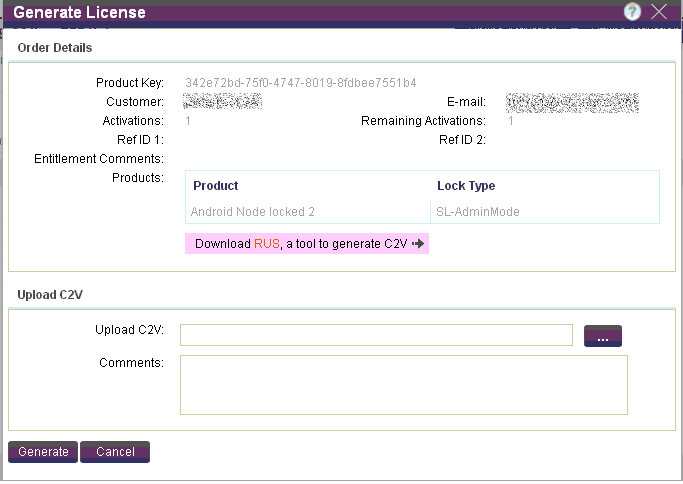
In the self-service portal, click 'Offline Activation'. You will be presented with the following dialog:
-
Download the RUS utility by clicking on the "RUS" link. After you have downloaded the utility, open it.
-
Under the tab titled "Collect Status Information", choose "Installation of new protection key" and click "Collect Information". The utility will open a file chooser dialog which you will use to store the .C2V file which will be uploaded to the self-service portal.
-
After you have the .C2V file, go to the self-service portal and click the button displaying three periods in the "Upload C2V" section. This will allow you to upload the previously generated file. After selecting the file, click "Generate". The portal will upload the .C2V file and will generate the final license file with extension .V2C Save the file and transfer it to the machine where you have generated the .C2V file.
-
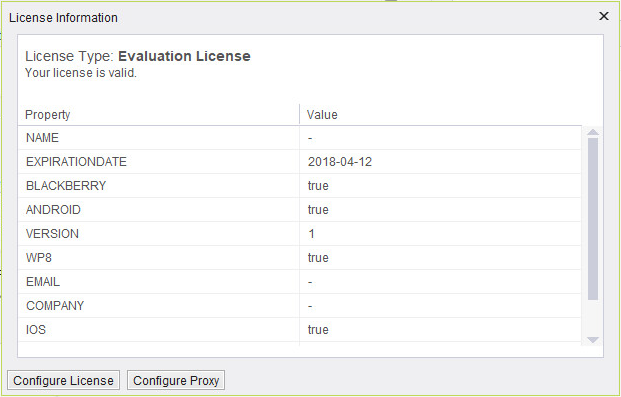
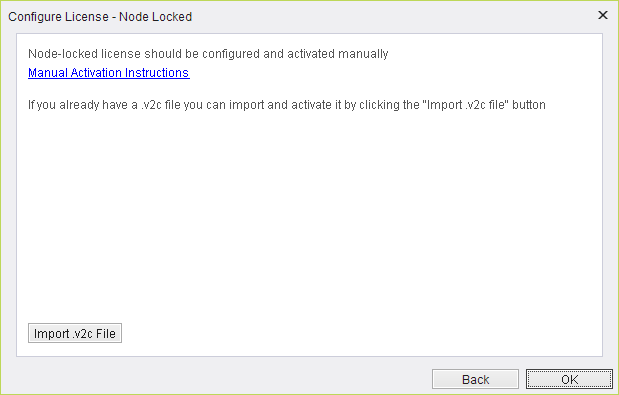
To import the license to the target machine, open, SeeTest Automation selects the "Help" menu and choose "License Information".
-
Click "Configure License", choose node-locekd license, Click "Import .v2c file" and choose the generated .v2c file.
-
After the import process finishes, the application will close.
-
Reopen SeeTest Automation and validate the license terms: Go to Help > License Information.
-
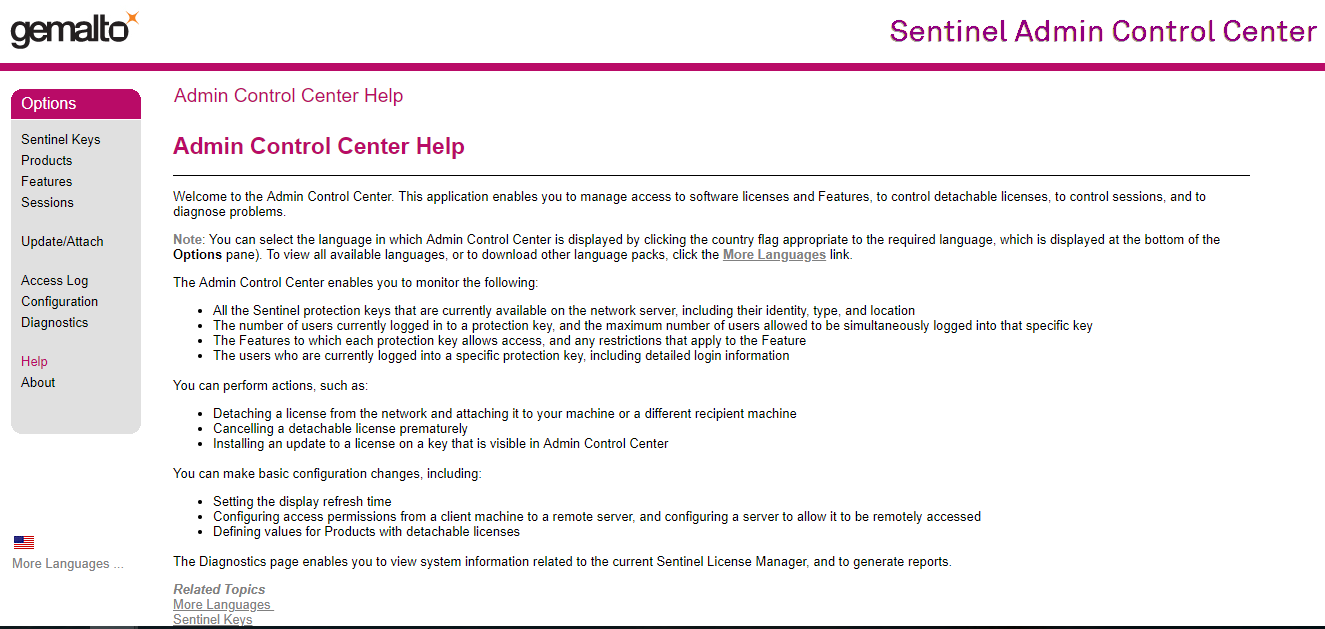
Another way to import the license to the target machine, open, http://localhost:1947
-
When presented with Admin Control Center help Screen
-
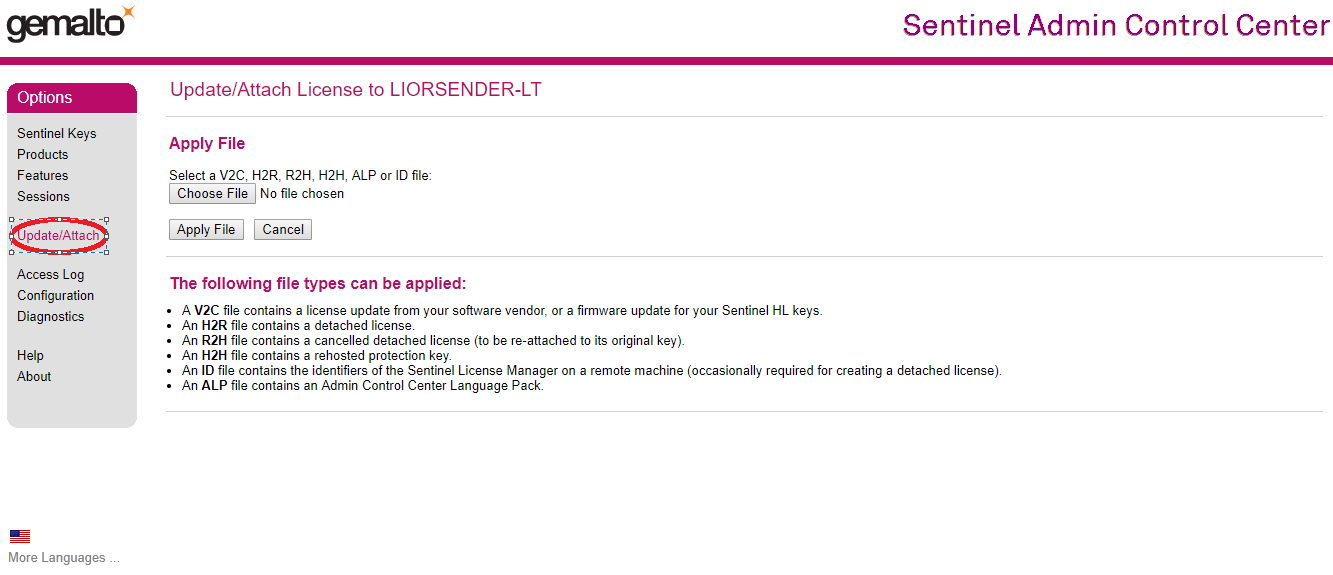
Click on Update/Attach
-
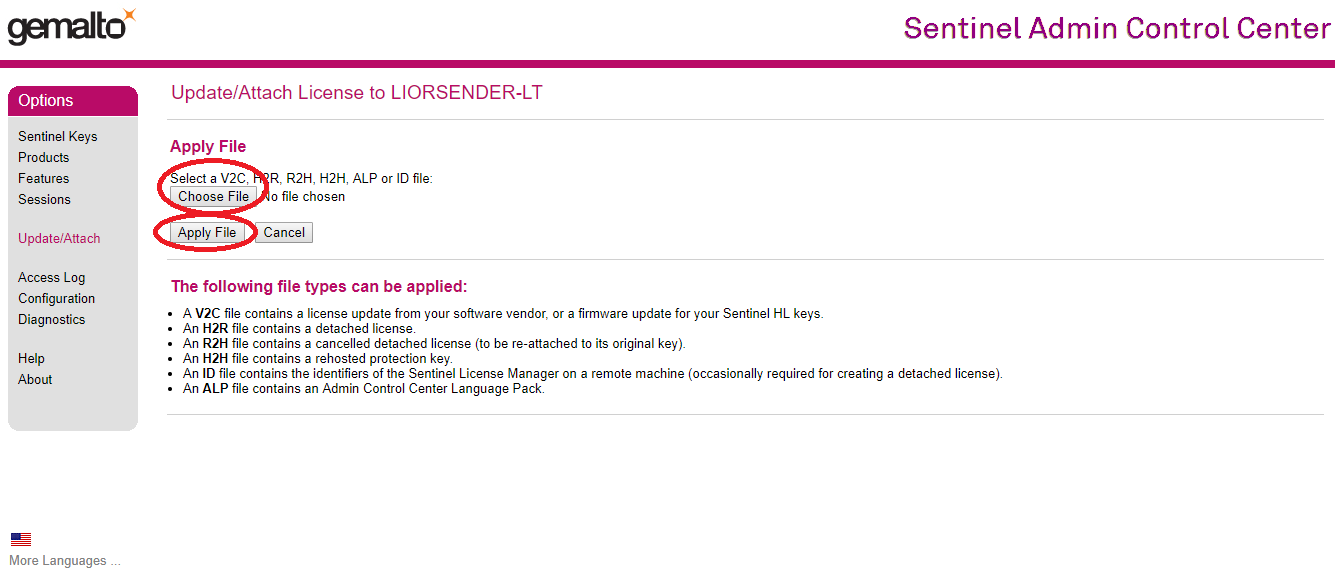
Then Upload the V2C file and Apply it
-
Reopen SeeTest Automation and validate the license terms: Go to Help > License Information.
Offline Activation for Mac Users
-
Repeat steps 1 - 8 from the above process.
-
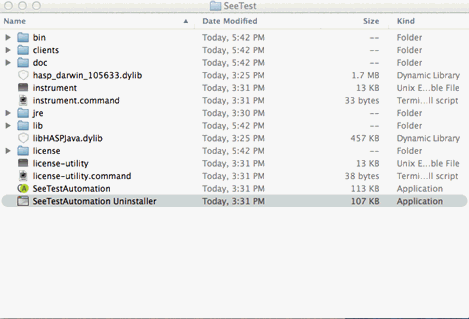
We will use a utility called "license-utility" which is located in the SeeTest Automation Installation folder:
-
Open Terminal and go to the location.
-
Run the following command to generate a .C2V file:
sudo ./license-utility -c <file name>.C2V
-
The .C2V file will be generated in the SeeTest Automation installation folder.
-
Repeat steps 16 - 20 from the above process.