Preparing The iOS Applications for auto trust
Shared Devices Note
If an iOS Application is uploaded to the platform with allowResign=false, installing that application on a shared device will automatically trust the developer profile.
Shared Device Note: The Auto-Trust process is supported only for iOS 17 and earlier. Auto-Trust is not supported for iOS 18 and above.
In case you are interested in using the Auto-Trust mechanism, this guide will walk you through the steps to prepare iOS Distributed Enterprise Applications for installation and interaction on iOS mobile devices, whether for manual or automated testing purposes.
To learn more about configuring your environment with this option, visit Configure Auto-Trust Mechanism for iOS Enterprise Applications.
Preparing the iOS Application
To get started, upload the iOS application to the platform. You can do this in one of two ways: via the REST API or directly through the user interface.
Upload the iOS Application via our REST API
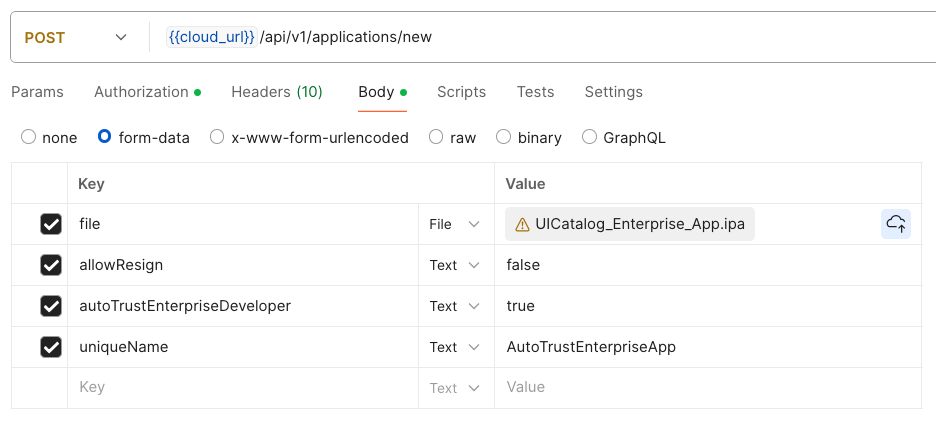
To upload an iOS application using REST API, ensure that the request is a POST request, pointing to the platform URL, structured in the following way:
POST - {{cloud_url}}/api/v1/applications/new
The following parameters are important and needs to be included in the request: allowResign=false and autoTrustEnterpriseDeveloper=true.
Here is an example request using Postman:
And a breakdown of the parameter definitions:
Parameter Definitions :
| Key | Type | Value | Description |
|---|---|---|---|
| file | file | enterprise_build.ipa | the IPA file for the Enterprise Build |
| allowResign | boolean | false | Setting the value to false ensures that the application is not tampered with which could interfere with the trust process |
| autoTrustEnterpriseDeveloper | boolean | true | This enables the auto-trust process |
| uniqueName | String | string_combination | Any string combination, this will help us to identify the application later by a unique name |
Once the request is sent, you will receive a successful JSON response, which looks like this:-
{
    "status": "SUCCESS",
    "code": "OK",
    "data": {
        "id": "<id>",
        "created": "true",
        "name": "com.experitest.UICatalog",
        "buildVersion": "9854",
        "releaseVersion": "1.0"
    }
}
To learn more about the APIs, refer to Applications Rest API.
Upload the iOS Application from the User Interface
- Navigate to the Applications tab in the main user interface
- Click Upload and select the application to upload
- Uncheck the Allow Profile Resign option (This step is important)
- Once the application is uploaded, a dialog will appear. Enable the Allow Auto-Trust option (This step is important)
The application is now ready to be installed for testing purposes.
To learn about manual installation, refer to Mobile Studio - Application Manager.
To learn about automated installation via script, refer to Appium Supported Capabilities.