Getting started with Digital.ai Release
Digital.ai Release is an end-to-end pipeline orchestrator for DevOps and continuous delivery. It provides visibility across the entire software release pipeline and assists in automating and orchestrating release operations.
Key Concepts
Here are some of the key concepts for Release:
- Releases: A release represents a number of activities in a certain time period. Release is used to plan, track, and execute releases automatically. For more information, see Release life cycle.
- Phases: A release is divided into phases, which represents logical stages in the process that must happen in succession. For example, a release can include Development, QA, and Deployment phases. In Release, a phase is a grouping of tasks, that must be completed to perform the release. For more information, see Working with phases.
- Tasks: A task is an activity in a release, and are of two types: manual tasks, in which a human must do something; and automated tasks that the Release flow engine performs. For more information, see Working with tasks.
- Release flow: When a release is started, the release flow engine determines what task is next in line and executes it, if it is an automated task. Otherwise, sends a message to the person responsible for it, if it is a manual task. For more information, see Using the release flow editor.
- Release owner: A release owner is the person who is responsible for a release. If something goes wrong, the release owner will be notified. For example, if an automated task throws an error or someone working on a task indicates that there is an issue.
- Template: A template is a blueprint for a release. You can use a template to save time when putting together releases that are similar. For more information, see Create a release template.
- Teams: Each release or release template defines a set of teams. For example, you can define a Development team, a QA team, an OPS team, and a Release Management team for a release. For more information, see Configure release teams and permissions.
- Analytics: Digital.ai offers out-of-the-box Persona based dashboards for Release Managers to get a high level overview about the information of the complex releases that completed, running, or scheduled for the future.The new Digital.ai analytics dashboards are now accessible only with the Release Premium edition. For more information, see Overview of Analytics Dashboards.
- DORA dashboards: DevOps Research and Assessment as a dashboard helps you analyze details to streamline or improve your DevOps process using key DORA metrics such as Deployment frequency, Lead time for change, Mean time to restore, and Change failure rate. DORA metrics have now become the standard for gauging the efficacy of software development teams and can provide crucial insights into areas for growth. For more information, see DORA dashboards.
- Delivery Insights: Digital.ai Release with Delivery Insights is available with the Release Pro edition, and is a powerful tool that combines Agile and DevOps practices to improve software development. It enhances visibility and collaboration in software development by seamlessly connecting data at each release stage to related agile stories and features.
- Workflows: With Digital.ai Release 23.3, new self-service workflows are introduced so that Developers can onboard their applications easier with minimum knowledge of tools. Newly introduced workflows guide users through step-by-step execution of tasks, reducing complexity in setting up environments. For more information, see Workflows.
- Runners: Release Runners are introduced with Digital.ai Release 23.1 to efficiently and effectively manage the execution of container-based tasks within a Kubernetes cluster. These isolate the task and script execution process and provides greater stability and scalability for executing tasks. For more information, see Release runners.
- Cloud Connectors: A Cloud Connector is an agent that handles the installation and management of Data Collector (for Analytics) in the customer environment. It is particularly useful when customers use multiple Digital.ai products or the Digital.ai Platform.
Accessing Digital.ai Release
- Enter the URL of the Release instance in your browser.
- In the User field, enter your username.
- In the Password field, enter your password.
- Click Log in.
This system is for authorized users only. All the failed logins are logged and reported as security incidents.

If you want to remember your username and password on the machine, select the Keep me logged in checkbox.
Exploring Digital.ai Release
Get started by exploring the Release user interface:
- In the left navigation pane, click Tasks.
- To follow a guided tour of the main features of Release, click the Welcome! Click me to get started task.
If you do not want new users to receive this task, delete the Welcome to Release template from the Samples & Tutorials folder.
Modeling Release Pipelines
This section describes how to configure and run a basic release pipeline.
Creating Templates
In Digital.ai Release, a release pipeline is modeled as a template. To release your software, a release must be created based on the template. This ensures that each release follows a consistent procedure. To create a template:
- In the left navigation pane, under CONFIGURATION group, click Templates.
- Click New template > Create new template.
- In the Create template page, enter a name in the Template name field.
- Click Create.
Adding Phases and Tasks
In a template, phases are represented as columns, and tasks are represented as boxes within each column. In a running release, phases are executed from left to right, and tasks are executed from top to bottom.
Add a new phase and populate it with tasks:
- On the top-right corner, click Add Phase.
- In the phase header, click New Phase, and enter a name for the phase.
- Hover-over the right side of the phase header, click
 , and select a color from the dropdown.
 - In the phase body, click Add task.
- In the Task title field, enter a name for the task.
This tutorial uses a manual task type. For more information on task types, see Types of tasks in Release.Task types can be changed at any point before a release starts. For more information, see Change a task type.
- Repeat steps 4 and 5 to add more tasks.
Understanding Release Editor View States
Four views states are available in the Release editor. This section will help you to get familiar with them.
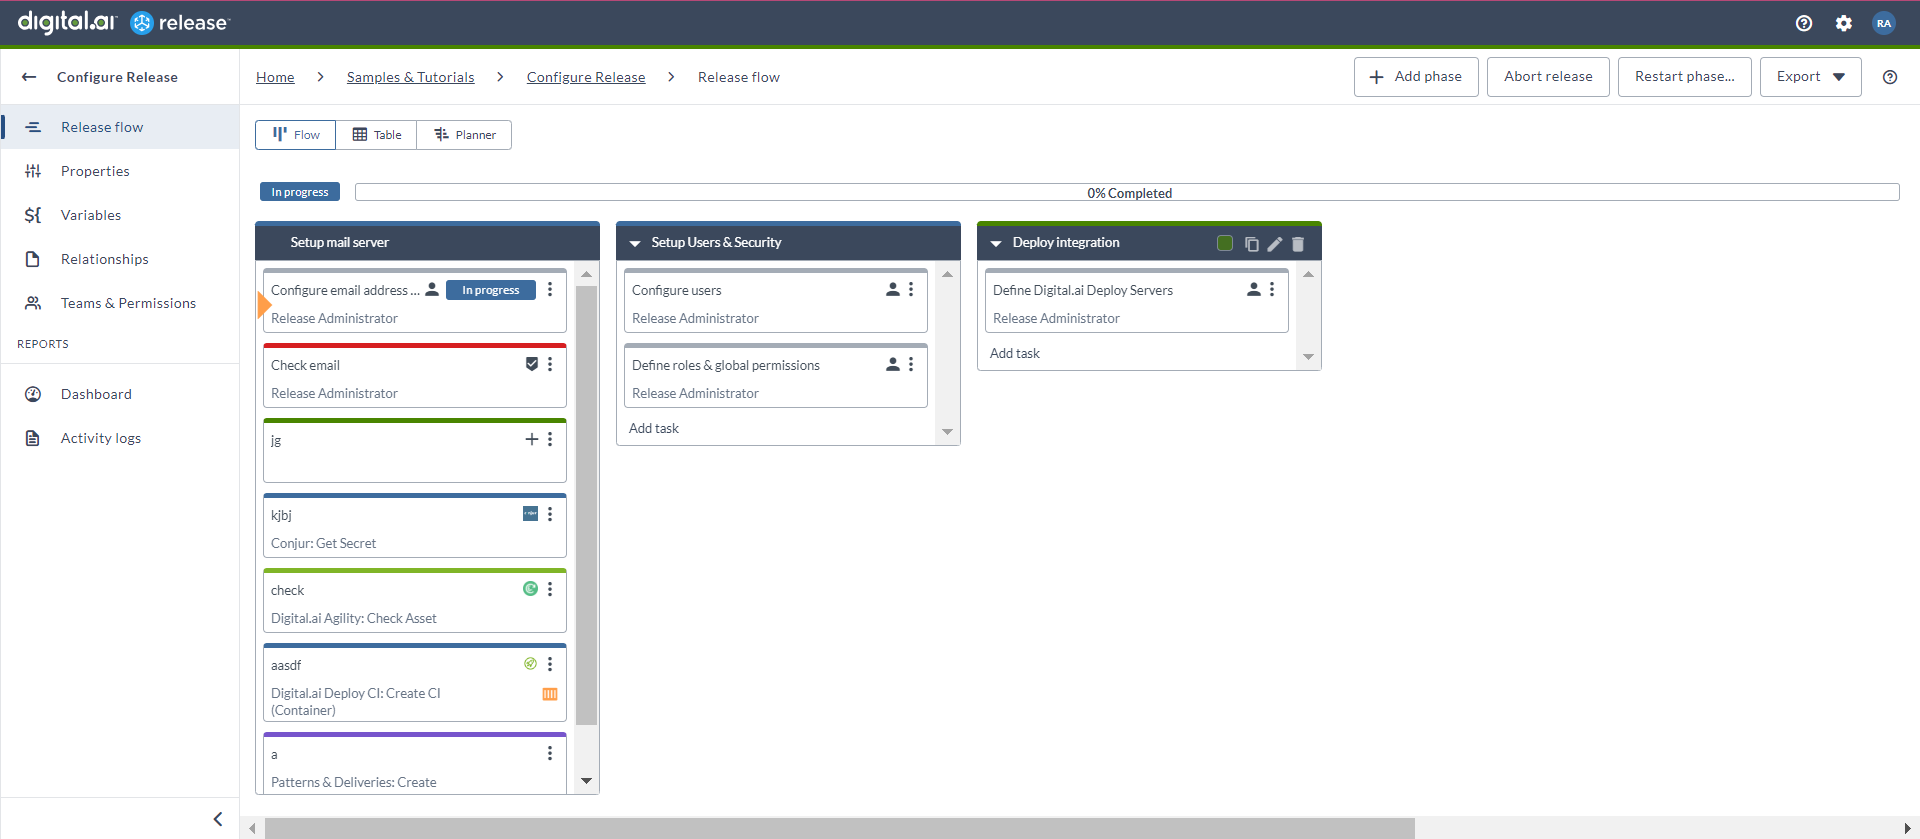
Flow View
The Flow view shows the phases and tasks in a release. Use this view to add, move, edit, and delete items.
To open the Flow view, from top of the Release flow editor, click on ![]() .
.
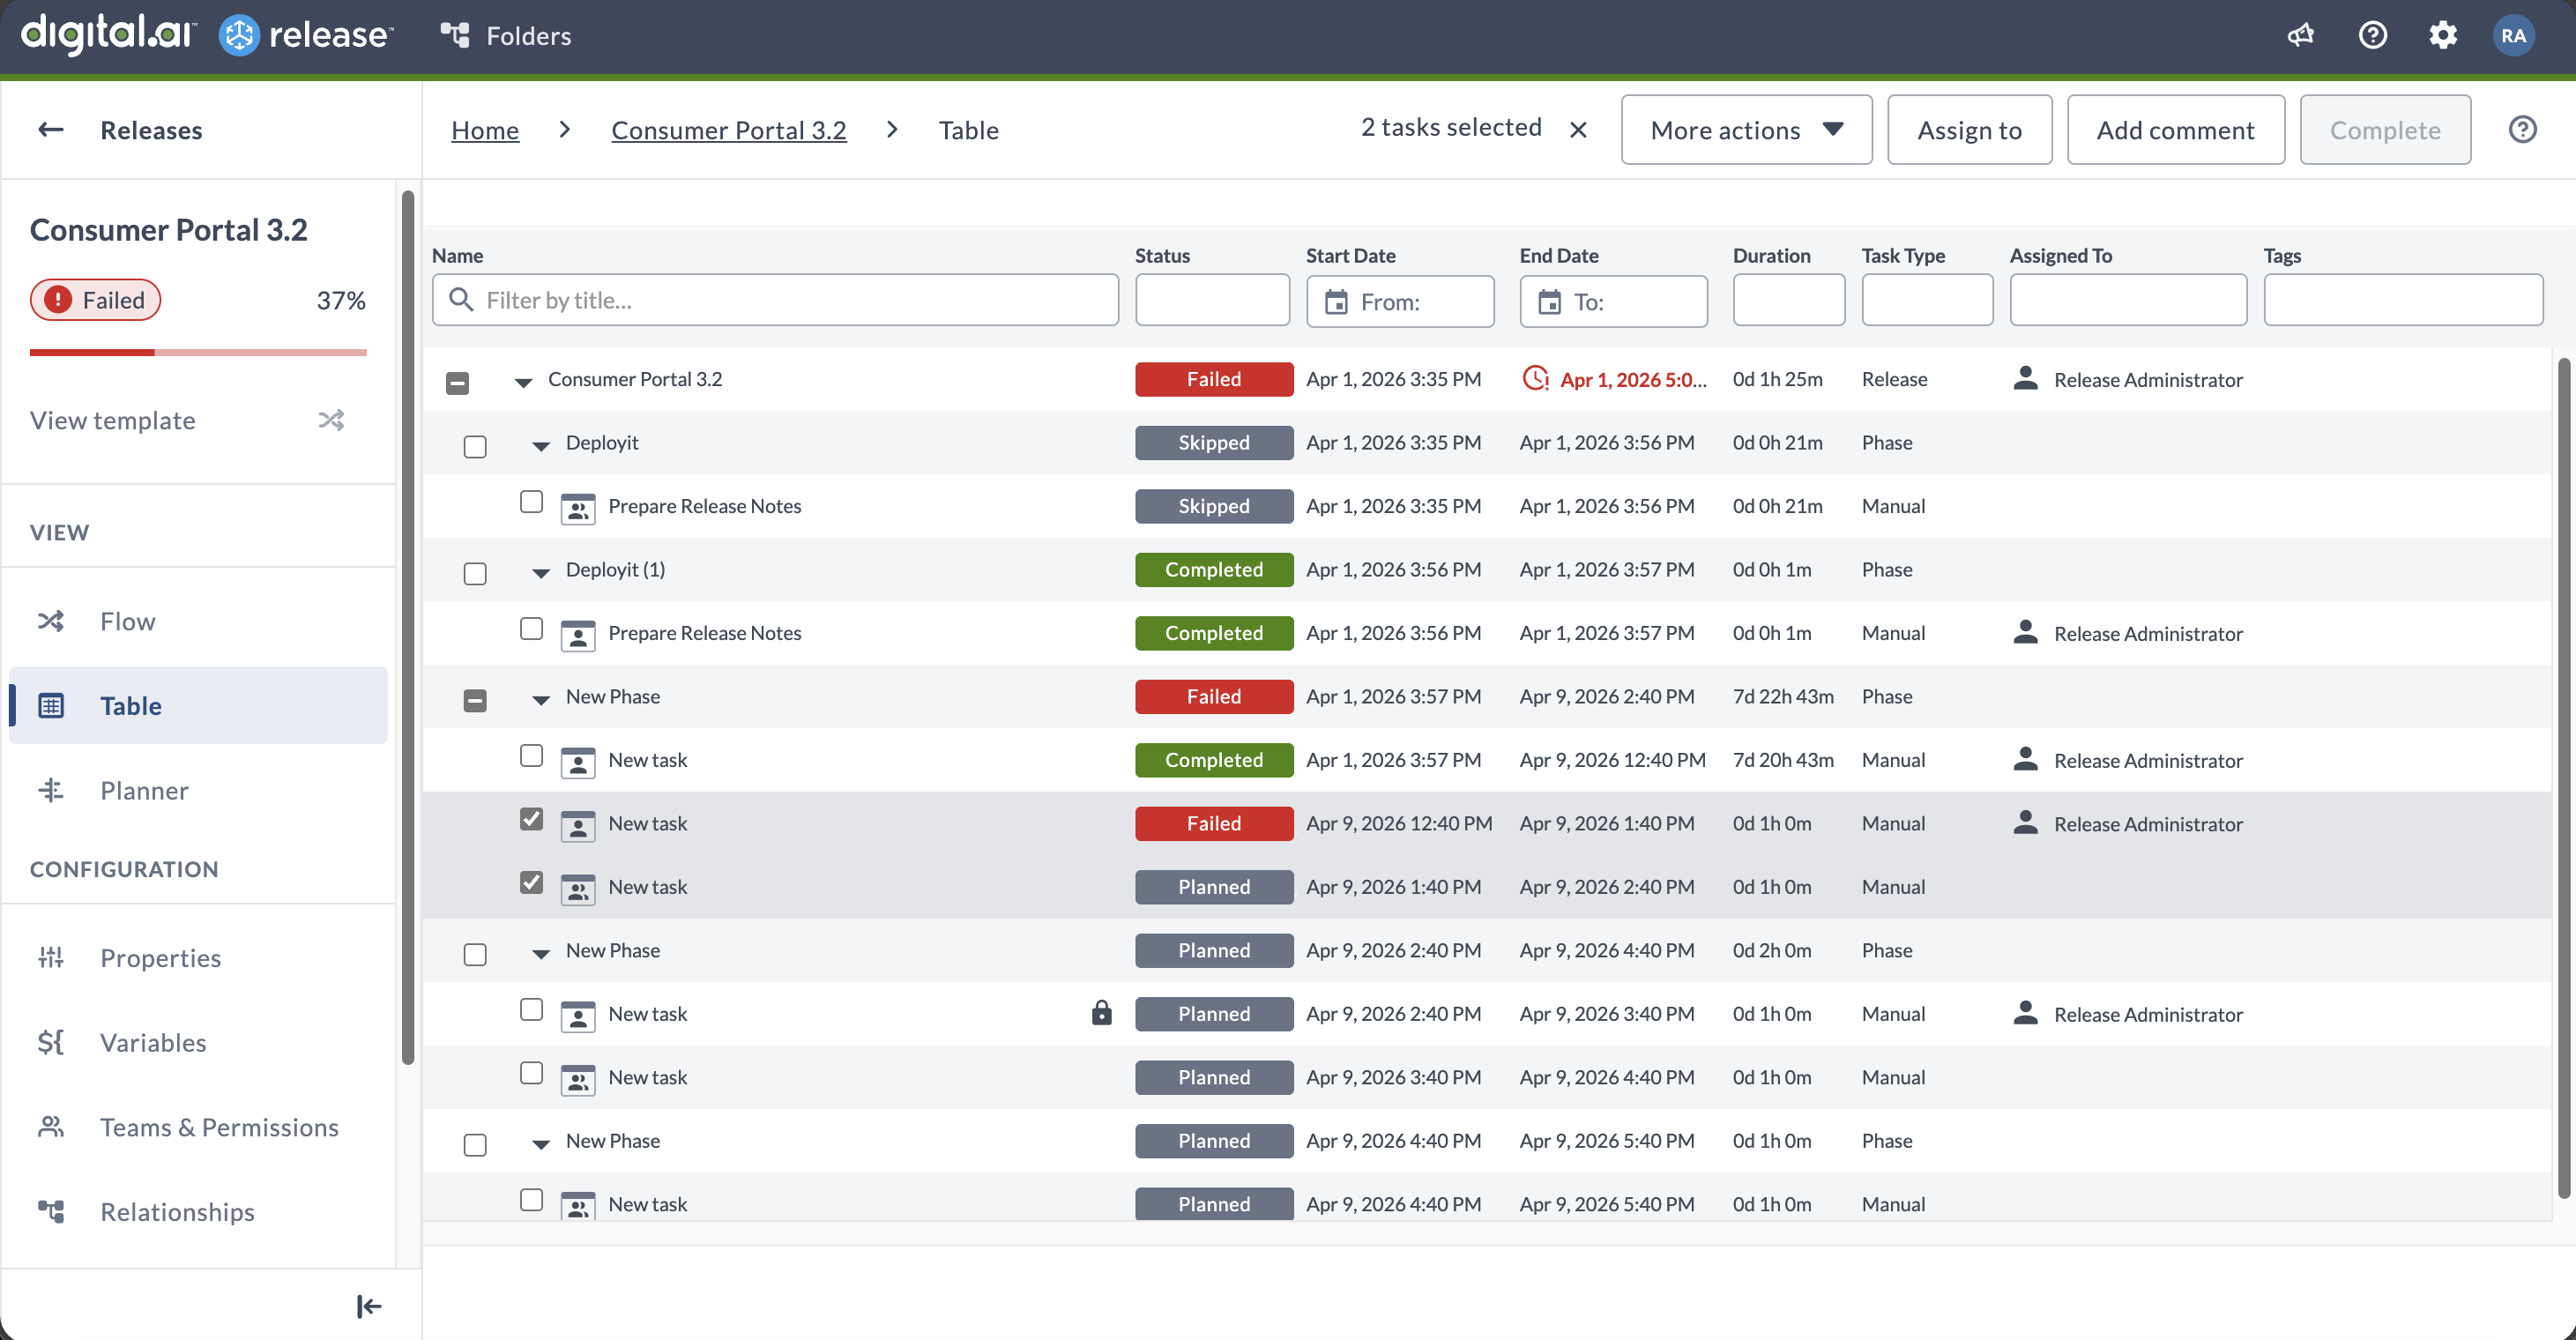
Table View
The Release table view provides an alternative view of a template or release that is optimized for working with tasks. For more information, see Using the table view.
To open the Table view, click ![]() .
.
Planner View
The Release planner view is an interactive Gantt chart that is used to view and edit the timing of the phases and tasks in a release or template. For more information, see Using the release planner.
To open the Planner view, click ![]() .
.

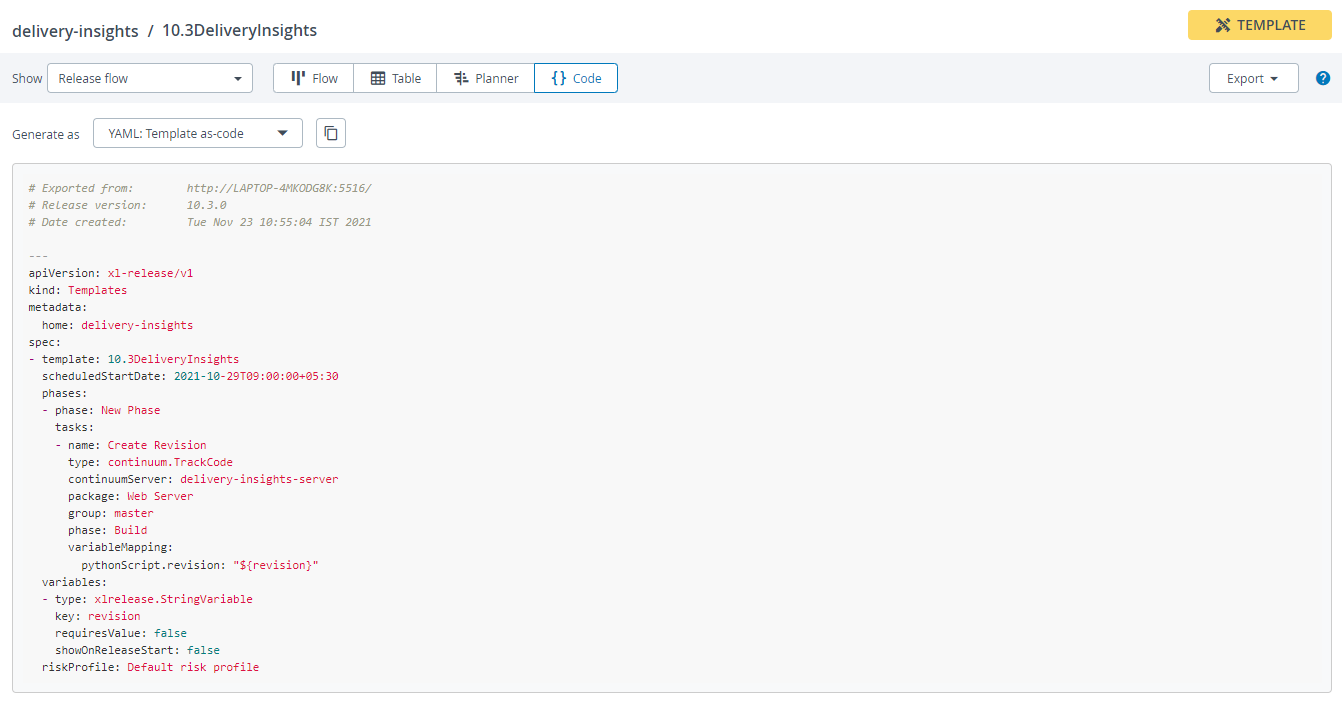
Code View
This view is available only for templates. The Code view provides the current template in Releasefile format, and you can export it from this view. For more information, see Using the Code view.
To open the Code view, click Code under View in the left sidebar.
Performing a Dry Run
This procedure is a continuation from Add phases and tasks. To perform a dry run of a release:
- Click New release.
- In the Release name field, enter a release name.
- Click Create to create the release. The release is now in the Planned state.
- Click Start Release.
- Confirm that you are ready to start by clicking Start.
- Click the first task in the first phase.
- From the pop-up window, click Complete.
- Click OK.
- Select Release dashboard from the left navigation pane. This dashboard provides an overview and data on a release. For more information, see Using the release dashboard.
- Select Release flow from the left navigation bar.
- Click the next task.
- Skip the task by clicking Skip. When you skip a task, you must enter a comment to proceed with the release.
- Enter a comment and click OK.
- Click the next task.
- Click Fail. When you fail a task, you must enter a comment to proceed with the release.
- Click OK. A failed task puts the release into a Failed state. You can resume the release by either restarting or skipping the failed task.
- Skip the failed task, by clicking the task, and then clicking Skip.
- Continue to complete all tasks until the release is completed.
Check out Reports
Digital.ai Release has a variety of built-in reports that helps you analyze your level of release automation and identify bottlenecks in your release processes.
To view reports:
- From the navigation pane, under Reports group, click Dashboards.
Next steps
After you have gone through some of the basics of Digital.ai Release, you can:
- Connect to your Deploy server so you can execute deployments as part of your release pipelines.
- Create global variables that can be used in all templates and releases.
- Calendar view, which provides an overview of all the planned and running releases.