Release Dashboard
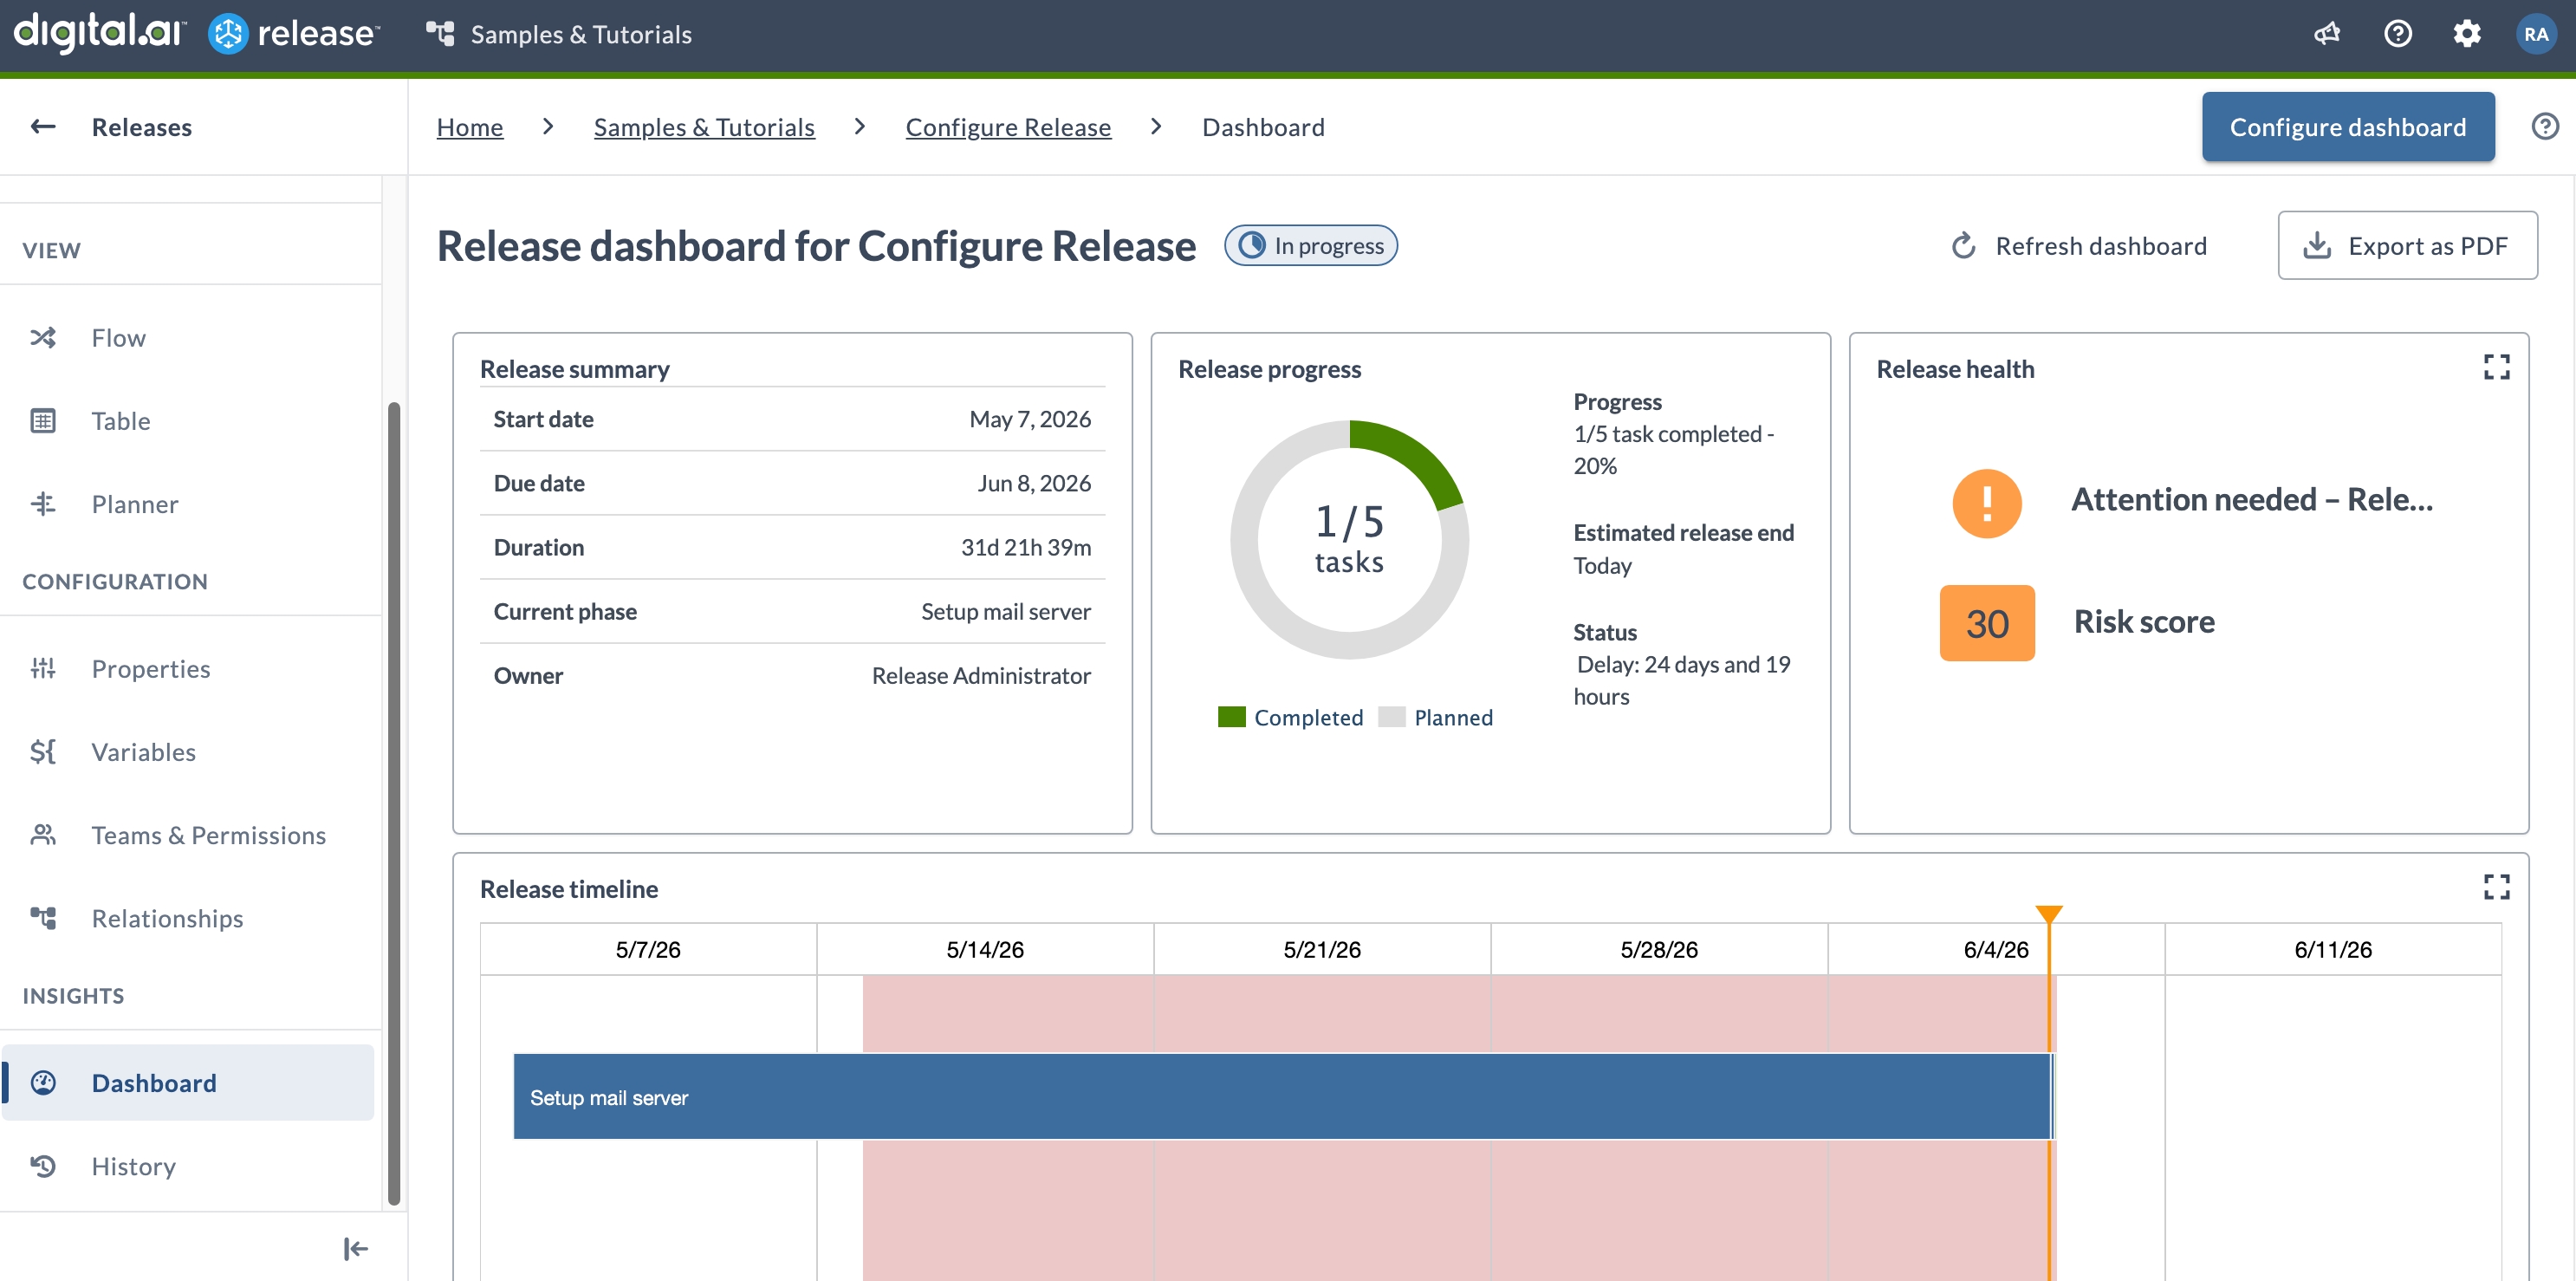
The release dashboard displays planning information and release status through configurable tiles. You can add, move, resize, and remove tiles to build a view that fits your team's needs.
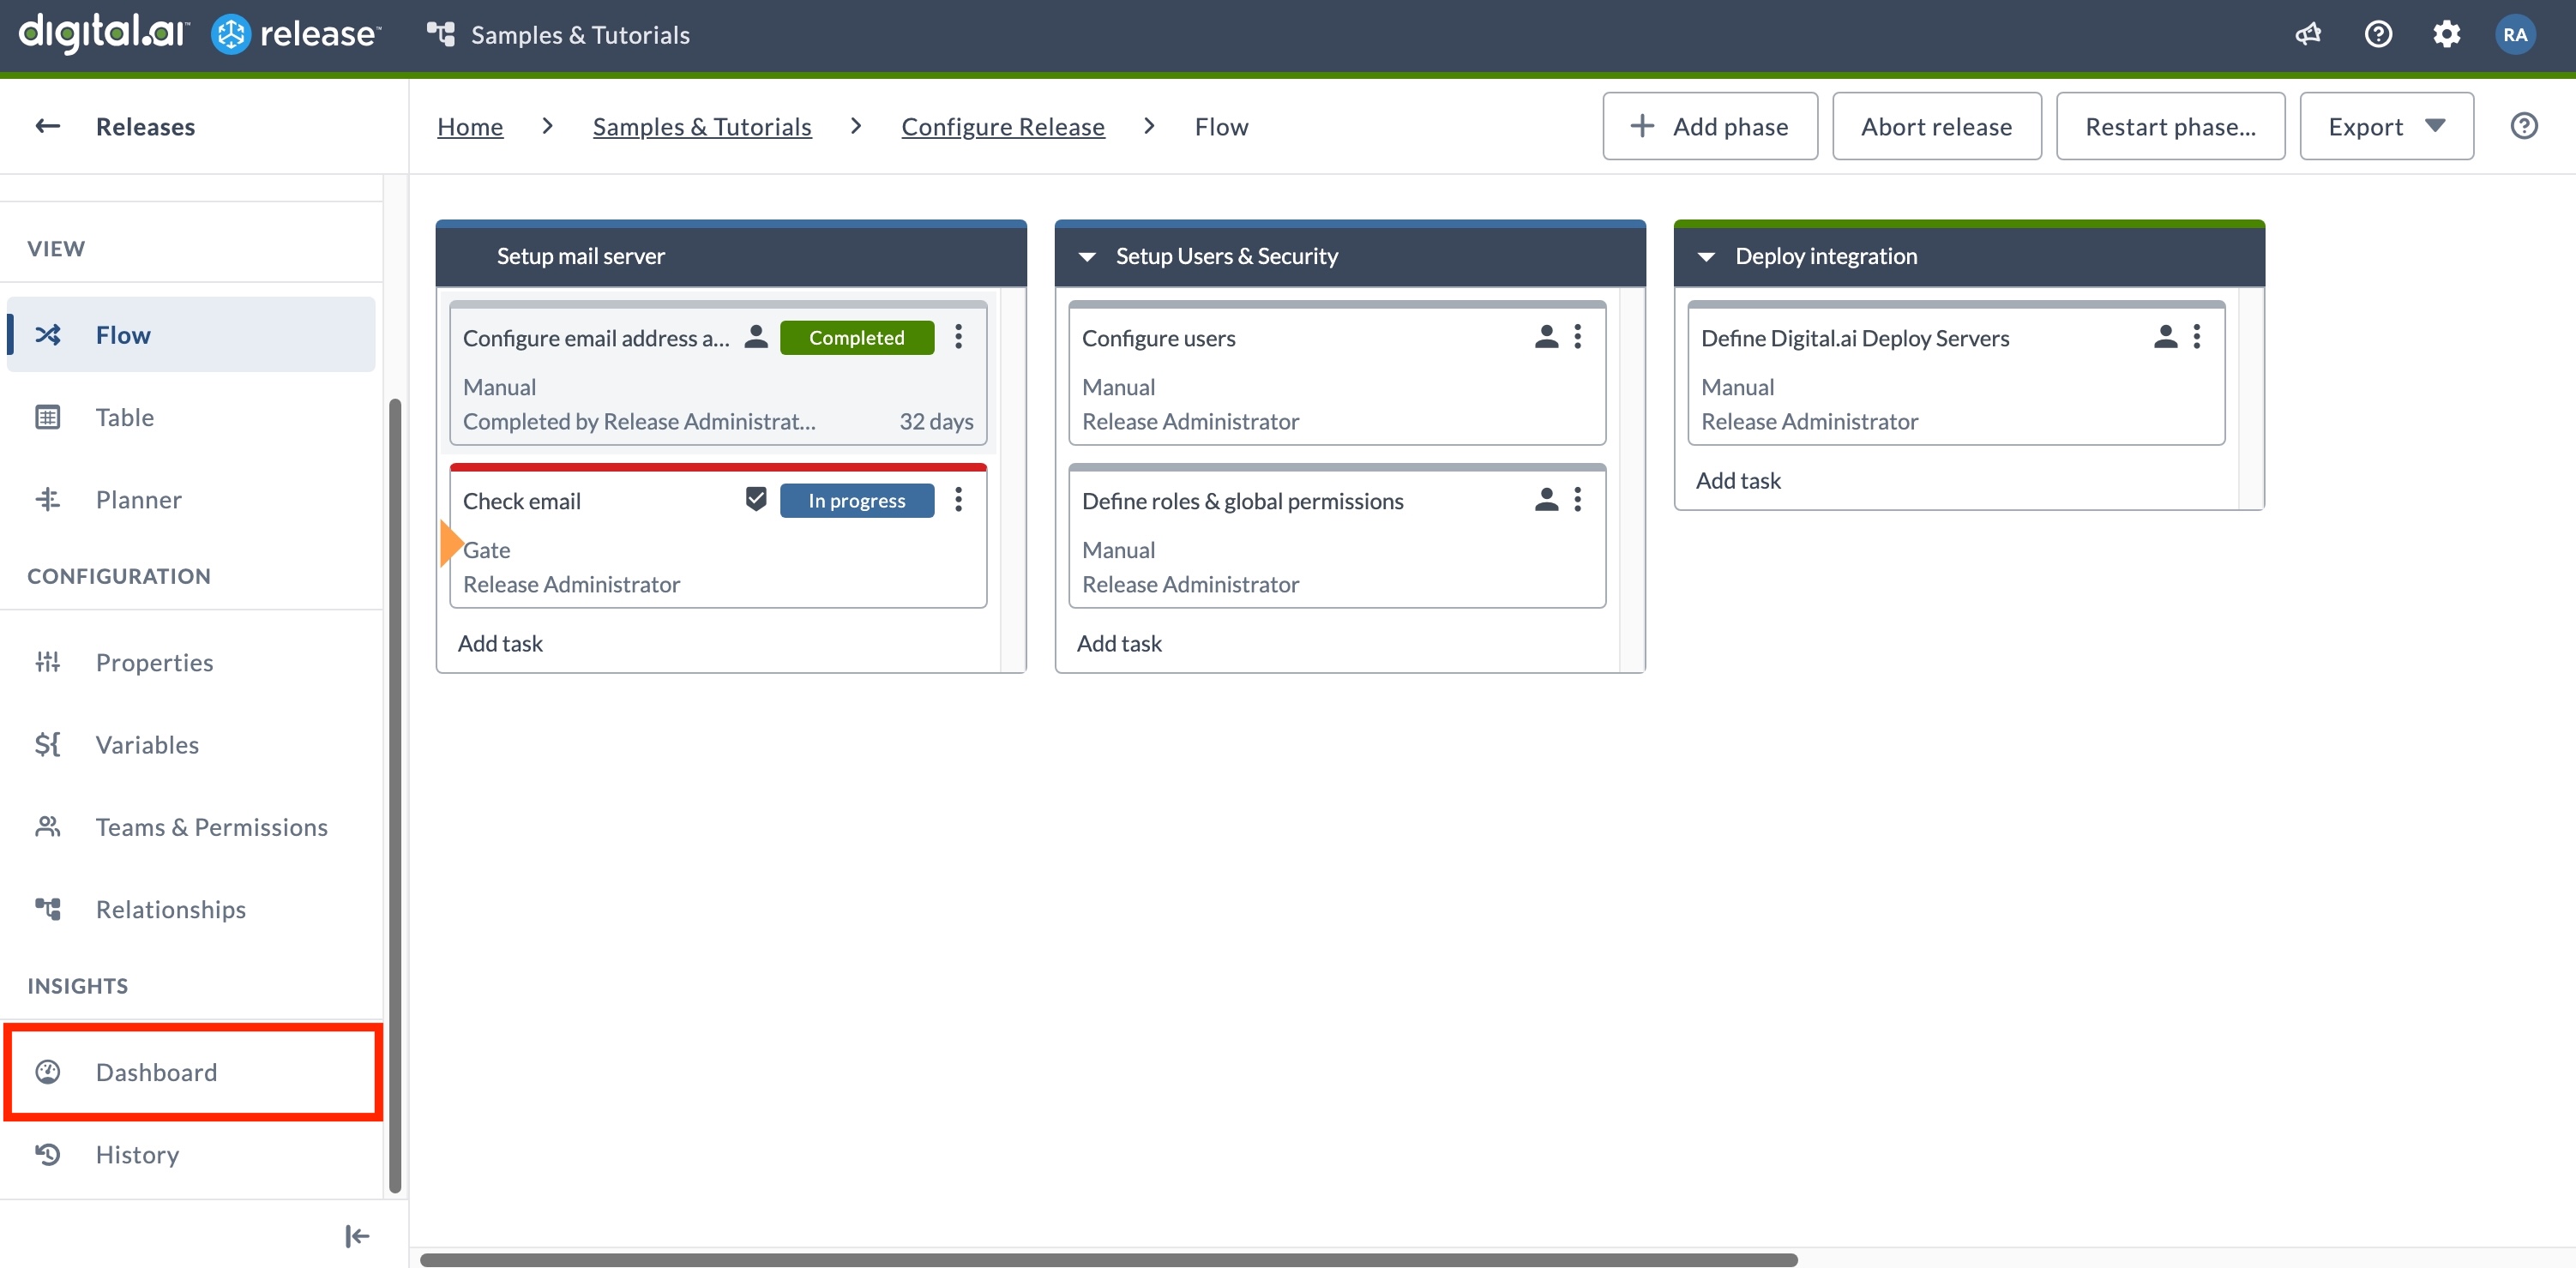
Access the Dashboard
To open the dashboard for a release or template:
- From the navigation pane, under Overview group, click Releases.
- Open a release.
- From the navigation pane, under Insights group, select Dashboard.
For information about the available tiles, see Overview of release dashboard tiles.
Release Dashboard
Add Tiles
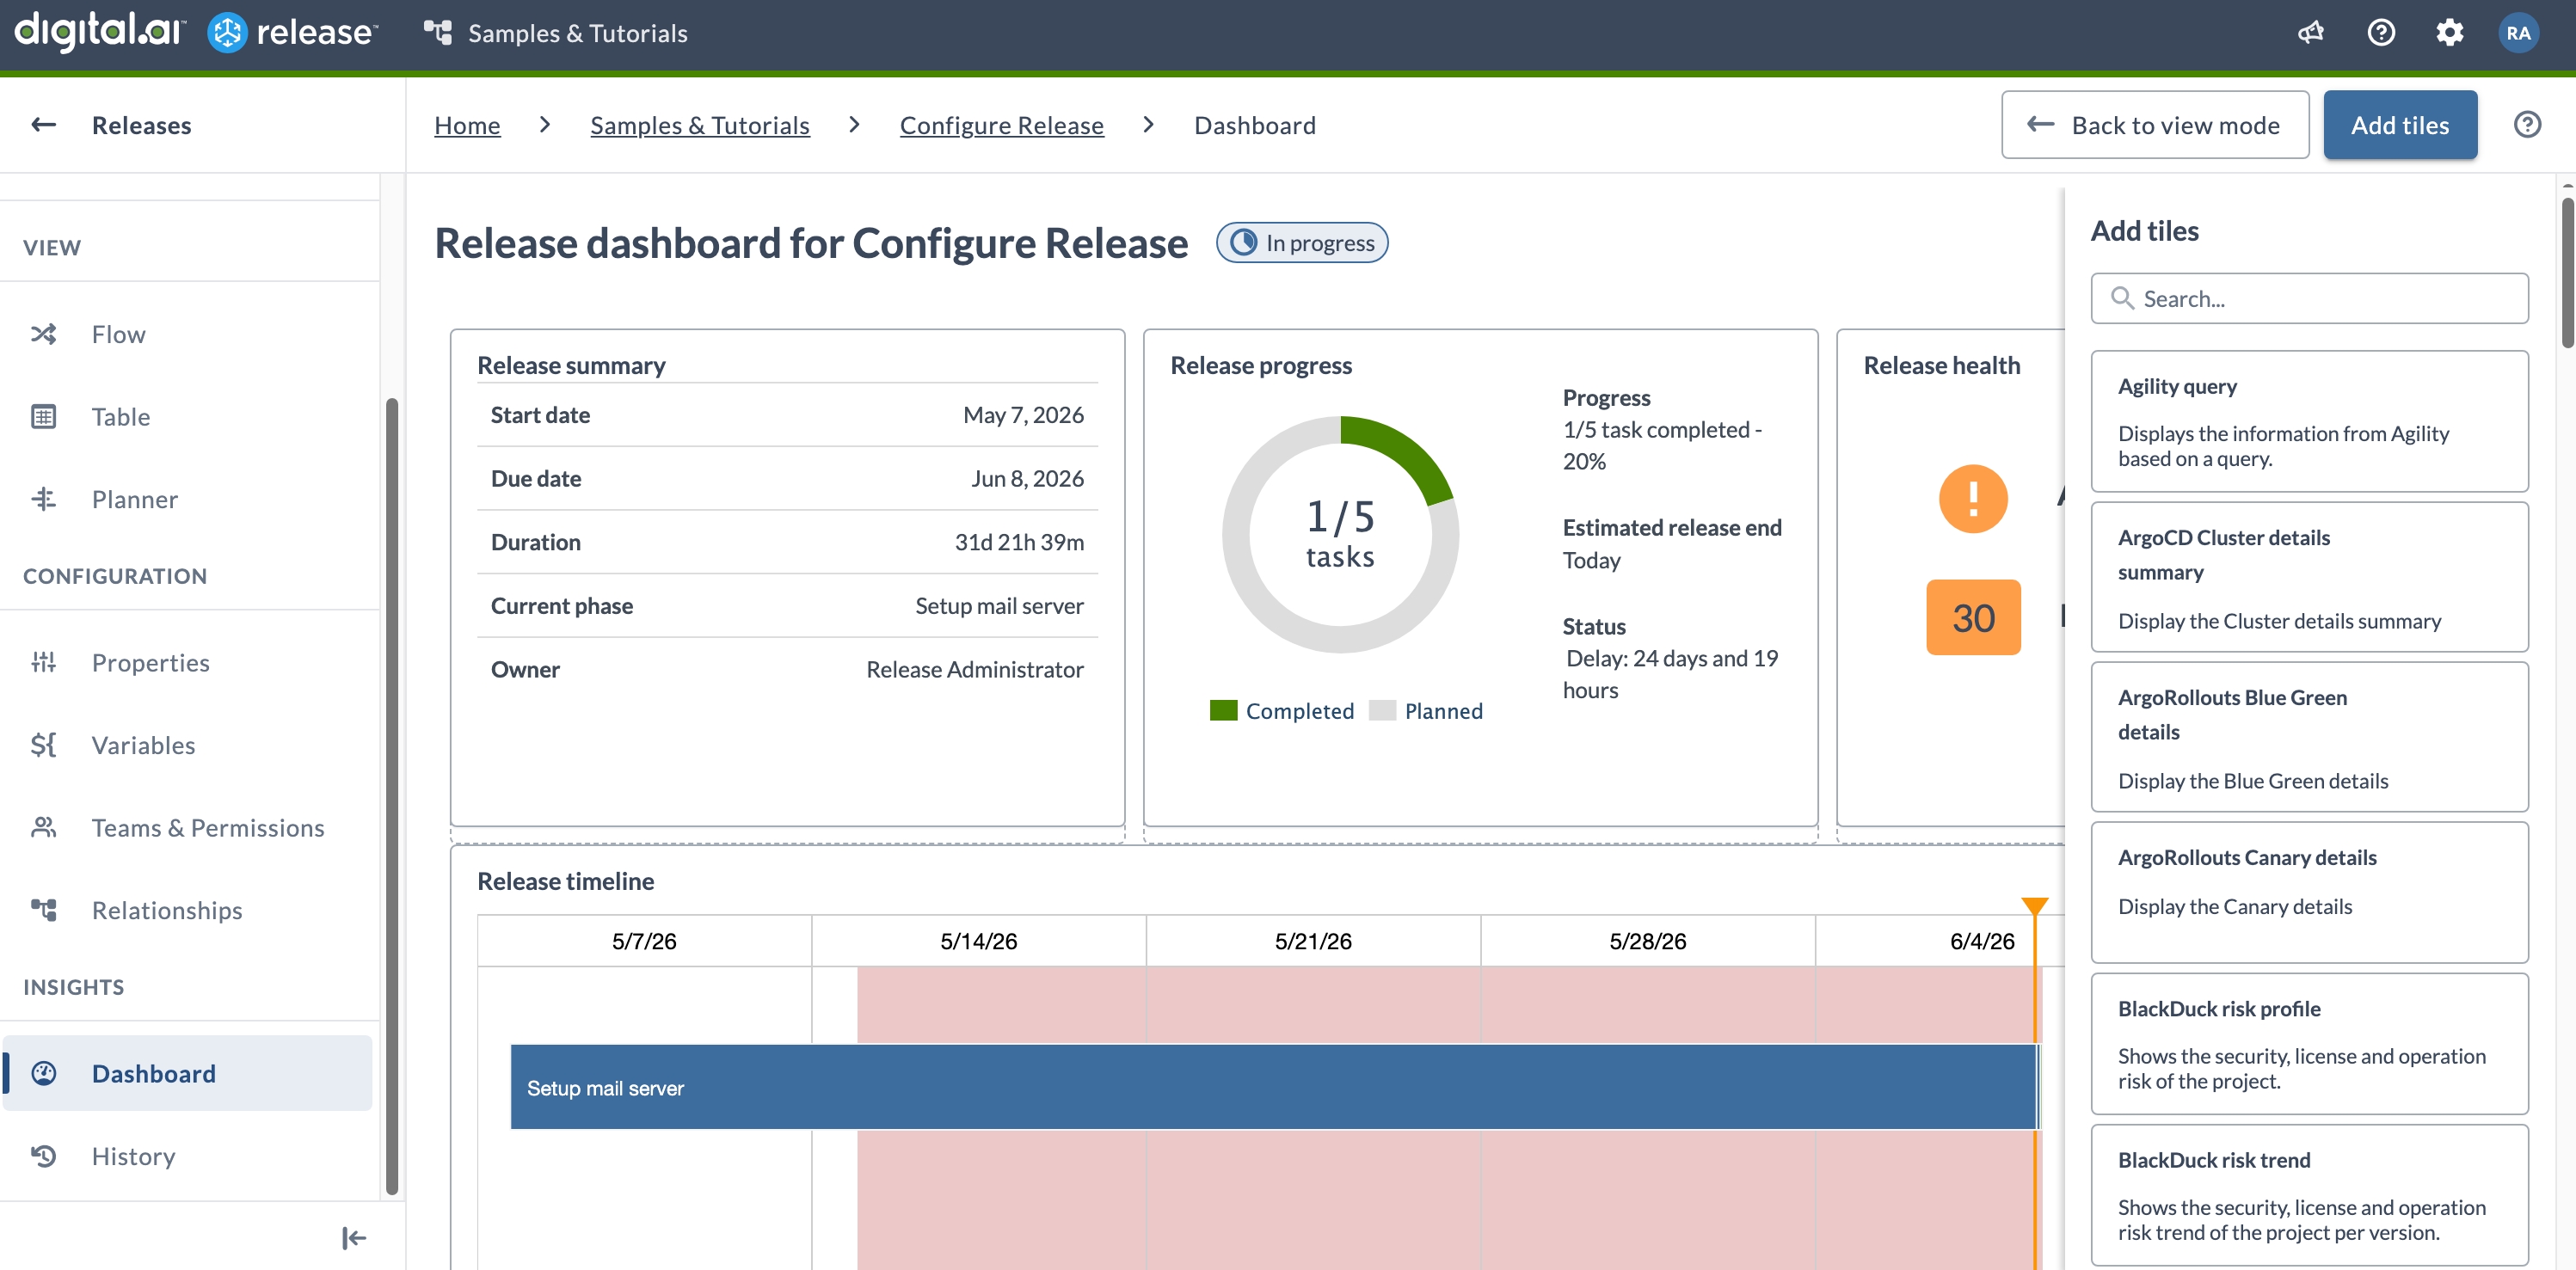
To add a tile to the dashboard:
- Select Configure dashboard.
- Select Add tiles.
- Find the tile in the list and select Add.
- Optionally, resize or reposition the tile.
- Select Back to view mode to save your changes.
Configure Tiles
To configure a tile:
- Select Configure dashboard.
- Hover over the tile you want to configure. A gear icon appears in the tile.
- Select the gear icon.
- Make your changes and select Save.
- Select Back to view mode to save your changes.
Arrange Tiles
To arrange tiles:
- Select Configure dashboard.
- Hover over a tile to reveal the drag handle.
- Select and hold the tile header, then drag it to the desired position.
- To resize a tile, drag its lower-right corner.
- Select Back to view mode to save your changes.
View Tile Details
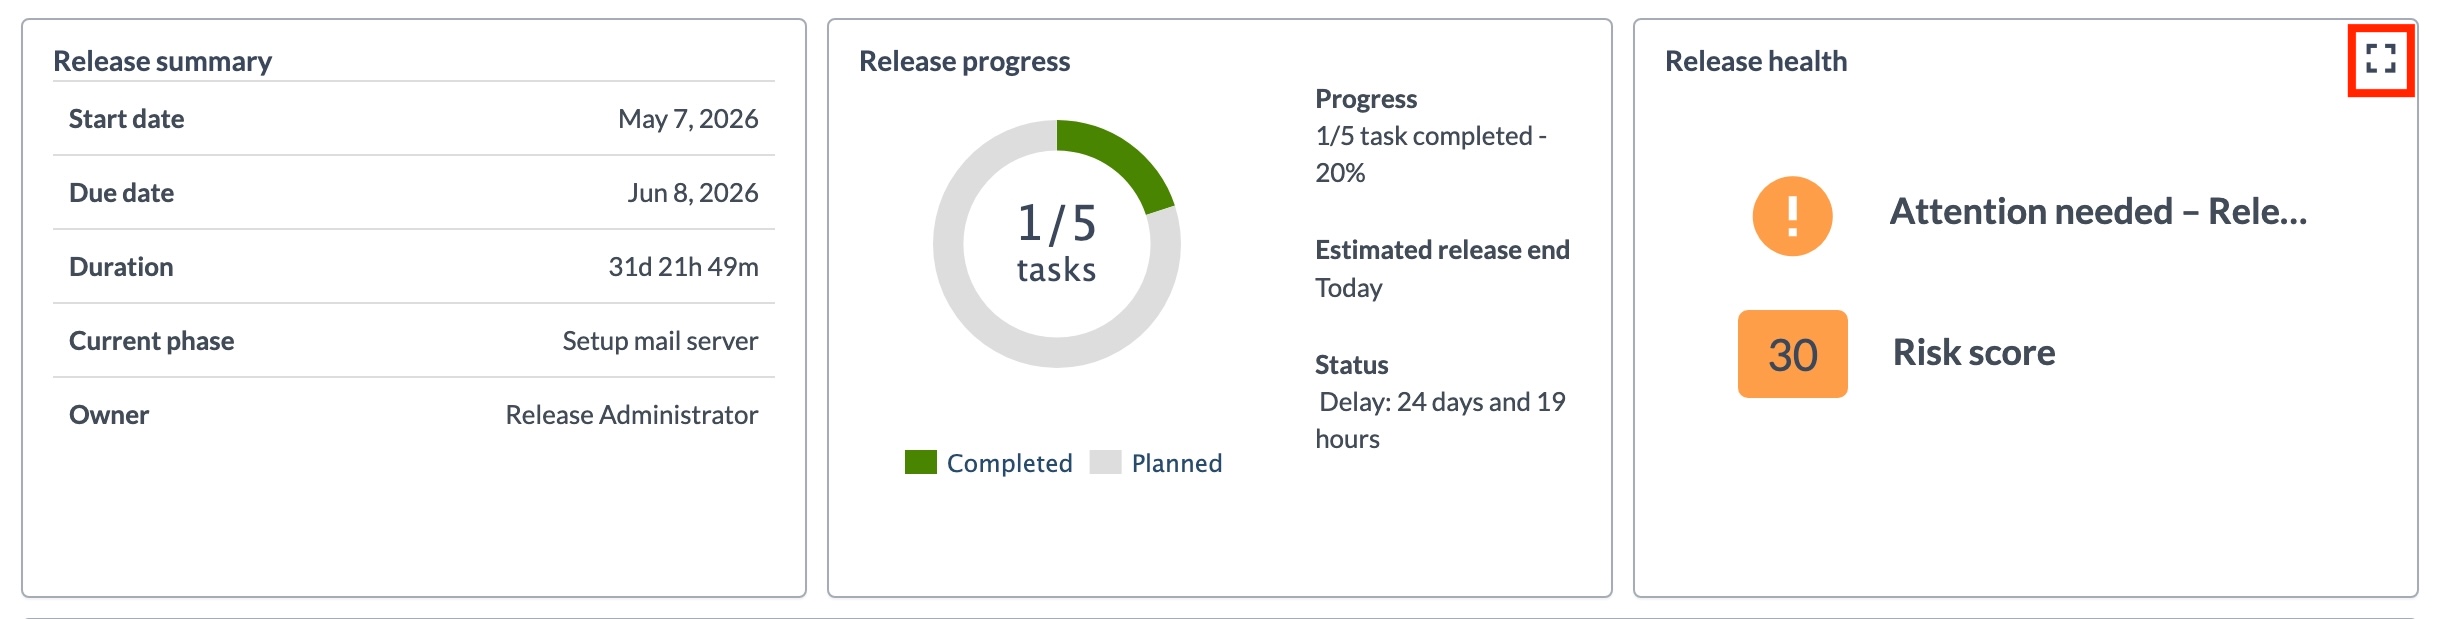
Some tiles offer a detail view with additional information.
- Select the full-screen icon in the top-left corner of the tile.
- Select Back to view mode to return to the dashboard.
Remove Tiles
To remove a tile:
- Select Configure dashboard.
- Hover over the tile you want to remove. A delete icon appears.
- Select the delete icon.
- Select Back to view mode to save your changes.
Removing a tile cannot be undone.
Export as PDF
To export the dashboard as a PDF, select Export as PDF.
Release captures the dashboard at 100% screen resolution regardless of your current browser zoom level. If the dashboard content does not fit on a single page, Release splits it across multiple pages and adds a continuation note.