Calendar view
This topic provides an overview of the calendar features in Digital.ai Release, including different views (day, week, month, year) and how to filter and export the calendar.
To see an overview of all releases in Digital.ai Release, from the navigation pane, select Release Calendar under the Overview group.
Views of Calendar
Day View
A day view provides the information about the scheduled tasks with the scheduled time on the respective day.

Week View
A week view provides the information about the scheduled tasks in the respective week.
Note: Week starts from the current day.

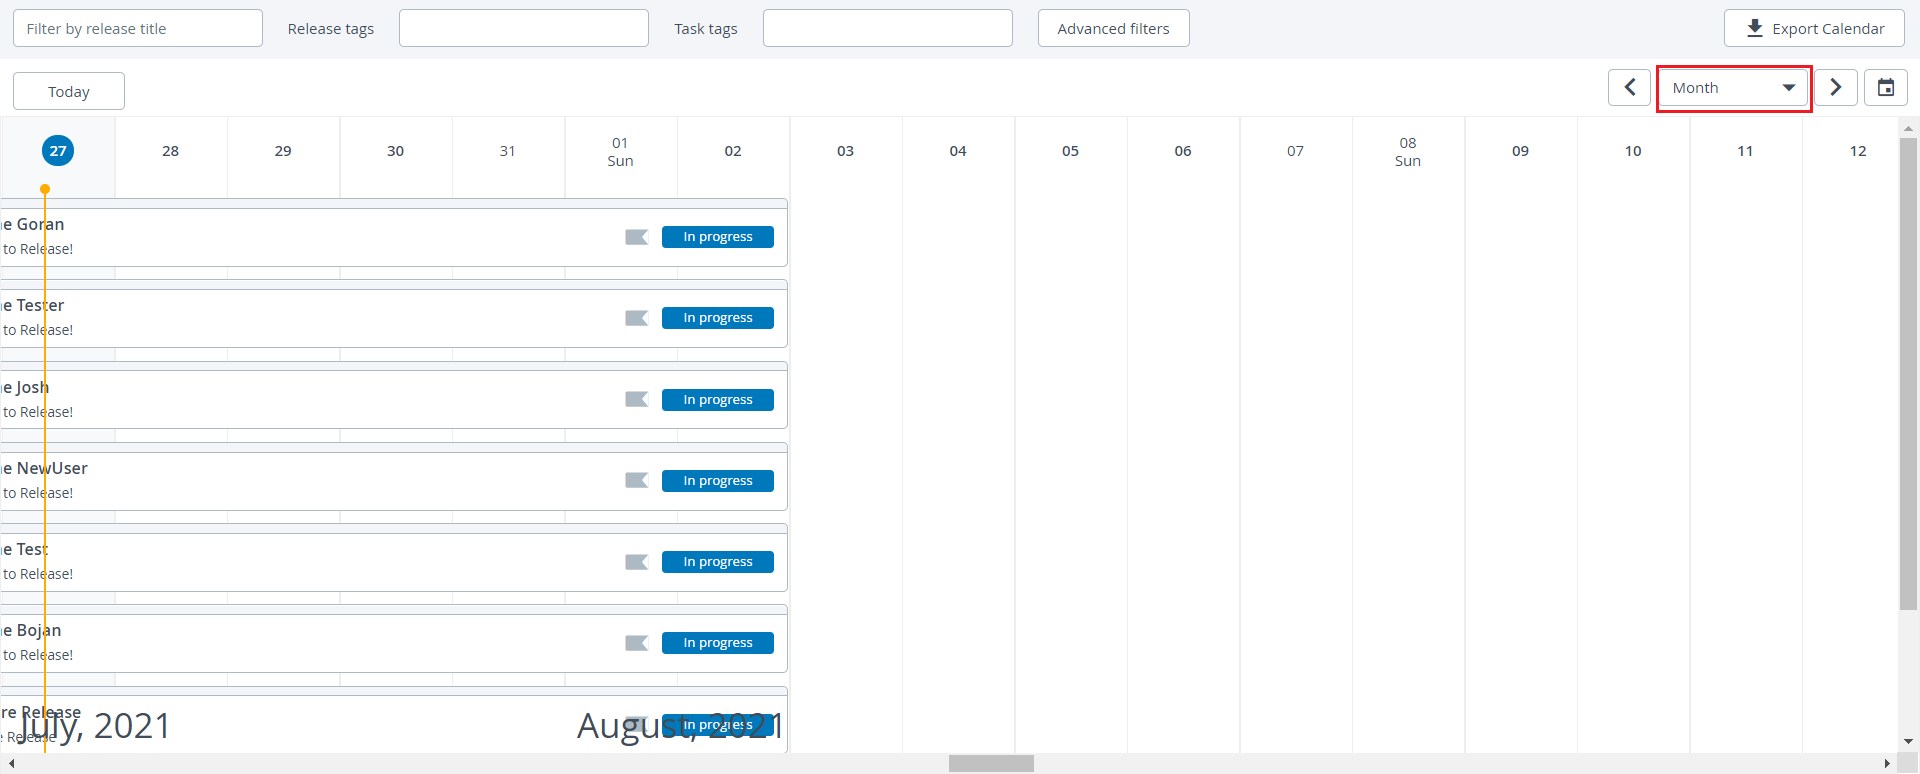
Month View
A month view provides the information about the scheduled tasks in the respective month.
Note: Month starts from the current day.
Year View
A year view provides the information about the scheduled tasks in the respective year.
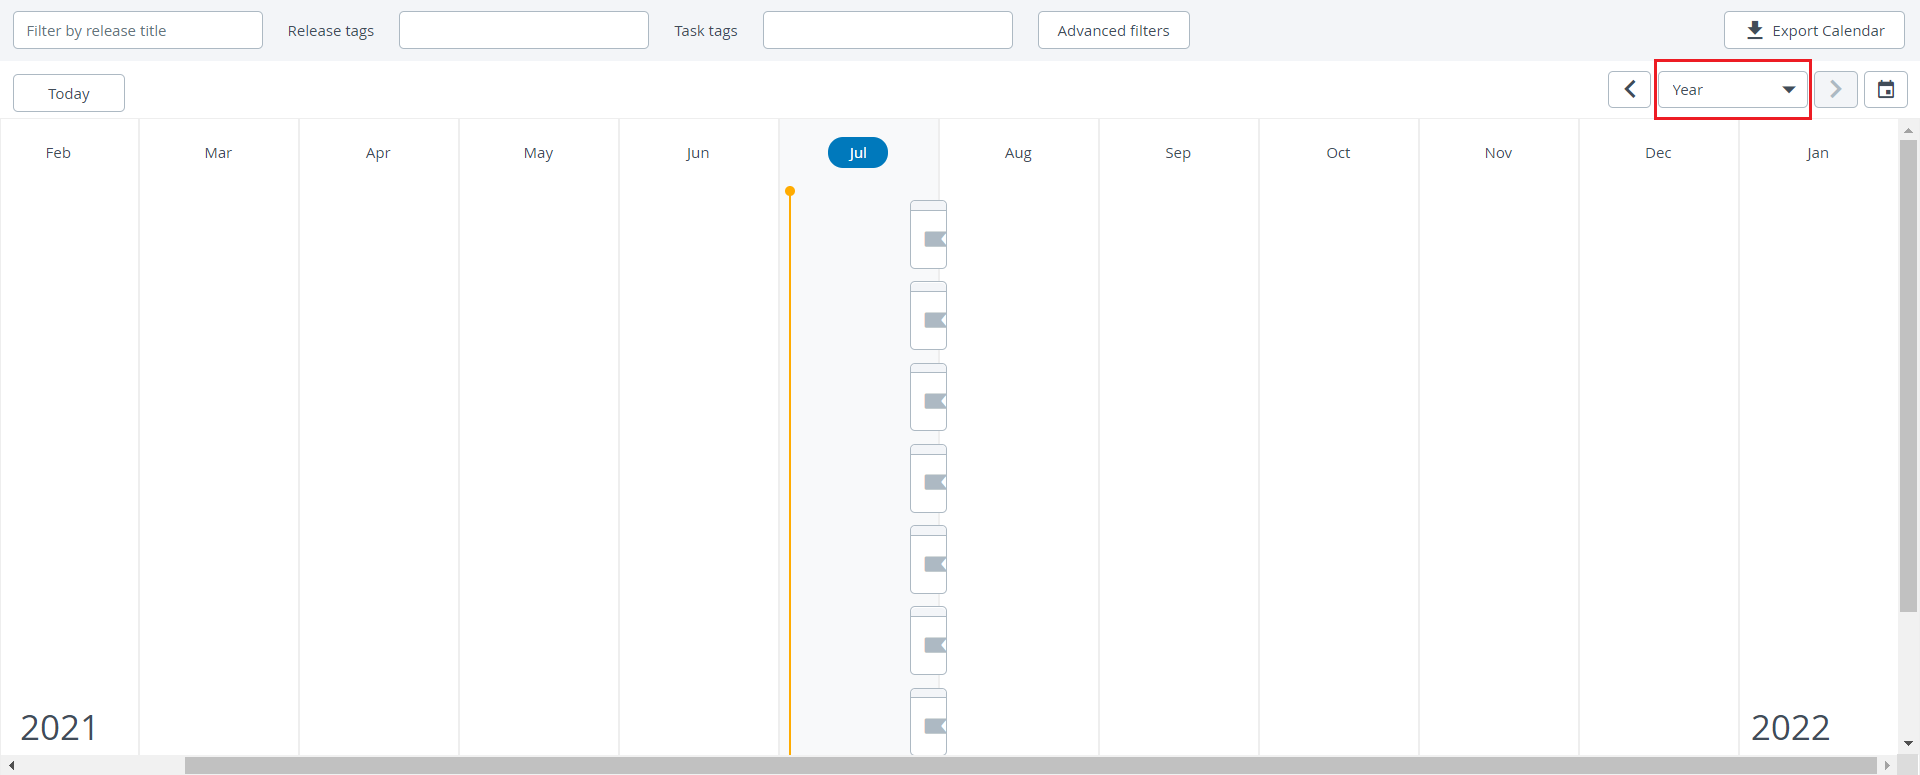
To change the view of calendar, click on the current view and select the view (day, week, month, or year) you want.
Click on Left or Right arrows to visit next or previous view (day, week, month, or year).

To jump to a date, week, month, or year click on the icon at the top right corner of the calendar view.
Note: Jump to a date view displayed based on the calendar view you are viewing.
Task Statuses
On the calendar, releases statuses are indicated along with specific colors: In progress are indicated as blue bars, releases that are Completed are displayed as green bars, whereas Failing releases are marked with orange bars and Failed releases are marked with red bars.
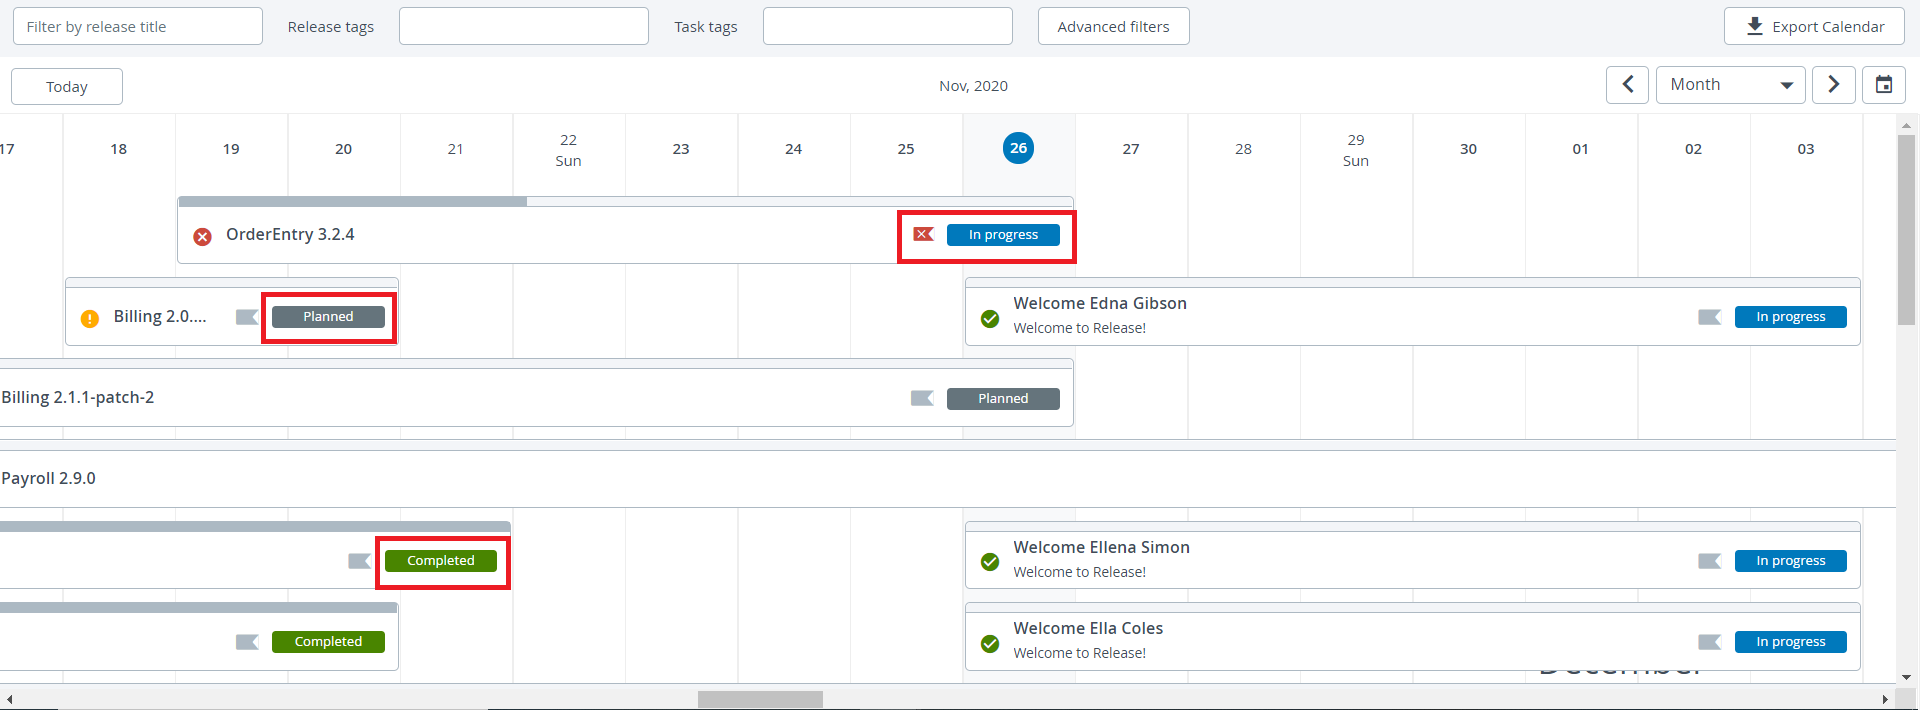
To see more information on a release, click it.
Hover over a dependent release to see it highlighted in the calendar.
Filtering the calendar
To filter the calendar based on the release title or tags, use the Filter by release title, Release Tags, or Task tags fields.
Click on the Advanced filters, to filter based on the Status, Risk, Flagged, and My Releases.
-
Status field contains:
- Aborted
- Completed
- Failed
- Failing
- In progress
- Paused
- Planned
-
Risk field contains:
- At risk
- On track
- Attention needed
Marking special days
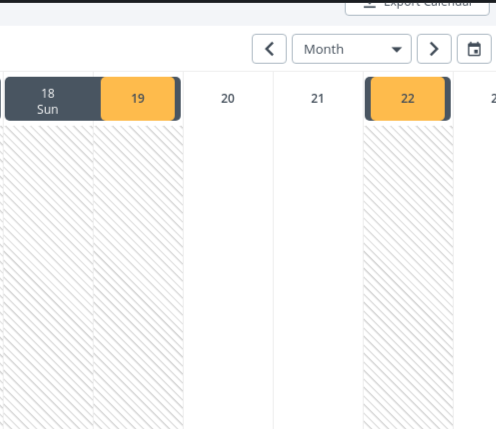
The Calendar view will display special days, providing users with additional context and clarity. These special days can be customized according to your preference by choosing a custom label and background color.
Note: These special days are only for viewing purposes and do not impact the execution of tasks or releases.
To Mark special days, such as holidays:
- Hover on a day in the calendar you want to mark.
- Click on three dot
.
- Click on Set label.
Exporting the Calendar
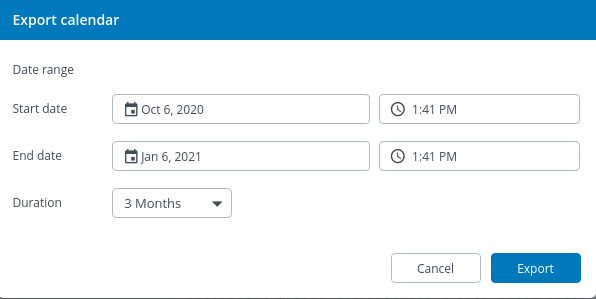
You can export a calendar by clicking on the Export Calendar button at the top right corner of the Calendar view.
When you click on the Export Calendar button, a pop dialog appears. allowing you select or specify the time period or date range for which you want to export the Calendar. Click the Export button to download an Excel sheet of the calendar.
Setting blackout period
You can set a blackout period to ensure that specific tasks cannot be performed during that time. For more information on setting a blackout period, see Set blackout period.