Gitlab Plugin
This topic describes how to configure the Digital.ai Release Gitlab plugin.
Prerequisites
- Install the Gitlab plugin into the XLR plugins/xlr-official folder.
Requirements
- GitLab server compatible with API v4
- Digital.ai Release running and accessible
Configuration
- You need a URL and personal access token to connect to the GitLab server
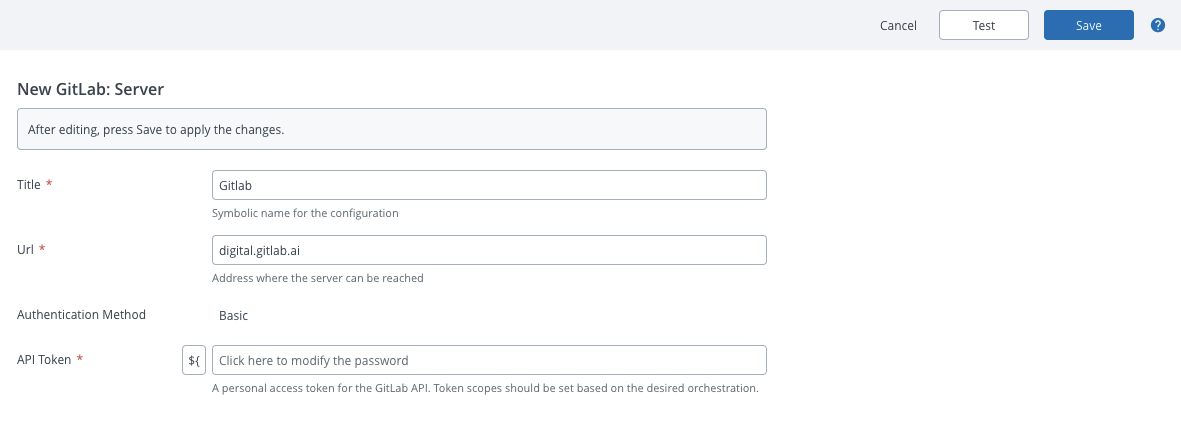
- Create a Connection for your GitLab Server
Set up a Connection to the GitLab Server
- From the navigation pane, click Configuration > Connections.
- Under configurations, beside Gitlab: Server, click

- Enter the name for the configuration in the Title field.
- Enter the URL in URL field, where the Gitlab server is running.
- Enter the personal access token in the API Token field.
- In API Token, enter the personal access token.
- Click Test, to test the connection.
- Click Save, to save the configuration.
Features
-
GitLab triggers - Used to poll GitLab for triggering releases:
- GitLab commit trigger
- GitLab tag trigger
-
Tasks of GitLab:
- Gitlab: Accept Merge Request
- Gitlab: Create Branch
- Gitlab: Create Group
- Gitlab: Create Merge Request
- Gitlab: Create Project
- Gitlab: Create Project Webhook
- Gitlab: Create Tag
- Gitlab: Query Commits
- Gitlab: Query Data
- Gitlab: Query Merge Requests
- Gitlab: Query Pipeline Status
- Gitlab: Query Pipelines
- Gitlab: Query Project
- Gitlab: Query Secure Data
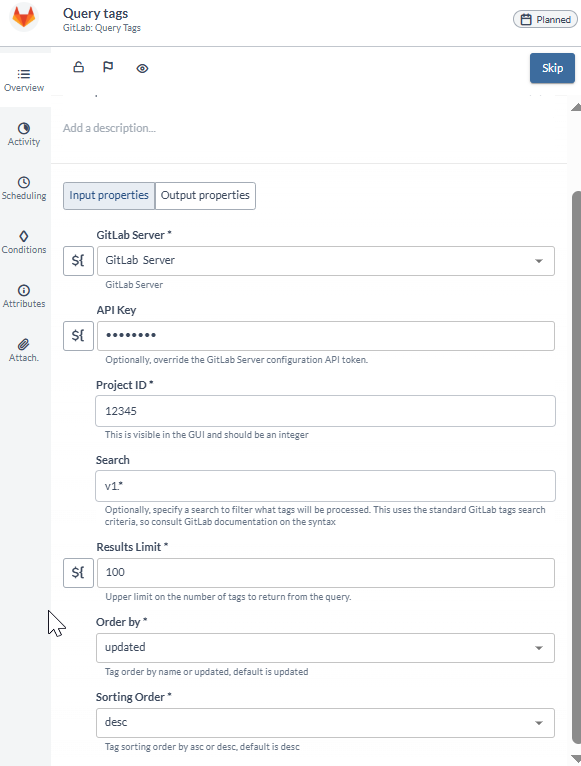
- Gitlab: Query Tags
- Gitlab: Trigger Pipeline
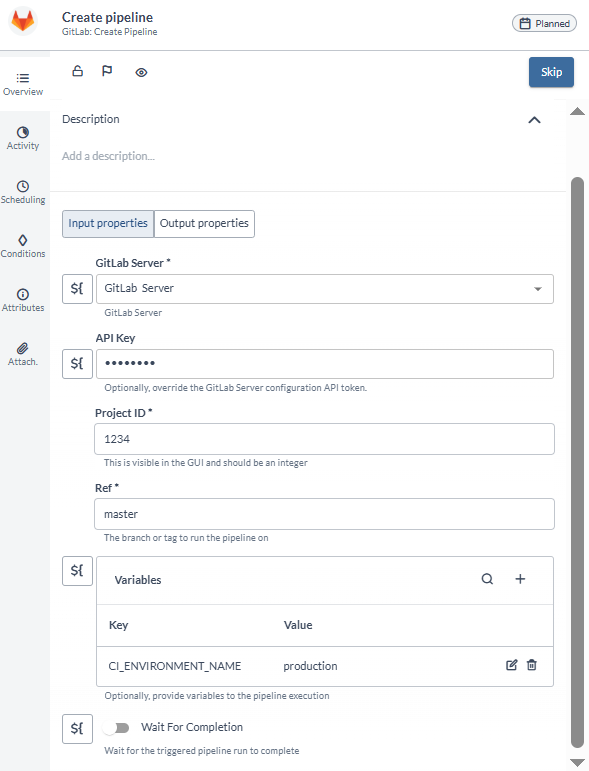
- Gitlab: Create Pipeline
- Gitlab: Revert Commit
- Gitlab: Clone Repository
- Gitlab: Commit Files
- Gitlab: Close Merge Request
- Gitlab: Delete Tag
- Gitlab: Approve Merge Request
With Release 23.1, the Order by and Sorting Order fields are added for the Query Tags task.
- Webhooks event for Gitlab.
- Gitlab tiles on the release dashboard.
You cannot run the clone and commit tasks together in a clustered setup.
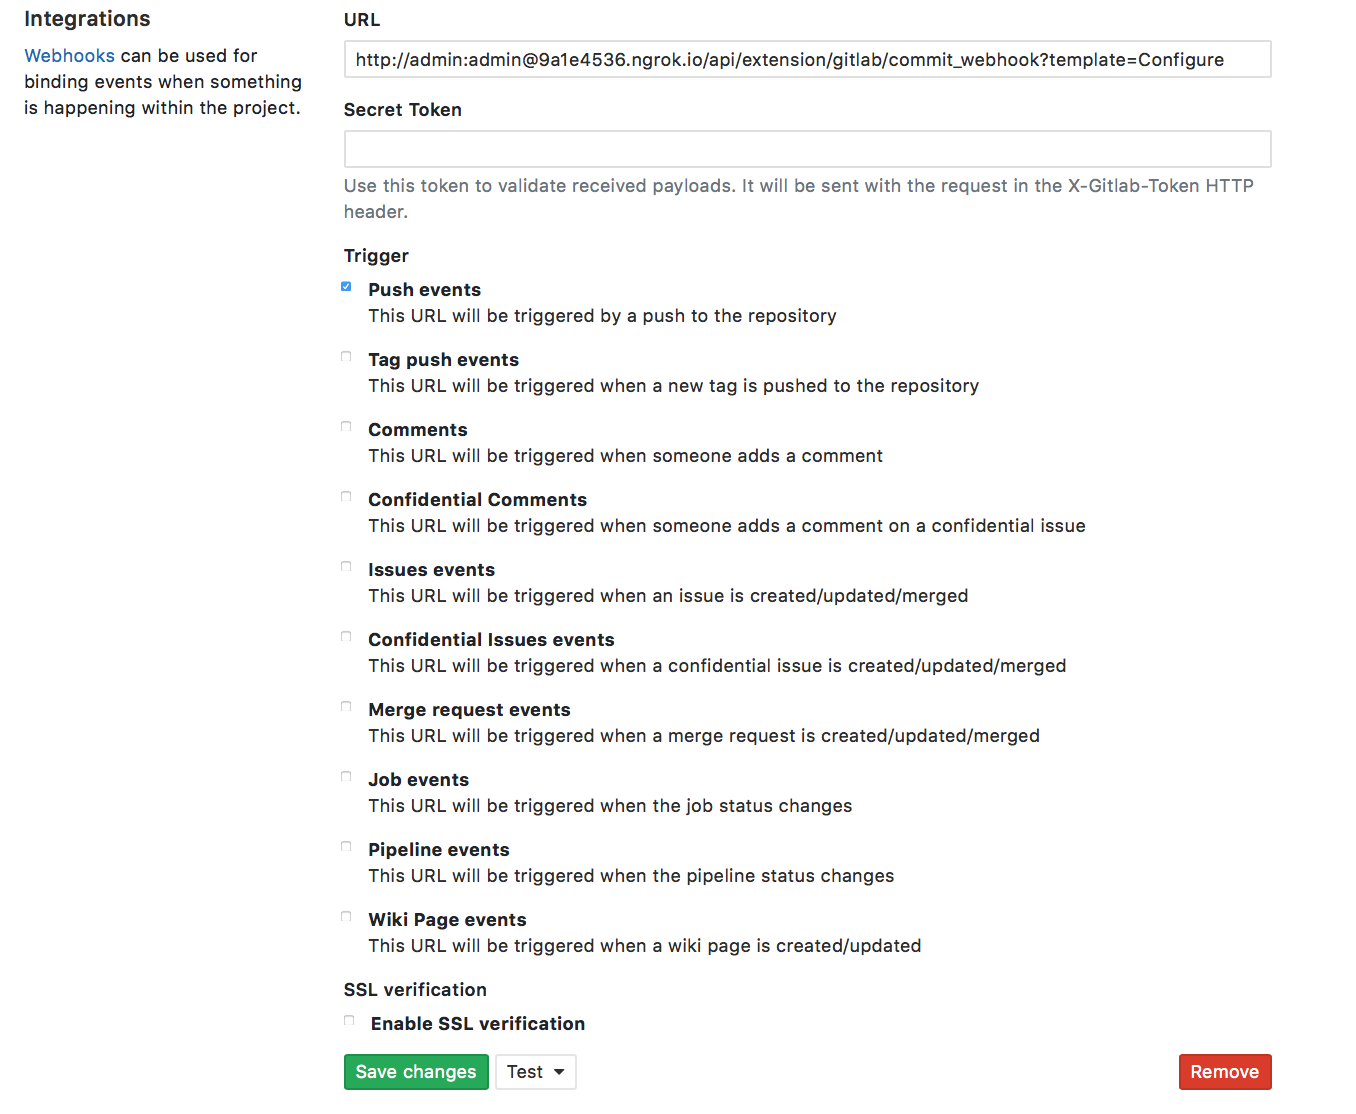
Set up a Connection for Commit Webhook
- In your GitLab instance, add a webhook
- Select Push events
- Specify the Release URL as:
http://username:password@xlrserver:port/api/extension/gitlab/commit_webhook?template=<templateName/prefix> - The following variables are available in Release:
- project_name
- repo_full_name
- branch_name
- commit_message
- current_commit_hash
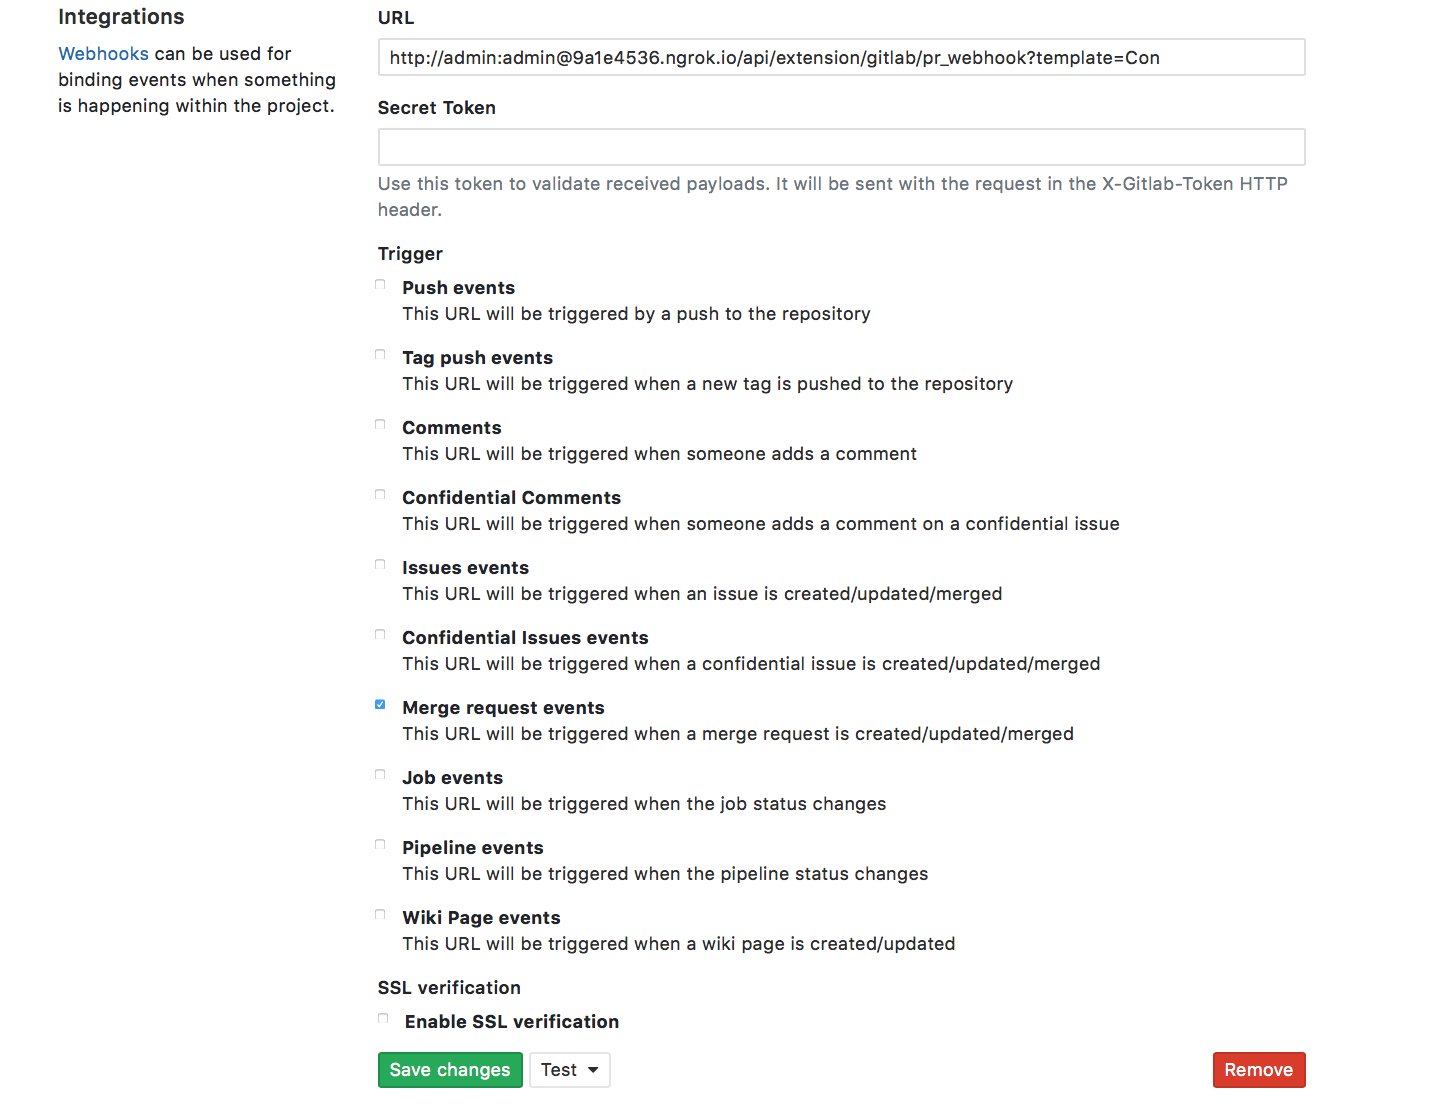
Set up a Connection for Merge Request Webhook
- In your GitLab instance, add a webhook
- Select Push events
- Specify the Release URL as:
http://username:password@xlrserver:port/api/extension/gitlab/pr_webhook?template=<templateName/prefix> - The following variables are available in Release:
- pull_request_number
- pull_request_title
- repository_name
- proj_name
- source_hash
- source_branch
- source_project
- source_repo
- target_branch
- target_project
- target_repo
Tile and Dashboard Configuration
There are seven tiles available:
- GitLab Commits Tile
- GitLab Contributions Tile
- GitLab Merge Requests Tile
- GitLab Pipelines Tile
- GitLab Pipeline Trends
- GitLab Tags Timeline Tile
- GitLab Timeline Tile
- From the navigation pane, click Reports.
- Select the dashboard where you want to add the new tile.
If you have not created a dashboard yet, click Add dashboard on the top right of the screen to create dashboard.
- In the top right of the screen, click Configure dashboard.
- In the top right of the screen, click Add tiles.
- Hover over GitLab Commits Tile, and click Add.
- Click Configure option present in the tile.
- Enter a name for the tile in the Title field.
- Select the server configured in the Gitlab Server field.
- Enter the project key in the Project ID field.
- Enter the name of branch from where data can be fetched in the Branch Name field.
- Enter the limit of list in numbers, in the Results Limit field.
- Click Save.
You can configure the rest of the tiles using the same process described above.
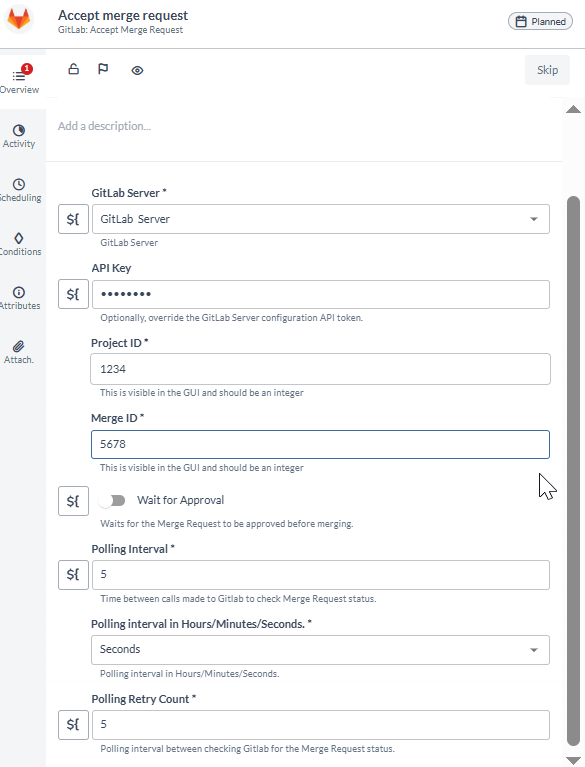
Accept Merge Request
This task accepts a merge request, merging changes from one branch into another after review and approval.
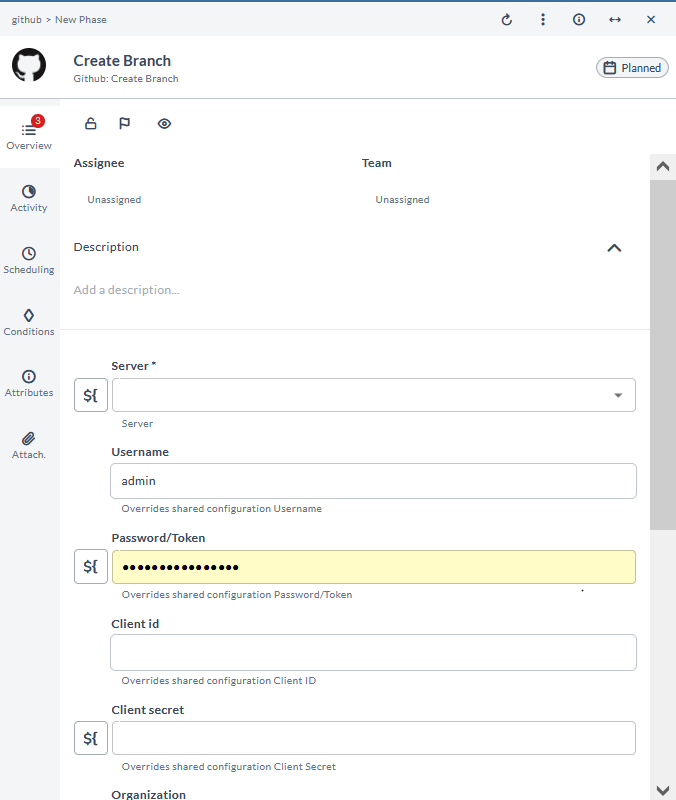
Create Branch
This task creates a branch. It is used to start a new line of development separate from the main codebase.
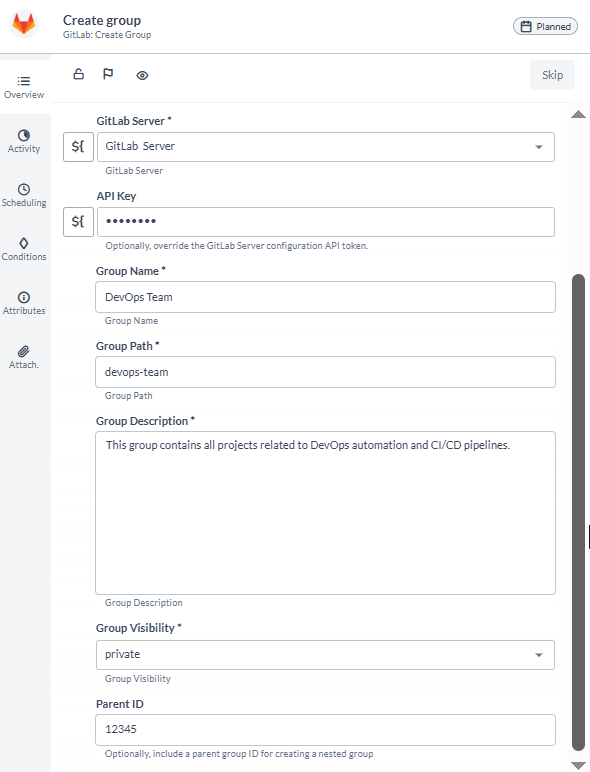
Create Group
This task creates a group. It is used to organize projects and manage permissions for a collection of related projects.
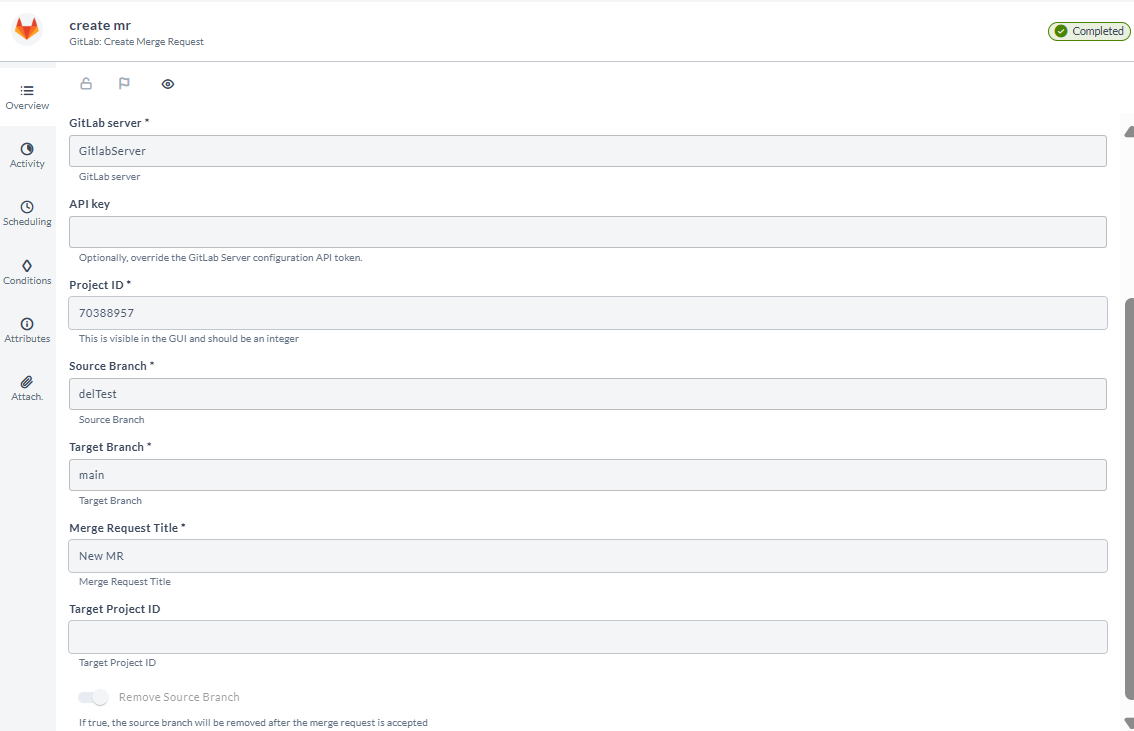
Create Merge Request
This task creates a merge request. It is used to propose changes from one branch to be merged into another, often involving code review and approval processes.
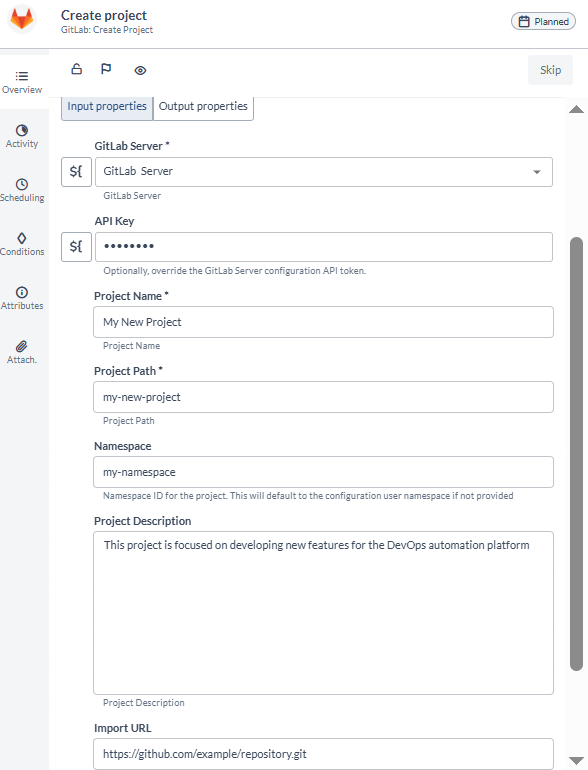
Create Project
This task creates a project. It is used to initialize a new project repository, typically within a version control system.
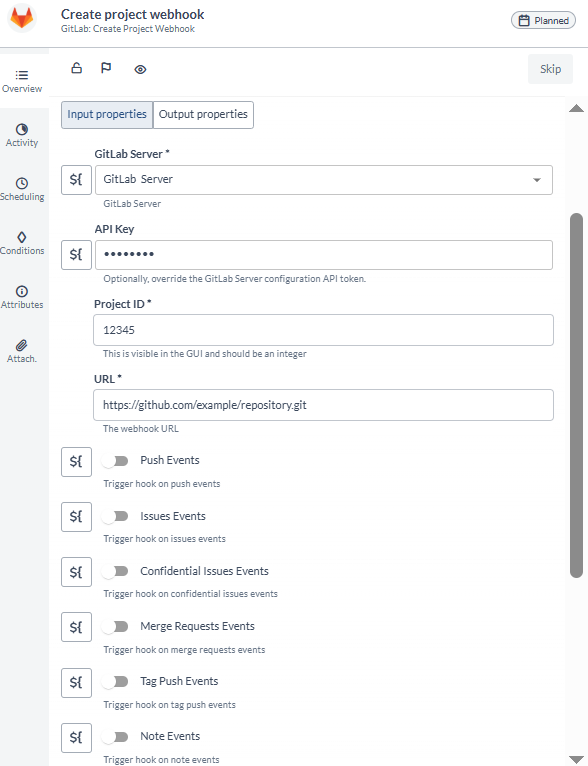
Create Project Webhook
This task creates a project webhook. It is used to set up notifications for specific events occurring in a project, such as commits or merges.
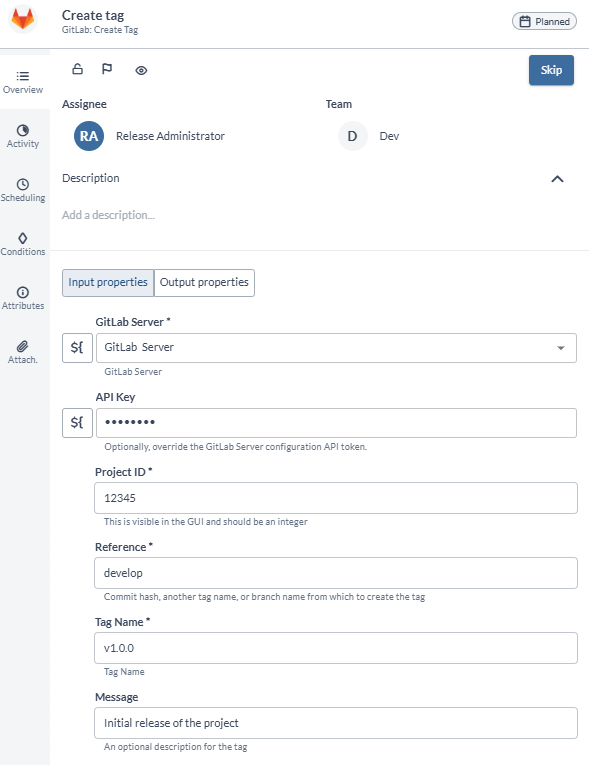
Create Tag
This task creates a tag. It is used to mark a specific point in the repository history, often for releases or significant milestones.
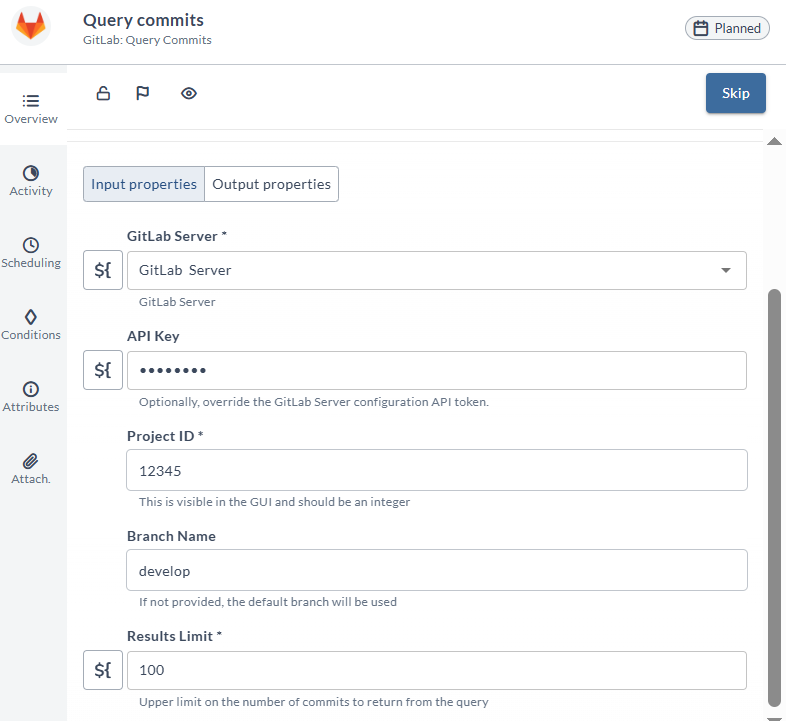
Query Commits
This task queries commits. It is used to retrieve a list of commits from a repository, often with details such as author, date, and commit message.
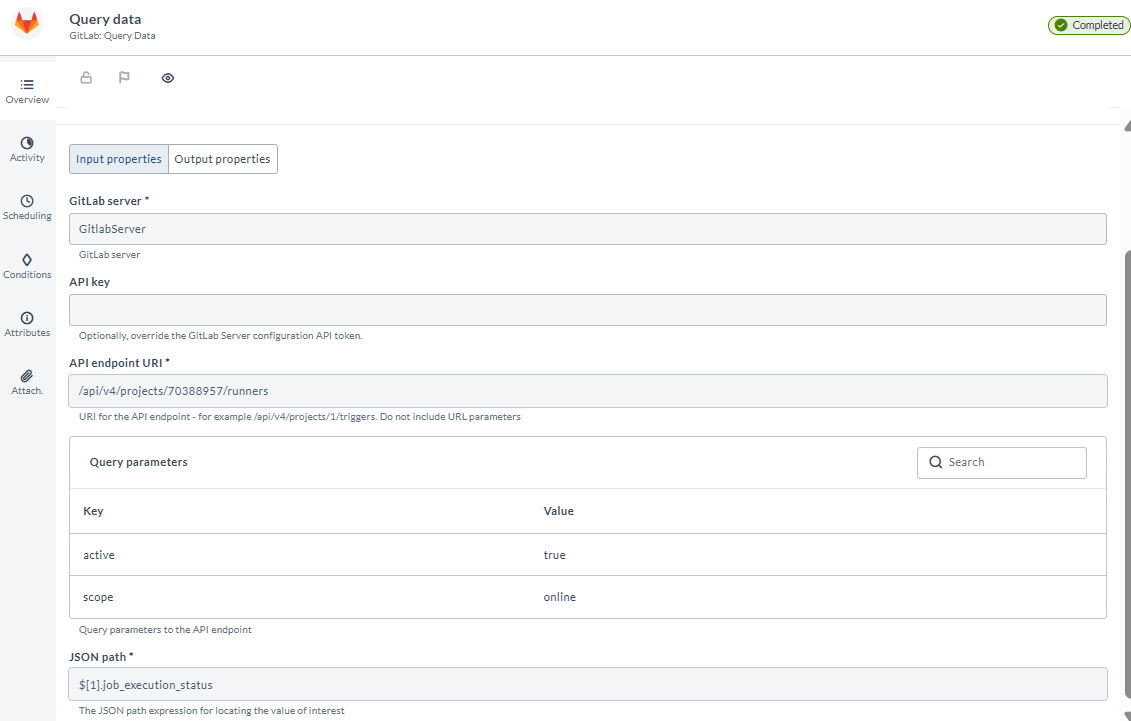
Query Data
This task queries data. It is used to fetch general data related to a project or repository, such as metrics or logs.
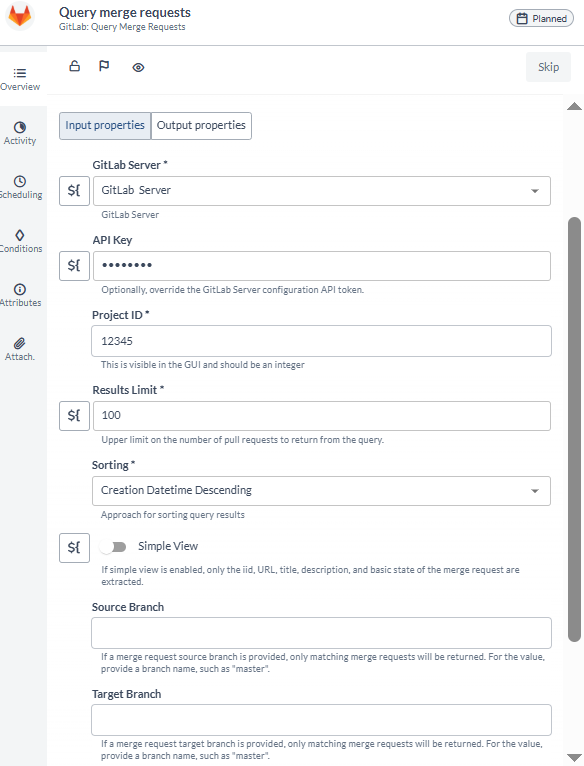
Query Merge Requests
This task queries merge requests. It is used to retrieve a list of merge requests, along with their statuses and details.
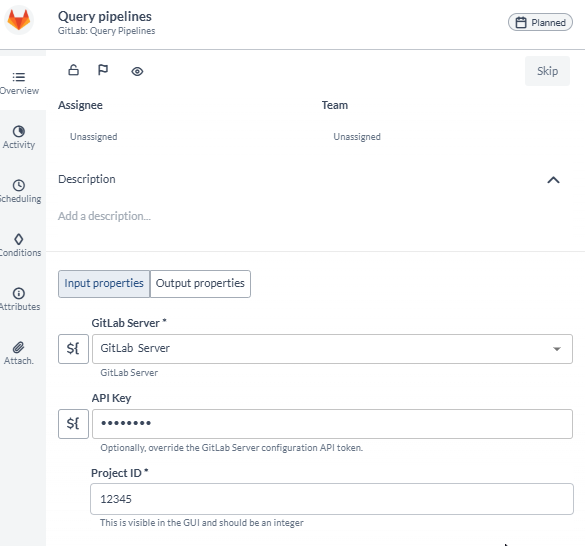
Query Pipelines
This task queries pipelines. It is used to fetch information about CI/CD pipelines, including their statuses and results.
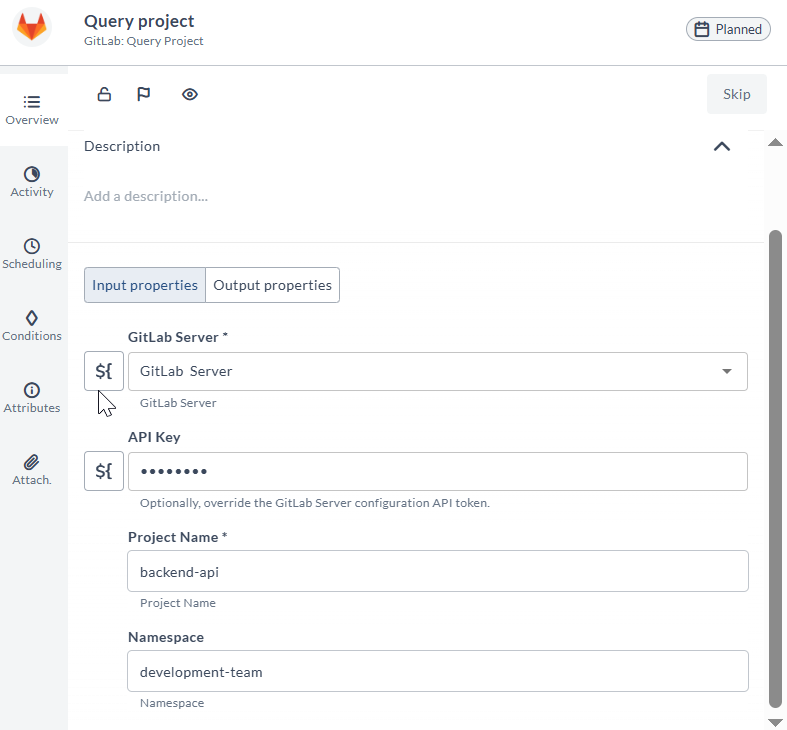
Query Project
This task queries a project. It is used to retrieve details about a specific project, such as its settings, members, and activity.
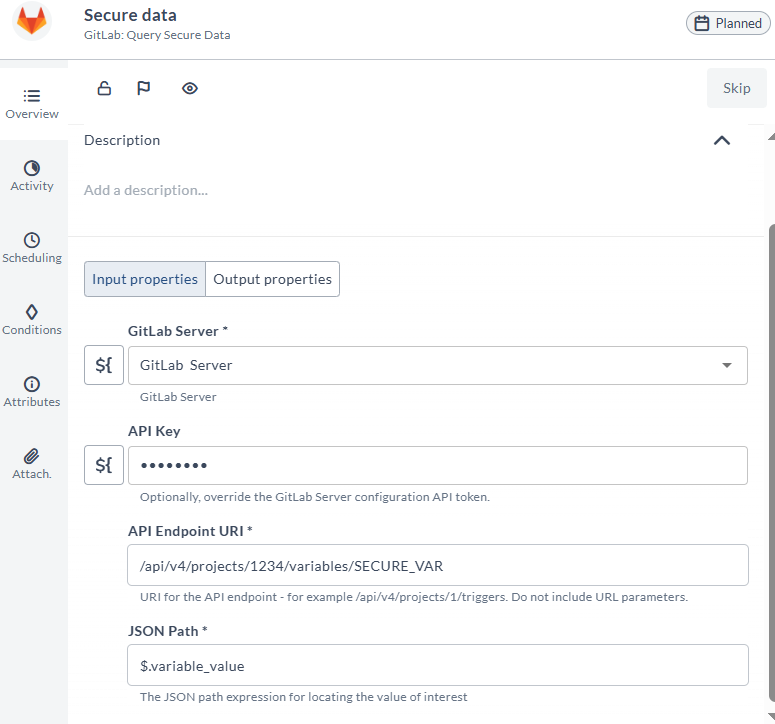
Query Secure Data
This task queries secure data. It is used to fetch sensitive or protected information related to a project, typically with appropriate access controls.
Query Tags
This task queries tags. It is used to list all tags in a repository, often with details about the tagged commits.
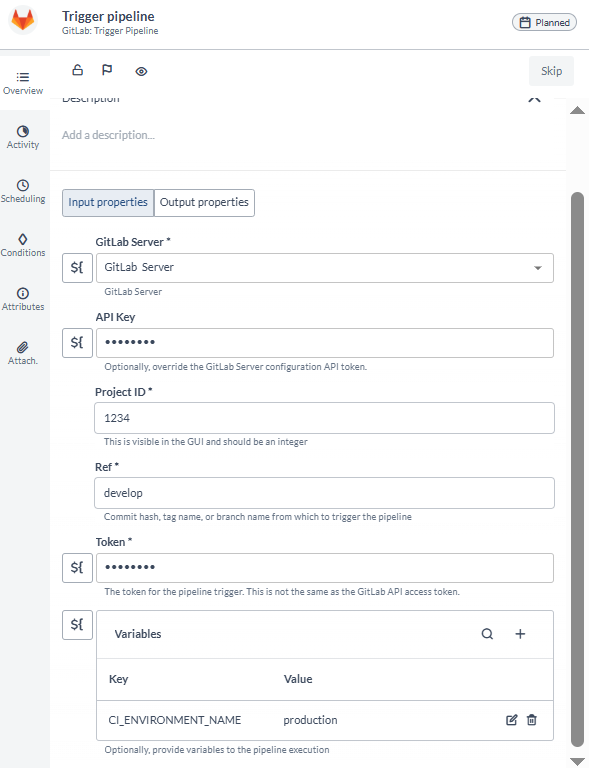
Trigger Pipeline
This task triggers a pipeline. It is used to start a new CI/CD pipeline run for a project, usually after a commit or merge.
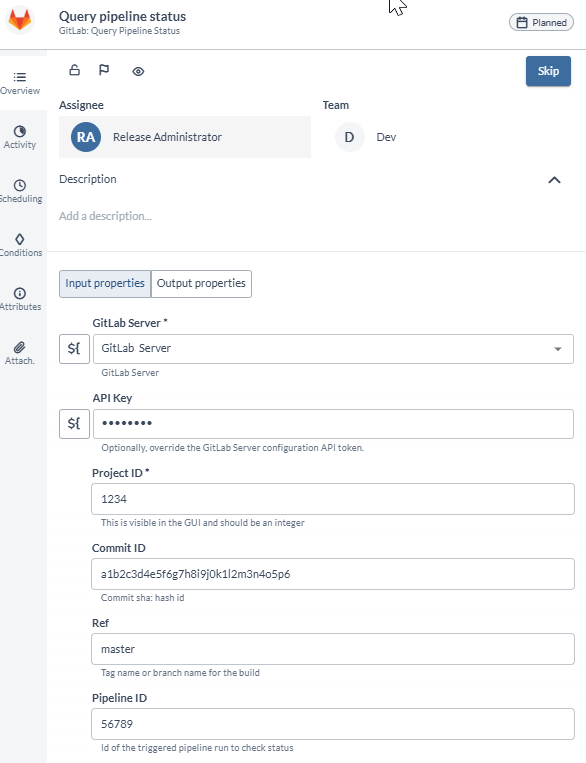
Query Pipeline Status
This task queries the pipeline status. It is used to check the current state and results of a specific pipeline run.
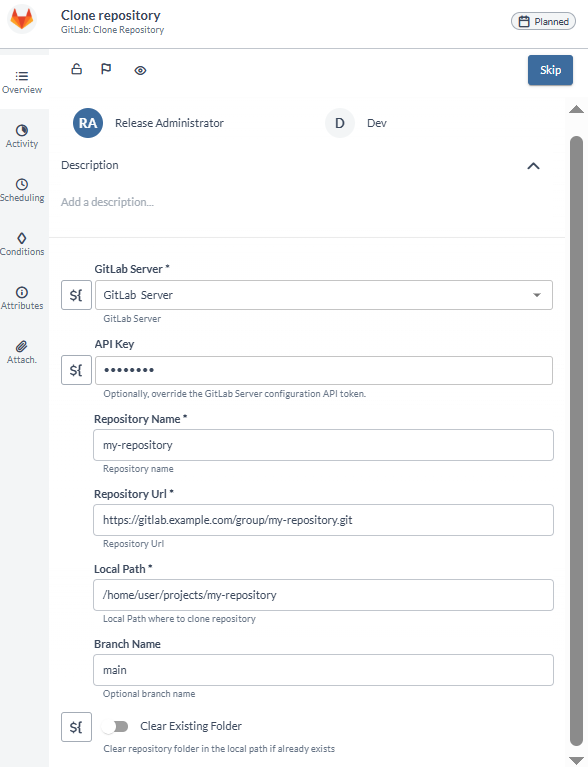
Clone Repository
This task clones a repository. It is used to create a local copy of a remote repository for development or analysis.
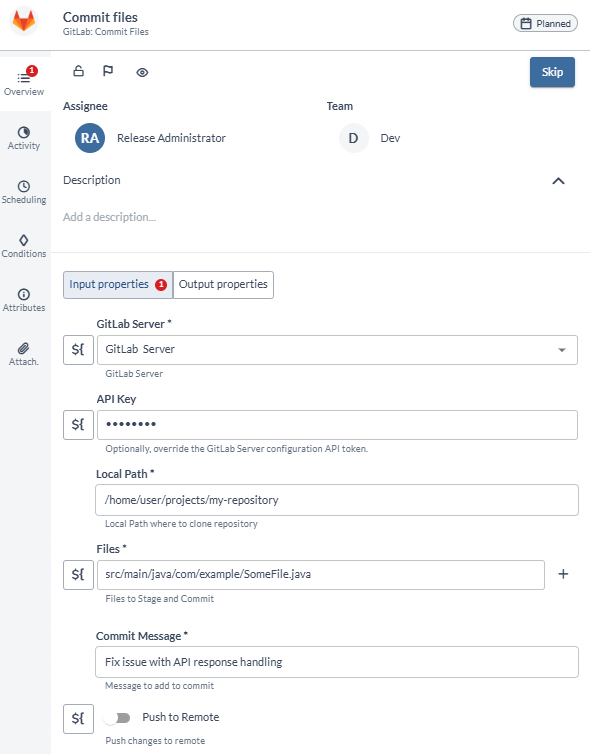
Commit Files
This task commits files. It is used to save changes to the repository with a new commit, typically including a commit message describing the changes.
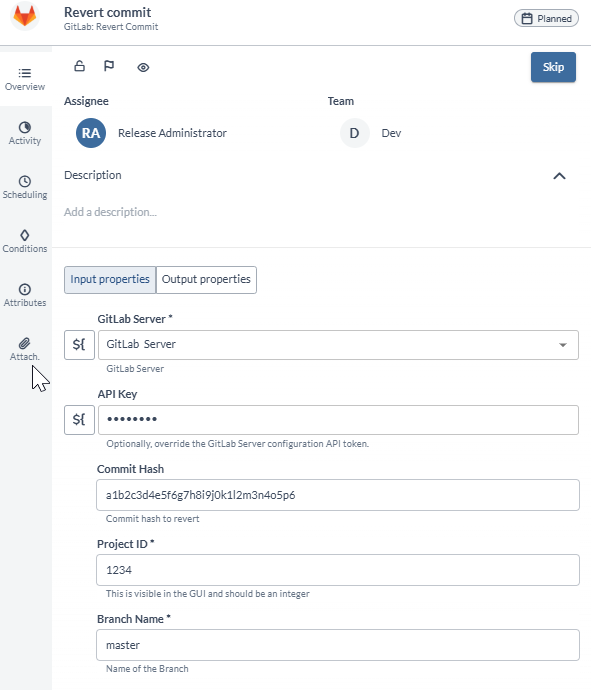
Revert Commit
This task reverts a commit. It is used to undo the changes introduced by a specific commit, creating a new commit that reverses those changes.
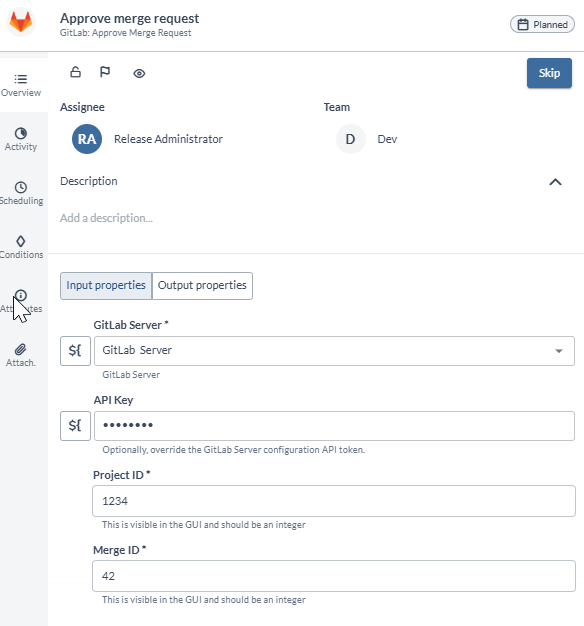
Approve Merge Request
This task approves a merge request. It is used to indicate that a merge request has been reviewed and is ready to be merged.
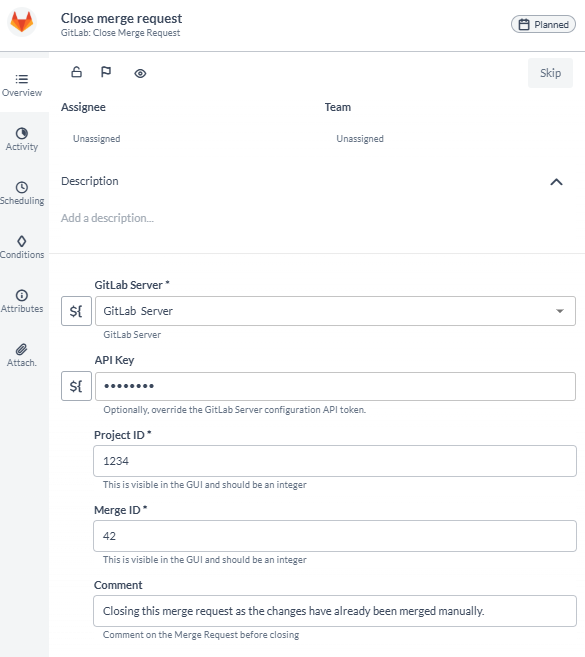
Close Merge Request
This task closes a merge request. It is used to mark a merge request as closed without merging it, often due to changes being no longer needed or handled differently.
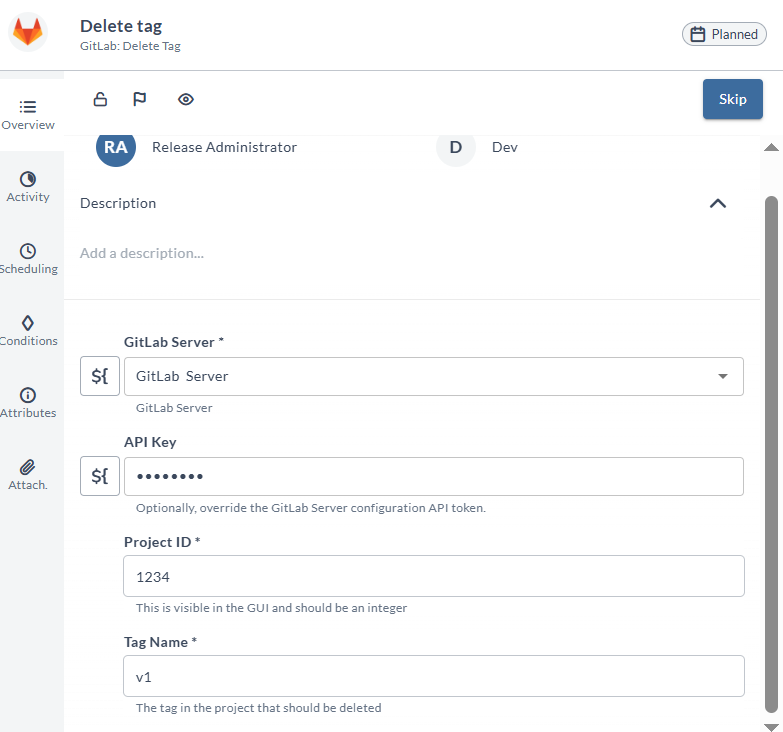
Delete Tag
This task deletes a tag. It is used to remove a tag from the repository, often when it is no longer relevant or was created by mistake.
Create Pipeline
This task creates a new pipeline, setting up and initiating a new CI/CD pipeline for a project.