Run Automated Tests on a Reserved Device
This article demonstrates how to run automated tests on a reserved device.
Reserve a Device and Make It Ready for Automation
-
Log in to the Cloud.
-
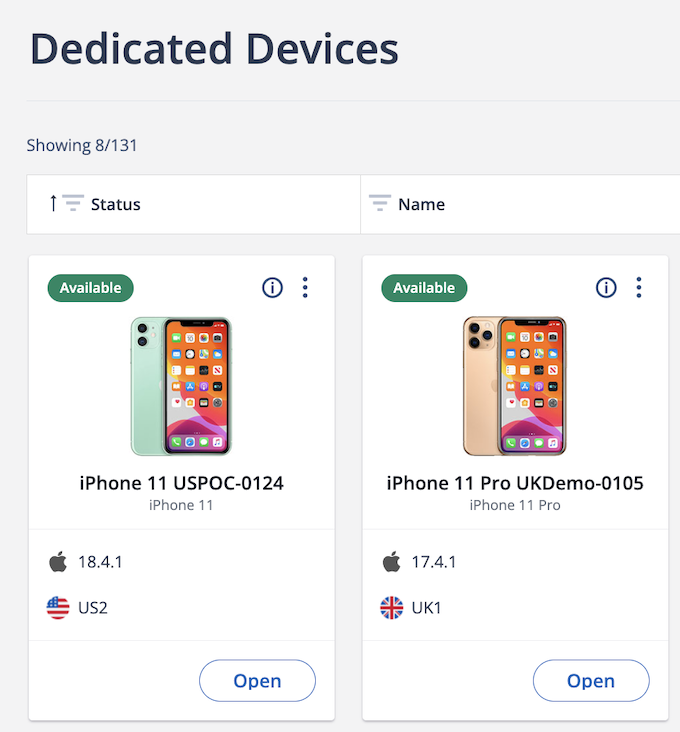
Click Devices, then make sure you are in Grid view.

-
Reserve the device you want to test.

-
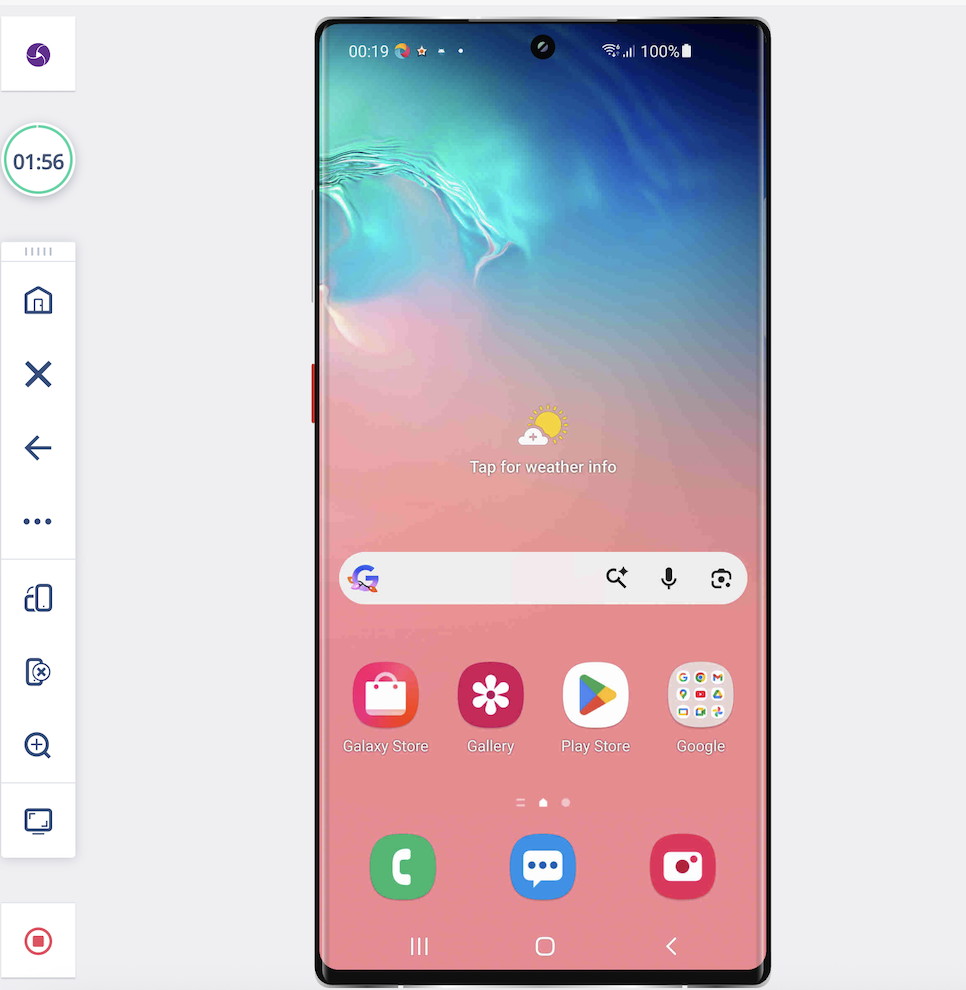
Click Open.

-
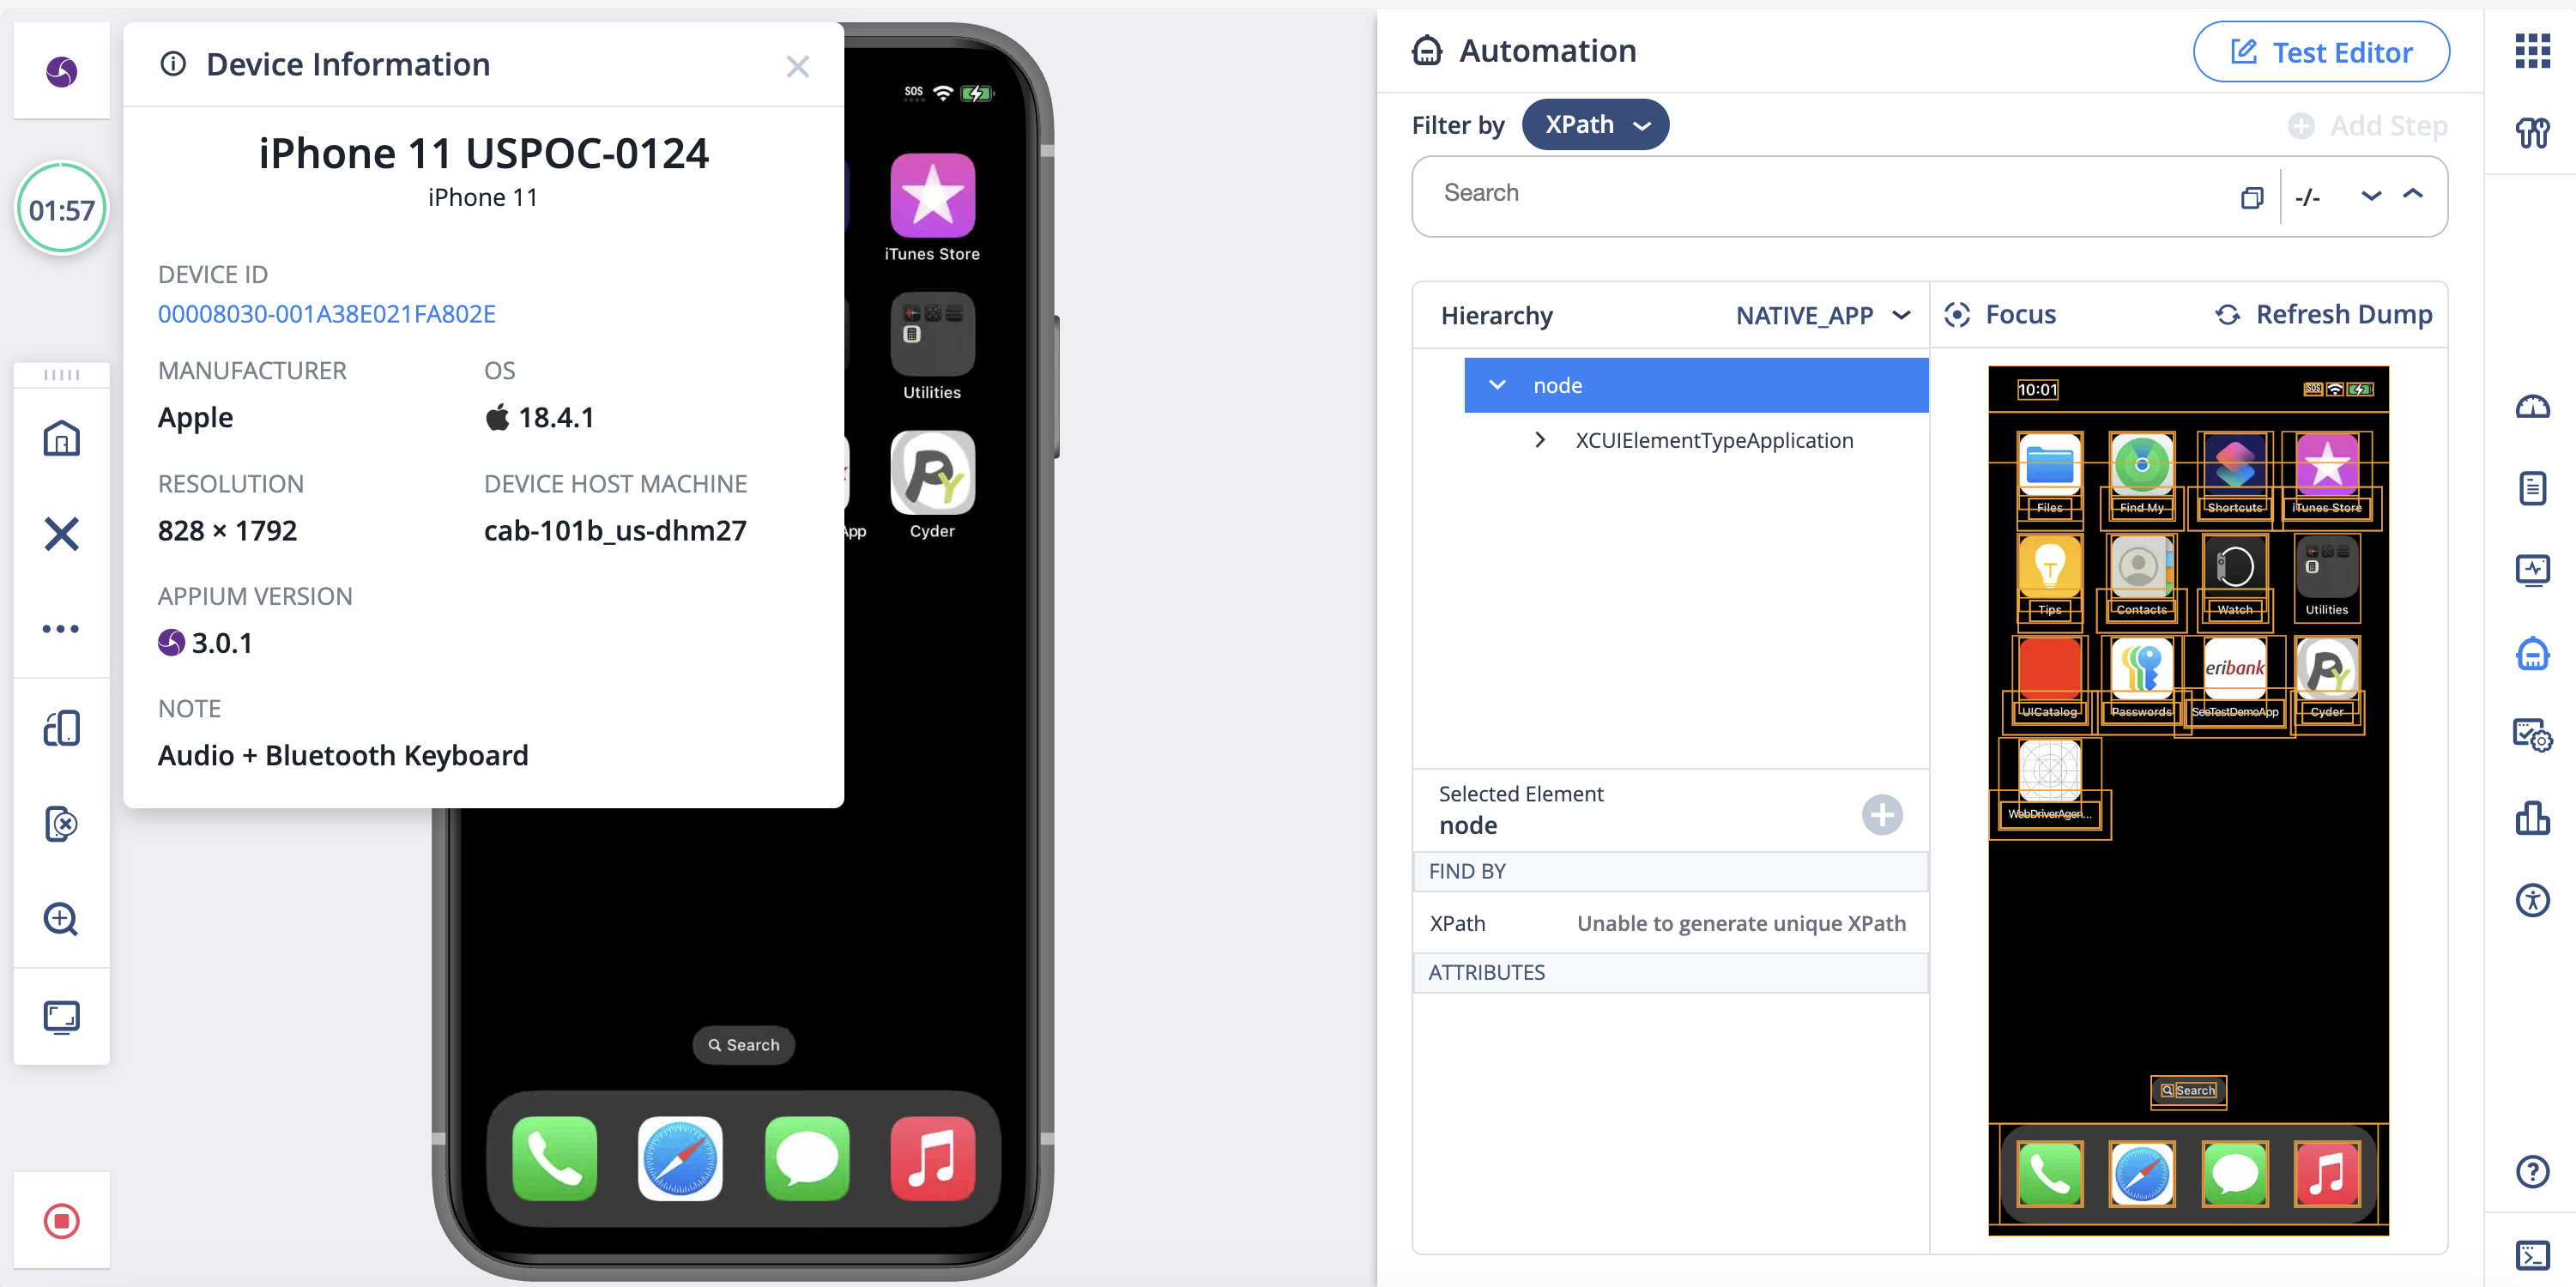
Click the Automation tab, then click Start.

-
Copy the Device ID
Run the Automation Tests
This section uses the Appium Java Testing community code project to demonstrate how to run automation tests.
-
Fork the git repository.
-
Open the project in InteliJ or Eclipse as Gradle project.
-
Read the Readme file to determine what changes need to be made to run the project.
-
Implement initDefaultDesiredCapabilities. In this example, copy the following code to TestBase.java:Testbase Modification
/**
 * Initialize default properties.
 *
 */
protected void initDefaultDesiredCapabilities() {
    LOGGER.info("Setting up Desired Capabilities");
    String accessKey = System.getenv(ENV_VAR_ACCESS_KEY);

    if (accessKey == null || accessKey.length() < 10) {
        LOGGER.error("Access key must be set in Environment variable SEETEST_IO_ACCESS_KEY");
        LOGGER.info("To get access get to to https://cloud.seetest.io or learn at https://docs.seetest.io/display/SEET/Execute+Tests+on+SeeTest+-+Obtaining+Access+Key", accessKey);
        throw new RuntimeException("Access key invalid : accessKey - " + accessKey);
    }

    dc.setCapability(SeeTestCapabilityType.ACCESS_KEY, accessKey);
    dc.setCapability(MobileCapabilityType.FULL_RESET, FULL_RESET);
    // *** Changed code
    if ("android".equals(os)) {
        dc.setCapability(MobileCapabilityType.UDID, "<device_id>");
        LOGGER.info("Reserving device - <device_id>");
    } else {
        String query = String.format("@os='%s'", os);
        dc.setCapability(SeeTestCapabilityType.DEVICE_QUERY, query);
        LOGGER.info("Device Query = {}", query);
    }
    // *** Changed code
    LOGGER.info("Desired Capabilities setup complete");
} -
Where you see
<device_id>, paste the Device ID copied from the reserved device. -
Anywhere else that MobileCapabilityType.UDID is used, set it to the Device ID.
Modification in Test.java Expand source
String query = String.format("@os='%s'", os);
dc.setCapability(SeeTestCapabilityType.DEVICE_QUERY, query);
LOGGER.info("Device Query = {}", query);

with

if ("android".equals(os)) {
        dc.setCapability(MobileCapabilityType.UDID, "FA69TBN03839");
        LOGGER.info("Reserving device", "FA69TBN03839");
} else {
    String query = String.format("@os='%s'", os);
    dc.setCapability(SeeTestCapabilityType.DEVICE_QUERY, query);
    LOGGER.info("Device Query = {}", query);
} -
Save and run the test.
In this example, all tests AndroidTestNGExampleTest.java are run on the device you had earlier reserved.
If you observe the device which you had reserved, you can see the operations performed in the console log.
You need to use MobileCapabilityType.UDID in order to use a reserved device. If you do not want to reserve a device before running your code, use a device query such as @os='<platform>' and @serialnumber='<deviceid>'.