AS - Code Export
Please note that this tool is classified as a Legacy tool. We recommend transitioning to our updated solutions to maintain optimal performance and security in your workflows. For more information on this matter, please reach out to technical support .
Appium Studio provides an auto-translation of the test-scenario to client programming language.
This code could be used as a template for further test development.
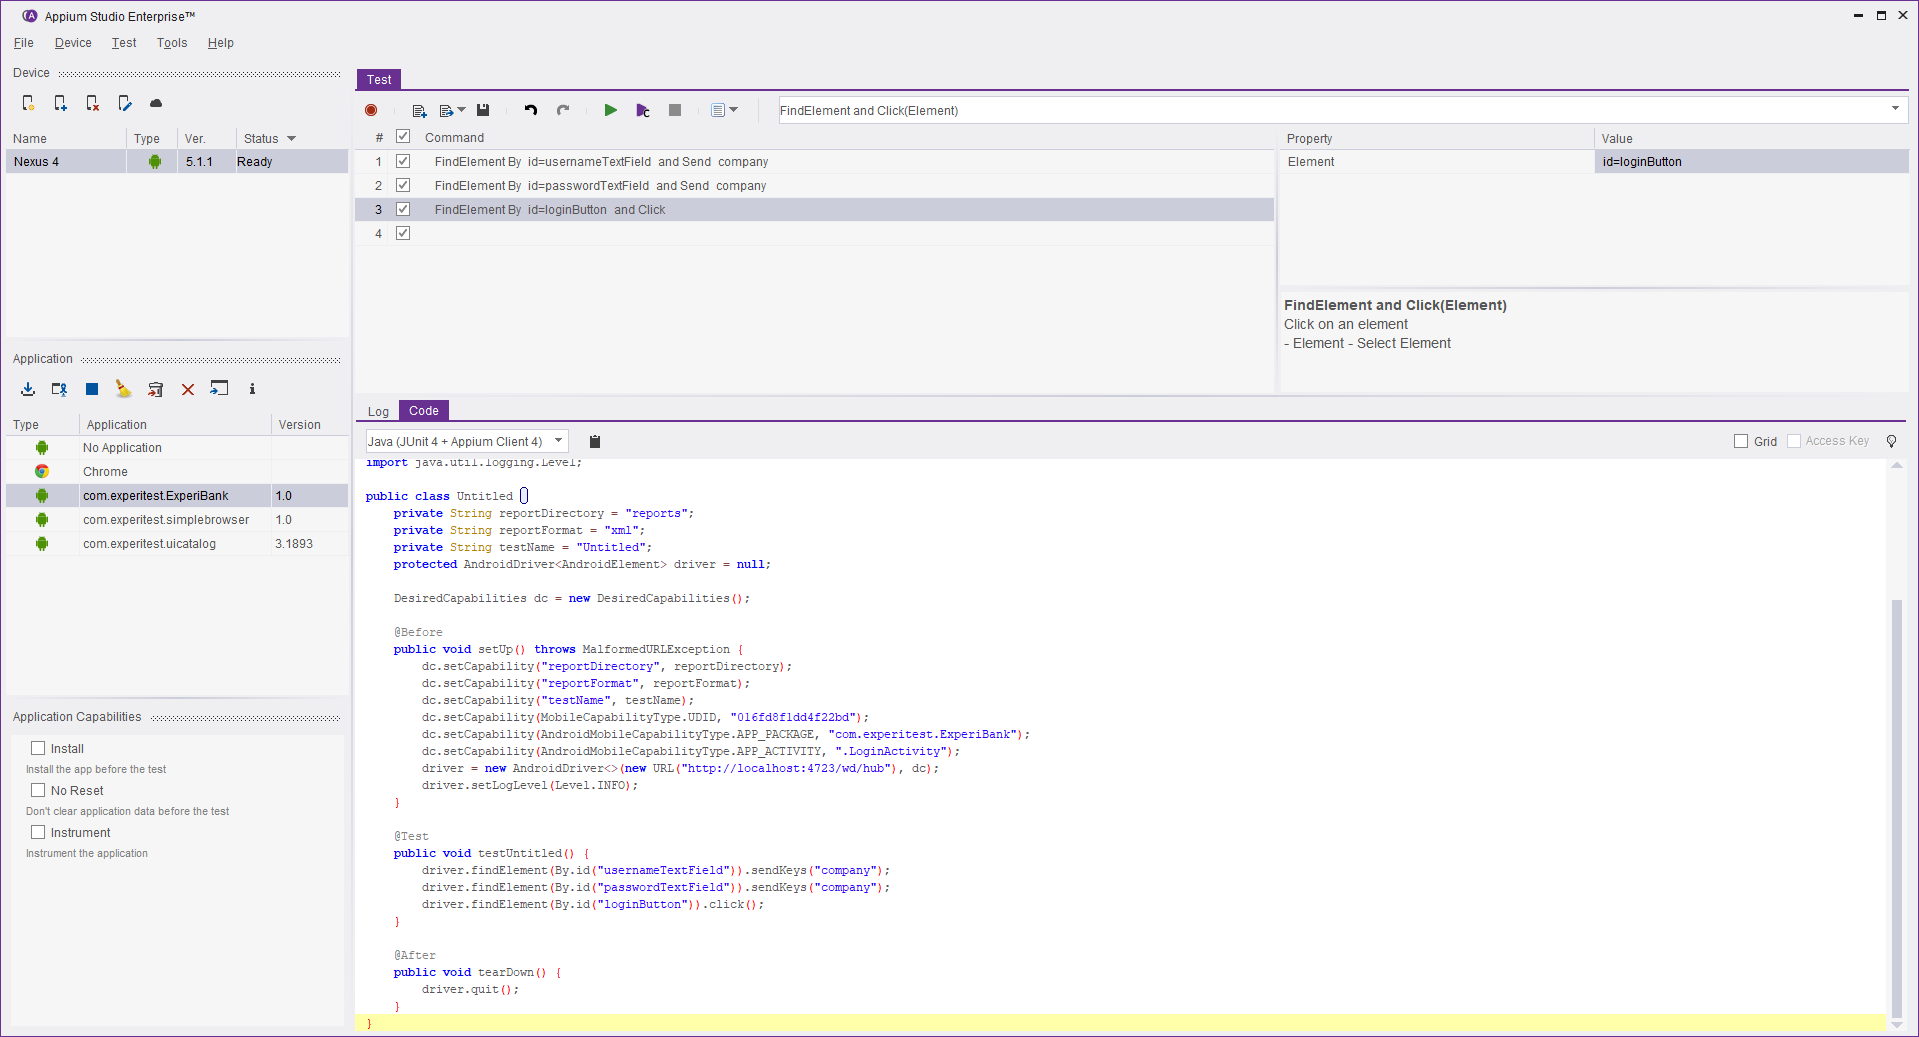
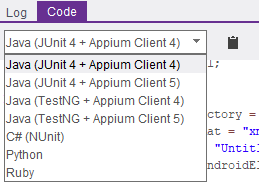
The supported languages are Java, C# (NUnit), Python and Ruby.
Furthermore, in the Java programming language there are several alternatives:
- Code which uses JUnit 4 and the syntax of java-appium client 4 or java-appium client 5
- Code which uses TestNG and the syntax of java-appium client 4 or java-appium client 5
Importing code to Eclipse
The exported code can be imported to the an Eclipse Project.
Following steps can be used to do the same.
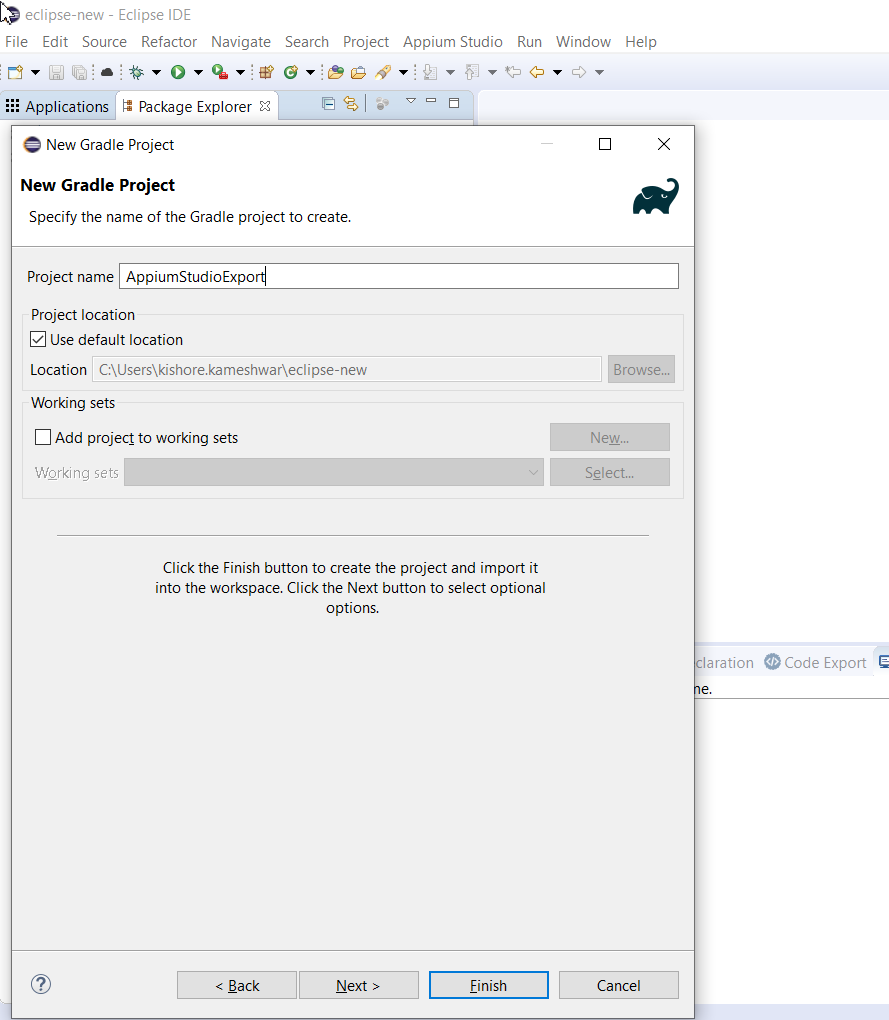
Step 1. Open Eclipse and Click File → New → Other in the Eclipse menu and choose Gradle Project.

Step 2. Click Next → Next to get dialog where Project Name can be specified. Please specify the project name and click Finish.
Step 3. Modify build.gradle as shown below.
build.gradle
apply plugin:'java'
repositories
{
	mavenCentral()
}
dependencies
{
testCompile group: 'org.junit.jupiter', name: 'junit-jupiter-api', version: '+'
testCompile group: 'junit', name: 'junit', version: '4.12'
compile group: 'io.appium', name: 'java-client', version: '5.0.4'
}
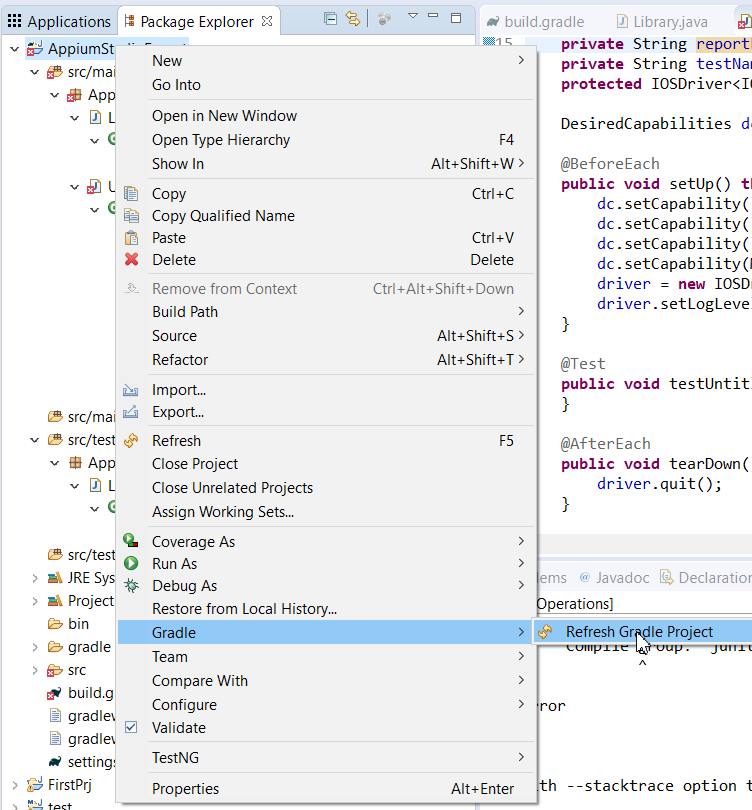
Refresh the Gradle project to download all the dependencies needed for the project.
Step 4.Create a new Java file and import the exported code which was earlier explained.
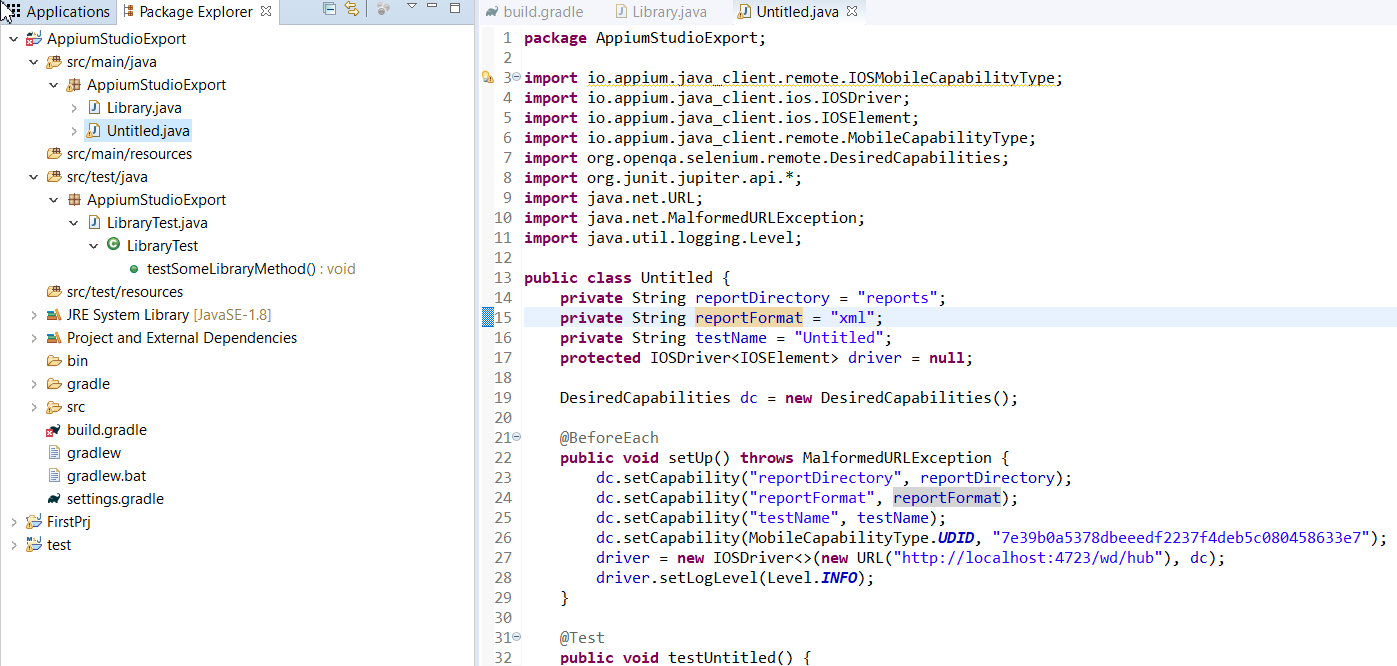
Note: Make sure you provide the package name (Appium generated code does not have package name and needs to be edited with the right package name) for compilation to be successful.
Step 5. Save the project and Run it