Slack Plugin
The Digital.ai Release Slack plugin integrates your Slack workspace with Digital.ai Release, enabling seamless communication within your release workflows. Using this plugin you can:
- Create a Slack channel.
- Add users to a Slack channel.
- Send messages to a Slack channel.
- Archive a Slack channel.
Prerequisites
- Digital.ai Release 25.1 or later
- A Slack account
Install the Digital.ai Slack Plugin
Install the Slack plugin using the Plugin Manager.

Create and Configure a Slack App
The Slack plugin requires a Slack token for authentication. This token is generated by creating and configuring a Slack app.
To configure the Slack App:
- Go to Slack API Apps.
- Click Create New App and select From scratch.
- Provide an App Name and select the Workspace where the app should be installed.
- Click Create App.
- In the left navigation pane, click OAuth & Permissions and add the following required bot token scopes:
- channels:manage: Required to create public channels, invite users, and archive them.
- groups:write: Required to create private channels, invite users, and archive them.
- chat:write: Required to send messages to channels.
- chat:write.public: Required to send messages in public channels where the bot is not a member.
- Scroll up and click Install to WORKSPACE_NAME to install the app.
- Copy the Bot User OAuth Token token and keep it handy for later use to configure the connection between Digital.ai Release and Slack
Connect Release to the Slack App
- Log in to Digital.ai Release.
- Select Connections from the sidebar navigation menu.
- Under Digital.ai connections, click the + icon next to Slack Server.
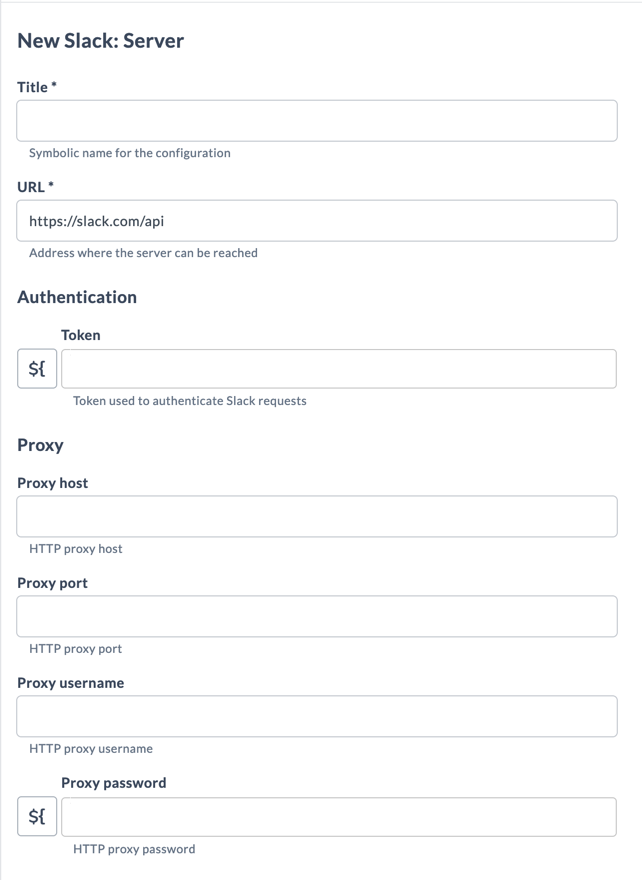
- Enter the Title, URL, and Token used to authenticate Slack requests.
note
By default, the Release uses Slack API URL:
https://slack.com/api. - If your Digital.ai Release server is using a proxy, specify the necessary values.
- Click Test to verify your connection to the Slack server.
- Click Save.
The Slack plugin provides the following tasks for interacting with Slack.
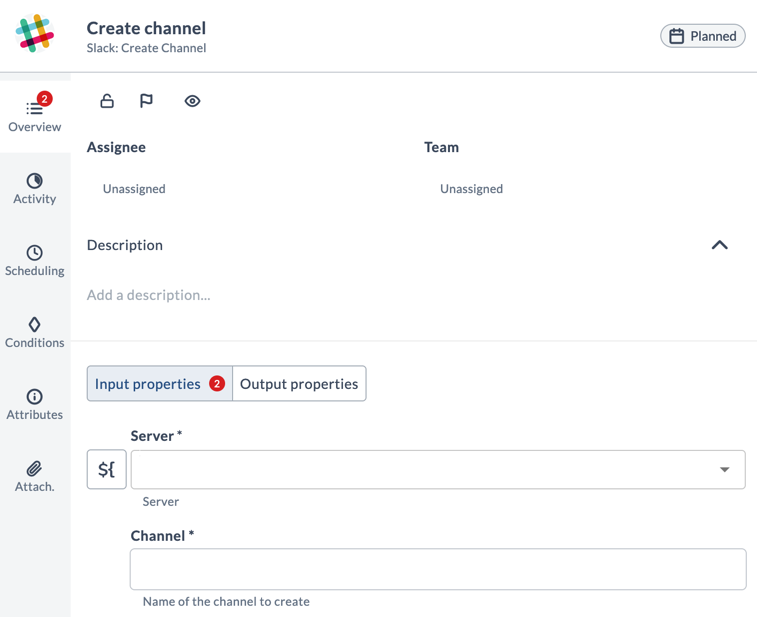
Create a Slack Channel
This task creates a new channel in Slack.
To create a slack channel:
-
In the release or template, click Add task.
-
Click All types and select Slack > Create a Slack channel.
-
Open the added task.
-
Enter the following details:
- Server: Select the server where you want to create the channel in.
- Channel: Enter the name for the new Slack channel.
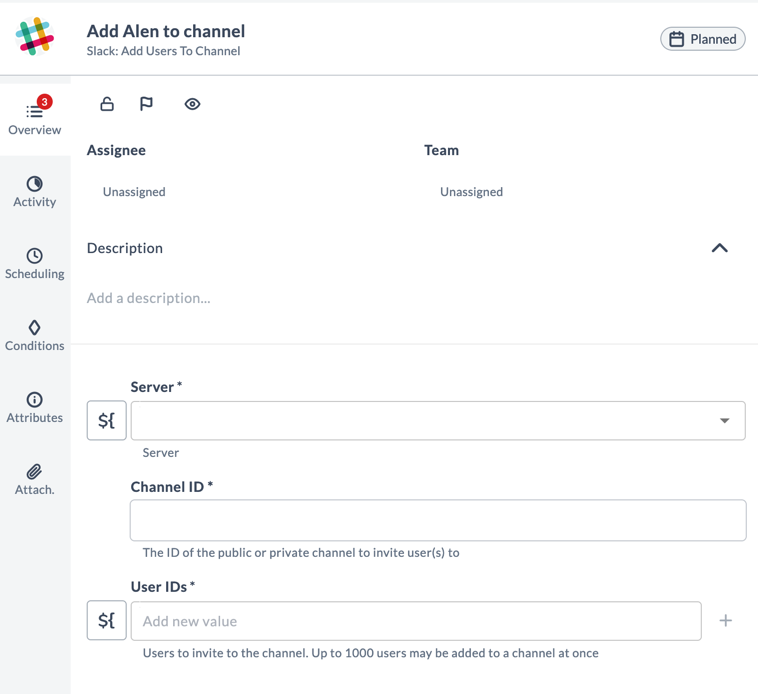
Add Users to Channel
This task adds a list of users to a Slack channel based on their User IDs.
To add users to a channel:
-
In the release or template, click Add task.
-
Click All types and select Slack > Add users to channel.
-
Open the added task.
-
Enter the following details:
-
Server: Select the server where you want to create the channel in.
-
Channel ID: Enter the Slack channel ID.
tipTo find Slack channel ID, click the channel name in Slack and scroll to the bottom of the About section to locate the channel ID
-
Users IDs: Enter the User IDs to invite to the channel. You can add multiple User IDs, separated by commas.
-
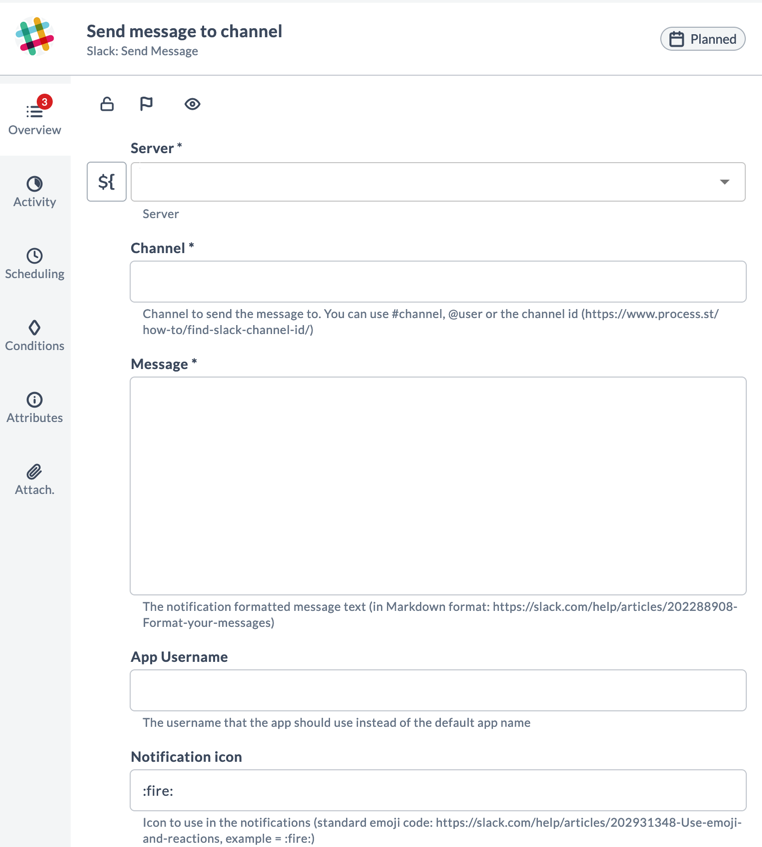
Send Messages to Channel
This task posts a message to a Slack channel.
To send a message to a channel:
-
In the release or template, click Add task.
-
Click All types and select Slack > Send message to channel.
-
Open the added task.
-
Enter the following details:
- Server: Select the server where you want to create the channel in.
- Channel ID: Enter the Slack channel ID.
- Message: Enter the message to post to the channel.
- App Username: The username that the app should use instead of the default app.
- Notification icon: Icon to use in the notifications.
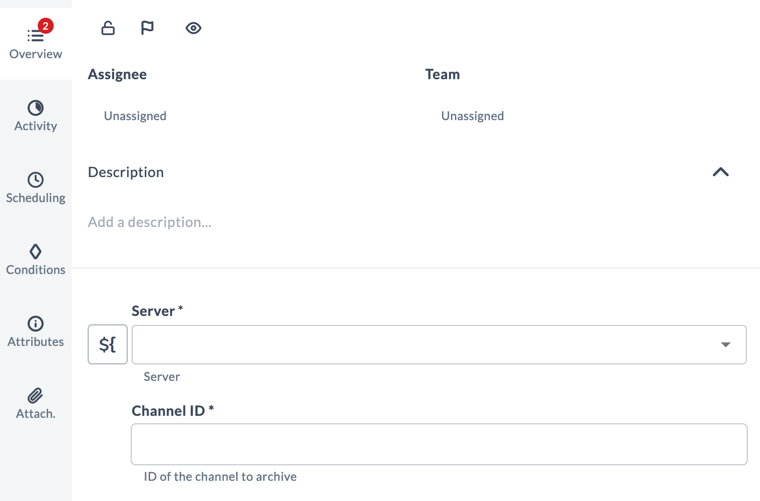
Archive Channel
This task archives an existing Slack channel.
To archive a channel:
-
In the release or template, click Add task.
-
Click All types and select Slack > Archive channel.
-
Open the added task.
-
Enter the following information:
- Server: Select the Slack server connection.
- Channel ID: Enter the Slack channel ID to archive.