Configure SSL/TLS in Kubernetes Environment
This topic illustrates how to configure SSL/TLS with Digital.ai Release. A self-signed certificate is used for illustrative purposes in this procedure. However, you may want to replace it with your own trusted certificate for production environments, which you can do by creating a new Secret object in Kubernetes that contains your certificate and then configuring the ingress controller to use it.
Step 1—Create a Domain Name
Skip this step if you have a registered domain name already.
For example, you can create your own domain using the Route53 service on AWS. For more information, see AWS Route53 Documentation
For illustrative purposes let us use the following domain name: digitalai-testing.com.
Step 2—Create a Self-signed Certificate
Skip this step if you have a valid certificate already.
Suppose you create a self-signed certificate named app.digitalai-testing.com using OpenSSL for the subdomain as shown in the following example:
openssl req -x509 \
  -newkey rsa:2048 \
  -keyout tls.key \
  -out tls.crt \
  -days 365 \
  -nodes \
  -subj "/C=IN/ST=MH/L=PUN/O=MyCompany/CN=app.digitalai-testing.com"
Step 3—Create Secret
Use the kubectl create secret command to save your TLS certificate and key as a Secret in the cluster. The key and cert fields refer to the local files where you’ve saved your certificate and private key.
kubectl create secret tls ssl-secret \
  --key=" tls.key " \
  --cert=" tls.crt "
Step 4—Configure the Ingress Controller
-
In the Release CR YAML file:
- Update the ingress configuration section by adding the
tls-acmeannotation and set thessl-redirectkey totrue. - Add the
tlskey and type the secret name which was created in Step 3.
There is a difference between NGINX and HAPROXY setups.
Here's an example that uses NGINX ingress controller.
  ingress:
    Enabled: true
    annotations:
      kubernetes.io/ingress.class: nginx
      nginx.ingress.kubernetes.io/affinity: cookie
      nginx.ingress.kubernetes.io/proxy-connect-timeout: "60"
      nginx.ingress.kubernetes.io/proxy-read-timeout: "60"
      nginx.ingress.kubernetes.io/proxy-send-timeout: "60"
      nginx.ingress.kubernetes.io/rewrite-target: /
      nginx.ingress.kubernetes.io/session-cookie-name: ROUTE
      nginx.ingress.kubernetes.io/ssl-redirect: "true"
      nginx.ingress.kubernetes.io/tls-acme: "true"
    hostname: app.digitalai-testing.com
    path: /
    # If you want to use TLS configuration uncomment the following lines and provide correct values.
    # You need to create secret, and provide the name under 'secretName'
    tls: true
    extraTls:
      - secretName: ssl-secret
        hosts:
          - app.digitalai-testing.com
Here's an example that uses HAPROXY ingress controller.
  ingress:
    Enabled: true
    annotations:
      kubernetes.io/ingress.class: haproxy
      ingress.kubernetes.io/ssl-redirect: true
      ingress.kubernetes.io/tls-acme: true
      ingress.kubernetes.io/rewrite-target: /
      ingress.kubernetes.io/affinity: cookie
      ingress.kubernetes.io/session-cookie-name: JSESSIONID
      ingress.kubernetes.io/session-cookie-strategy: prefix
      ingress.kubernetes.io/config-backend: |
        option httpchk GET /ha/health HTTP/1.0
    hostname: app.digitalai-testing.com
    path: /
    # If you want to use TLS configuration uncomment the following lines and provide correct values.
    # You need to create secret, and provide the name under 'secretName'
    tls: true
    extraTls:
      - secretName: ssl-secret
        hosts:
- app.digitalai-testing.com - Update the ingress configuration section by adding the
-
Edit the CR file, in case you have already running application:
❯ kubectl get crd
NAME                                             CREATED AT
digitalaireleases.xlr.digital.ai                 2022-06-27T08:19:54Z
...
❯ kubectl get digitalaireleases.xlr.digital.ai
NAME      AGE
dai-xlr   3d5h
❯ kubectl edit digitalaireleases.xlr.digital.ai dai-xlr -
Save the changes after editing; the changes are applied to the cluster automatically.
Step 5—Verify the Ingress Service
Run the kubectl get services command to see the ingress load balancer configured by the provider.
Example for AWS
AWS maps the ingress load balancer entry in the Route53 service by creating an A record.
See Creating records by using the Amazon Route 53 console for information on creating an ‘A’ record set on Route53.
Suppose you have created the following A record in route53: app.digitalai-testing.com.
Step 6—Verify the Ingress Configuration
Run the kubectl get ingress command to see the ingress controller configuration in your cluster.
❯ kubectl get ingress
NAME                       CLASS    HOSTS                       ADDRESS      PORTS   AGE
dai-xlr-digitalai-release  <none>   app.digitalai-testing.com   10.224.0.6   80,443  3d5h
Step 7—Verify the Configured Certificate
-
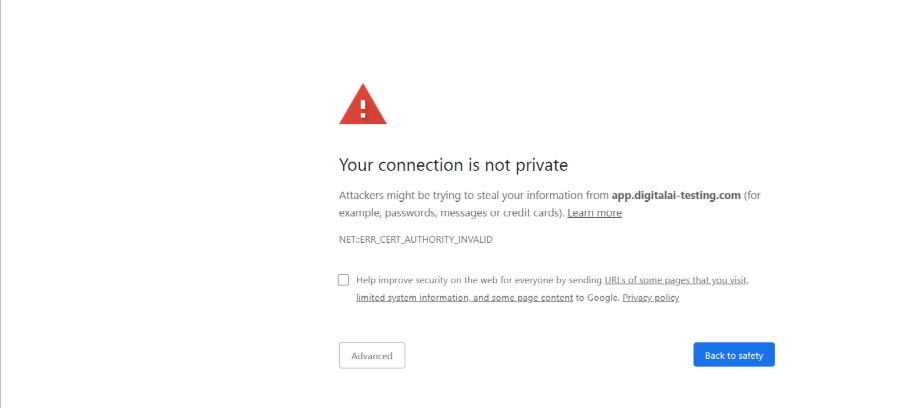
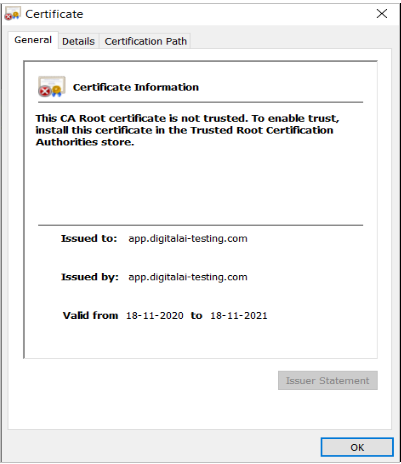
Access the application using the browser and verify the configured certificate from the browser.
The following warning message shows up as we used a self-signed certificate.

-
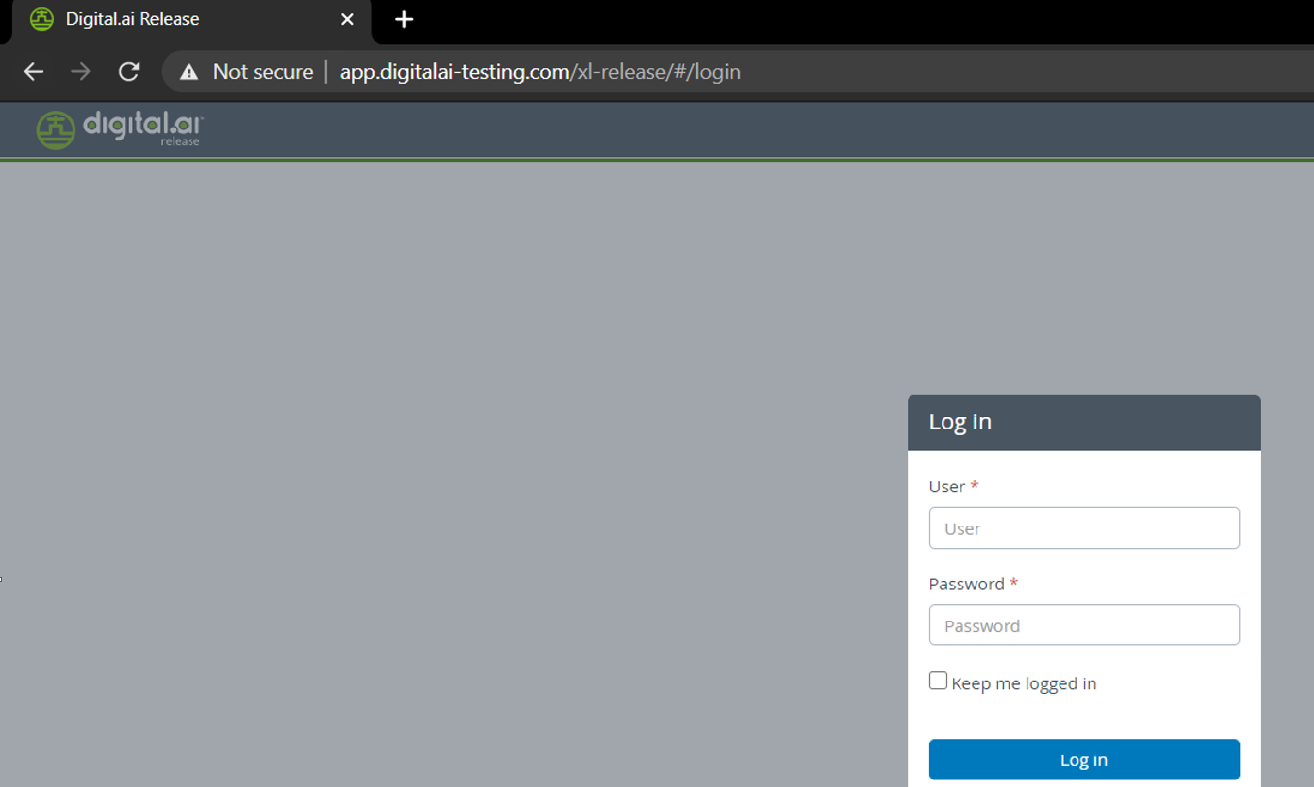
Click Advanced to go to the Digital.ai Release web UI.

