Plugins manager
This topic provides information on the Digital.ai Deploy plugin manager, which displays the list of installed plugins on the filesystem or database along with their current versions. You can manage your Digital.ai Deploy plugins directly from the user interface, including uploading new plugins or updating existing ones.
To use the plugin manager, click Plugins in the left menu bar.
You can view a list of all the installed plugins in Digital.ai Deploy under the Installed tab.
The Plugins tab is accessible only to the Admin user.
As of Digital.ai Deploy 10.2.0, the plugin manager is available in cluster mode.
View and Install an Official Digital.ai Deploy Plugin
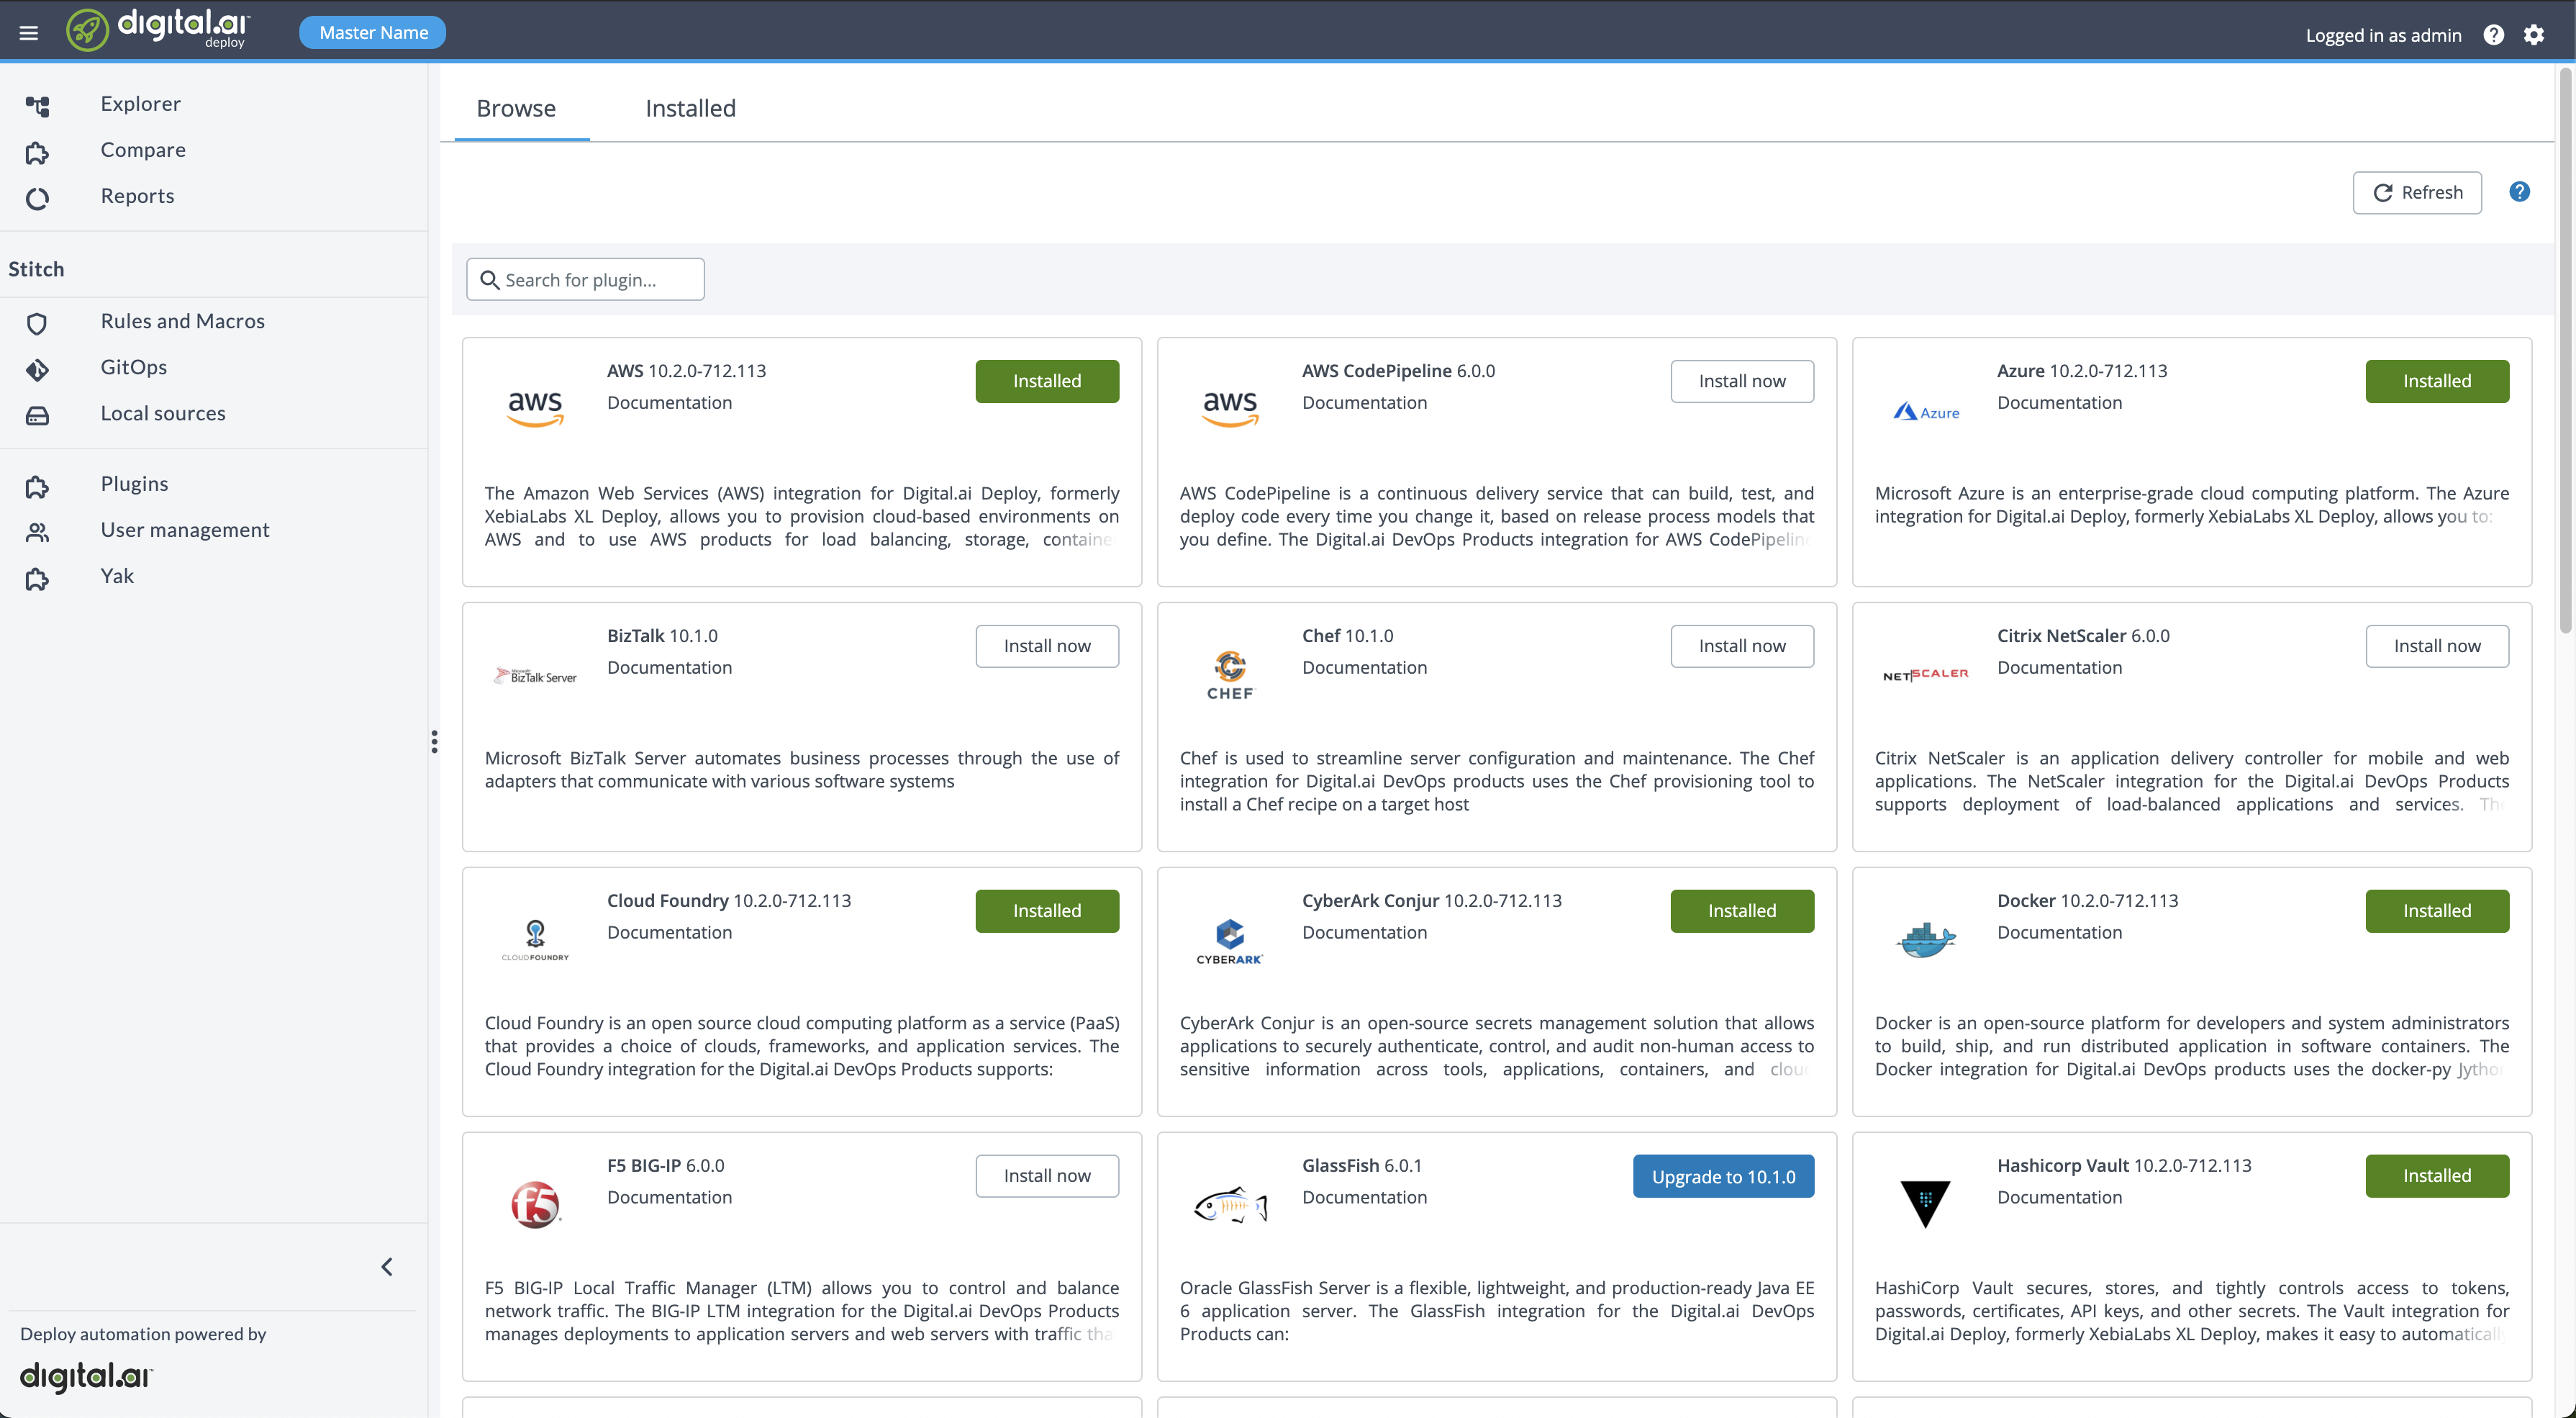
To view and install the official Digital.ai Deploy plugins, do the following steps:
- On the left navigation bar, click Plugins and then click on Browse tab.
- Click Install now on the respective plugin that you would like to install. At that point (while install is in process) if you wish to abort the installation process, you can click on Cancel installation.
- If there is a newer version of an already installed plugin available, the button will turn state and show Upgrade.
You must restart Digital.ai Deploy to finish the plugin installation process.
Plugins which are shown on the Browse tab of the plugin manager are coming from Digital.ai official Nexus repository. In order to see all the official Digital.ai Deploy plugins on the Browse tab, ensure there is network connectivity.
Upload a New Plugin
To upload a new plugin or a new version of an existing plugin, do the following steps:
- In the left navigation bar, click Plugins and then click on Installed tab
- Click Upload new plugin file and then select and upload the plugin file from your local machine. Note: It is possible to upload only 3rd party plugins. There are certain rules with installation of same plugins of different versions. For more information, see Plugin Synchronization.
- You can also upload a 3rd party plugin using Plugin Manager CLI.
Important: After you upload a plugin, you must restart your Digital.ai Deploy instance.
Manage Bundled Plugins and Error Handling
Starting with version 25.3, the plugin manager UI provides enhanced support for managing bundled plugins
- Bundled plugins are now visible in the Installed section inside Manage Plugins in Digtial.ai Deploy.
- Bundled Plugins can be upgraded directly from the UI if a new version is available.
- Bundled plugins can be deleted via the UI or reinstalled using the Plugin Manager CLI.
Bundled plugins are automatically placed in the xld_official folder and are tracked in the plugin metadata JSON file. This ensures that all core plugins are always visible and manageable from the UI.
When using the Plugin Manager UI without a network connection or access to plugin metadata, the uploaded plugin is treated as a local plugin and placed in the _local_ folder. By default, all plugins installed via Plugin Manager UI are placed in the _local_ folder. The system uses plugin metadata to identify whether a plugin is official or custom. To add plugins as official in such cases, customers can use the Plugins Manager CLI with the official parameter.
Error Handling
- File type validation: Only
.xldpplugin files are supported for upload. Attempting to upload files with any other extension will result in an error message in the UI. - JDK compatibility: If you attempt to install a plugin that is not compatible with the server's JDK version the installation will fail with a compatibility error. Refer to Update Custom Plugins for JDK 21 Upgrade for more information.
If plugin metadata cannot be fetched due to network issues, plugins uploaded via the UI will be treated as local and placed in the _local_ folder. To install a plugin as official, customers must use the Plugin Manager CLI with the official argument, provided network access or metadata is available.
For more advanced plugin management, see Plugin Manager CLI.
Remove a Plugin
To remove a plugin:
-
Shut down the Deploy server.
-
You can delete Digital.ai Deploy plugins with the plugin manager command-line interface (CLI) from the database or filesystem.
For more information, see Plugin Manager CLI
-
Start the Deploy server. Depending on your system, execute one of the following:
- Unix-based system:
run.sh - Microsoft Windows:
run.cmdFor more information, see Start Deploy.
- Unix-based system:
-
Refresh the Deploy GUI in your browser.
Configure Proxy for Plugin Manager
If the Digital.ai Deploy server uses a proxy to connect to the internet, the plugin manager cannot install a plugin from the GUI. The plugin manager must access the https://plugins.xebialabs.com/nexus/ URL to fetch the plugins.
To configure the proxy settings for the plugin manager, add the below configuration to the centralConfiguration/deploy-plugins.yaml file:
deploy:
  plugins:
    repositories:
    ...
    servers:
    - name: xebialabs-internal
      ...
      proxy:
        host: proxy.example.com
        port: 8888
Plugin Manager CLI
Limited plugin management is available through command-line interface integrated into the server. For more information, see Plugin Manager CLI
Plugin Storage
Plugins are stored in the database and users should be handling them only by using the GUI and CLI.
WARNING: All manual file operations (copying, renaming, moving, removing, etc.) inside the plugins folder is strictly not allowed
For more information, see Plugin synchronization