Bitbucket Plugin
This topic describes how to configure and use the Digital.ai Release Bitbucket plugin.
What is Bitbucket?
Bitbucket is a Git-based source code repository hosting service that provides version control, collaboration tools, and CI/CD capabilities.
The Digital.ai Release Bitbucket plugin integrates Release with Bitbucket Cloud and Bitbucket Server, enabling you to automate and orchestrate release workflows using Bitbucket repositories.
With this plugin, you can:
- Trigger releases based on Bitbucket commits
- Create and manage branches, pull requests, and tags
- Monitor commits, pull requests, and branch activities
- Clone repositories and commit files during releases
- Query file contents and search within repositories
- Display Bitbucket data in Release dashboards
For more information, see Features.
Prerequisites
Before configuring the Bitbucket plugin, ensure you have the following:
- Digital.ai Release running and accessible.
- Install the Bitbucket plugin using the plugin manager. For more information, see View and Install an Official Digital.ai Release Plugin.
- Access to Bitbucket Cloud or Bitbucket Server that is running and accessible from your Digital.ai Release instance.
- Bitbucket server URL.
- Bitbucket credentials:
- For Bitbucket Cloud: Username and password or API token
- For Bitbucket Server: Username and password, or Personal Access Token (PAT)
Set Up Bitbucket Connection
You can configure connections to the following Bitbucket instances:
- Bitbucket Cloud
- Bitbucket Server
Bitbucket Cloud
- From the navigation pane, click Configuration > Connections.
- Under configurations, beside Bitbucket: Cloud, click

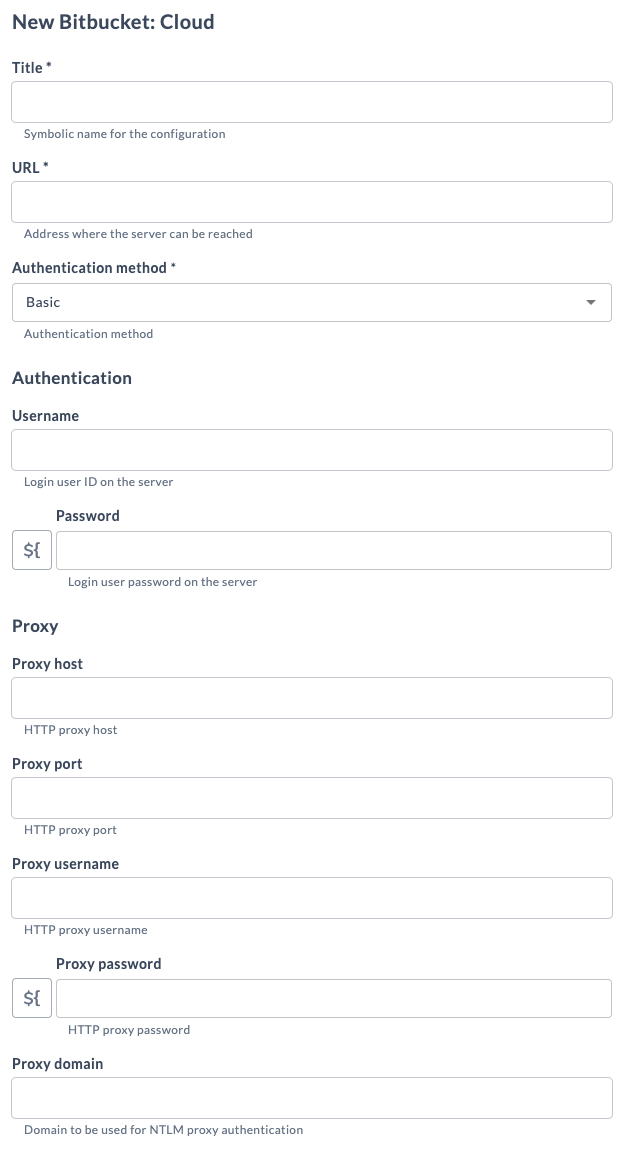
- Configure the connection with the following fields:
Name Description Title * Name for the configuration URL * Address where the server can be reached Authentication method * Authentication method (Basic / None) Username Login user ID on the server Password API token for Bitbucket Cloud authentication Proxy host HTTP proxy host Proxy port HTTP proxy port Proxy username HTTP proxy username Proxy password HTTP proxy password Proxy domain Domain to be used for NTLM proxy authentication
Bitbucket Cloud (SaaS) uses username and API token authentication. Personal Access Tokens (PAT) are not supported for Bitbucket Cloud connections.
- Click Test, to test the connection.
- Click Save, to save the configuration.
Bitbucket Server
- From the navigation pane, click Configuration > Connections.
- Under configurations, beside Bitbucket: Server, click
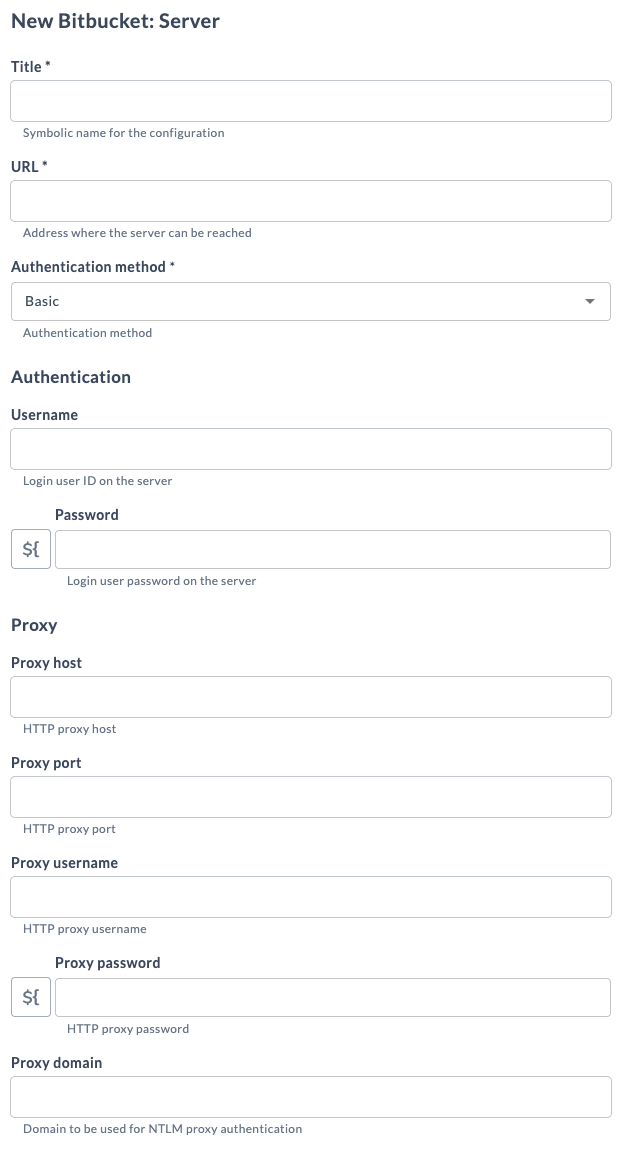
- Configure the connection with the following fields:
| Name | Description |
|---|---|
| Title * | Name for the configuration |
| URL * | Address where the server can be reached |
| Authentication method * | Authentication method (Basic / None / Bearer) |
| Username | Login user ID on the server |
| Password | Login user password on the server (Personal Access Token in case of Bearer method) |
| Proxy host | HTTP proxy host |
| Proxy port | HTTP proxy port |
| Proxy username | HTTP proxy username |
| Proxy password | HTTP proxy password |
| Proxy domain | Domain to be used for NTLM proxy authentication |
Bitbucket Server supports both username/password authentication and Personal Access Token (PAT) authentication using Bearer method. For PAT authentication, ensure you have generated a valid PAT from Bitbucket server before configuring the connection.
- Click Test, to test the connection.
- Click Save, to save the configuration.
Features
This plugin provides the following features:
- Bitbucket Cloud and Server webhooks
- Bitbucket Cloud and Server commit triggers
- Bitbucket Cloud and Server dashboard tiles
Webhooks
-
From the navigation pane, click Configuration > Connections.
-
Under configurations, beside HTTP Endpoint For Webhooks under Webhooks and Events section, click
-
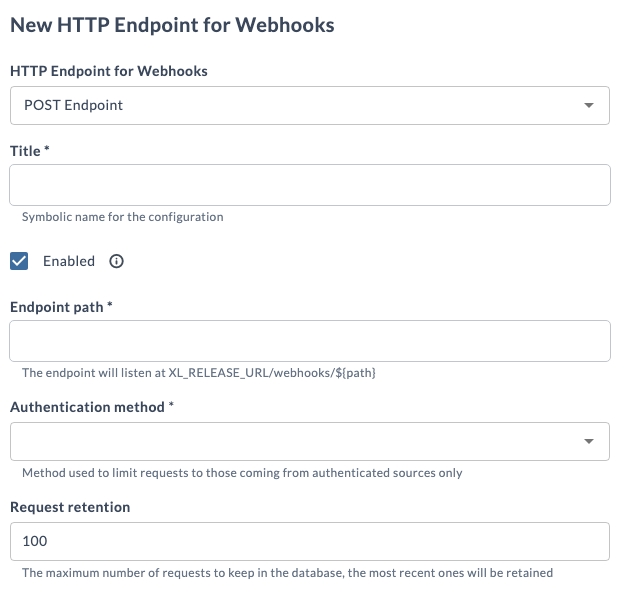
Configure the connection with the following fields:
Name Description HTTP Endpoint for Webhooks * Endpoint type (POST / GET) Title * Name for the configuration Enabled Enables the event source Endpoint path * Enter the endpoint path. The endpoint listens at XL_RELEASE_URL/webhooks/${path}Authentication method * Github authentication / No authentication / Scripted authentication (jython) / Token authentication Request retention Maximum number of requests to retain in the database -
Click Save, to save the configuration.
Cloud Commit Trigger
This trigger can be used to poll Bitbucket Cloud for triggering releases.

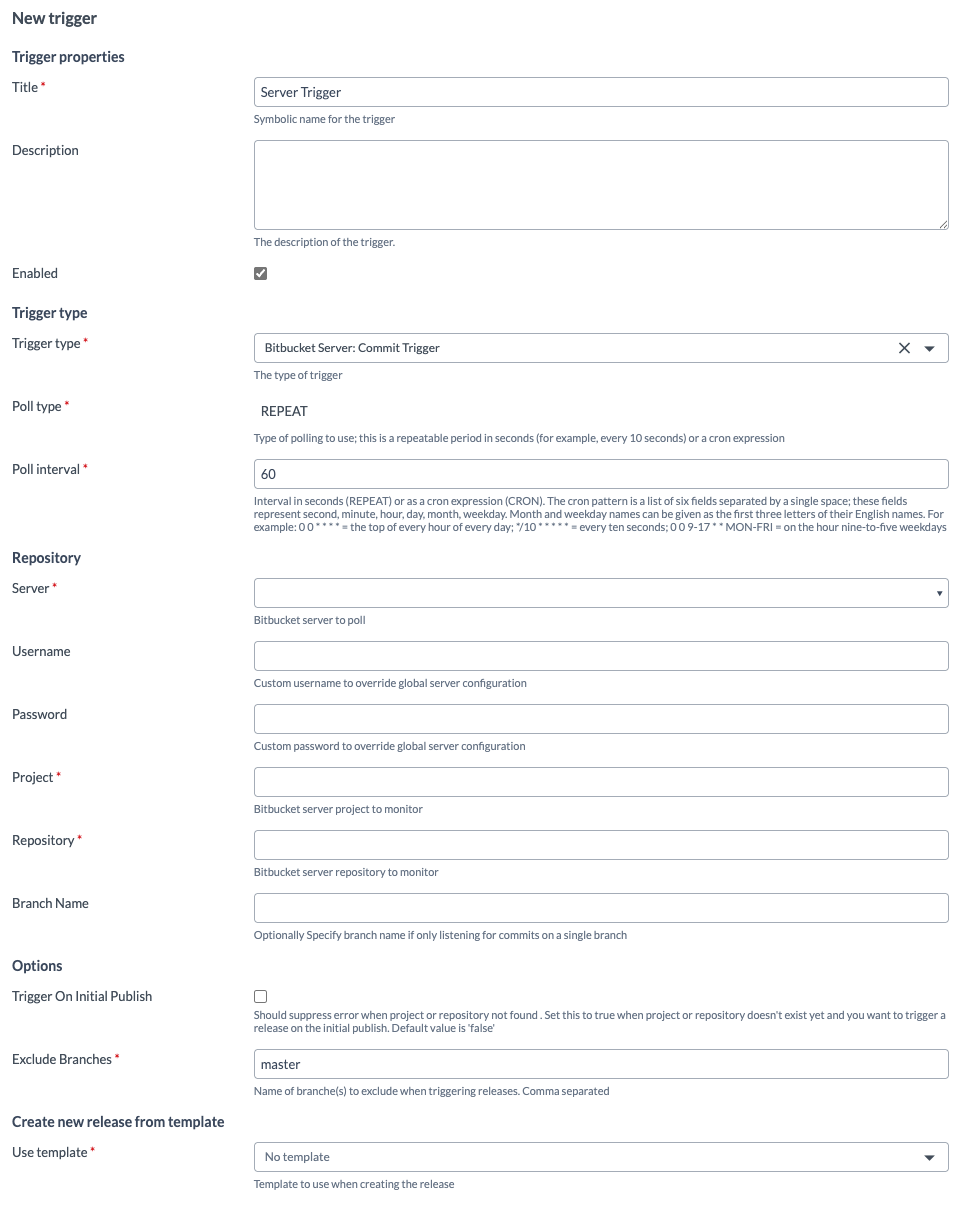
Server Commit Trigger
This trigger can be used to poll Bitbucket Server for triggering releases.
Cloud Dashboard Tiles
Bitbucket Cloud provides the following dashboard tiles:
- Bitbucket Cloud Commits Summary
- Bitbucket Cloud Contributions Summary
- Bitbucket Cloud Merge Requests Summary
- Bitbucket Cloud Commits Timeline
- From the navigation pane, click Reports.
- Select the dashboard where you want to add the tile.
note
If you have not created a dashboard yet, click Add dashboard in the top-right corner of the screen.
- In the top-right corner, click Configure dashboard.
- Click Add tiles.
- Hover over Bitbucket Cloud Commits Summary and click Add.
- In the tile, click Configure.
- In the Title field, enter a name for the tile.
- In the Bitbucket Cloud field, select the configured cloud connection.
- In the Repository Full Name field, enter the repository name.
- In the Branch Name field, enter the branch from which data should be fetched.
- In the Tag Name field, enter the tag name.
- In the Results Limit field, enter the maximum number of results.
- Click Save.
You can configure the remaining Bitbucket Cloud tiles using the same process.
Server Dashboard Tiles
There are four tiles in Bitbucket server:
- Bitbucket Server Commits Summary
- Bitbucket Server Contributions Summary
- Bitbucket Server Merge Requests Summary
- Bitbucket Server Commits Timeline
- From the navigation pane, click Reports.
- Select the dashboard where you want to add the new tile.
note
If you have not created a dashboard yet, you can do so by clicking the Add dashboard button in the top right of the screen.
- In the top right of the screen, click Configure dashboard.
- In the top right of the screen, click Add tiles.
- Hover over Bitbucket Server Commits Summary, and click Add.
- Click the Configure option present in the tile.
- In the Title field, enter a name for the tile.
- In the Bitbucket Server field, select the server configured.
- In the Project Name field, enter the project key.
- In the Project Slug field, enter the name of the repository.
- In the Branch Name field, enter the name of branch from which data can be fetched.
- In the Tag Name field, enter the tag name.
- In the Results Limit field, enter the limit of list in numbers.
- Click Save.
You can configure for rest of the three tiles of the Bitbucket server using the same process described above.
Report Creation
- Click Reports.
- Go to Audit report.
- Click the Generate new report button.
- Select Time period.
- Click Add filter to generate the report for a specific template.
- Click the Preview results button.
- Click the Generate report button.
- Download the generated report.
- Extract it and verify the extracted reports.
Available Tasks
The tasks available for Bitbucket Cloud and Bitbucket Server are as follows:
- Approve Pull Request
- Check Branch Existence
- Clone Repository
- Commit Files
- Commits Query
- Create Branch
- Create Pull Request
- Decline Pull Request
- Delete Branch
- Download Code
- Get Branch Restrictions
- Get Pull Request
- List Files
- Merge Pull Request
- Search File Content
- Tag Release
- Wait For Merge
You cannot run the clone and commit tasks together in a clustered setup.
Approve Pull Request
This task approves a pull request. It is used to indicate that a pull request has been reviewed and is ready for merging.

Check Branch Existence
This task checks if a branch exists in the repository. It is used to verify the presence of a specific branch before performing operations on it.

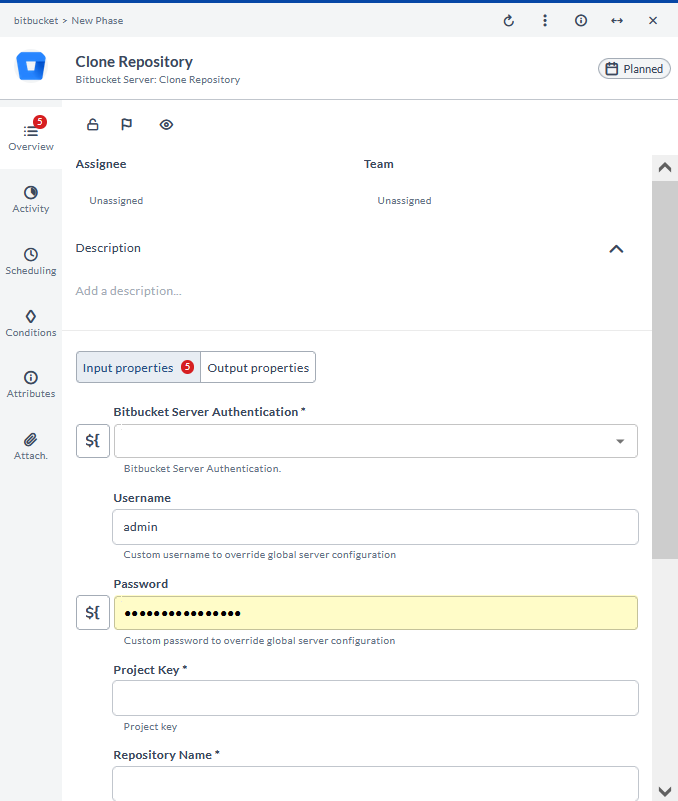
Clone Repository
This task clones a repository from Bitbucket. It is used to create a local copy of a Bitbucket repository for development or analysis.
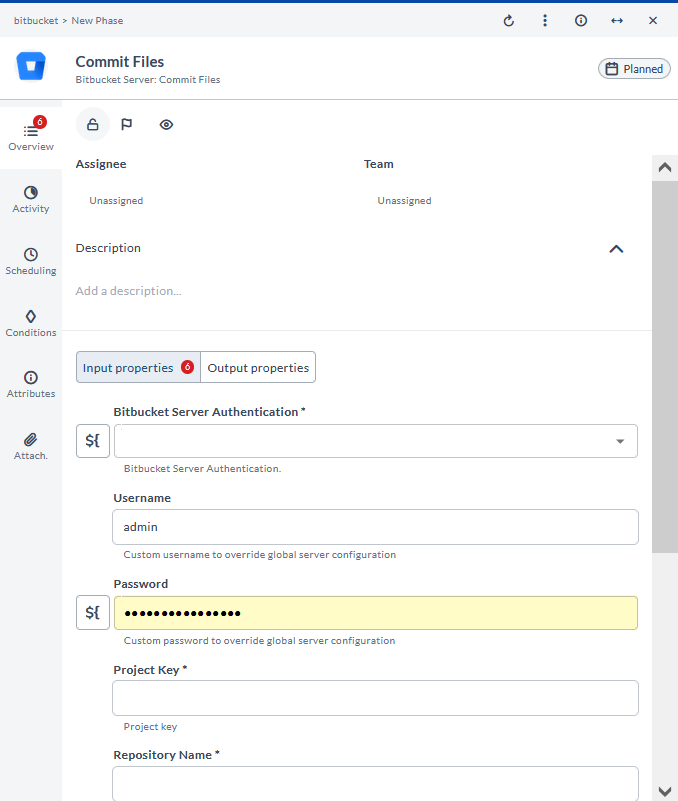
Commit Files
This task commits a file to a Bitbucket repository. It is used to save changes to a file in the repository, typically with a commit message.
Commits Query
This task creates a commits query. It is used to search for specific commits based on criteria such as author, date, or commit message.

Create Branch
This task creates a branch from a commit point. It is used to start a new line of development based on a specific commit.

Create Pull Request
This task creates a pull request from a source to the target branch. It is used to propose merging changes from one branch into another.

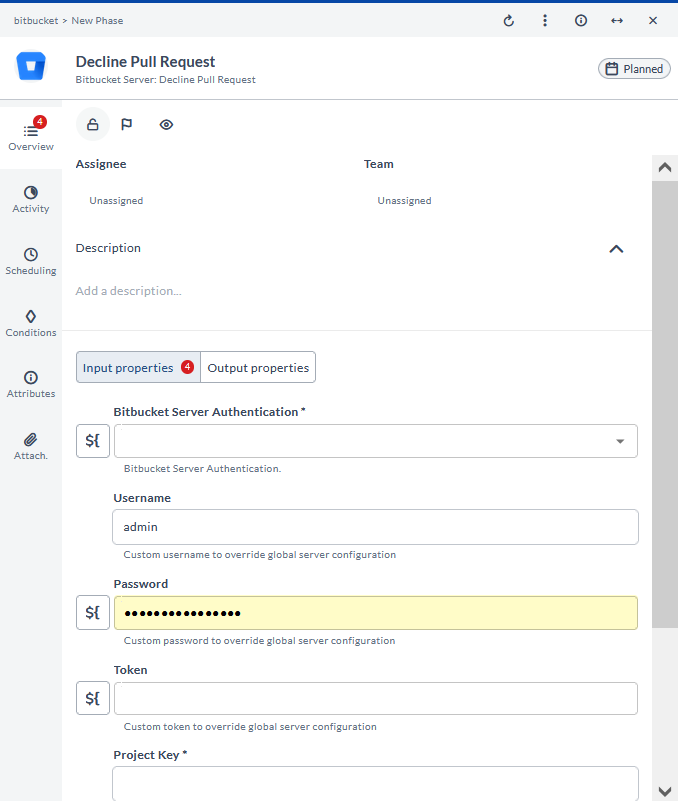
Decline Pull Request
This task declines a pull request. It is used to reject a pull request, preventing it from being merged into the target branch.
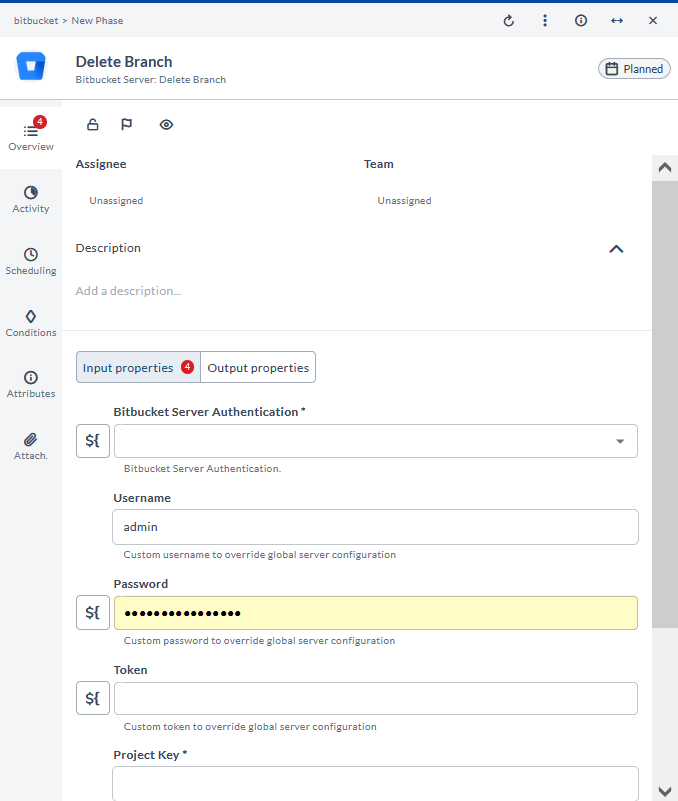
Delete Branch
This task deletes a branch. It is used to remove a branch from the repository, often after its changes have been merged.
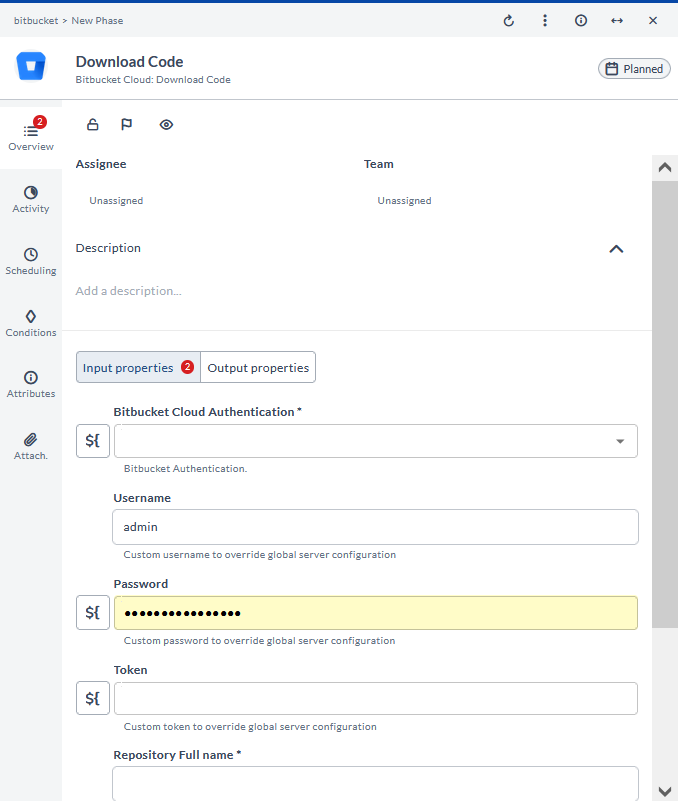
Download Code
This task downloads the code for a given repository. It is used to retrieve the latest version of the codebase for development or analysis.
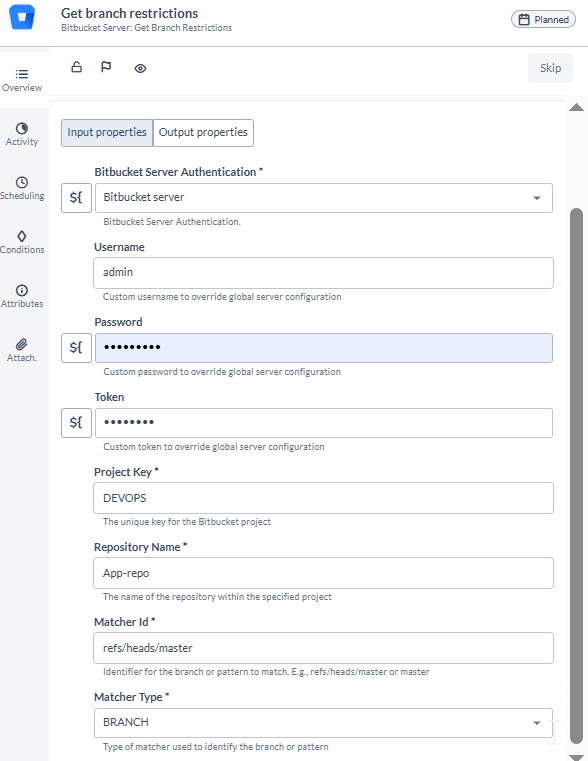
Get Branch Restrictions
This task retrieves the branch restrictions. It is used to get information about any restrictions placed on branches, such as who can push to them or whether they require pull requests.
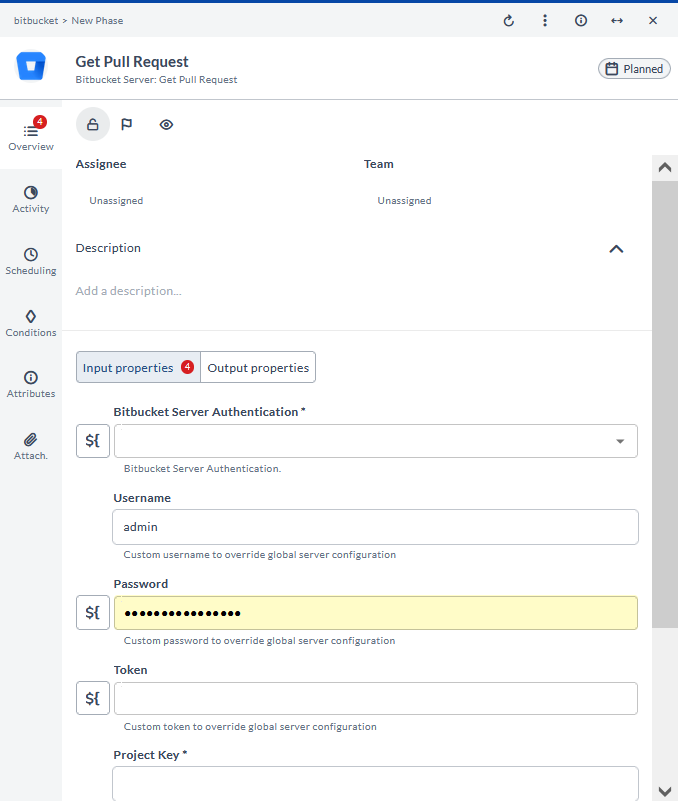
Get Pull Request
This task gets pull request details. It is used to retrieve information about a specific pull request, such as its status and changes.
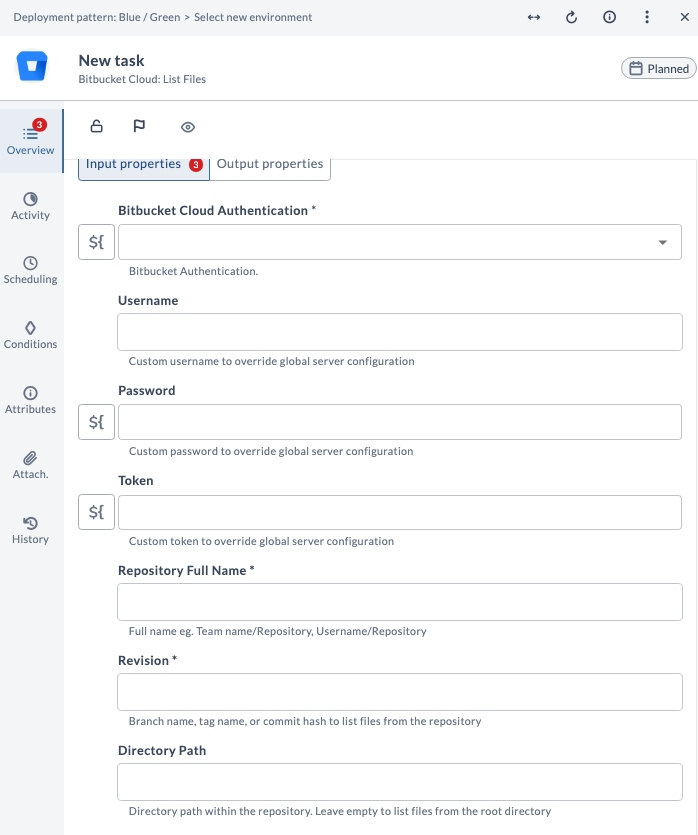
List Files
This task lists files and folders in a repository for a specified branch or tag. It is used to retrieve a complete, structured view of repository contents for auditing or comparison.
Merge Pull Request
This task merges a pull request. It is used to integrate changes from a pull request into the target branch after review and approval.

Search File Content
This task searches for file content in a branch. It is used to locate specific content within the files of a given branch.

Tag Release
This task tags a release. It is used to create a tag in the repository, marking a specific point in the project history, often for a release.

Wait For Merge
This task waits for a pull request to be merged. It is used to pause operations until the specified pull request has been merged.
