Revise Jira Issue Lists With Variables
This tutorial will show you how to use the extended variable mechanism to create a release that will:
- Retrieve a list a of issues from Atlassian JIRA
- Ask a user to revise the list
- Update the issues in JIRA
To follow this tutorial, you need access to a JIRA server. In Release, you need the following global permissions:
- Admin: to configure the JIRA server
- Create Template: to complete the rest of the tutorial
Step 1 Configure the JIRA server in Release
First, you need to configure the connection to the JIRA server.
-
From the navigation pane, go to Configuration > Connections and add a JIRA server.
-
Type the information for the JIRA server that you want to access. This server will be available to all releases.
You can provide the user name and password here, or set them at the release level.
Step 2 Create a release template
Next, create a reusable release template.
- Go to Design > Templates and create a new template called Check JIRA issues.
- In the release flow editor, name the first and only phase of the release Check JIRA.
For now, do not set up teams and permissions for the template.
Step 3 Add tasks to the template
The release will flow as follows:
- Query JIRA to get a list of issues
- Allow users to revise the list by adding or removing issues
- Update the issues with a comment in JIRA
For each step, you add a task to the Check JIRA phase of the template. You'll then use variables to connect the information flow between the tasks.
- Click Add task at the bottom of the Check JIRA phase and select Jira: Query from the drop-down list.
- Name the task Query JIRA and click Add to add it to the phase.
Step 4 Query issues in JIRA
Now, click the Query JIRA task to configure it.
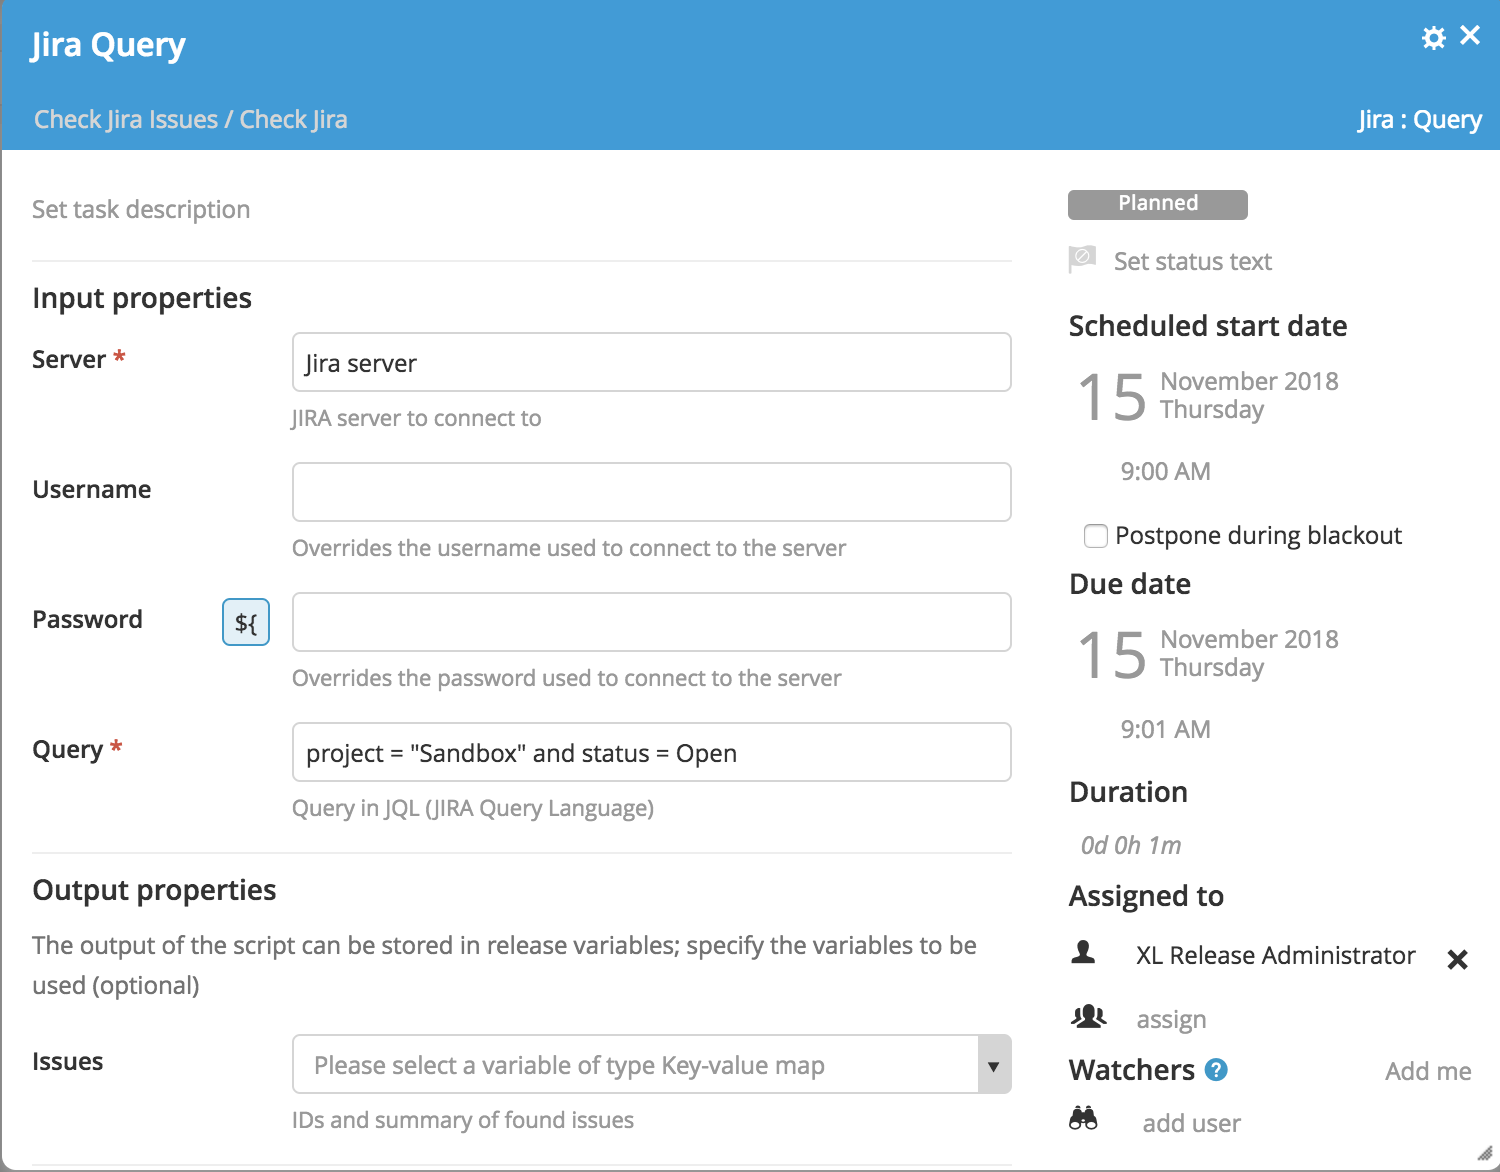
The JIRA server that you configured should automatically be selected in the Server box. If you provided the user name and password in the server configuration, you do not need to fill them in here.
In the Query box, you can enter any query in the JIRA Query Language (JQL). In the example above, the query is:
project = "Sandbox" and status = Open and text ~ "Dummy"
This query will return all open issues for the 'Sandbox' project that have the text 'Dummy' in them.
Use JIRA to develop a query that works for your project, then paste it in the Query box.
Step 5 Test the release
Before continuing, test the Query JIRA task to ensure that it works.
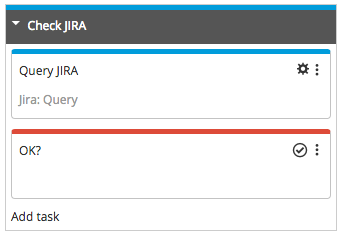
When testing a release, it's good practice to put a simple Gate task at the end of the release, to prevent it from finishing automatically.
- Click Add task at the bottom of the Check JIRA phase and add a Gate task called OK?.
-
Click New Release at the top of the template to create a new release called Test 1.
-
After you create the release, click Start Release to start it. Wait for the Query JIRA task to finish.
-
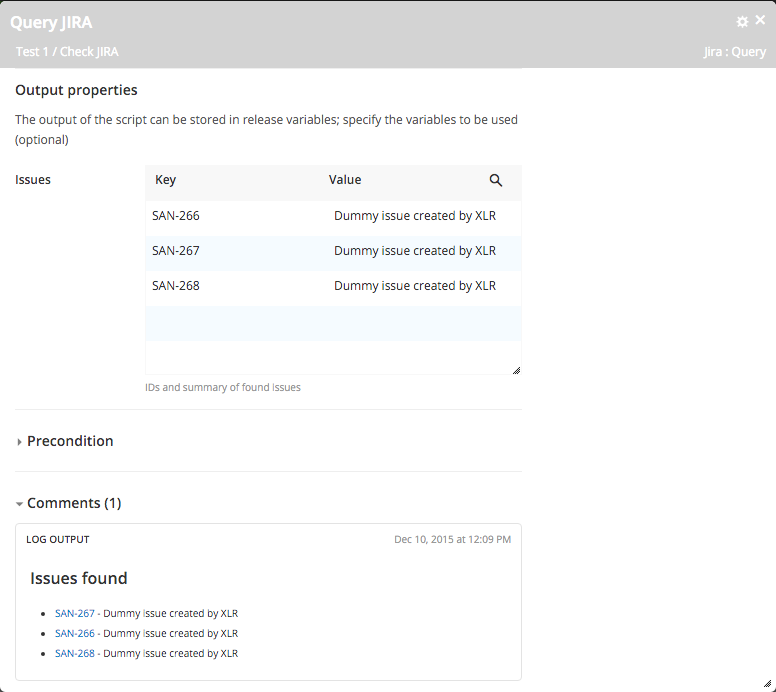
Click the task to open it. You can see the results in two places:
- Next to Issues in the Output properties section. You will use this later to put the result of the query in a variable that can be used in another task.
- Under Log Output in the Comments section. You can click the links here to open the issues in JIRA.
Step 6 Revise the issue list
Now, you can capture the output of the JIRA query and allow a user to revise it.
- Go back to the Check JIRA issues template and open the Query JIRA task.
- In the Issues box under Output properties, type
queryResultVarand press ENTER.

This creates a new variable called ${queryResultVar}. The result of the JIRA query will be stored in it, and you can use the variable in another task.
The User Input task type allows you to ask users to enter and/or verify information during the release process. The information is stored in variables that are added to the task. In this case, you will configure a User Input task to ask a user to confirm the list of JIRA issues before continuing with the release process.
- Click Add task at the bottom of the Check JIRA phase and add a User Input task called Check JIRA issues.
- Drag-and-drop the task below the Query JIRA task. The template should look like this:
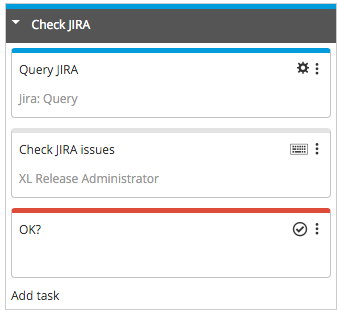
Now, you can configure the Check JIRA issues task to display the contents of the queryResultVar variable, which will contain the issue list.
- Open the task and click Edit variable list to access the User Input task in edit mode.

- Select
${queryResultVar}from the drop-down list and click Save.
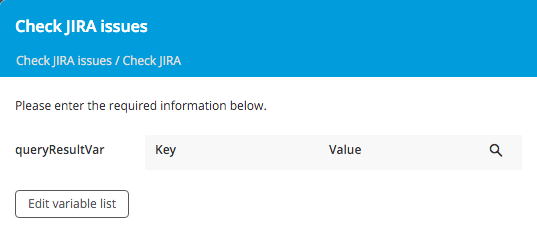
Since this is a template, the result does not yet show the JIRA issues.
-
To make the form more user-friendly, click the pencil icon next to the "Please enter the required information below" description and enter Please revise the issue list below. Remove any tickets that should not be updated. This is the message that the user will see when the release is in progress.
-
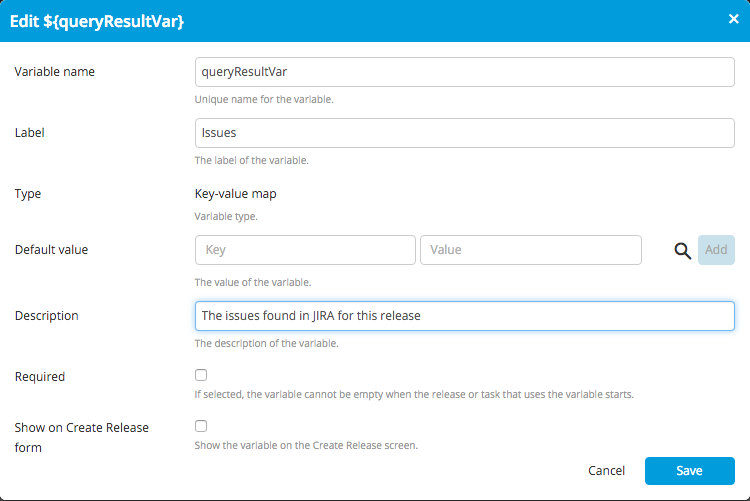
Close the task and select Variables from the Show menu at the top of the template. This will take you to the Variables screen, where you can find an overview of all variables that are being used in the release or template.

- Click
${queryResultVar}to edit it. Here, you can enter a user-friendly label and description that will appear in the Check JIRA issues task:
- Save the changes and select Release flow from the Show menu to return to the release flow editor.
- Open the Check JIRA issues task to see the changes that you made.
- Click Assign to me to ensure that the task is assigned to you while you test the release.
Step 7 Test the release again
Now you can test the release again.
- Create a new release called Test 2 and start it. When the release reaches the Check JIRA issues task, it will wait for input.
- Open the task:
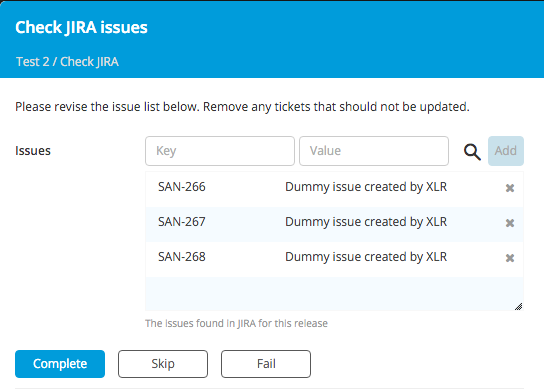
- Try removing a few issues, then click Complete.
- To check the result of your actions, select Variables from the Show menu and click the
${queryResultVar}variable.
Step 8 Update the issues in JIRA
Your final task is to add a comment to the selected issues in JIRA.
- Go back to the Check JIRA issues template.
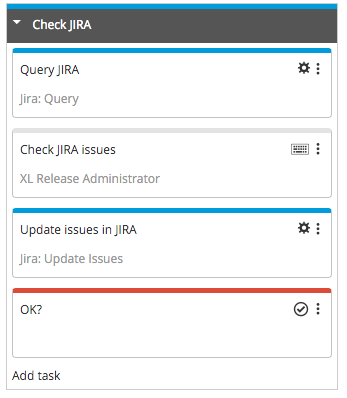
- Click Add task at the bottom of the Check JIRA phase and add a Jira: Update issues task called Update issues in JIRA.
- Drag-and-drop the task below the Check JIRA issues task. The template should look like this:
-
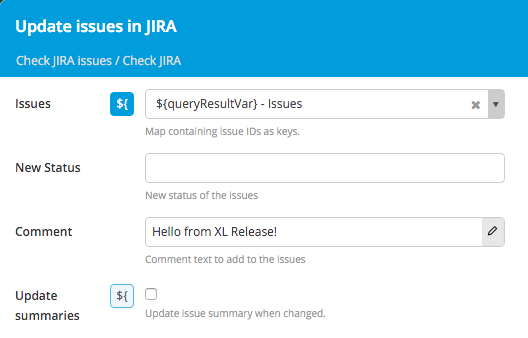
Click the Update issues in JIRA task to configure it. Select the same JIRA server as you used in the Query JIRA task.
-
When the task starts, the
${queryResultVar}variable will contain the list of issues, with the changes that the user made in the Check JIRA issues task. Clicknext to Issues to see the list of available variables.

-
Select
${queryResultVar}from the drop-down list. -
The Jira: Update Issues task type allows you to change the status of issues, update their summaries, and add comments. In this tutorial, you will just add a comment. Enter a comment such as Updated from Release! in the Comment box.
Step 9 Test the release a final time
The template is now complete, so you can do a final test.
- Create a new release called Test 3 and start it.
- In the Log Output section of the Update issues in JIRA task, you will see which issues have been updated.
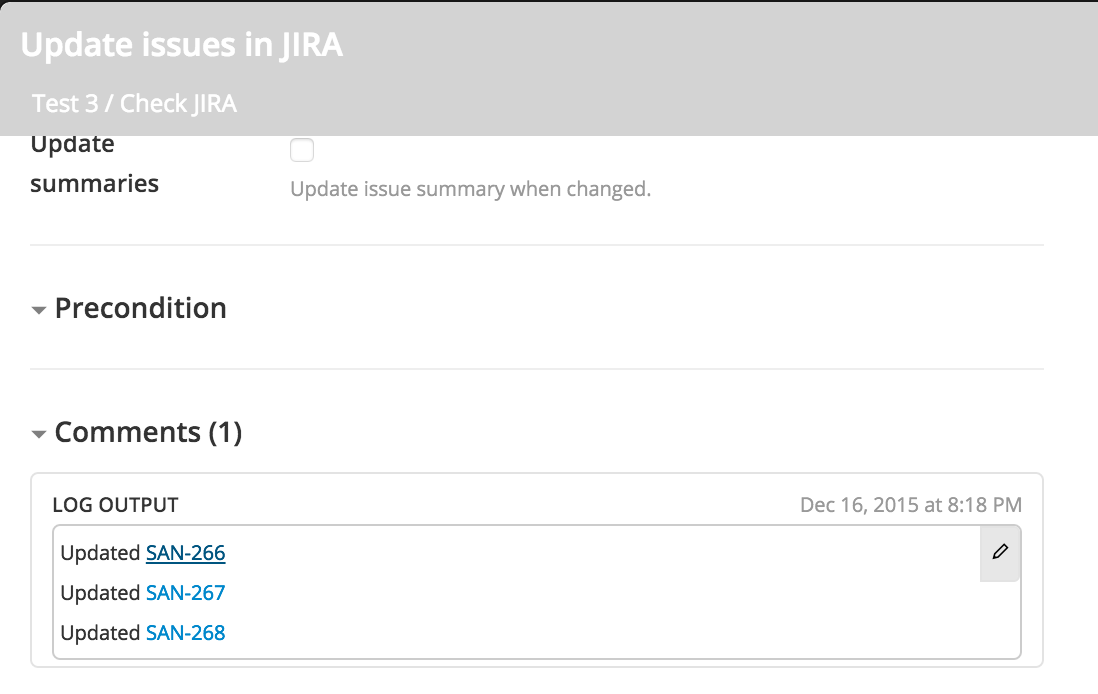
- Click the links to open the issues in JIRA.
Conclusion
Using variables, you can connect tasks in your release process and optimize them with automation and user interaction.