Improve file.Folder deployment performance
This topic provides information about deploying a file.Folder or any type derived from it in Deploy. As part of the deployment, placeholders will be replaced in each of the files contained in the folder, and then the files are transferred to a temporary directory on the target host before moving them to their final deployment destination.
The legacy way of doing this is by copying each of the files one-by-one. While this works well, it can be slow when there are many files to copy since each file has some connection overhead. As of 9.7, Digital.ai Deploy provides additional copy strategies to speed up this process.
Copy strategies
These are the available strategies:
- OneByOne - The default, legacy strategy of copying files one-by-one
Note: When using the OneByOne strategy for copying files, such as when deploying a deployment.folder, file permissions will not be retained.
- Tar - Before copying the files, bundle them up into a tarball, copy over the tarball to the target system in one go, and untar it on the remote system by invoking
tar -xf <tarball> -C <tempdir>
Note: To ensure that file permissions are retained, it is recommended to use the Tar or ZipUnix strategies.
Limitations:
-
The Tar and ZipUnix strategies work only with SSH connections.
-
For localhost deployments, retaining file permissions using Tar or ZipUnix strategies is currently not supported.
-
ZipWindows - before copying the files, bundle them up into a zip archive, copy over the zip archive to the target system in one go, and unzip it using built-in powershell capabilities.
Note: The ZipWindows strategy uses
ExtractArchive, which is part of PowerShell 5.0 and higher. If you are running a Windows Server version older than Windows Server 2016, we recommend you upgrade to PowerShell 5.0 to take advantage of this feature. More information can be found here: Windows Powershell System Requirements. -
ZipUnix - Similar to ZipWindows, but unzip it using a command-line invocation
unzip <archive> -d <tempdir>
Selecting a copy strategy
In order to be backwards compatible, Digital.ai Deploy will default to the legacy OneByOne strategy.
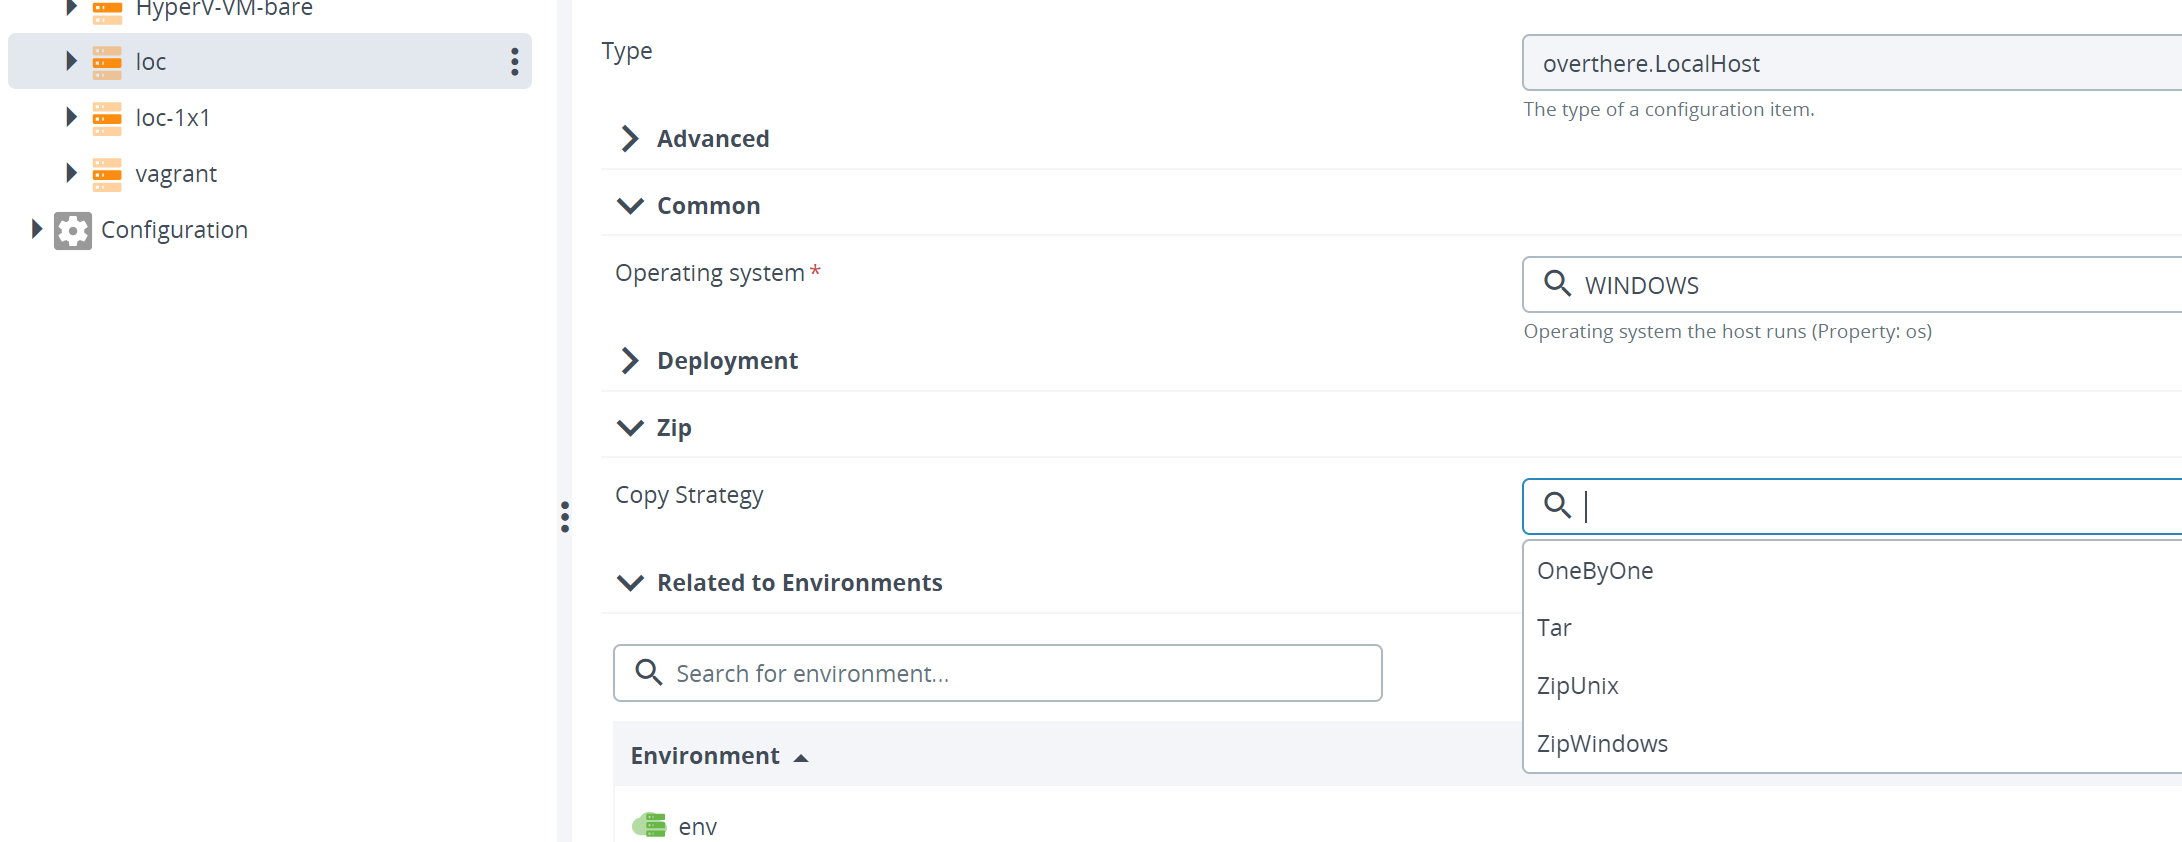
This behaviour can however be overridden on a per-host basis. Any overthere.Host CI has a new property called Copy Strategy inside a new Zip section, that allows you to select which strategy is to be used for deploying file.Folder CIs to this host. Note that this is an optional value.

Retrying connection establishment
As of Deploy 9.8, a new parameter is added to the retry logic: xl.task.step.on-copy-artifact.enable-retry. It enables the file copy process to retry establishing connection so that any hardware issues such as system non-responsive, network disconnection are handled automatically.
The default value of the token is false. When set to true, the Deploy step retries establishing connection automatically, while abiding by the values set in the xl.task.step.max-retry-number and xl.task.step.retry-delay parameters.
Detection of unzip capabilities
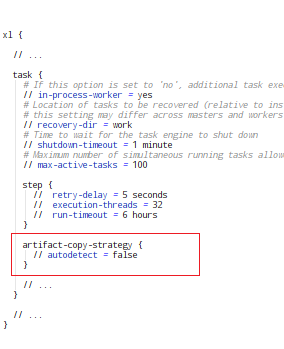
Digital.ai Deploy can detect which unzip/untar capabilities the target host has. This behaviour is turned off by default since this incurs a small detection overhead, but it can be enabled by setting the properties in deploy-task.yaml as follows:
deploy.task:
  artifact-copy-strategy:
    autodetect: true

When set to true, copy strategies are tried one-by-one, until one succeeds. For Windows target hosts, the try order is: ZipWindows, Tar, ZipUnix, and OneByOne. For Unix hosts, the try order is: Tar, ZipUnix, ZipWindows, and OneByOne. A test zip or tar archive will be copied to a temporary directory on the target host and the respective unzip/untar commands are tried. If these fail, the next strategy is tried; if it succeeds then the current strategy under test is picked for the deployment of the file.Folder.
Logging
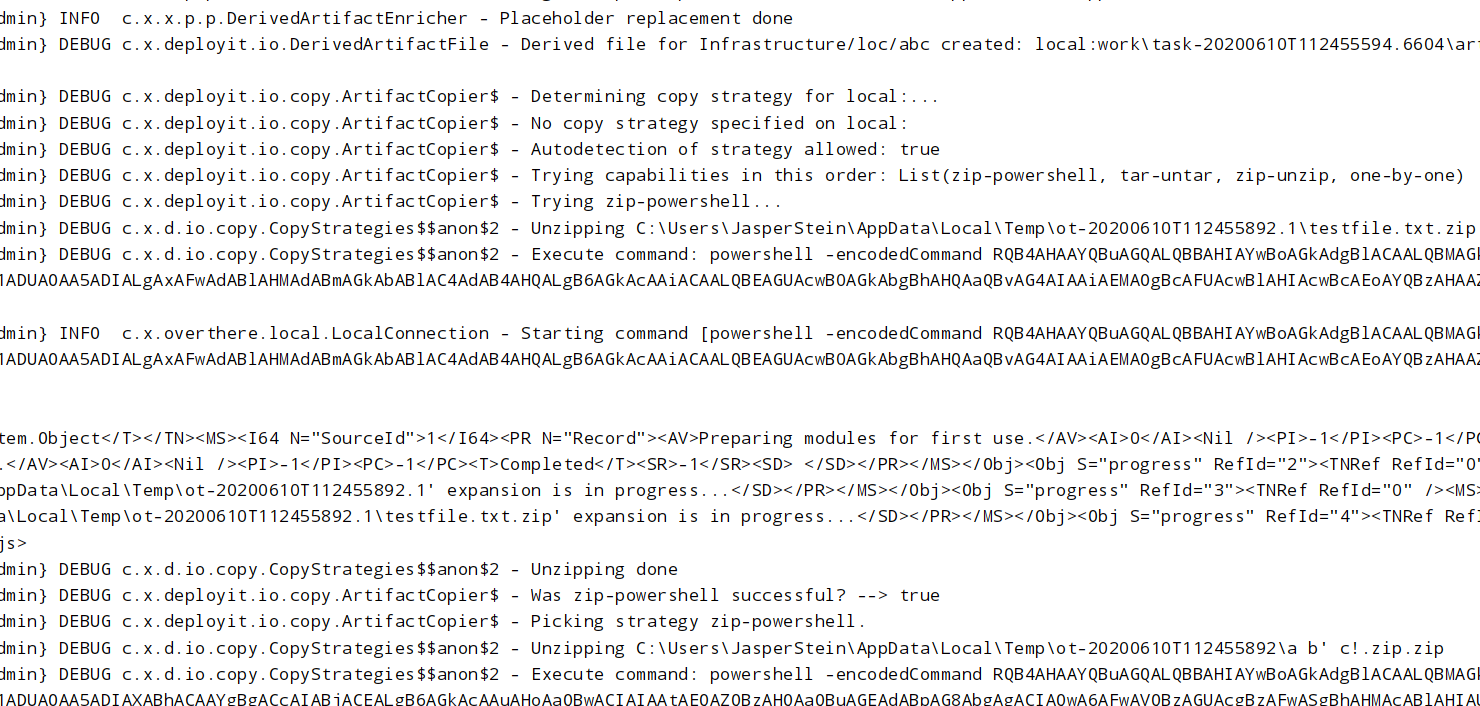
To have a better look under the hood, configure conf/logback.xml to enable DEBUG logging on the com.xebialabs.deployit.io namespace

Example log output looks like this (with autodetect enabled, deploying to a Windows host):
