Test Execution with Android Auto
The Test Execution with Android Auto feature enables users to validate the performance, functionality, and user experience of Android Auto–compatible applications within the Digital.ai Testing environment. It allows testers to simulate real-world driving scenarios, verify UI responsiveness, assess touch and voice interactions, and ensure seamless integration between mobile devices and in vehicle infotainment systems.
By automating test execution for Android Auto, teams can identify issues early, accelerate release cycles, and deliver safer, more reliable connected car experiences.
How to Set Up Manually: Head Unit Server
Get started testing Android Auto with the Quick Start GitHub Repository.
Android auto tests doesn't work on Oneplus devices since headunit server cannot run on android device while usb debugging is on.::
Create Android Auto Test
Run android auto test using this desired capability-
digitalai:automotiveProjection ("widthxheight"), using one of these options: 800x480, 1280x720, 1920x1080
Supported Commands
- Tap Command
Sends a tap command to a specific coordinate on the screen.
driver.executeScript("digitalai:automotive.tap",800,479);
x: X-coordinate of the tap
y: Y-coordinate of the tap
- GetScreenshot
String base64String= (String) driver.executeScript("digitalai:automotive.getScreenshot");
can be converted to a file using this code
// Write the byte array to the output PNG file
try (FileOutputStream fos = new FileOutputStream("screenshot12.png")) {
    fos.write(decodedBytes);
} catch (IOException e) {
    throw new RuntimeException(e);
}
Automotive Test Report
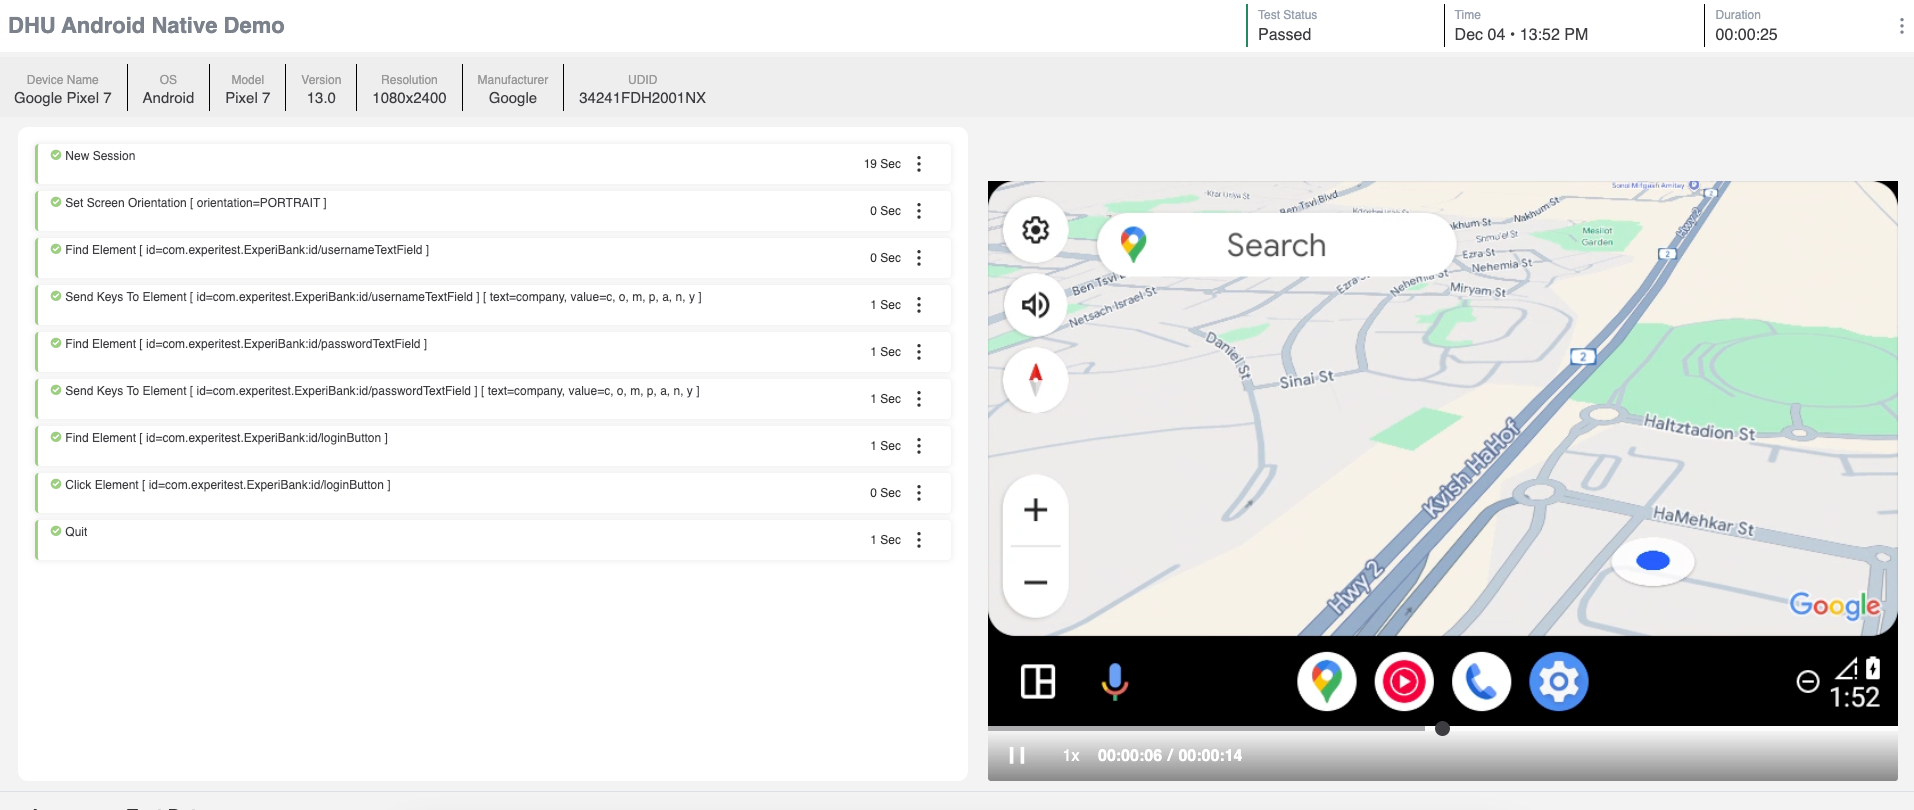
Once the test execution is completed and the cloud is configured with a reporter, the DHU video recording will be published in the test video report in the reporter.

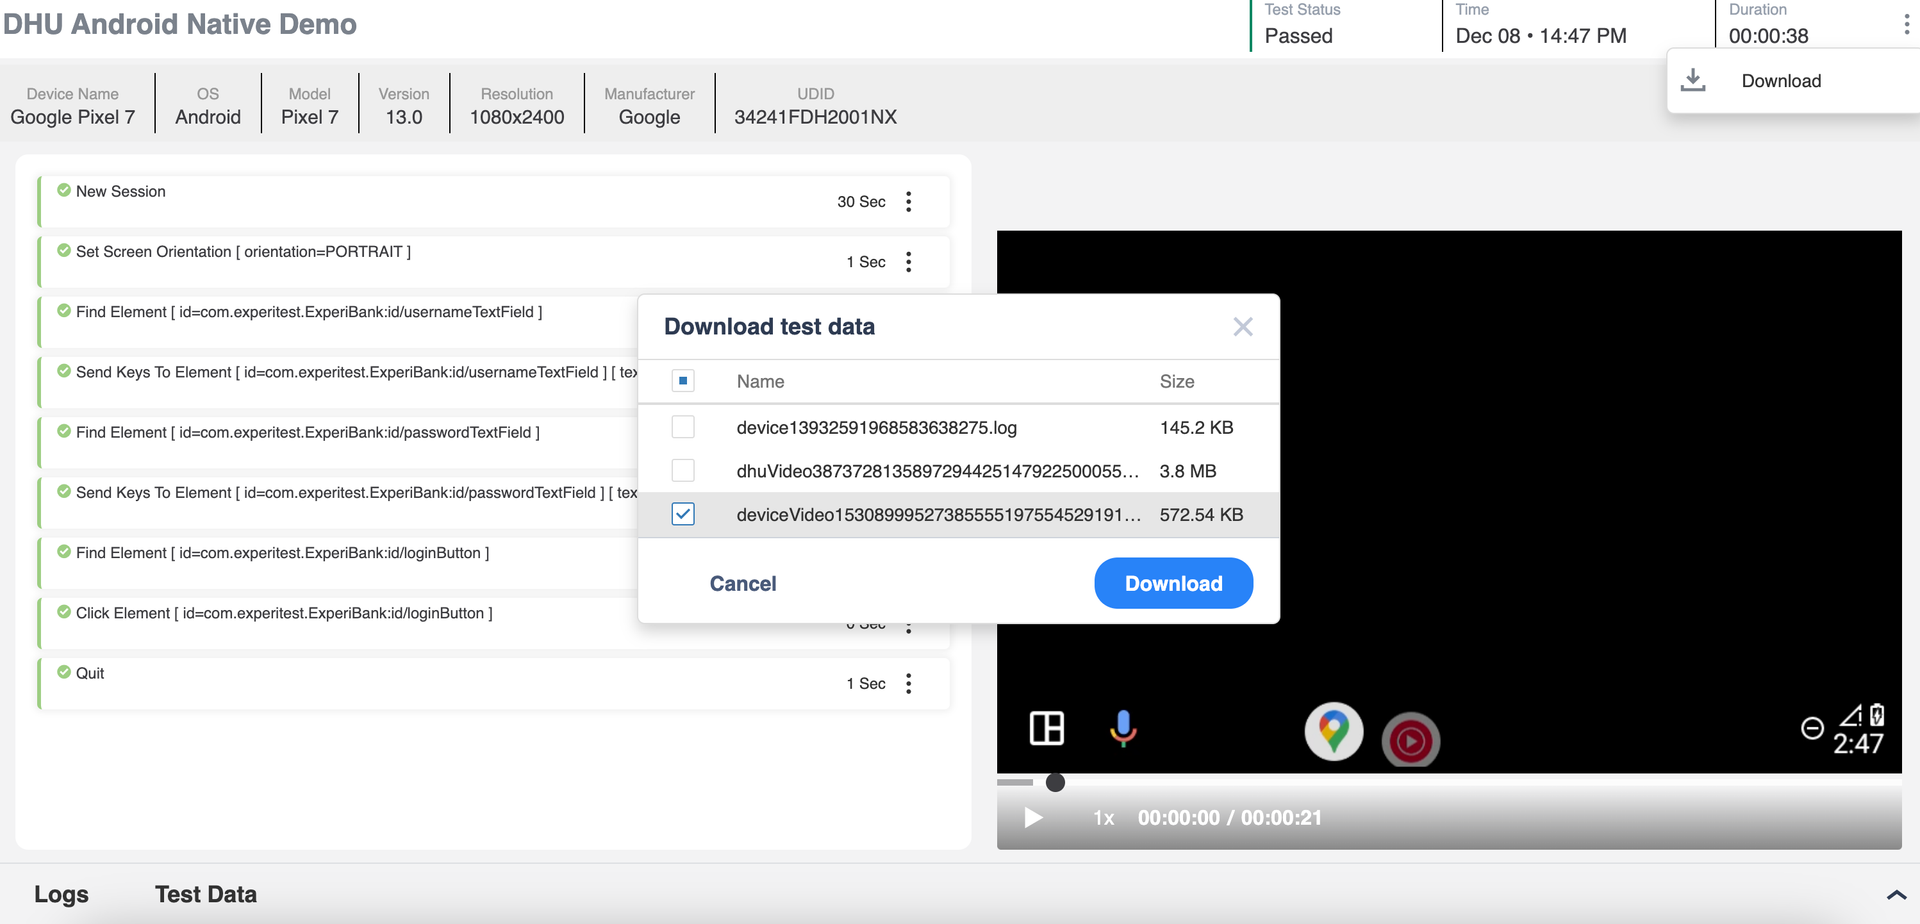
The device video will be uploaded as an attachment to the test report:

Troubleshooting
Android Auto testing requires enabling developer mode on the Android Auto app and starting the built-in Head Unit Server.
Enable Android Auto developer mode
Start head unit server - (Only 1-3 sections)