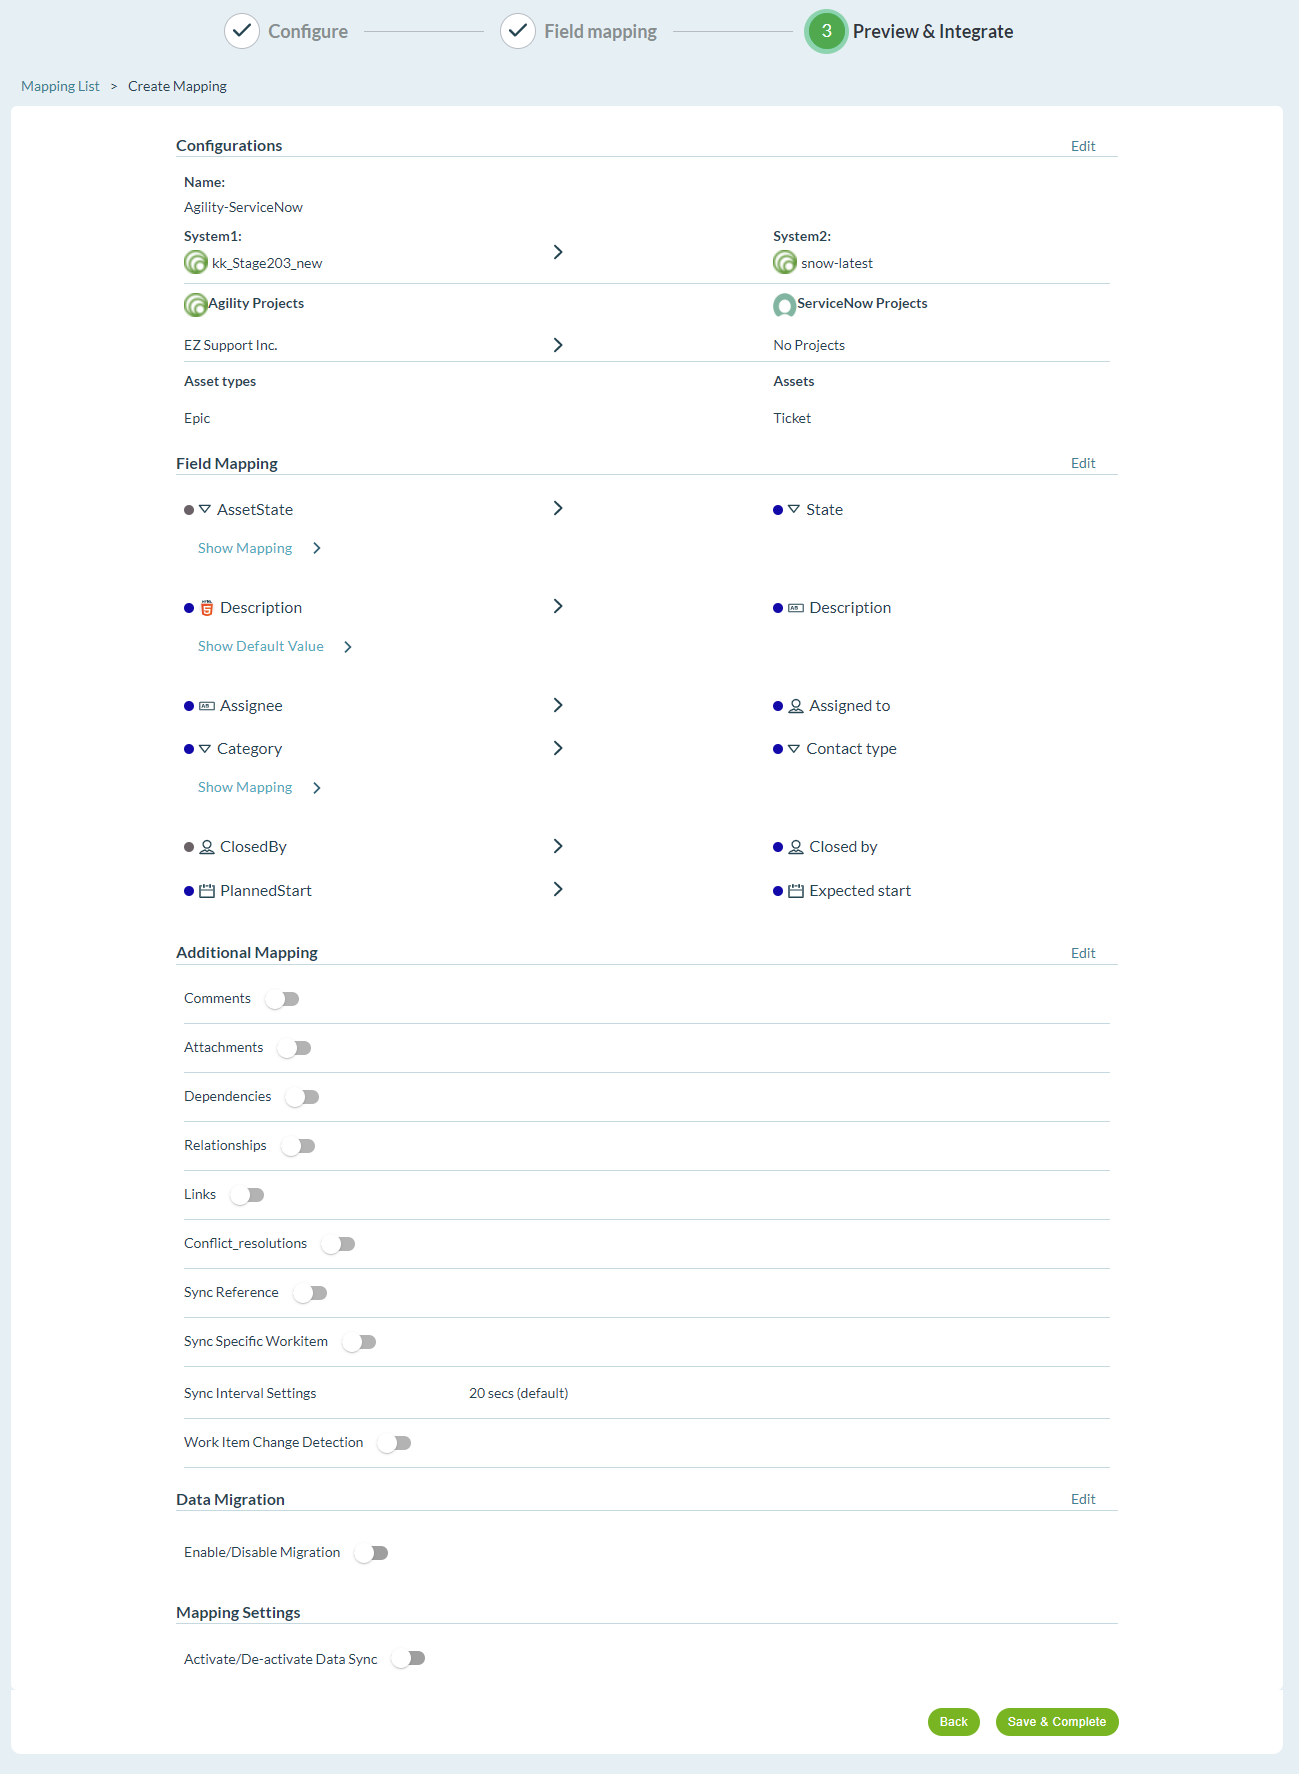
Step 5—Previewing and Integrating the mapping
The Preview and Integrate page shows you a comprehensive view of the mapping as configured in steps 1 and 2 discussed earlier.
- At this stage, you can click Edit and fine-tune your mappings, if required.
- You can also choose to update the mapping direction.
- Activate the mapping using the Activate/De-activate toggle button.
- Click Save and Complete to save the mapping.

Your mapping is now active. Update a story in Agility and verify if the changes are synced with the right ServiceNow instance and vice-versa.
Related concepts
Agility servicenow integration
Related tasks
Create a snow mapping - Tutorial
Step-1 - Configur integration snow
Step-2 - Create field mapping snow
Step-3 - Configure additional mapping snow