The GitHub Actions for Digital.ai Release
This topic illustrates how to use the github-actions-release action to create and start releases in Digital.ai Release directly from your GitHub repository, automating the entire release process. With this GitHub action, you can trigger a release and monitor its status.
Before you Begin
- Access to Digital.ai Release (24.3 or later) with appropriate permissions to create and start releases.
- Release's GitHub action—github-actions-release
- Access to GitHub marketplace to use the
github-actions-releaseworkflow
Input and Output Parameters of the github-actions-release Action
The github-actions-release GitHub action lets you customize inputs, enabling you to modify the settings to your specific needs.
Input Properties
| Name | Description | Required | Default |
|---|---|---|---|
serverUrl | The address of the Digital.ai Release server. | Yes | - |
username | Username for authentication to the Digital.ai Release server. Required if token is not provided. | Yes | - |
password | Password for authentication to the Digital.ai Release server. Required if token is not provided. | Yes | - |
token | Personal access token for authentication to the Digital.ai Release server. If provided, username and password are not required. | Yes | - |
templateId | The full template identifier in Digital.ai Release. For example, Applications/Folder3f5cf31df/Releasec4e4b7bce4. For more details, click here | Yes | - |
releaseTitle | Optional. Title of the release. If not provided, a default title will be assigned. | No | GITHUB_TAG / GITHUB_HEAD_REF |
variables | Optional. JSON string representing the variables object to be passed to the release template. | No | - |
startRelease | Optional. Indicates whether to start the release. Default is true. | No | true |
After running the action, the output properties provide detailed information about the created release, such as its response, ID, and status.
Output Properties
| Option | Description |
|---|---|
response | The response containing the data of the newly created release. |
id | The id of the newly created release. |
status | The status of the newly created release. |
Step 1—Set up the GitHub Actions Workflow File in Your Repository
In your GitHub repository, create a new workflow file within the .github/workflows directory, such as start-digital-ai-release.yml. This file will define the GitHub Action to automate release creation and starting on Digital.ai Release.
Here's an example start-digital-ai-release.yml file.
name: Create and Start Release

on: [push]

jobs:
  create-and-start-release:
    runs-on: ubuntu-latest
    steps:

      - name: Create & Start Release
        id: release
        uses: digital-ai/github-actions-release@v1.0.0-beta.1  # Specify the GitHub action
        with:
          serverUrl: 'http://digital-ai-release-server-url:5516'  # Replace with your server URL
          username: ${{ secrets.RELEASE_USERNAME }}
          password: ${{ secrets.RELEASE_PASSWORD }}
          templateId: 'Applications/FolderXXXXXXXXX/ReleaseXXXXXXXXX'  # Replace with your template ID
          releaseTitle: 'New Release from GitHub Actions'
          variables: '{"var1": "value1", "var2": "value2"}'  # Replace with any needed variables
          startRelease: true

      - name: Get Release Data
        run: echo ${{ steps.release.outputs.response }}

      - name: Get Release Id
        run: echo ${{ steps.release.outputs.id }}

      - name: Get Release Status
        run: echo ${{ steps.release.outputs.status }}
Step 2—Configure the GitHub Repository Secrets
To protect sensitive information, such as credentials, configure your repository secrets:
-
Go to Settings > Secrets and variables > Actions in your GitHub repository and add the following secrets:
RELEASE_USERNAME: Your Digital.ai Release username.RELEASE_PASSWORD: Your Digital.ai Release password.
Step 3—Customize Configuration in the YAML File
Update the following in the start-digital-ai-release.yml file to reflect your Digital.ai Release setup.
serverUrl: The URL of the Digital.ai Release server (for example,http://your-digital-ai-release-server:5516).templateId: Full template identifier within Digital.ai Release (for example,Applications/FolderXXXXXXXXX/ReleaseXXXXXXXXX). For more information, see IdentifiersreleaseTitle(optional): Title for the release.variables(optional): JSON-formatted string to pass specific variables to the release template.startRelease: Set totrueto start the release automatically after creation.
Step 4—Run the GitHub Actions Workflow
Once your configuration is complete, you are ready to run the workflow.
Manually Trigger the Workflow
- Go to the Actions tab in your GitHub repository.
- Select the Create and Start Release workflow.
- Click the Run workflow button to initiate the process.
Monitor Workflow Execution
After the workflow starts, you can view its progress:
-
In the Actions tab, select the latest workflow run.
-
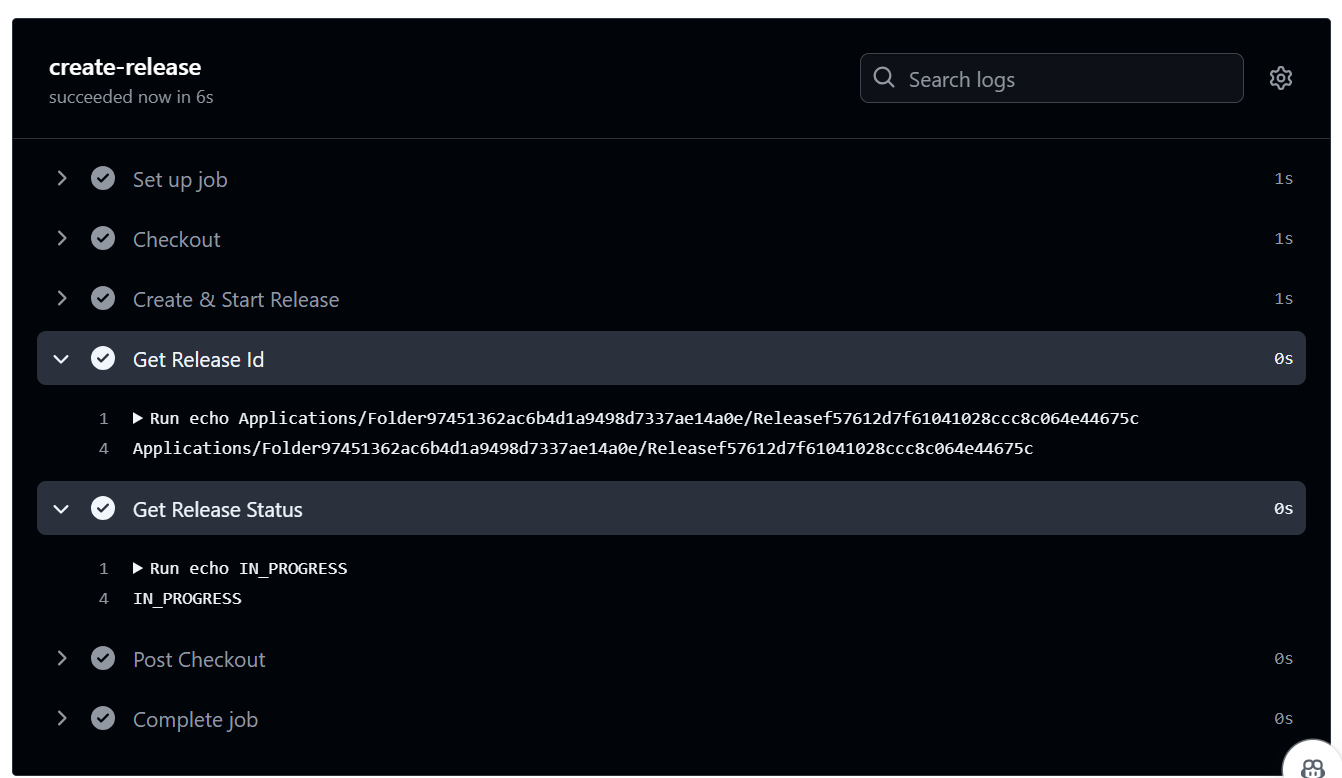
View logs for each step, including:
- Get Release Data: Outputs response data from Digital.ai Release.
- Get Release Id: Displays the ID of the release.
- Get Release Status: Shows the status of the release.
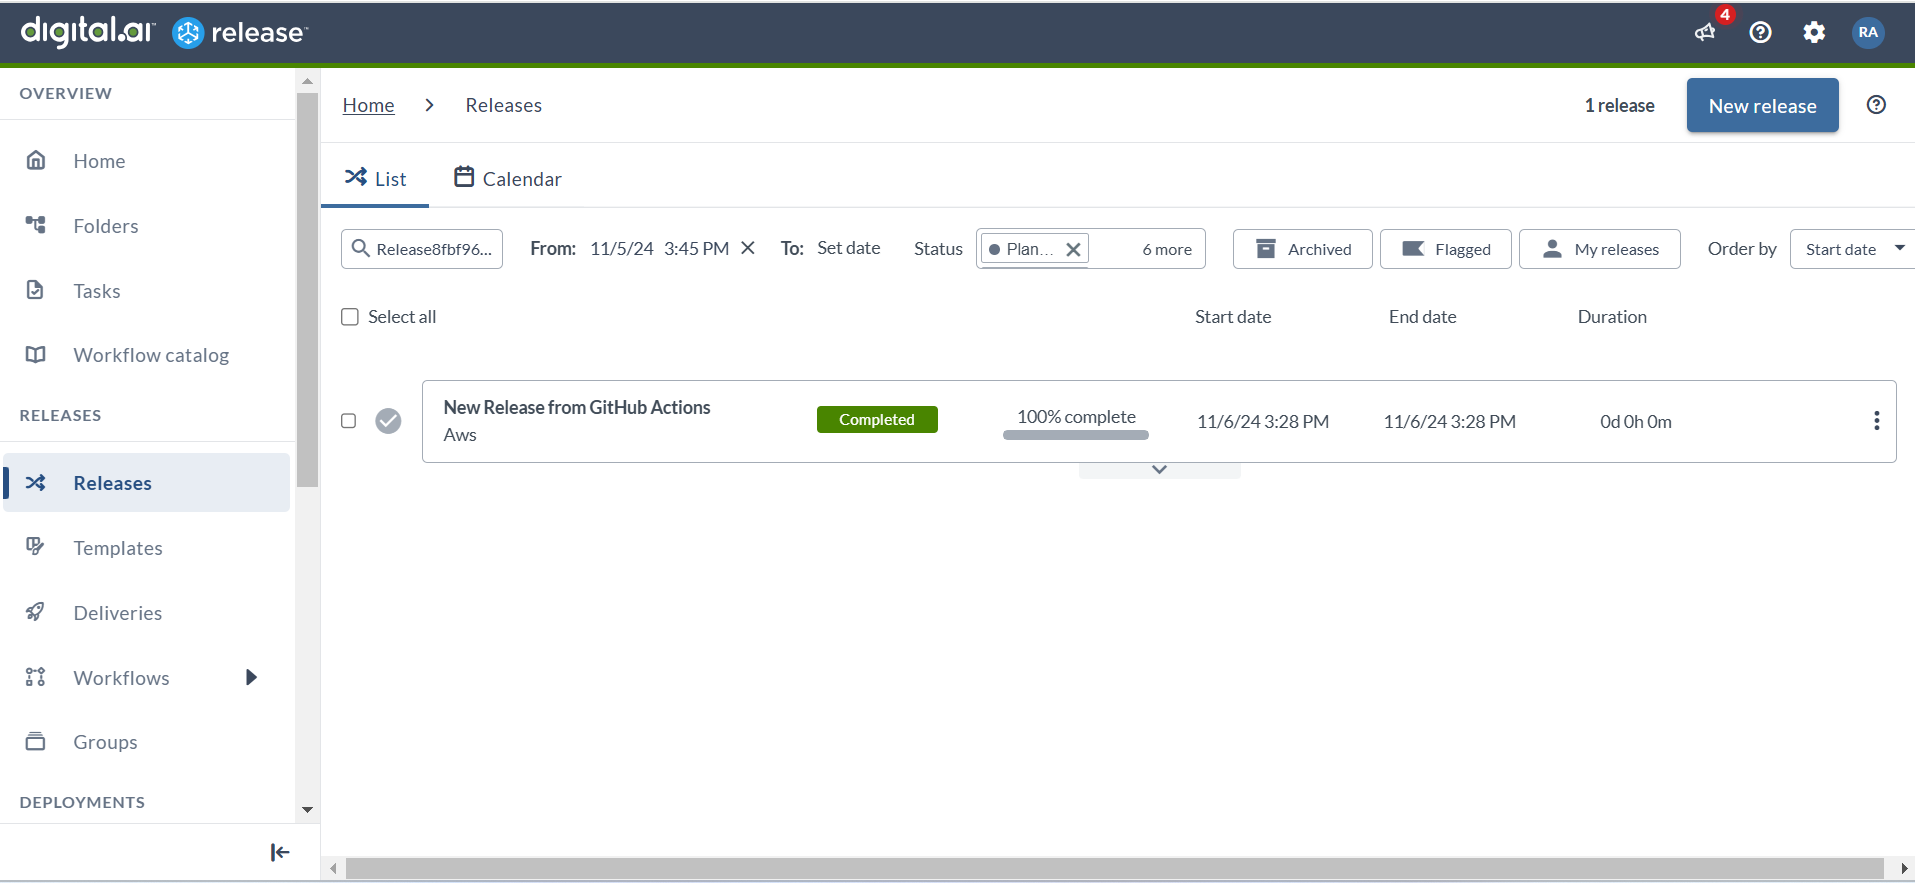
Verify in Release
After running the workflow successfully, you can verify the release in Digital.ai Release.
-
Log in to Digital.ai Release.
-
Navigate to Releases.
-
Verify the Release GitHub action is marked as Completed.