Work with Delivery Insights Tasks
Note: In real world scenarios, you may have a CI tool (like Jenkins) to create a build. When it's done, you can use Digital.ai Release to start a new release, which in turn creates a package revision that you can track in your Progression Board. However, for illustrative purposes, we are going to create and run the following Create Package Revision task manually.
Create a Package Revision
-
Log in to Release.
-
Select Folders from the left navigation pane.
-
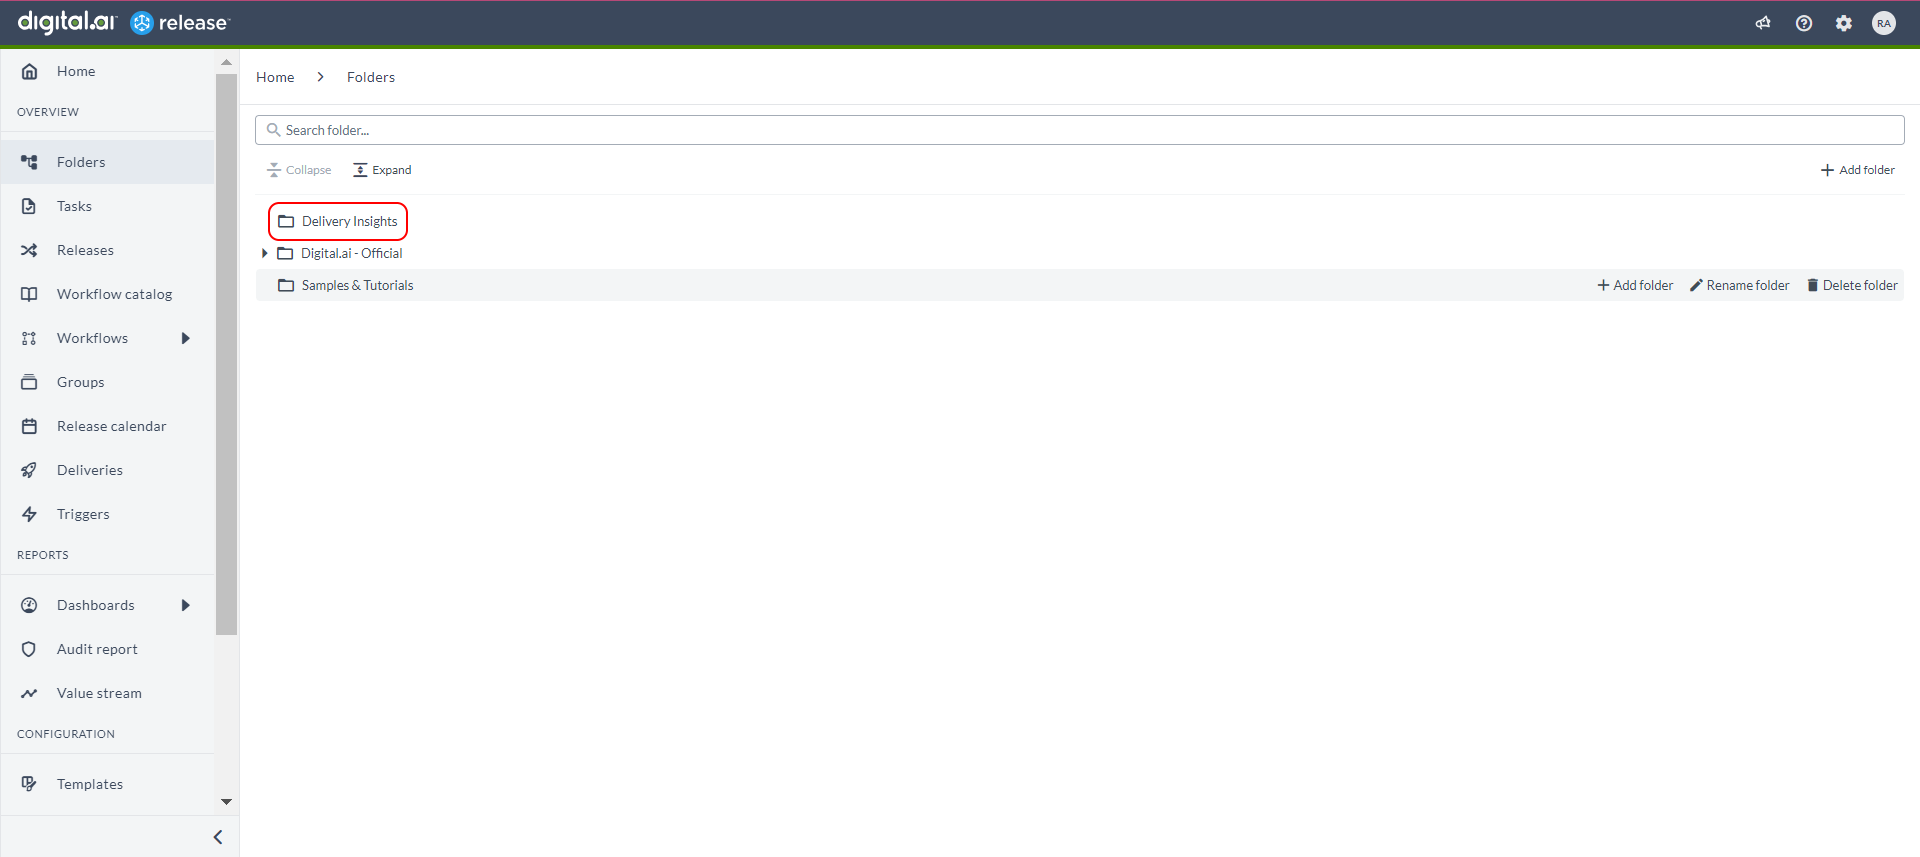
Click + Add folder and create a new Delivery Insights folder.
-
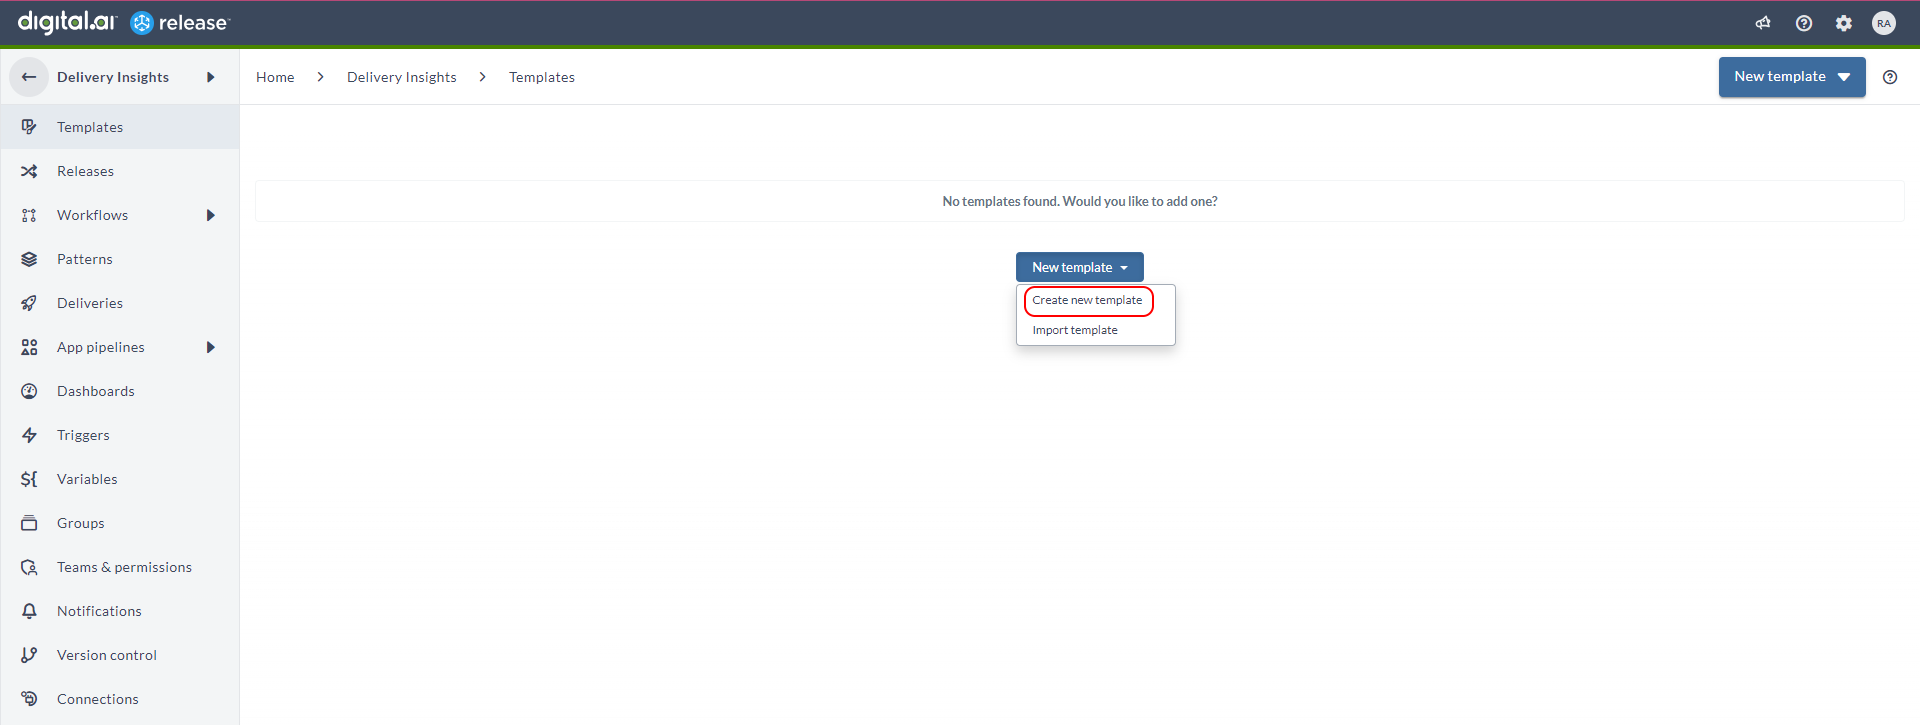
Select the Delivery Insights folder, select Templates from the left navigation pane, and click New template > Create new template.
-
Type a name for the template and click Create (
Create Package).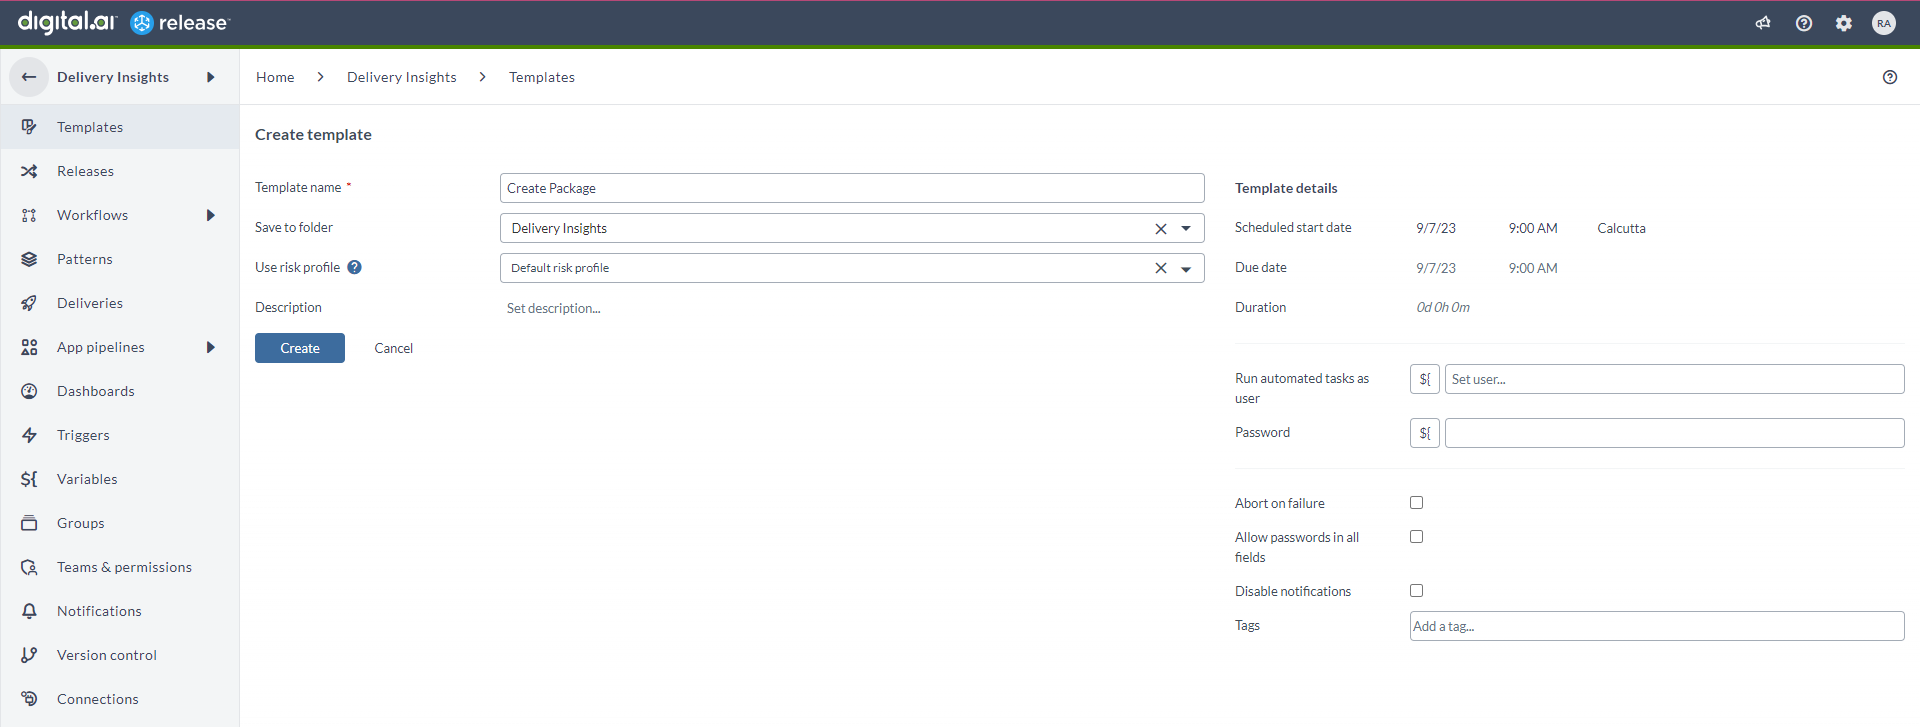
-
Click Add Task.
-
Type a title for the task (Create Package Revision).
-
Select the Track new code commits task from the drop-down list.
-
Click Add. The Create Package Revision task is created.

-
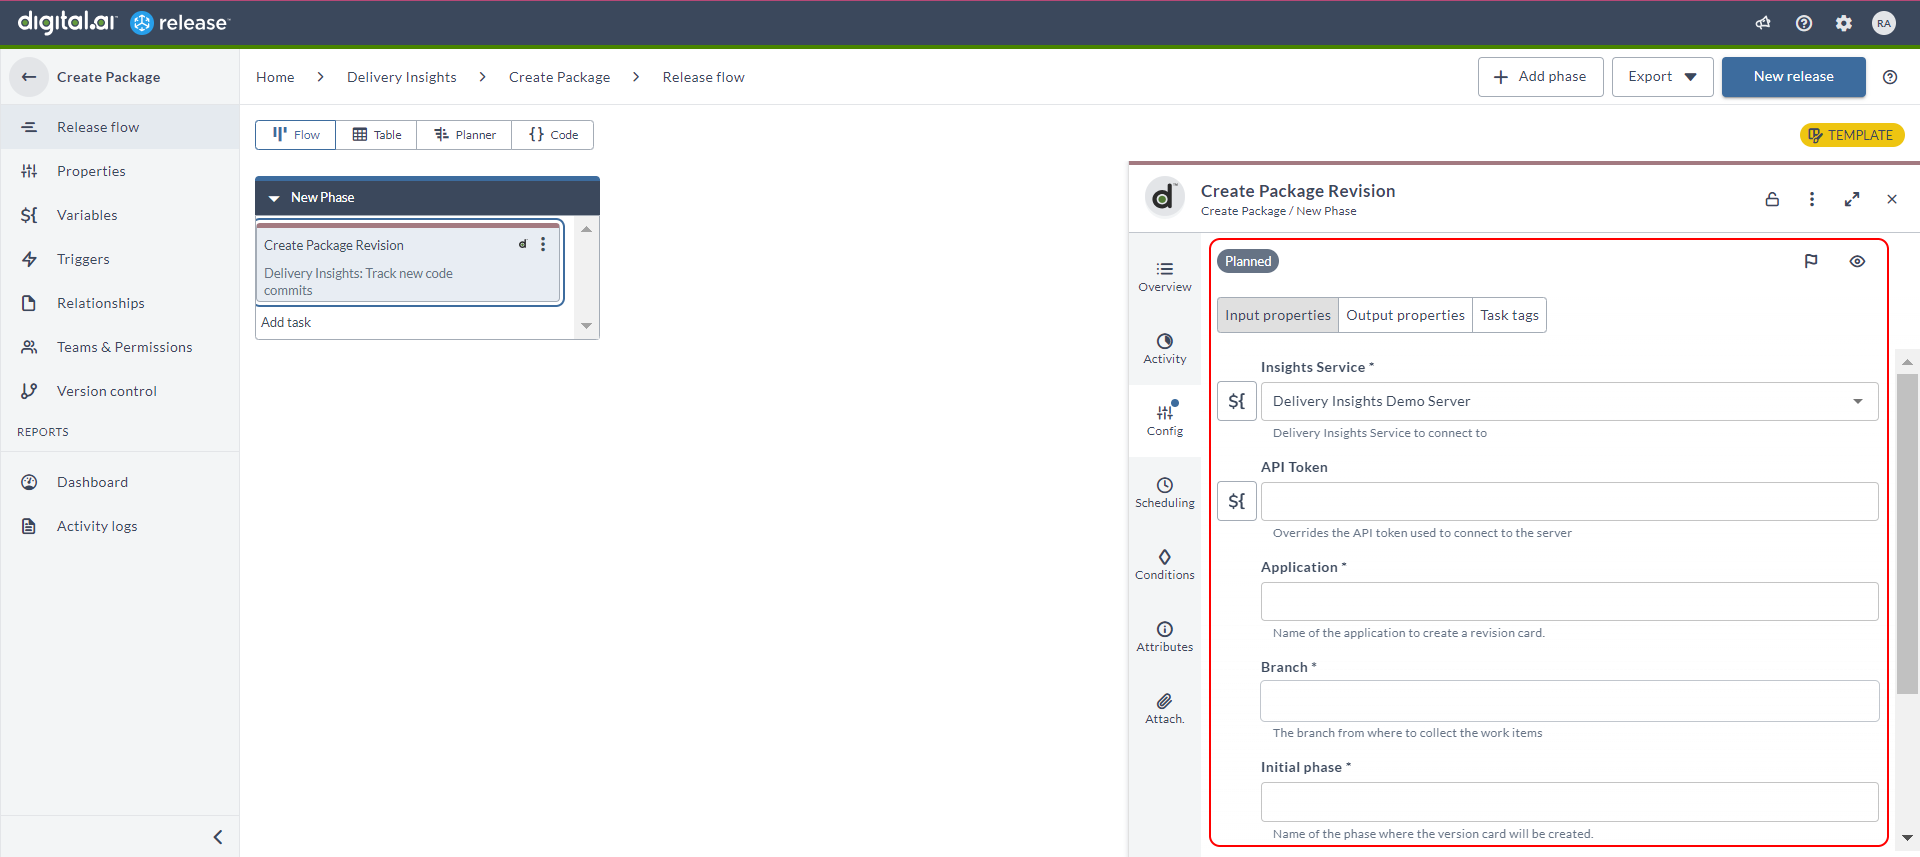
Click the Create Package Revision task to configure it.
-
Click the Application field's search icon and select the application you created (Web Server).
-
Type the repository's branch name to fetch the commits from.
-
Click the Initial phase field and select the initial phase you want the package revision to be created in.
-
Type a version label, 23.1 for example.
-
Close the Create Package Revision task's configuration dialog box.
-
Click New Release.
-
Type a name for the release (
Create 23.1 Package) and click Create.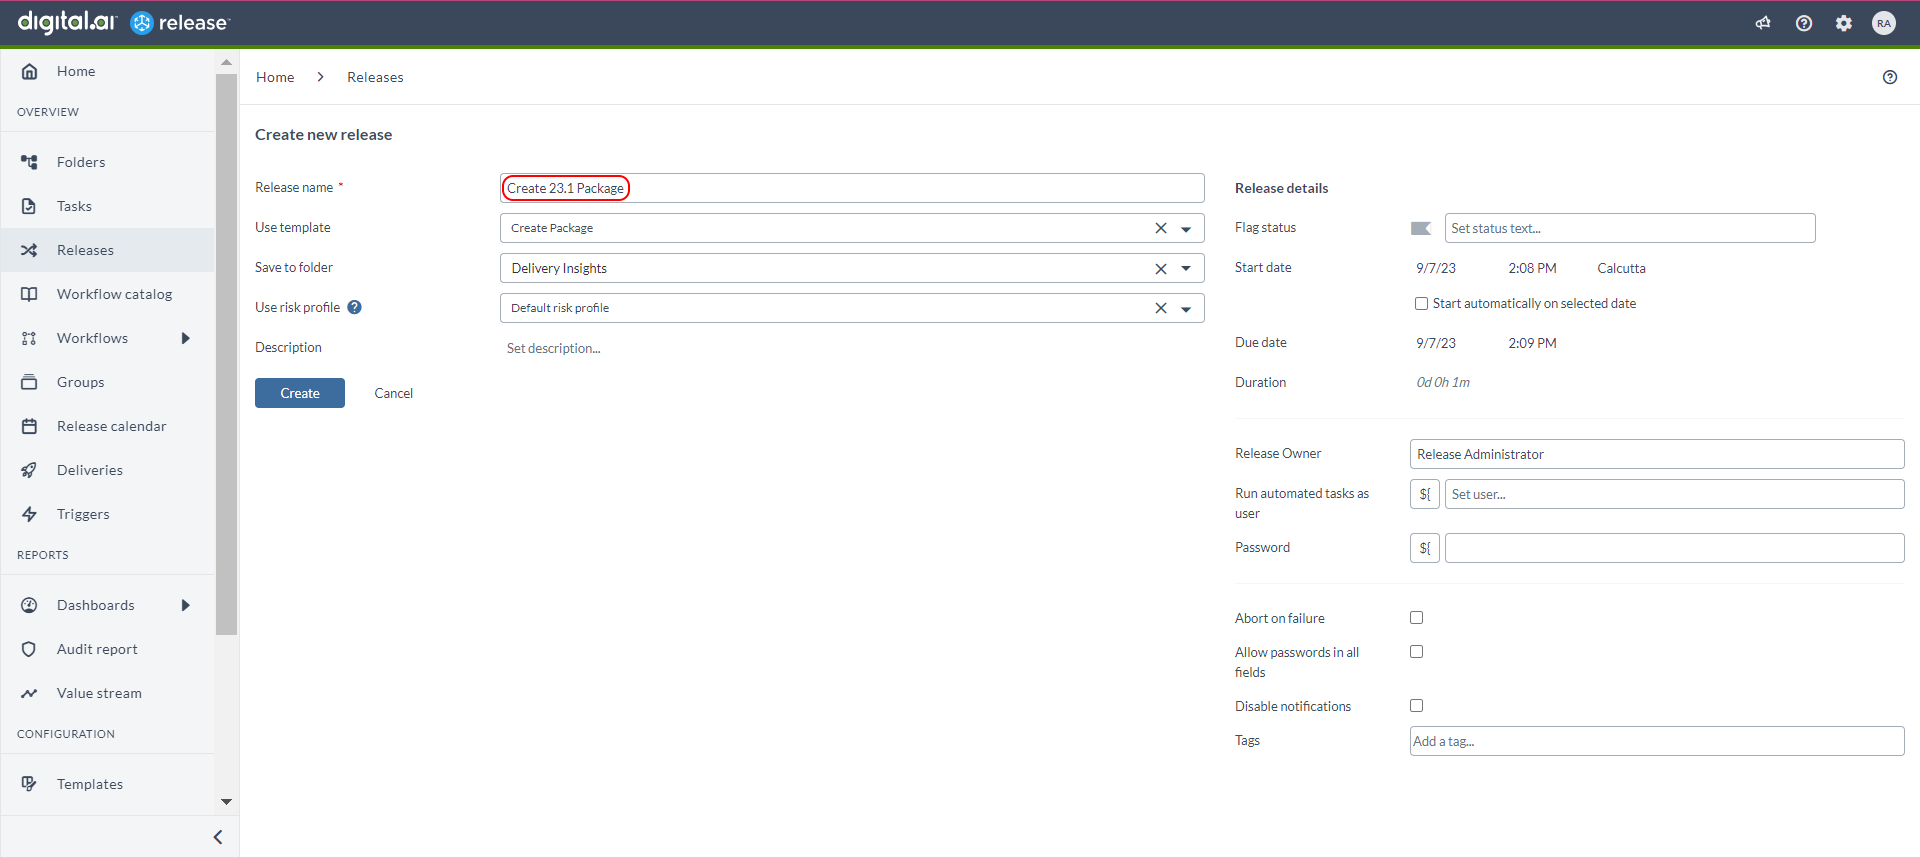
-
Click Start Release.

-
A confirmation message appears. Click Start.

-
Click the completed task to view the log.
-
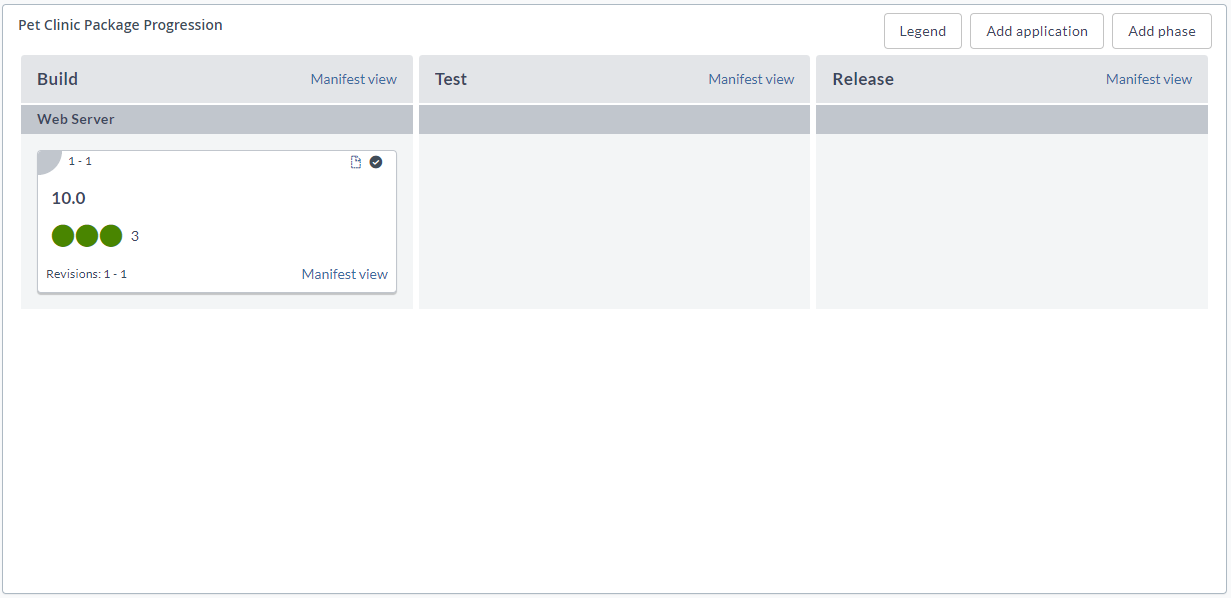
You can now go to the progression board and refresh the board to view the new package revision card.
-
Hover over a dot to view the associated work items. Note that, the dots look different here because the work items are split.
-
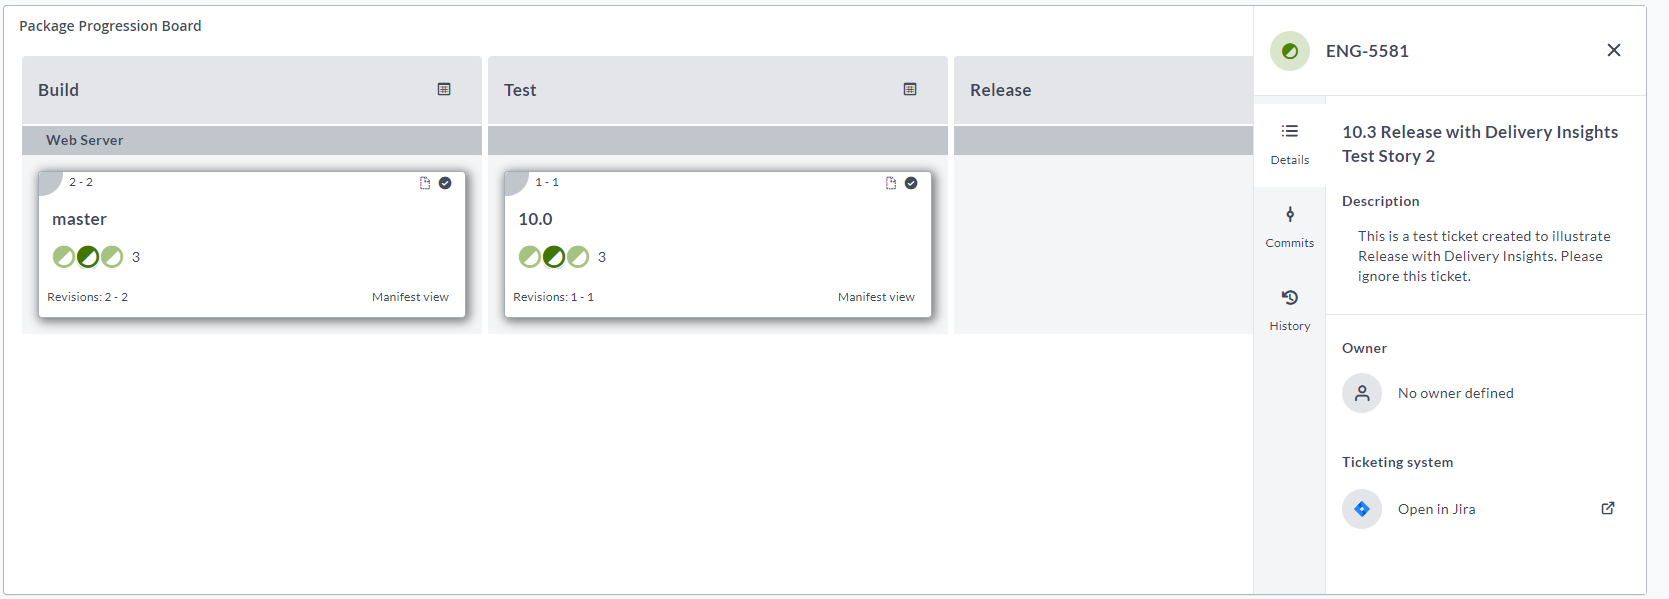
Click a dot to view the work item's details pane. You can click the Open in Jira icon to view the work item in Jira.
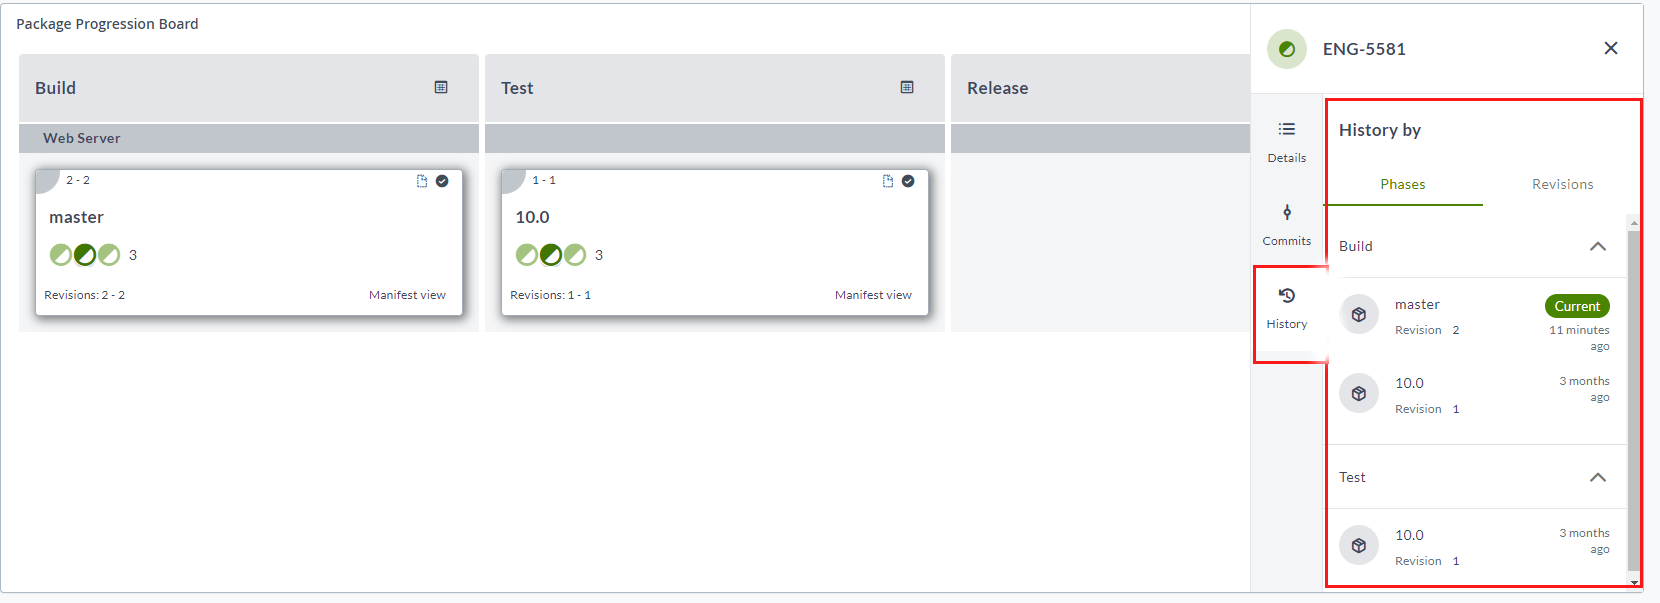
Select the History tab of the work item details pane to view the history by phases and revisions (select the Phases and Revisions tabs respectively).
Promote a Package Revision
-
Select the Delivery Insights folder and click Add template > Create new template.
-
Type a name for the template and click Create (
Promote Package). -
Click Add Task.
-
Type a title for the task (
Promote Package Revision). -
Select the Promote revision task from the drop-down list.
-
Click Add.

-
Click the Promote Package Revision task to configure it.
-
Click the Application field and select the application you created (Web Server).
-
Click the Phase field's search icon and select the phase which you want the package revision to be promoted to.
-
Leave the other fields with the default values and close the Promote Package Revision task's configuration dialog box.
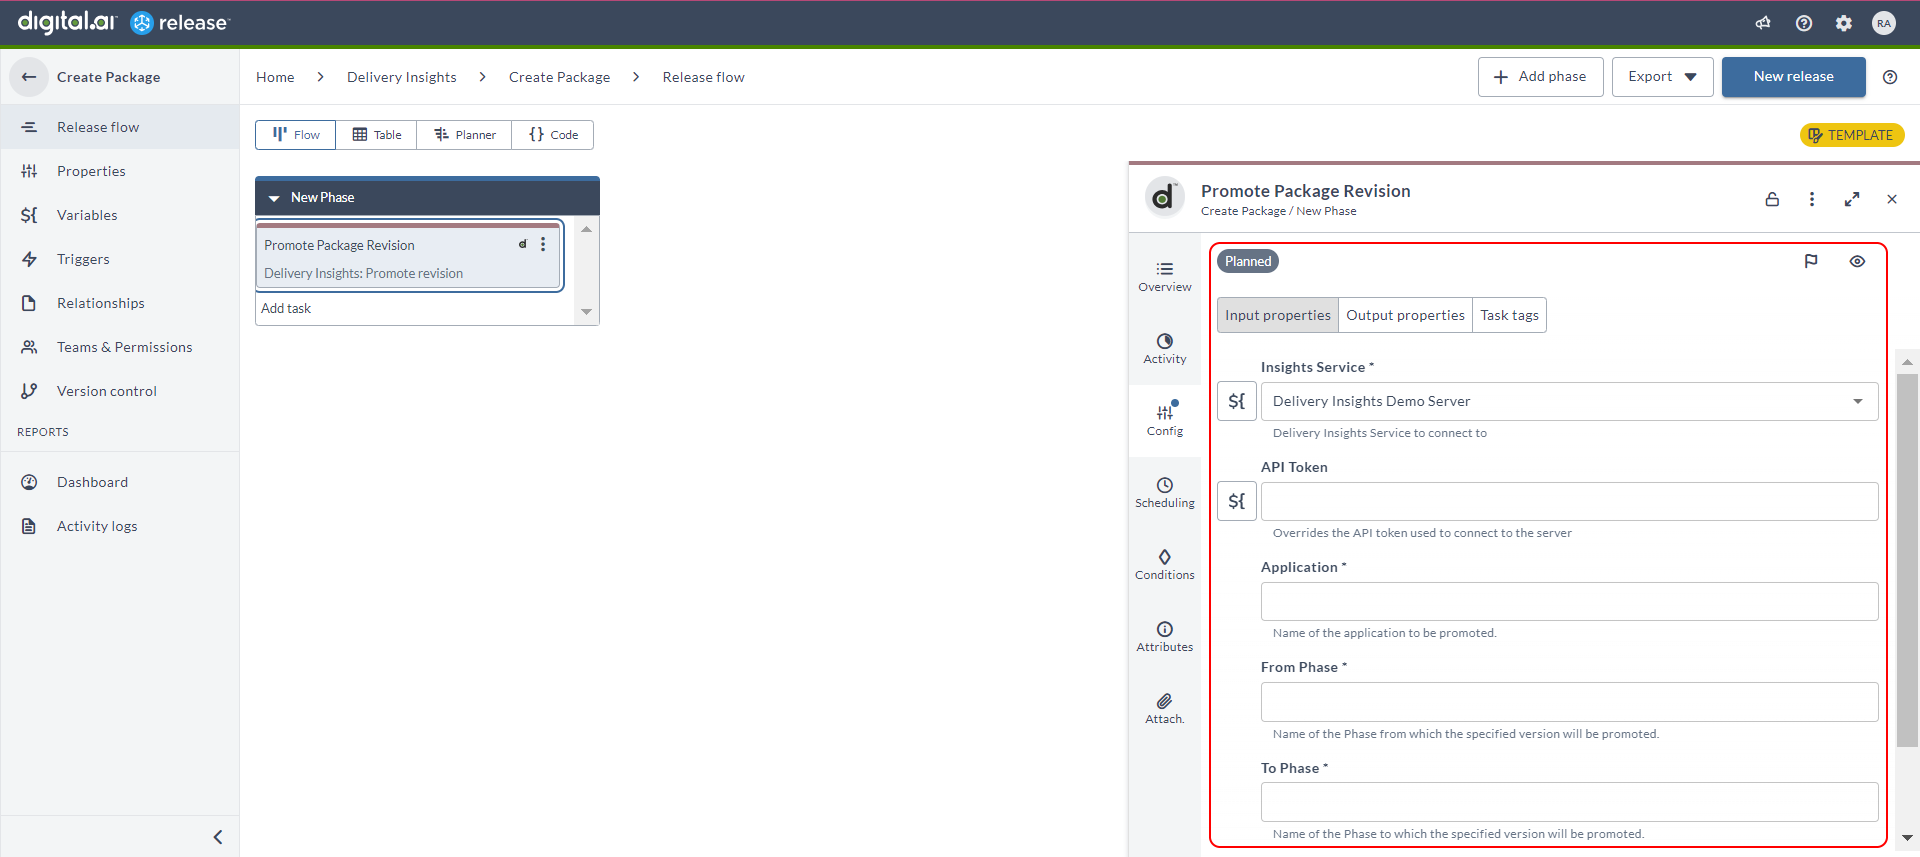
-
Click New Release.
-
Type a name for the release (
Promote 23.1 Version 1), type a revision number you want to promote (1) in the revision text box, and click Create.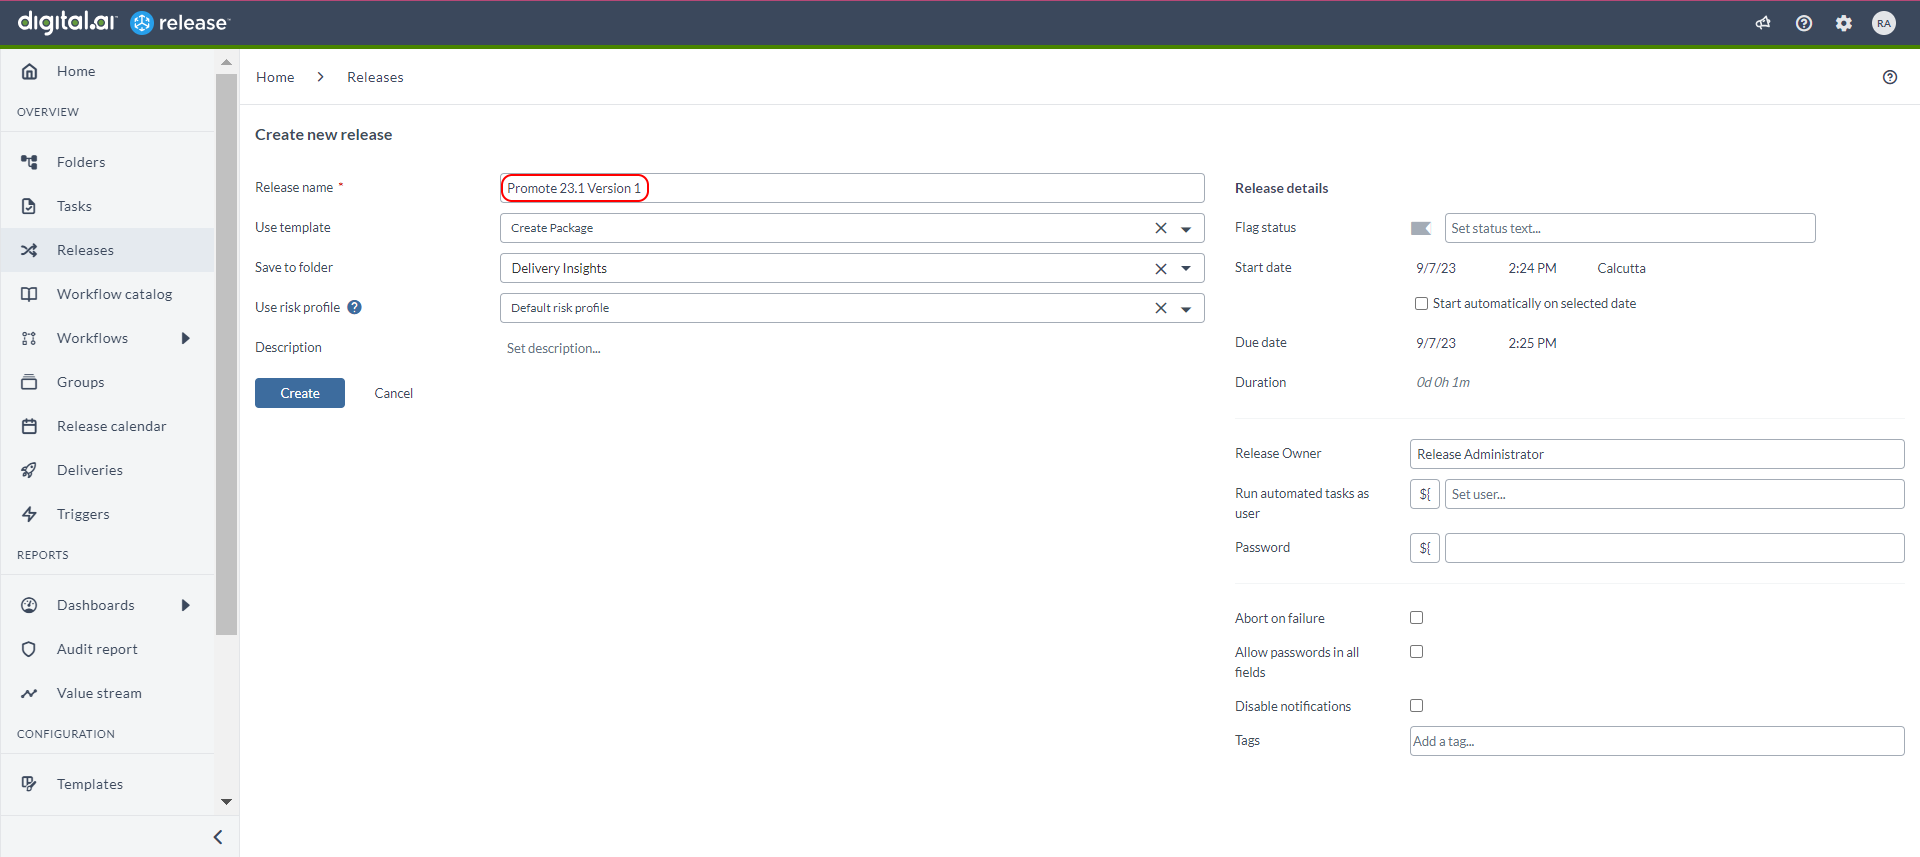
-
Click Start Release.
-
A confirmation message appears. Click Start.

-
Click the completed task to view the log.
-
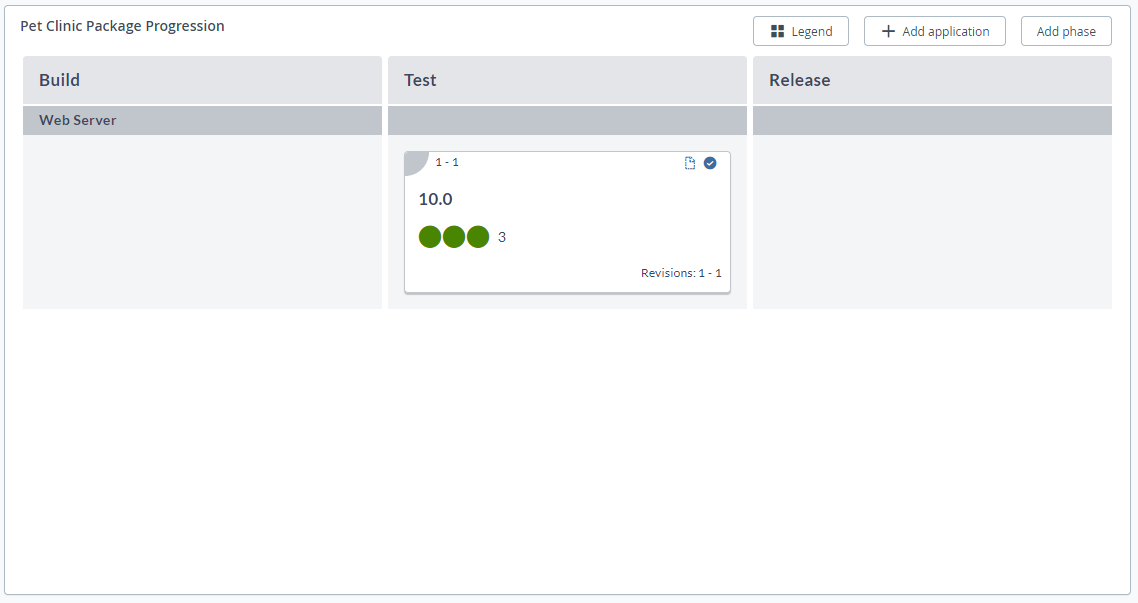
You can now go to the progression board and refresh the board to view the new package promoted to the Test phase.
Remove a Package Revision
-
Select the Delivery Insights folder and click New template > Create new template.
-
Type a name for the template and click Create (
Remove Package).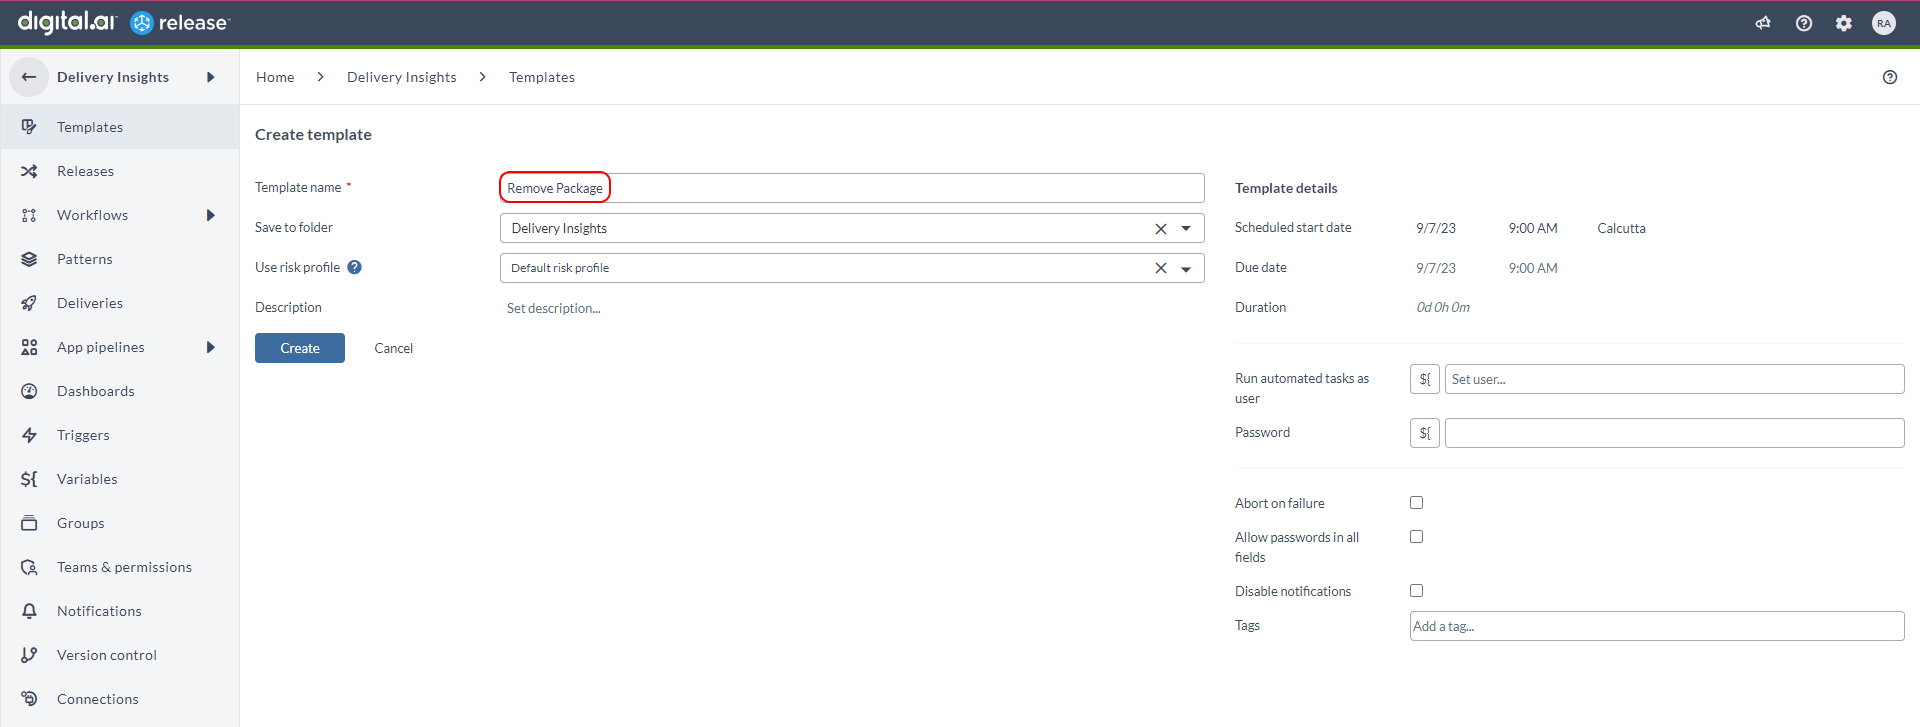
-
Click Add Task.
-
Type a title for the task. (
Remove Package Revision) -
Select the Remove revision task from the drop-down menu.
-
Click Add.

-
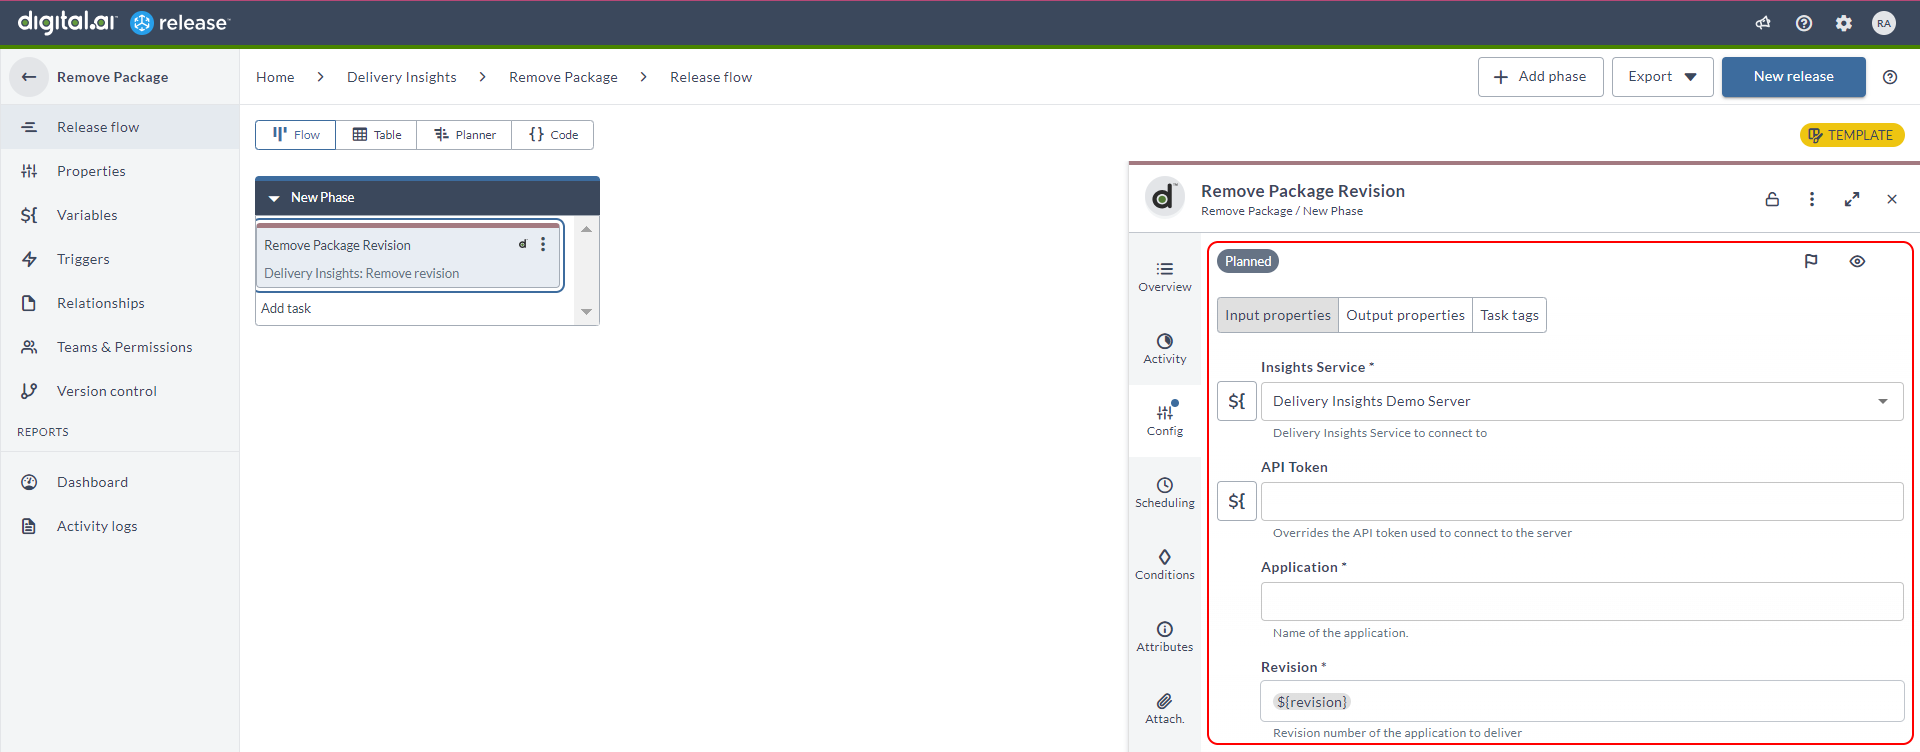
Click the Remove Package Revision task to configure it.
-
Click the Application field and select the application you created (Web Server).
-
Leave the other fields with the default values and close the Remove Package revision task's configuration dialog box.
-
Click New Release.
-
Type a name for the release (
Remove 23.1 Revision 1), type the revision you want to deliver (1) in the revision text box, and click Create.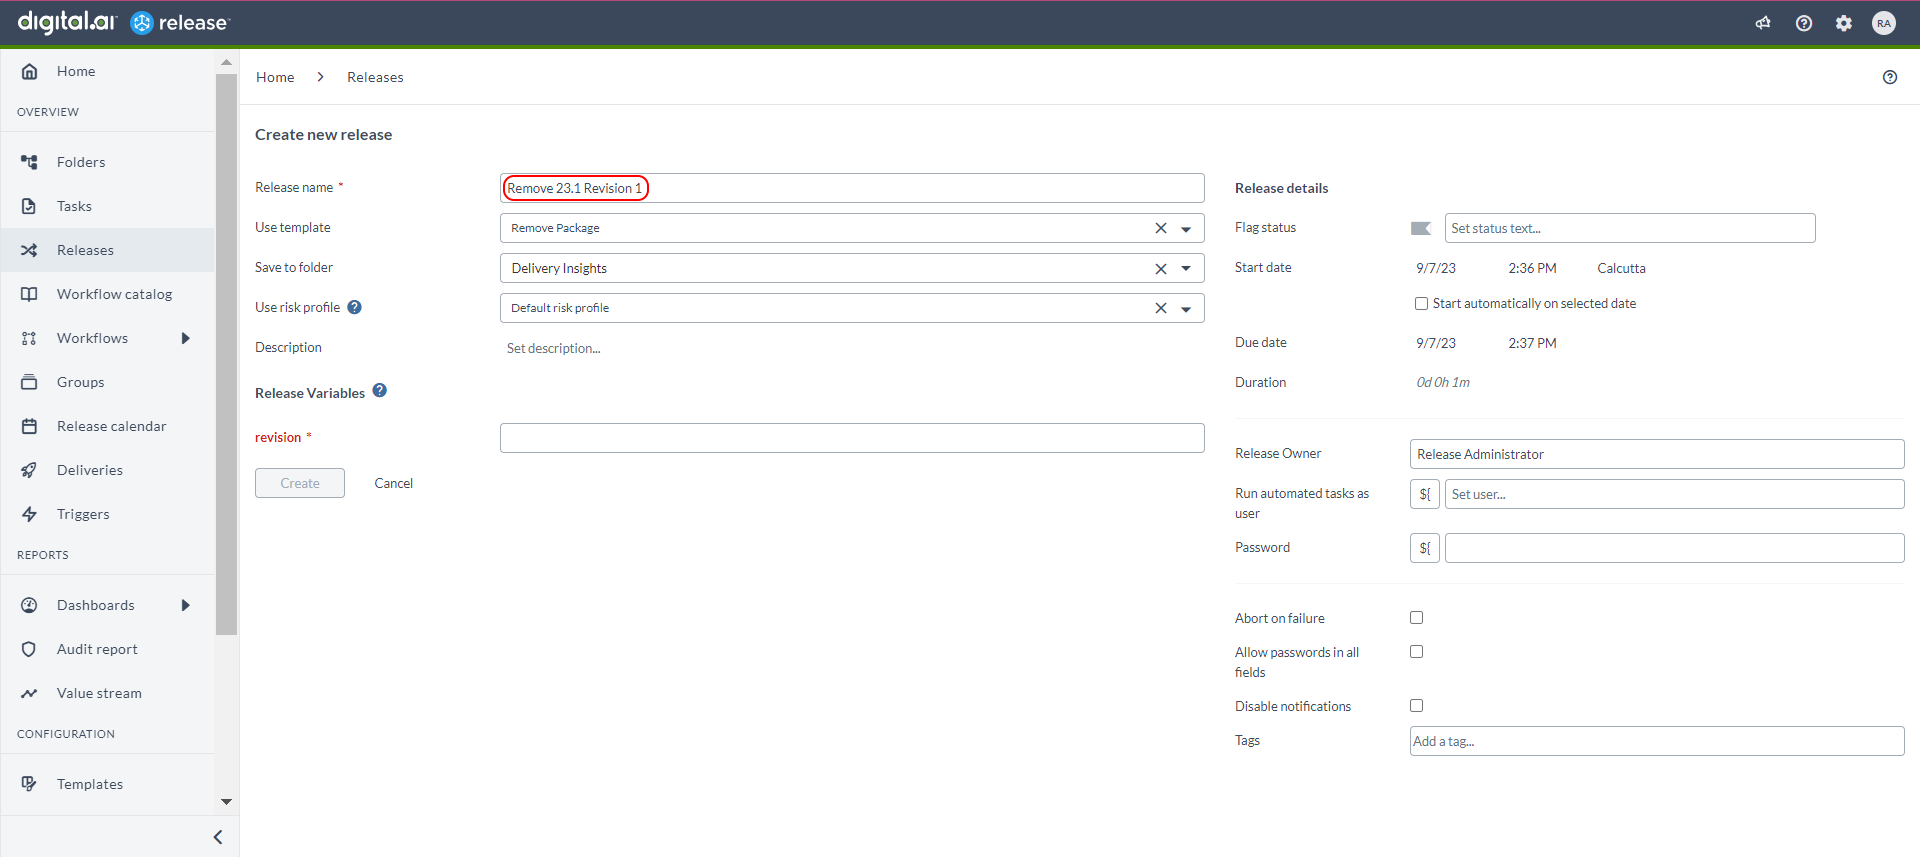
-
Click Start Release.
-
A confirmation message appears. Click Start.

-
Click the completed task to view the log.
-
You can now go to the progression board and refresh the board to confirm that the package revision has been removed (delivered) from the Progression Board.