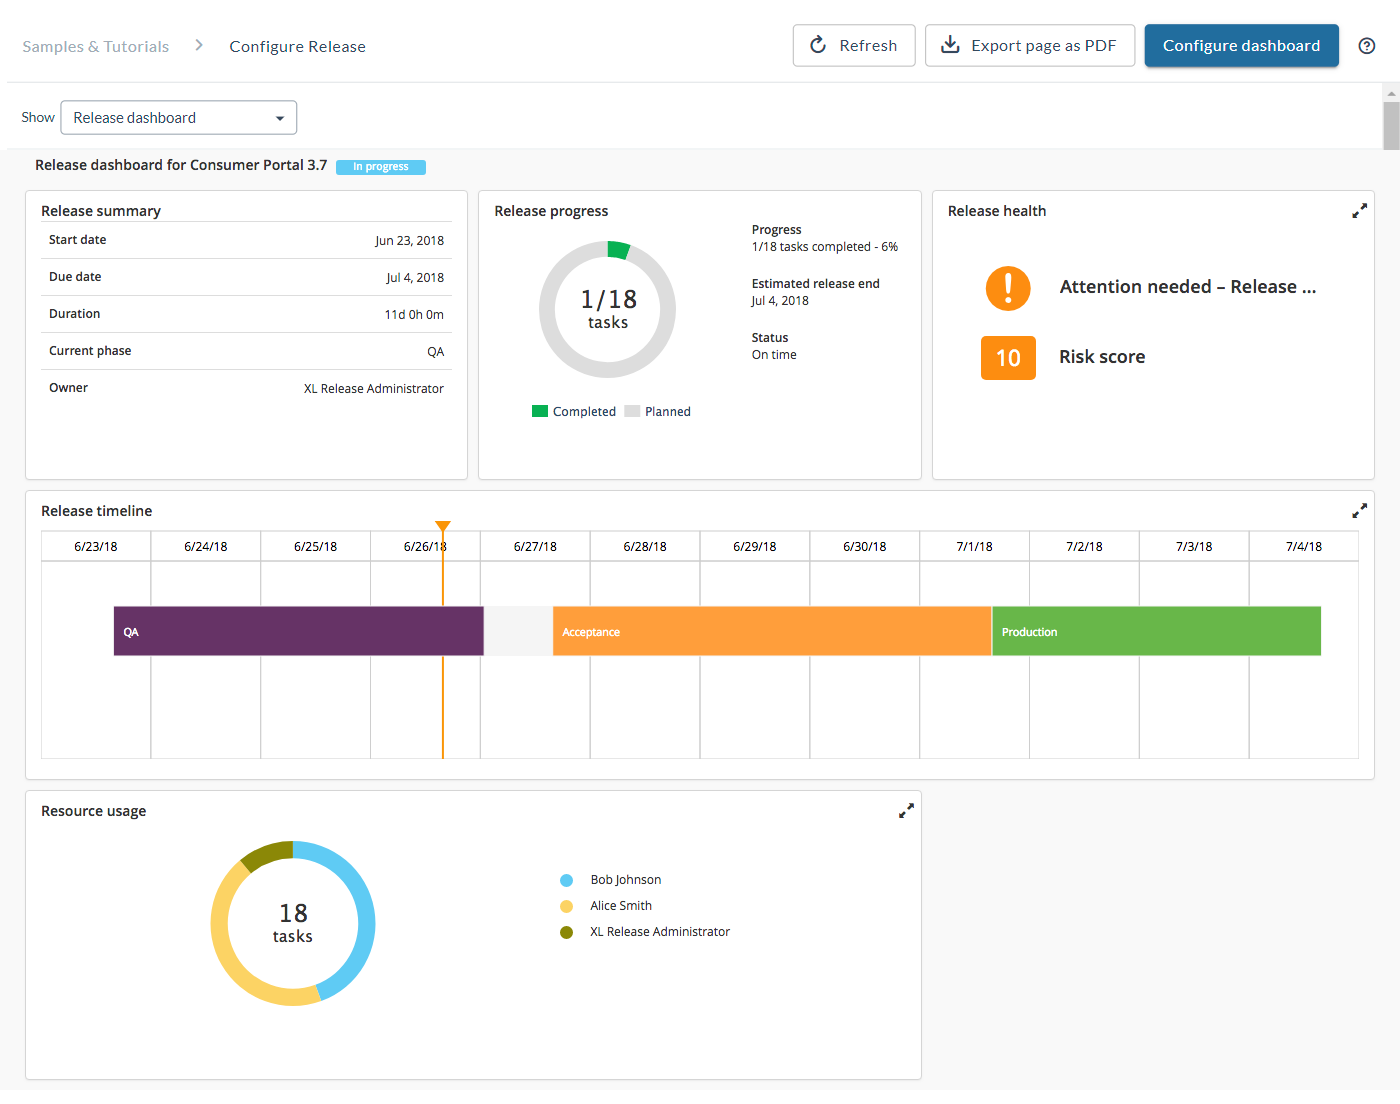
Using the Release Dashboard
The release dashboard is a customizable view where you can add, configure, move, and remove tiles that show planning information and details about release status.
To see an overview of important information about a template or release, do the following steps:
- From the navigation pane, under Overview group, click Releases.
- Open a release.
- Select Release dashboard from the Show menu.
or
- From the navigation pane, under Reports group, click Value stream.
- Open a release.
- Select Release dashboard from the Show menu.
For information about the tiles that are available, refer to Overview of release dashboard tiles.

Add a tile to the release dashboard
To add a tile to the release dashboard:
- Click Configure dashboard.
- Click Add tiles.
- Find the tile in the list and click Add button in top right corner.
- Optionally resize and move the tile as desired.
- Click View mode to save your changes.
Configure release dashboard tiles
To configure the tiles on the release dashboard:
- Click Configure dashboard.
- Click
on the tile you want to configure.
- Make your changes and click Save.
- Click Back to view mode to save your changes.
Arrange tiles on the release dashboard
To arrange tiles on the release dashboard:
- Click Configure dashboard.
- Left-click and hold the title bar of a tile, then drag it to the desired position.
- To resize a tile, drag its lower right corner.
- Click Back to view mode to save your changes.
View detailed information for a tile
Many tiles have a detail view that offers additional information. To go to the detail view, click the tile. To return to the release dashboard, click Back to dashboard.
Remove a tile from the release dashboard
To remove a tile from the release dashboard:
- Click Configure dashboard.
- On the tile that you want to remove, click
. Note that you cannot undo removing a tile.
- Click Back to view mode to save your changes.
Export page as PDF
To export the Release Dashboard page as PDF, click Export page as PDF.