Managing Users
This topic covers the role-based access control (RBAC) for users in Deploy, including managing both internal and external users.
The User management page is accessible only to users who have the Admin or global permissions role.
Deploy supports two types of users:
- Internal users: users created and managed directly within Deploy by an administrator.
- External users: users managed by an external Identity Provider (IDP), such as LDAP Active Directory, Keycloak, or Office 365.
You can assign roles with global permissions to both internal and external users. For more information, see Set up roles and permissions.
User Management
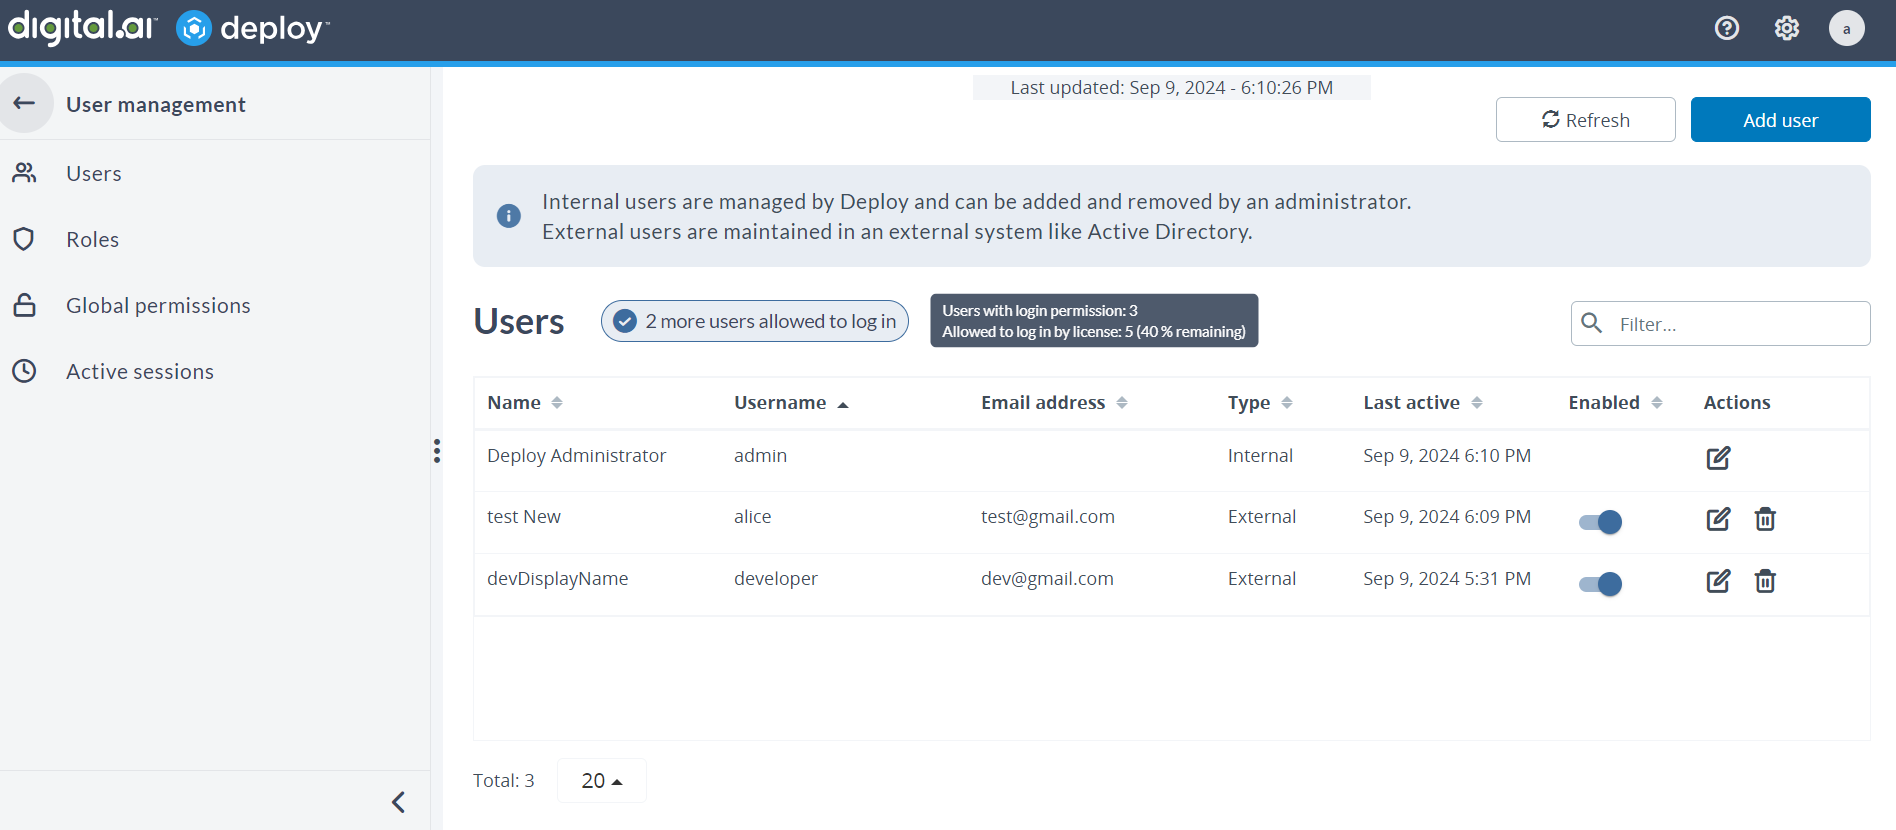
The User management page displays information about both external and internal users, including their license status. It also features a toggle button that indicates whether users are enabled to access Deploy, based on the license count.
View Users
To view users:
- In Deploy, go to Explorer > User management.

The page displays the details such as:
-
License status indicator: Displays the account license status. For more information, see View license information.
-
Name: The user's full name.
-
Username: The username the user logs in with. Note: After upgrading to version 24.3 or later, the Username is displayed in lowercase, regardless of the case used when the user logs in.
-
Email address: The user's email address.
-
Type: Whether the user is internal or external user.
-
Last active: The last date and time the user logged in.
-
Enabled: Displays whether the user can access Deploy.
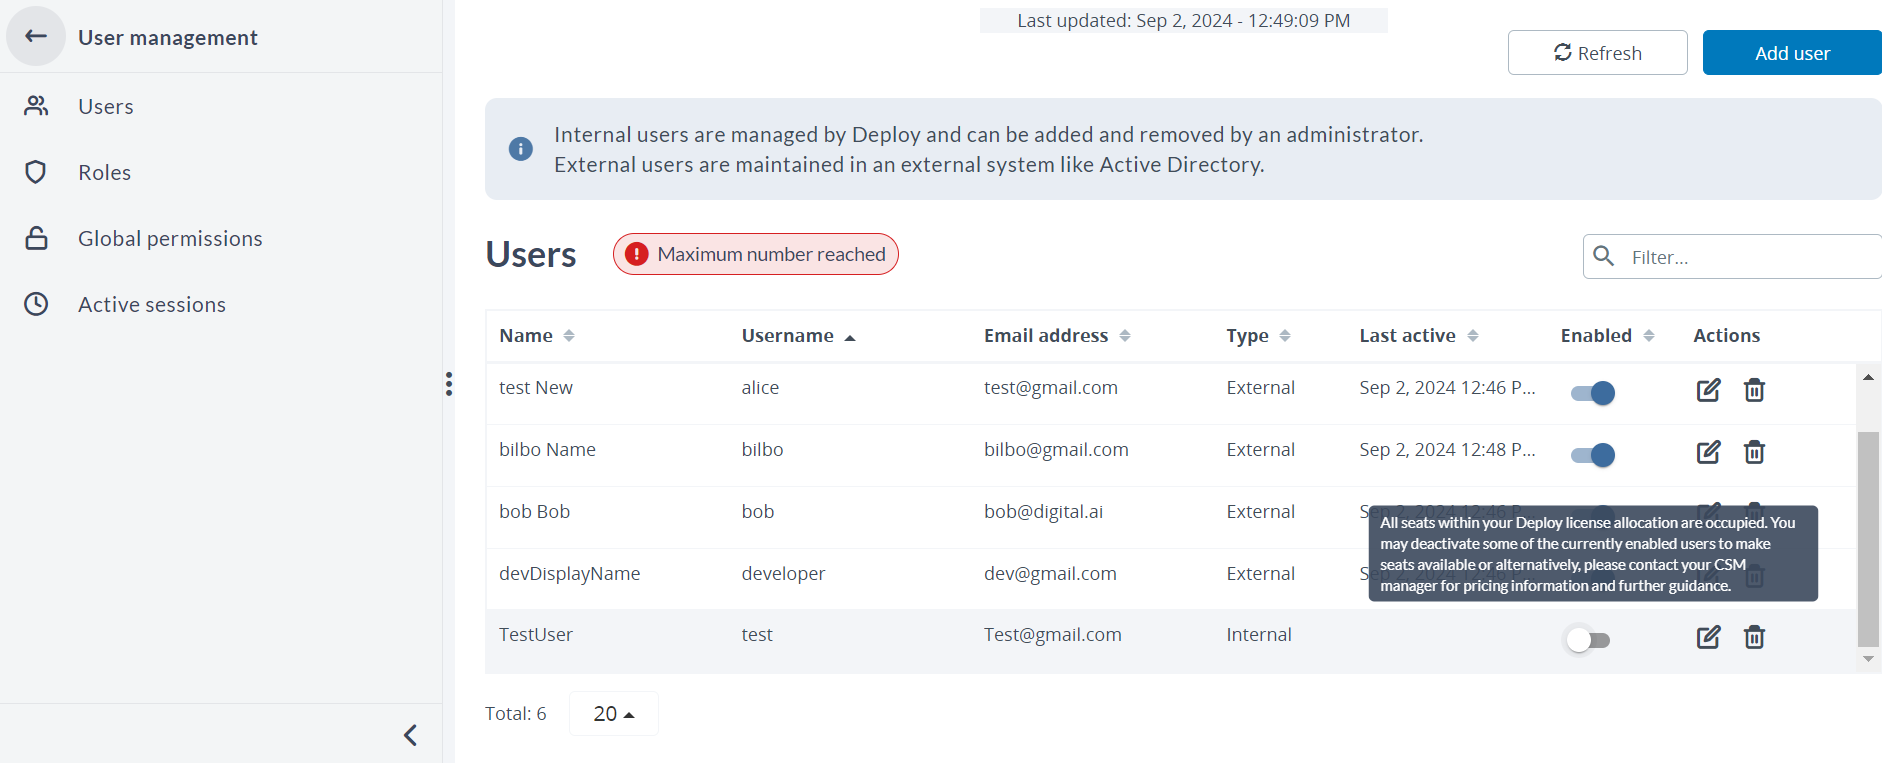
Important: After upgrading to version 24.3 or later, this page displays both internal and external users (previously only internal users were displayed). All users will have their Enabled toggle set to ON, regardless of the available license count. However, if the number of enabled users exceeds the licensed limit:
- License information indicator will display that "License limit reached".
- New internal users you create will have their Enabled toggle disabled by default. A note appears when you hover over the toggle button, explaining that you need to disable some users first or increase your license.
- The system prevents the new external users from logging in or being created.
- If you modify any existing users, their Enabled toggle will be turned off, and they will not be able to access the system until the license count is increased, empty seats are available, or other users are disabled to meet the license limit.

Note: For the admin user, the Enabled option is not available.
-
Actions: Provides options to edit or delete the user details.
Note: For the admin user, the Delete action is not available.
Refresh
To update the data displayed on the User management page:
- On the right hand side, click Refresh.
Filter Users
When you manage a large number of users, you can use filter search box to narrow down the list of users. You can filter with Name, Username, and Email address. To do so:
- In Deploy, go to Explorer > User management.
- Click the Filter field.
- Enter a Name, Username, or Email address as required to see the results.
View License Information
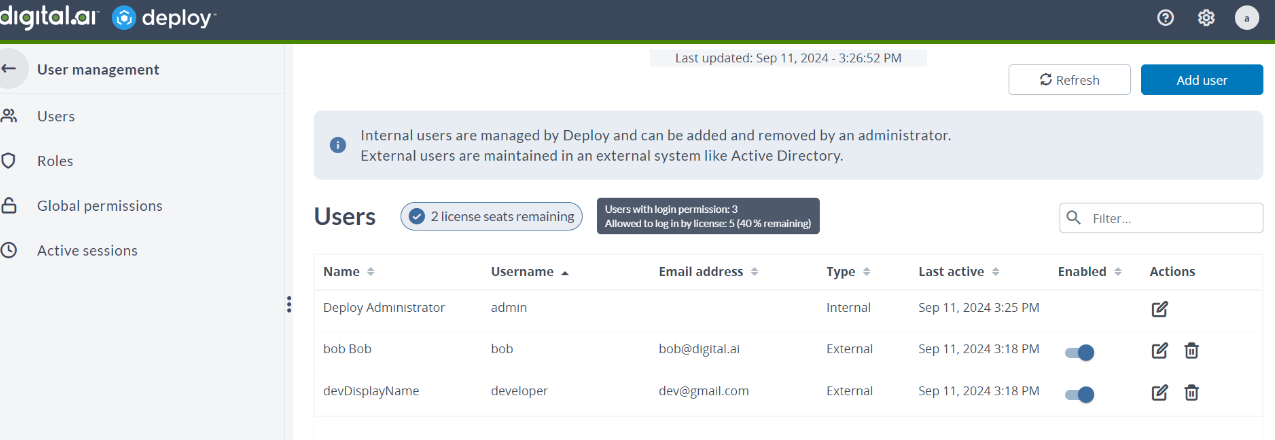
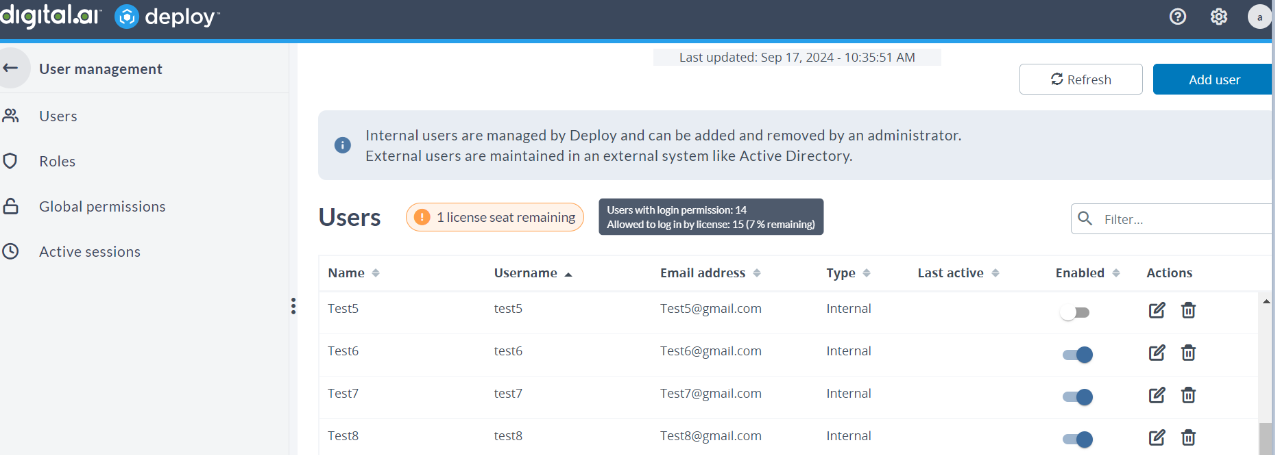
The following table provides information about license availability with color-coded indicators for remaining seats available. The hover on the indicators gives a detailed information.
| License information | Color | Description |
|---|---|---|
<x> license seats remaining | Blue | Displayed when 10% or more of the total license seats are available  |
<x> license seats remaining | Orange | When less than 10% of the total license seats are available.  |
| License limit reached | Red | All available license seats have been used. |
Add User
You can add a new internal user within a Deploy. To add an internal user:
-
In Deploy, go to Explorer > User management.
-
On the right hand side, click Add user. The New user dialog appears.
-
In the Username field, enter a unique name for the user.
Note: The Username must be unique for all users, both internal and external.
-
In the Name field, enter the user's full name.
Note: The name field supports a maximum of 255 characters.
-
In the Email address field, enter the user email address.
Note: The email address field supports a maximum of 255 characters.
-
Enter a password for the user in the Password field.
The password must meet the password strength requirements.
- In the Confirm password field, enter the same password you entered in the Password field.
- Click Save.
Enable/Disable User
In Deploy, users must be enabled to access and log in to the system. The Enable/Disable toggle button allows you to manage user access based on licensing constraints. For more information, see View users.
To enable or disable a user:
- In Deploy, go to Explorer > User management. Locate the relevant user row in the table.
- Click the Enabled toggle button. When the toggle is blue, the user is enabled; when it is gray, the user is disabled. Disabled users cannot log in to Deploy.
Edit User
Internal User
Editing internal users involves updating their details.
To edit an internal users:
-
On the User management page, locate the user and click edit (pencil icon) under the Actions column. The Edit user dialog appears.
-
You can edit the user details such as:
Name: Modify the user name.
Email address: Update the user's email address.
Password: If you wish to reset the password, enter a new password in this field.
Confirm Password: Re-enter the new password to confirm it.
-
Click Save to apply the changes.
External User
You can only edit full name and email address of the external user.
To edit an external users:
- In Deploy, go to Explorer > User management. Locate the relevant user row in the table.
- Click Edit (pencil icon) under Actions column for the user whose details you want to update.
- Make the required changes.
- Click Save.
Tip: When an external user's name or email address is updated through an external Identity Provider (IDP), such as OIDC, and they log into Deploy, Deploy will automatically overwrite their existing information with the new details.
Delete User
If a user no longer require access to Deploy, you can delete their details.
To delete a user:
- In Deploy, go to Explorer > User management. Locate the user row in the table which you wish to delete.
- Click the Delete button under the Actions column. The Delete user dialog appears.
- Click Delete.
Note: When external user details are deleted, they will be automatically created the next time the user logs in.
User Validation and Error Handling
The following table outlines the expected error cases for both external and internal users, along with their corresponding resolutions.
| Case | Applicable to | Description |
|---|---|---|
| License exceeded | Internal and external users | There are no available seats left under your Deploy license. Please contact your Deploy administrator for further assistance. |
| User already exists | External users | An internal user already exists with this username, so login via the identity provider is not allowed. Please use your username and password to log in. |
| Disabled account | Internal and external users | Your account is currently disabled. Please contact your Deploy administrator to re-enable your account. This error occurs when either the license limit is exceeded, disabling the user, or the admin has manually disabled your account. |
| Incorrect username and/or password | Internal users | The username and/or password you have entered is incorrect. Please verify your credentials and try again. If the issue persists, contact your administrator for help. |
| No login permission | Internal and external users | You do not have permission to log in. Please contact your Deploy administrator to request access or resolve permission issues. |