Provisioning Deploy Applications in Backstage Using YAML
Overview
This guide explains how to provision using YAML configuration files and the XL CLI actions in Backstage. You can provide Inline YAML or use files stored in a GitHub repository.
Prerequisites
- Install Scaffolder Backend Module to allow Backstage to run templates and actions.
- Install Digital.ai Plugin Scaffolder Backend Module to run
xlcli:applycommand. - Install RoadieHQ to use the
fs:writeaction, which saves the YAML file to a temporary location in the Scaffolder workspace. - The
app-config.yamlfile is configured with environment-specific hostnames, target and tokens. To learn more about Backstage configuration files, see Backstage Configuration Files. - XL CLI is installed and accessible in the Backstage action context.
- A GitHub repository is available if using repository-based YAML files.
Set Up Backstage Templates
You can set up and preview templates in Backstage using either local files or GitHub integration. Choose the option that works best for your environment.
Option 1: Use Local Files
Store your template files inside appropriately named folders.
For example, you might create folders such as xl-cli-yaml-inline or xl-cli-github and place your template.yaml file inside each folder.
- Copy the folders containing your template files to the examples folder in your Backstage root directory.
- Add entries to your
app-config.yamlfile to reference the template files. For example:
  - type: file
    target: ../../examples/xl-cli-yaml-inline/template.yaml
    rules:
      - allow: [ Template ]
  - type: file
    target: ../../examples/xl-cli-github/template.yaml
    rules:
      - allow: [ Template ]
Update the target paths as needed to match the location and names of your folders and template files.
-
Restart Backstage.
Once set up, you can preview the templates in the Backstage catalog.
 .
.
 .
.
Option 2: Use GitHub Integration
- Set up the GitHub integration support. For more information, see GitHub integration
  integrations:
    github:
      - host: github.com
        This is a Personal Access Token or PAT from GitHub. You can find out how to generate this token, and more information
        about setting up the GitHub integration from the Github Integration guide above
        token: <token>
-
Restart Backstage.
-
In your localhost, open catalog-import and import both templates using their GitHub URLs:
noteThese are example templates. Use them for reference only.
After import, the templates will appear in your Backstage catalog. You can then preview them.
Once set up, you can preview the templates in the Backstage catalog.
.
.
Action Parameters
The action reads configuration from Backstage app-config.yaml and runs xlcli:apply command to apply the YAML.
| Parameter | Description |
|---|---|
product | Operation type: xl-deploy. |
yamlFilePath | Path to the YAML file. This can be inline content or a GitHub file path. |
Provision an Application Using Inline YAML
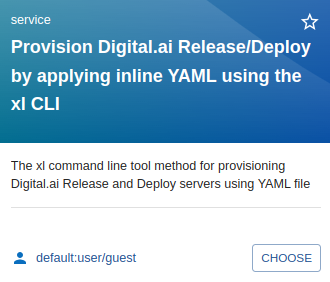
- In the Backstage sidebar, click Create and select Provisioning Digital.ai Deploy by applying Inline YAML using the xl-cli tile.
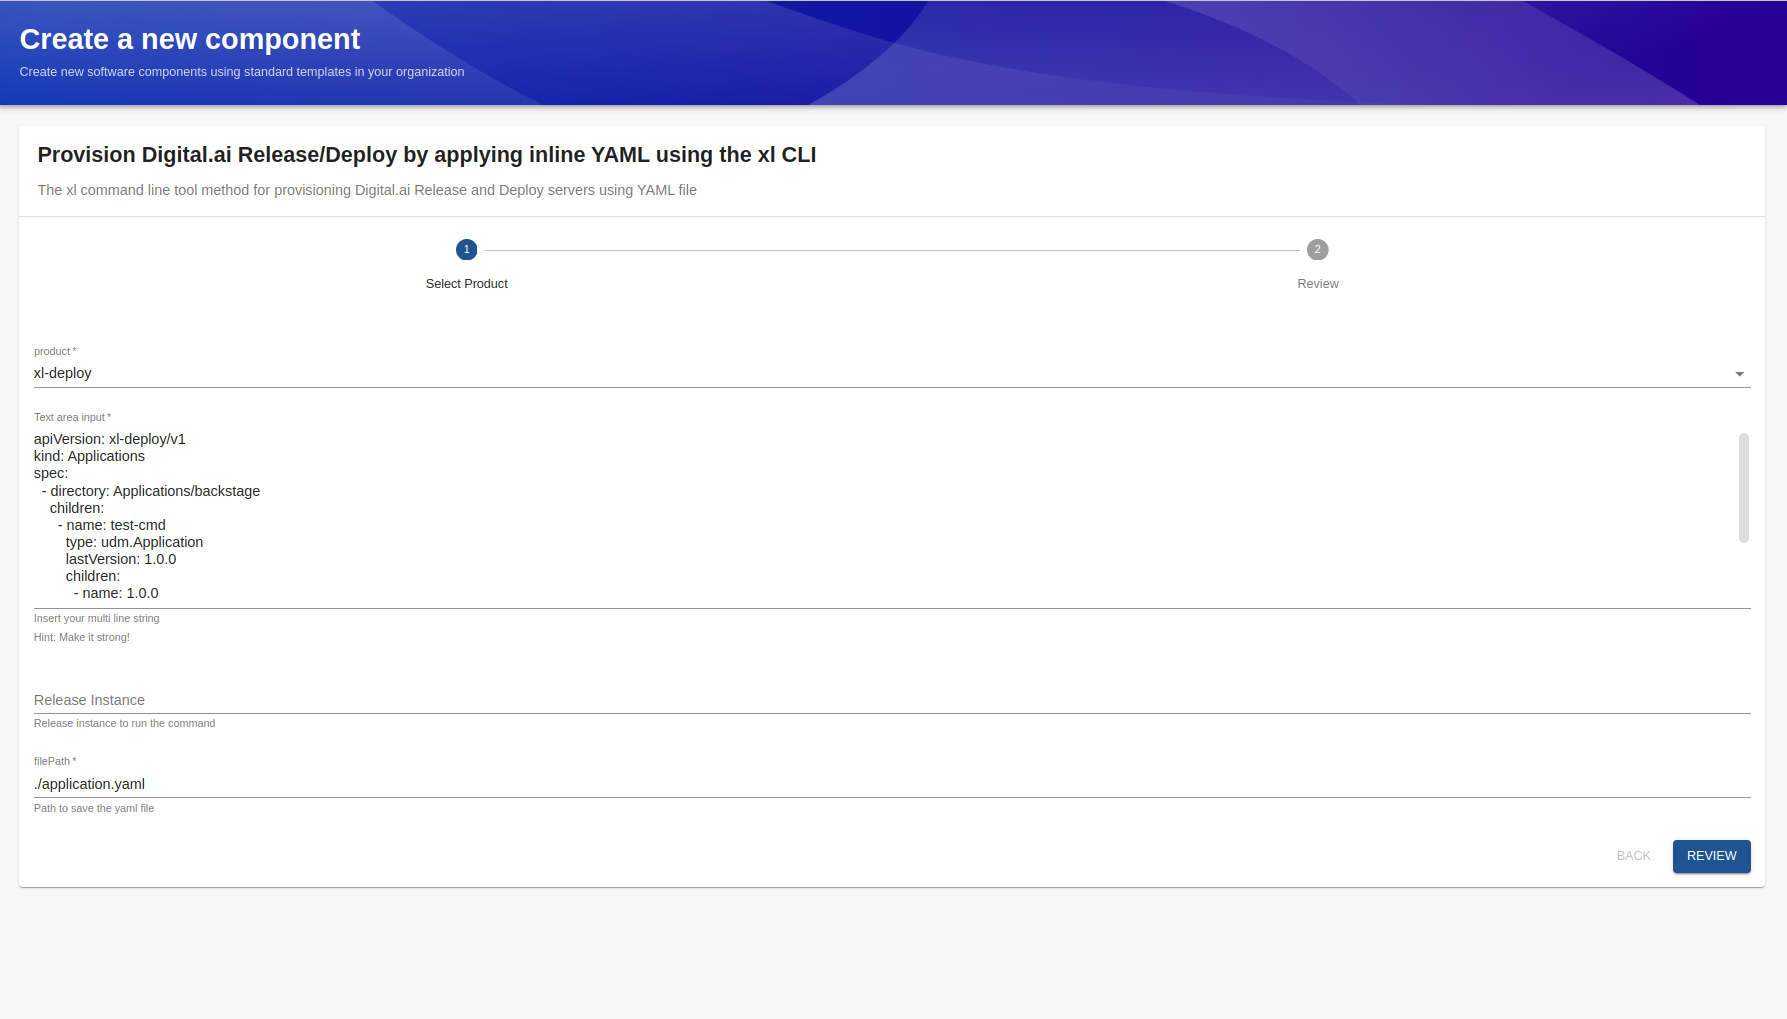
- Select
xl-deployfrom product dropdown. - Paste the YAML content in the text field.
Skip Release instance option as it is not applicable for xl-deploy.
-
Specify the Deploy application filePath where the YAML file should be stored.
-
Click Review to confirm your inputs.
-
Click Create to start the provisioning.
This will create resources as defined in your YAML configuration.
For example, you can provision applications or deployments based on the provided YAML.
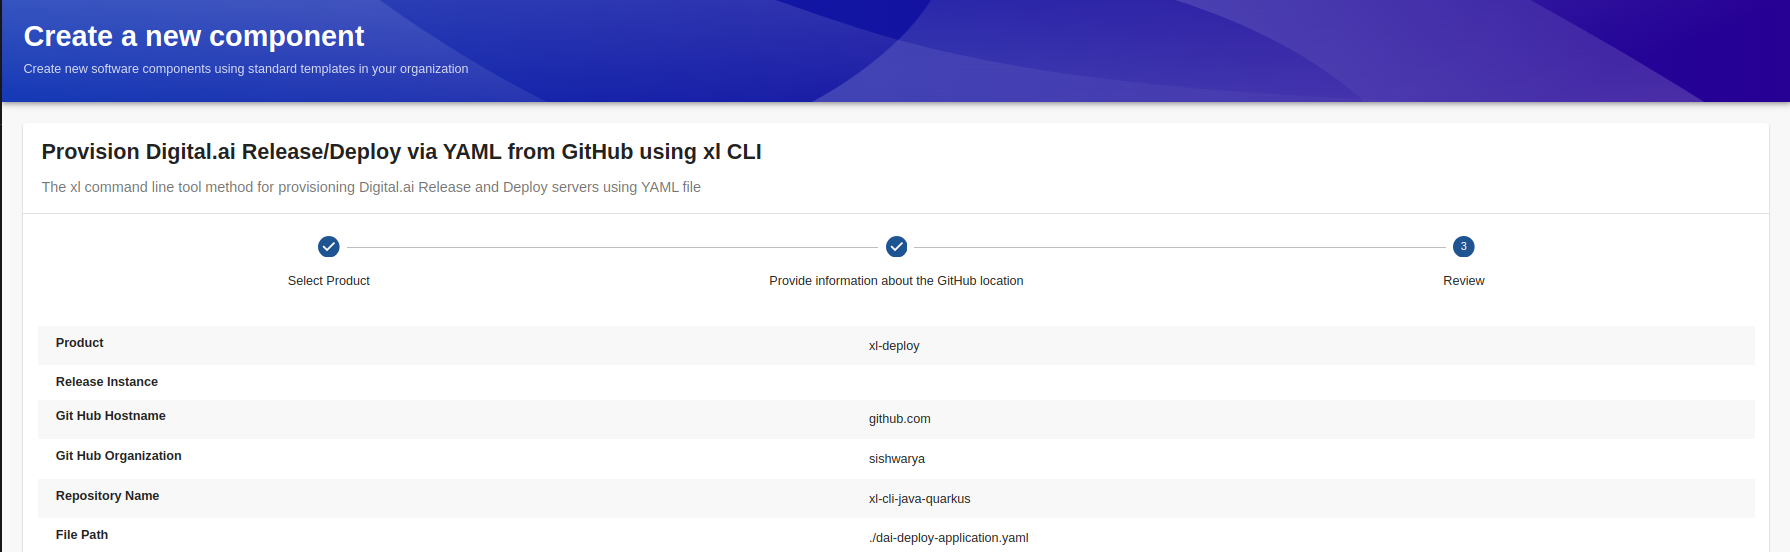
Provision an Application Using YAML from GitHub
-
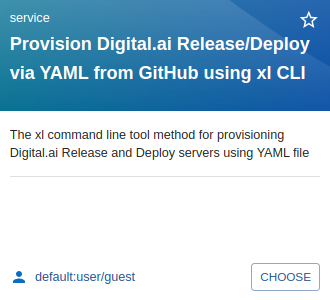
In the Backstage sidebar, go to Create and select Provisioning Digital.ai Deploy via YAML from GitHub using the xl-cli tile.
-
Select
xl-deployfrom products dropdown. -
Enter your username or Github organization in GitHub organization section.
-
Enter the repository name.
-
Specify the path to the YAML file within the repository.
-
Click Review to confirm your inputs.
-
Click Create to start the provisioning.
-
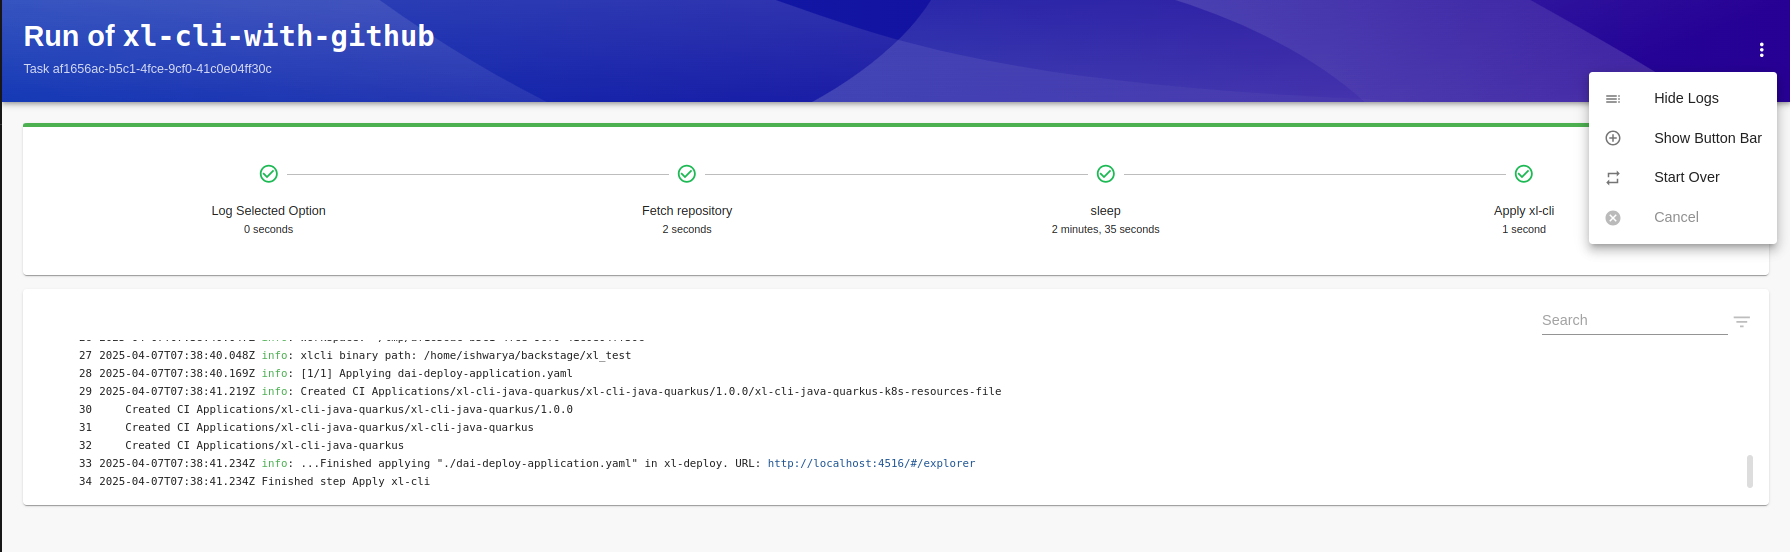
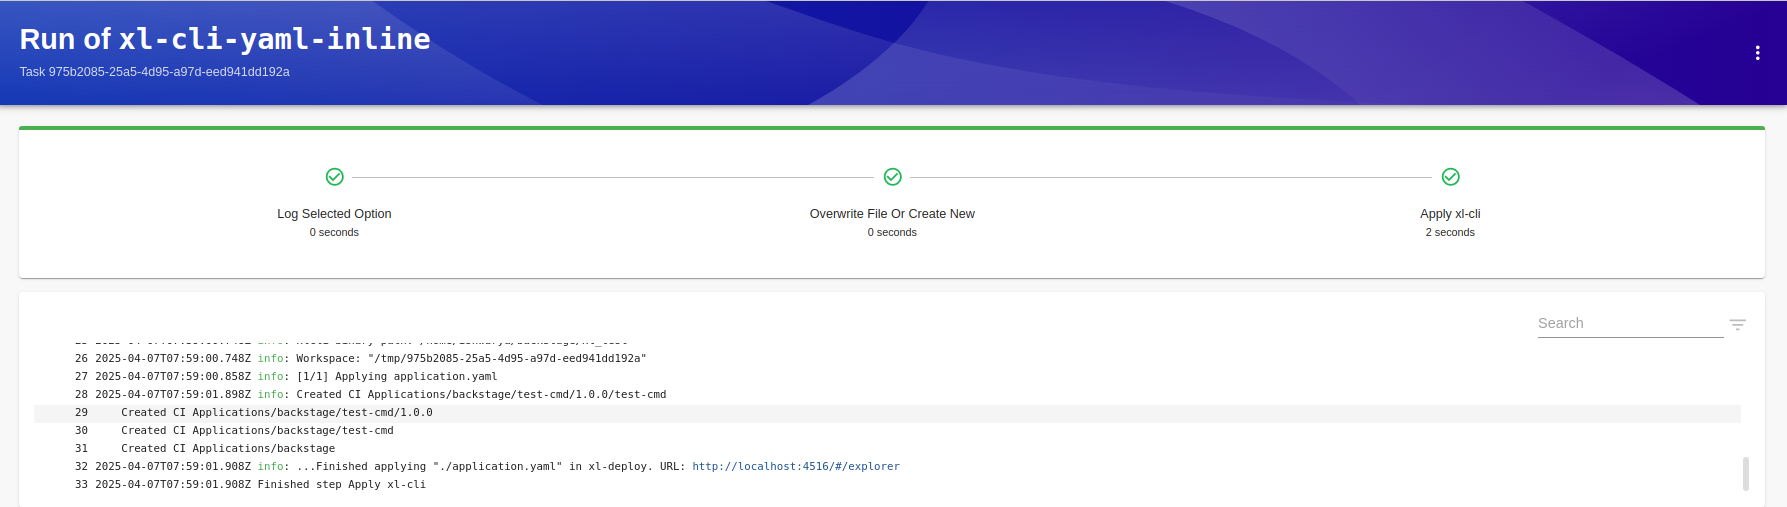
Monitor the execution logs from
xl-clifor progress and confirmation. -
Verify the deployment in the xl-deploy UI.
This will create resources as defined in your YAML configuration.
For example, you can provision applications or deployments based on the provided YAML.