Configure OpenID Connect (OIDC) authentication with Keycloak
This topic describes how to configure Keycloak to authenticate Deploy users and REST API calls (using the Bearer Token Authorization).
About Keycloak
Keycloak is an open source Indentity and Access management solution. It is based on popular standards such as Security Assertion Markup Language (SAML) 2.0, OpenID Connect, and OAuth 2.0.
Installation
See the Keycloak documentation, for more information about the hardware requirements, distribution directory structure, and operation mode.
We use docker-compose example from https://github.com/keycloak/keycloak-containers/blob/master/docker-compose-examples/keycloak-postgres-jdbc-ping.yml to setup keycloak.
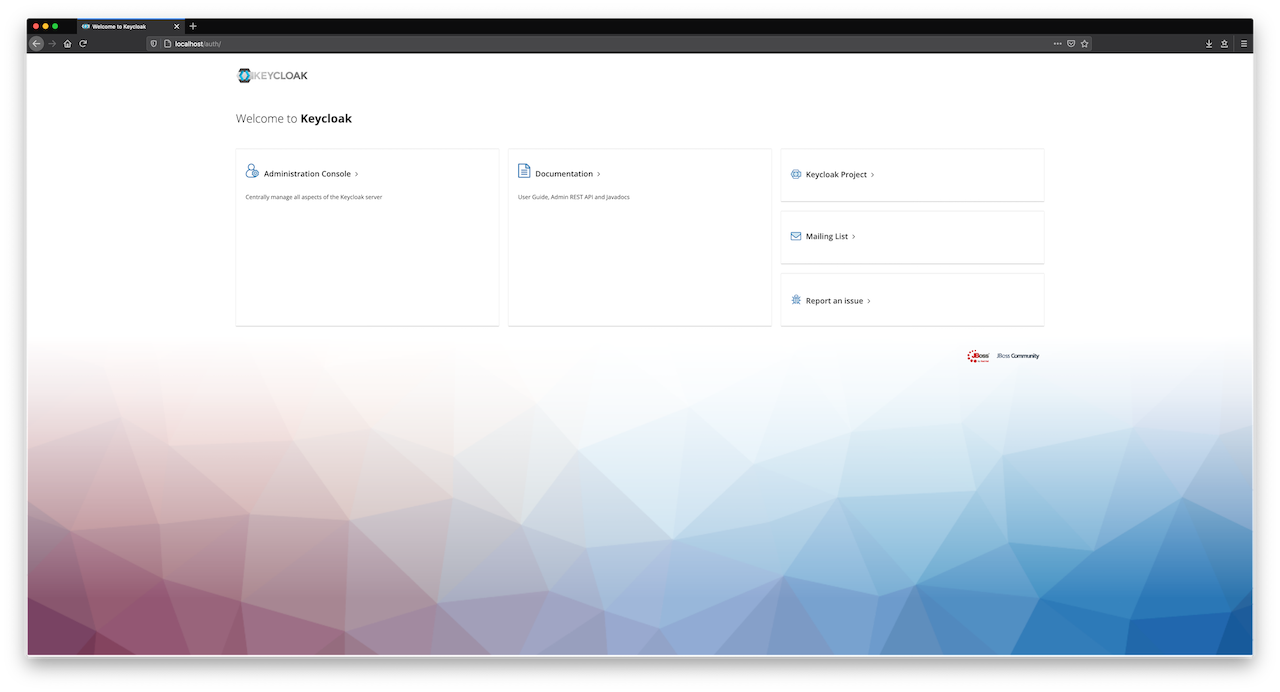
Set Up a Realm
First, we will create a new realm. On the top left, navigate to Master, open the drop down menu, and click Add realm.
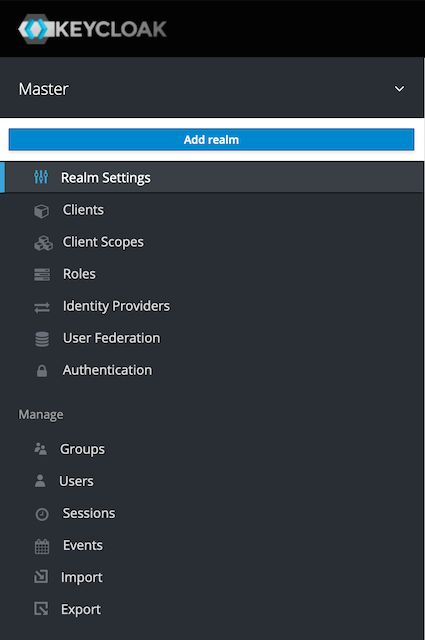
Add a new digitalai-platform realm as shown below.


Add Roles
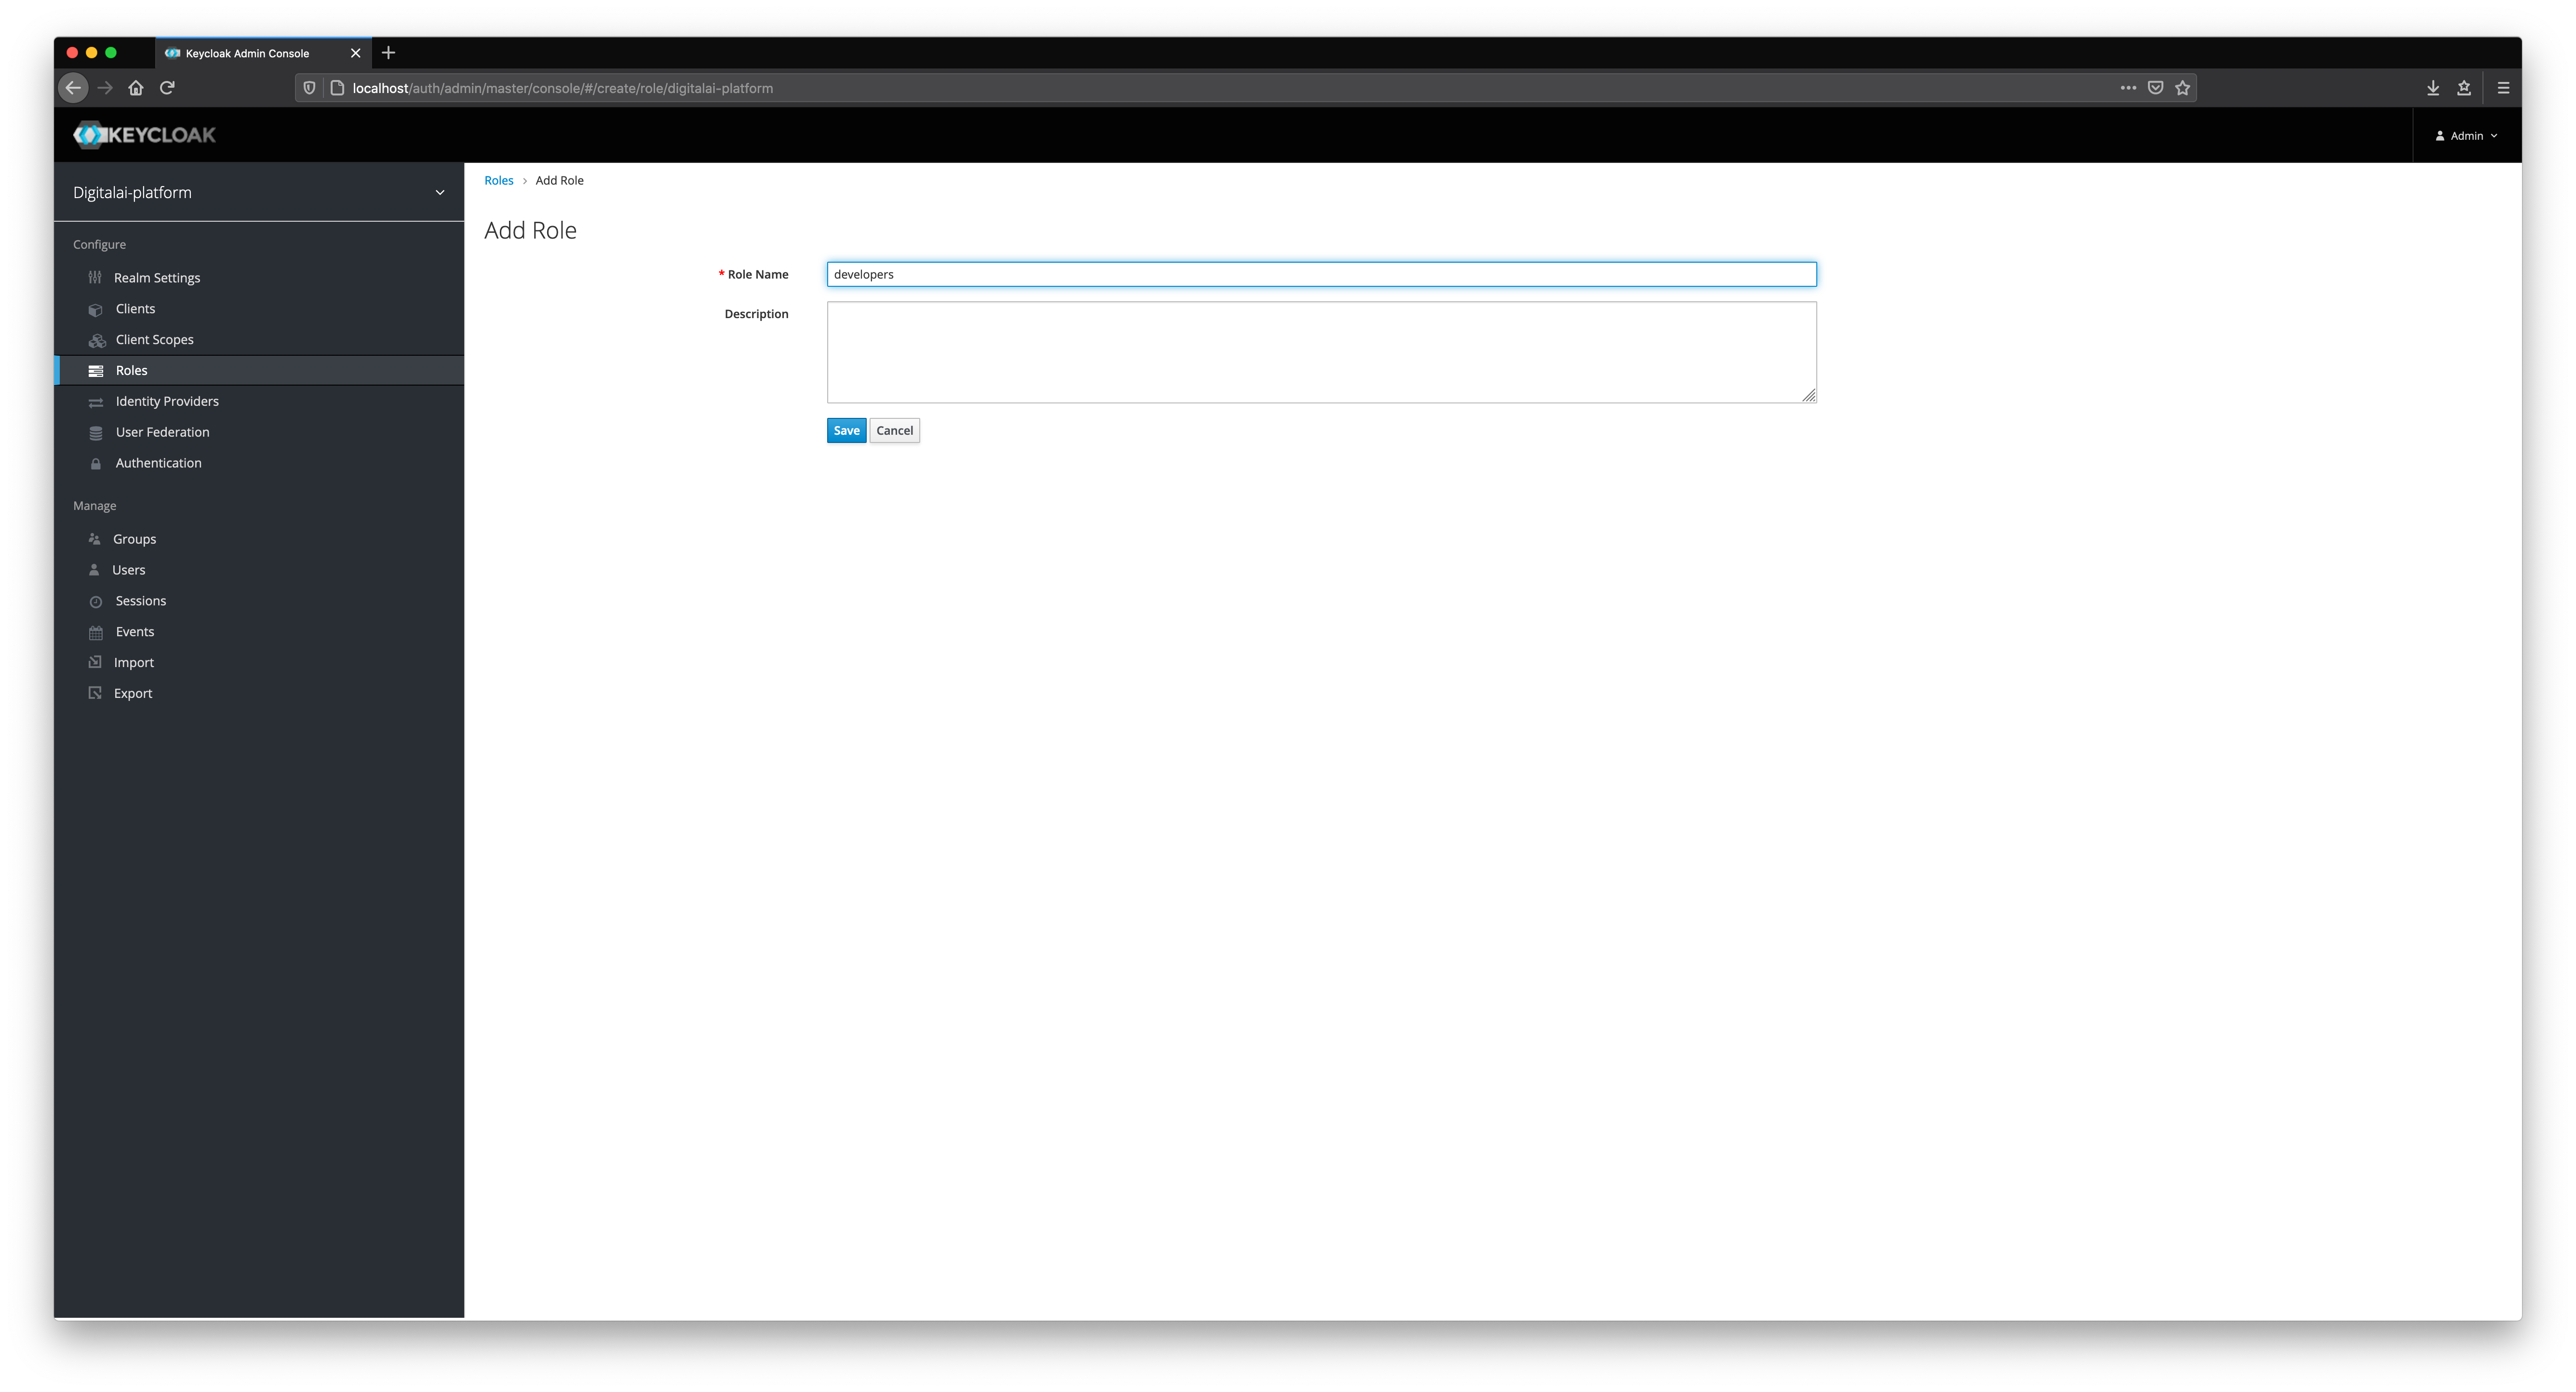
We will add different roles in Keycloak as shown below.

Add Users
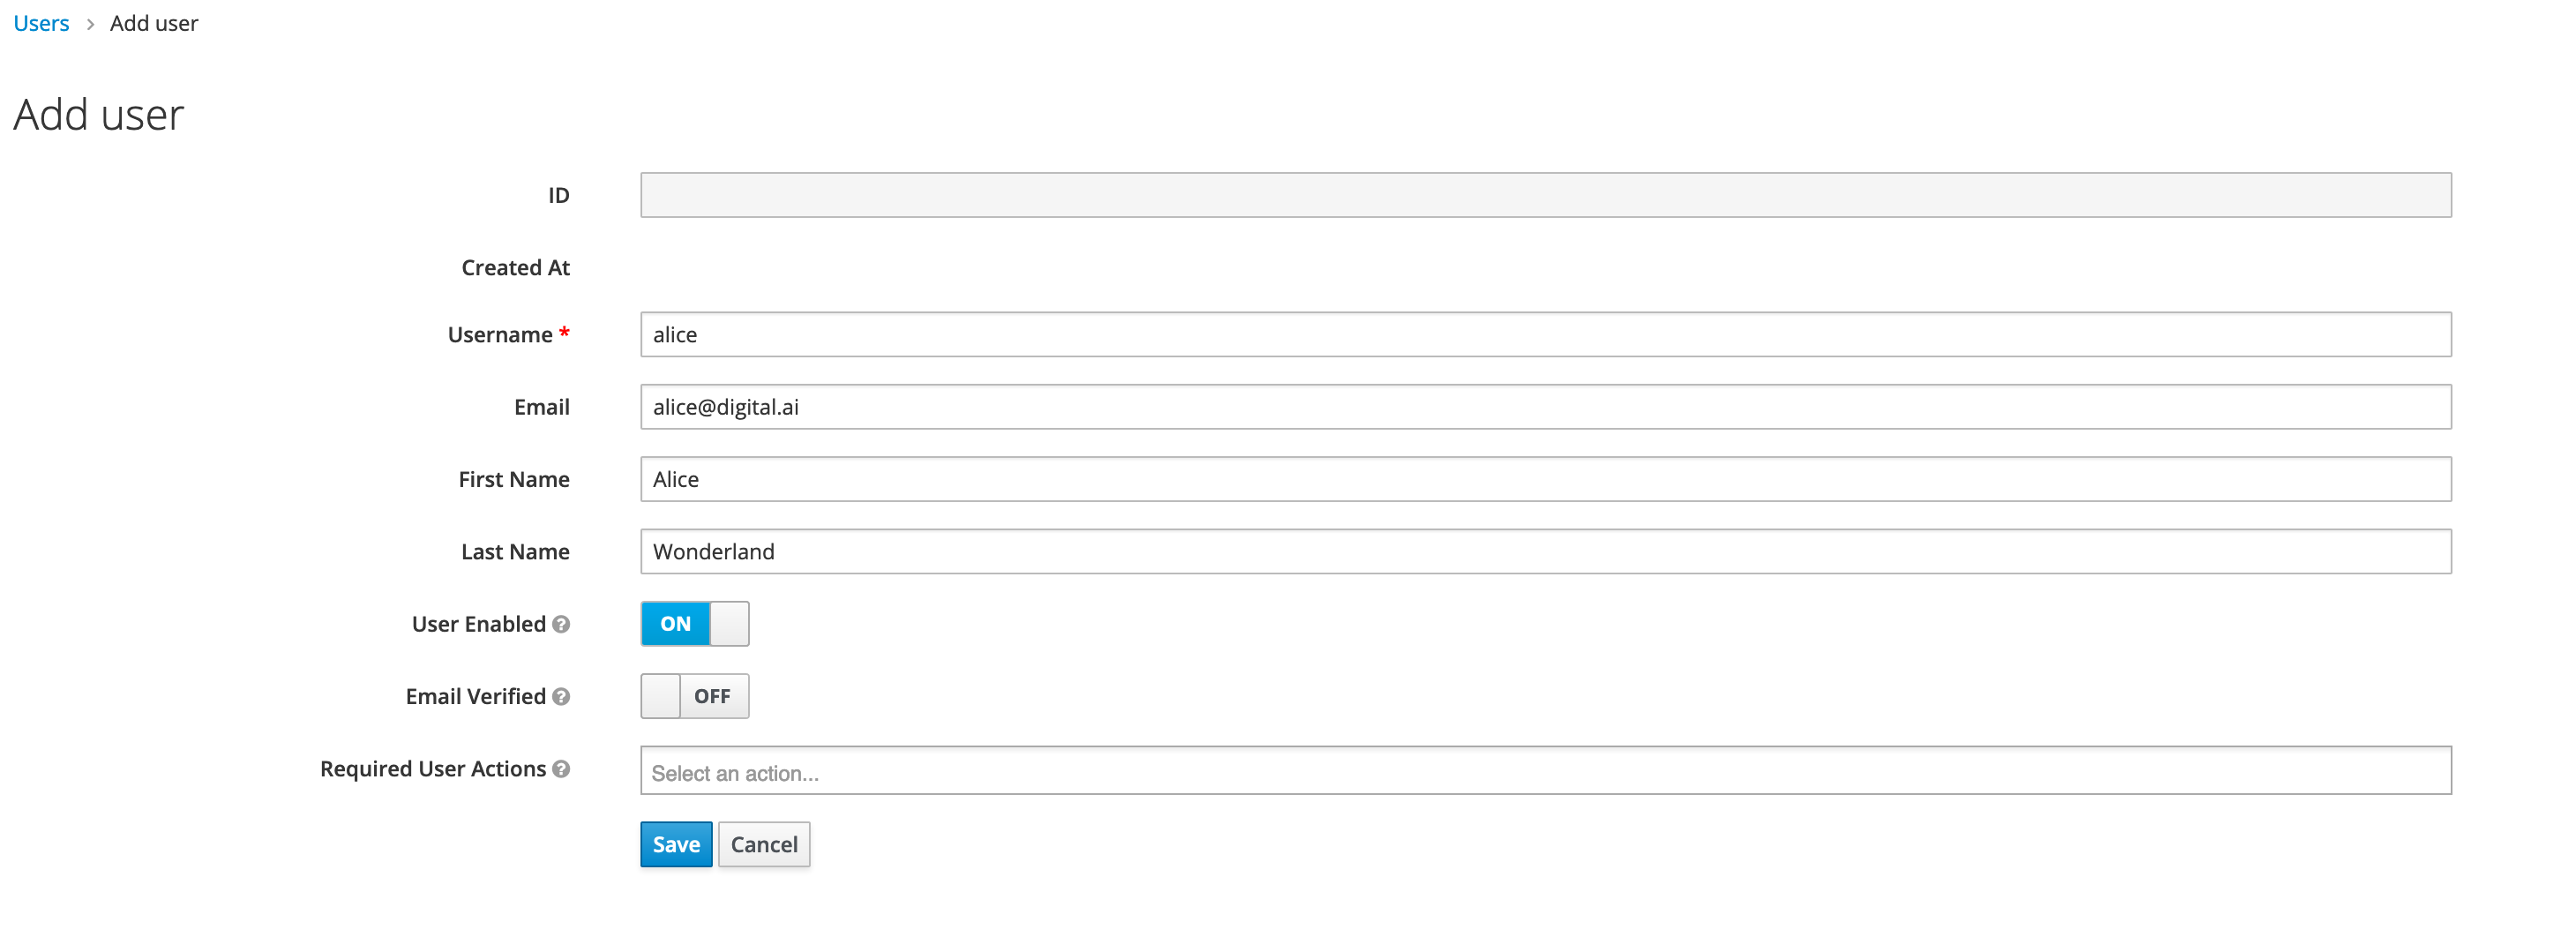
We will now add new users in Keycloak. Fill in all fields, such as Username, Email, First Name, and Last Name.
Select appropriate role mappings for a user.


Create a Client
The next step is to create a client in our realm, as shown below.
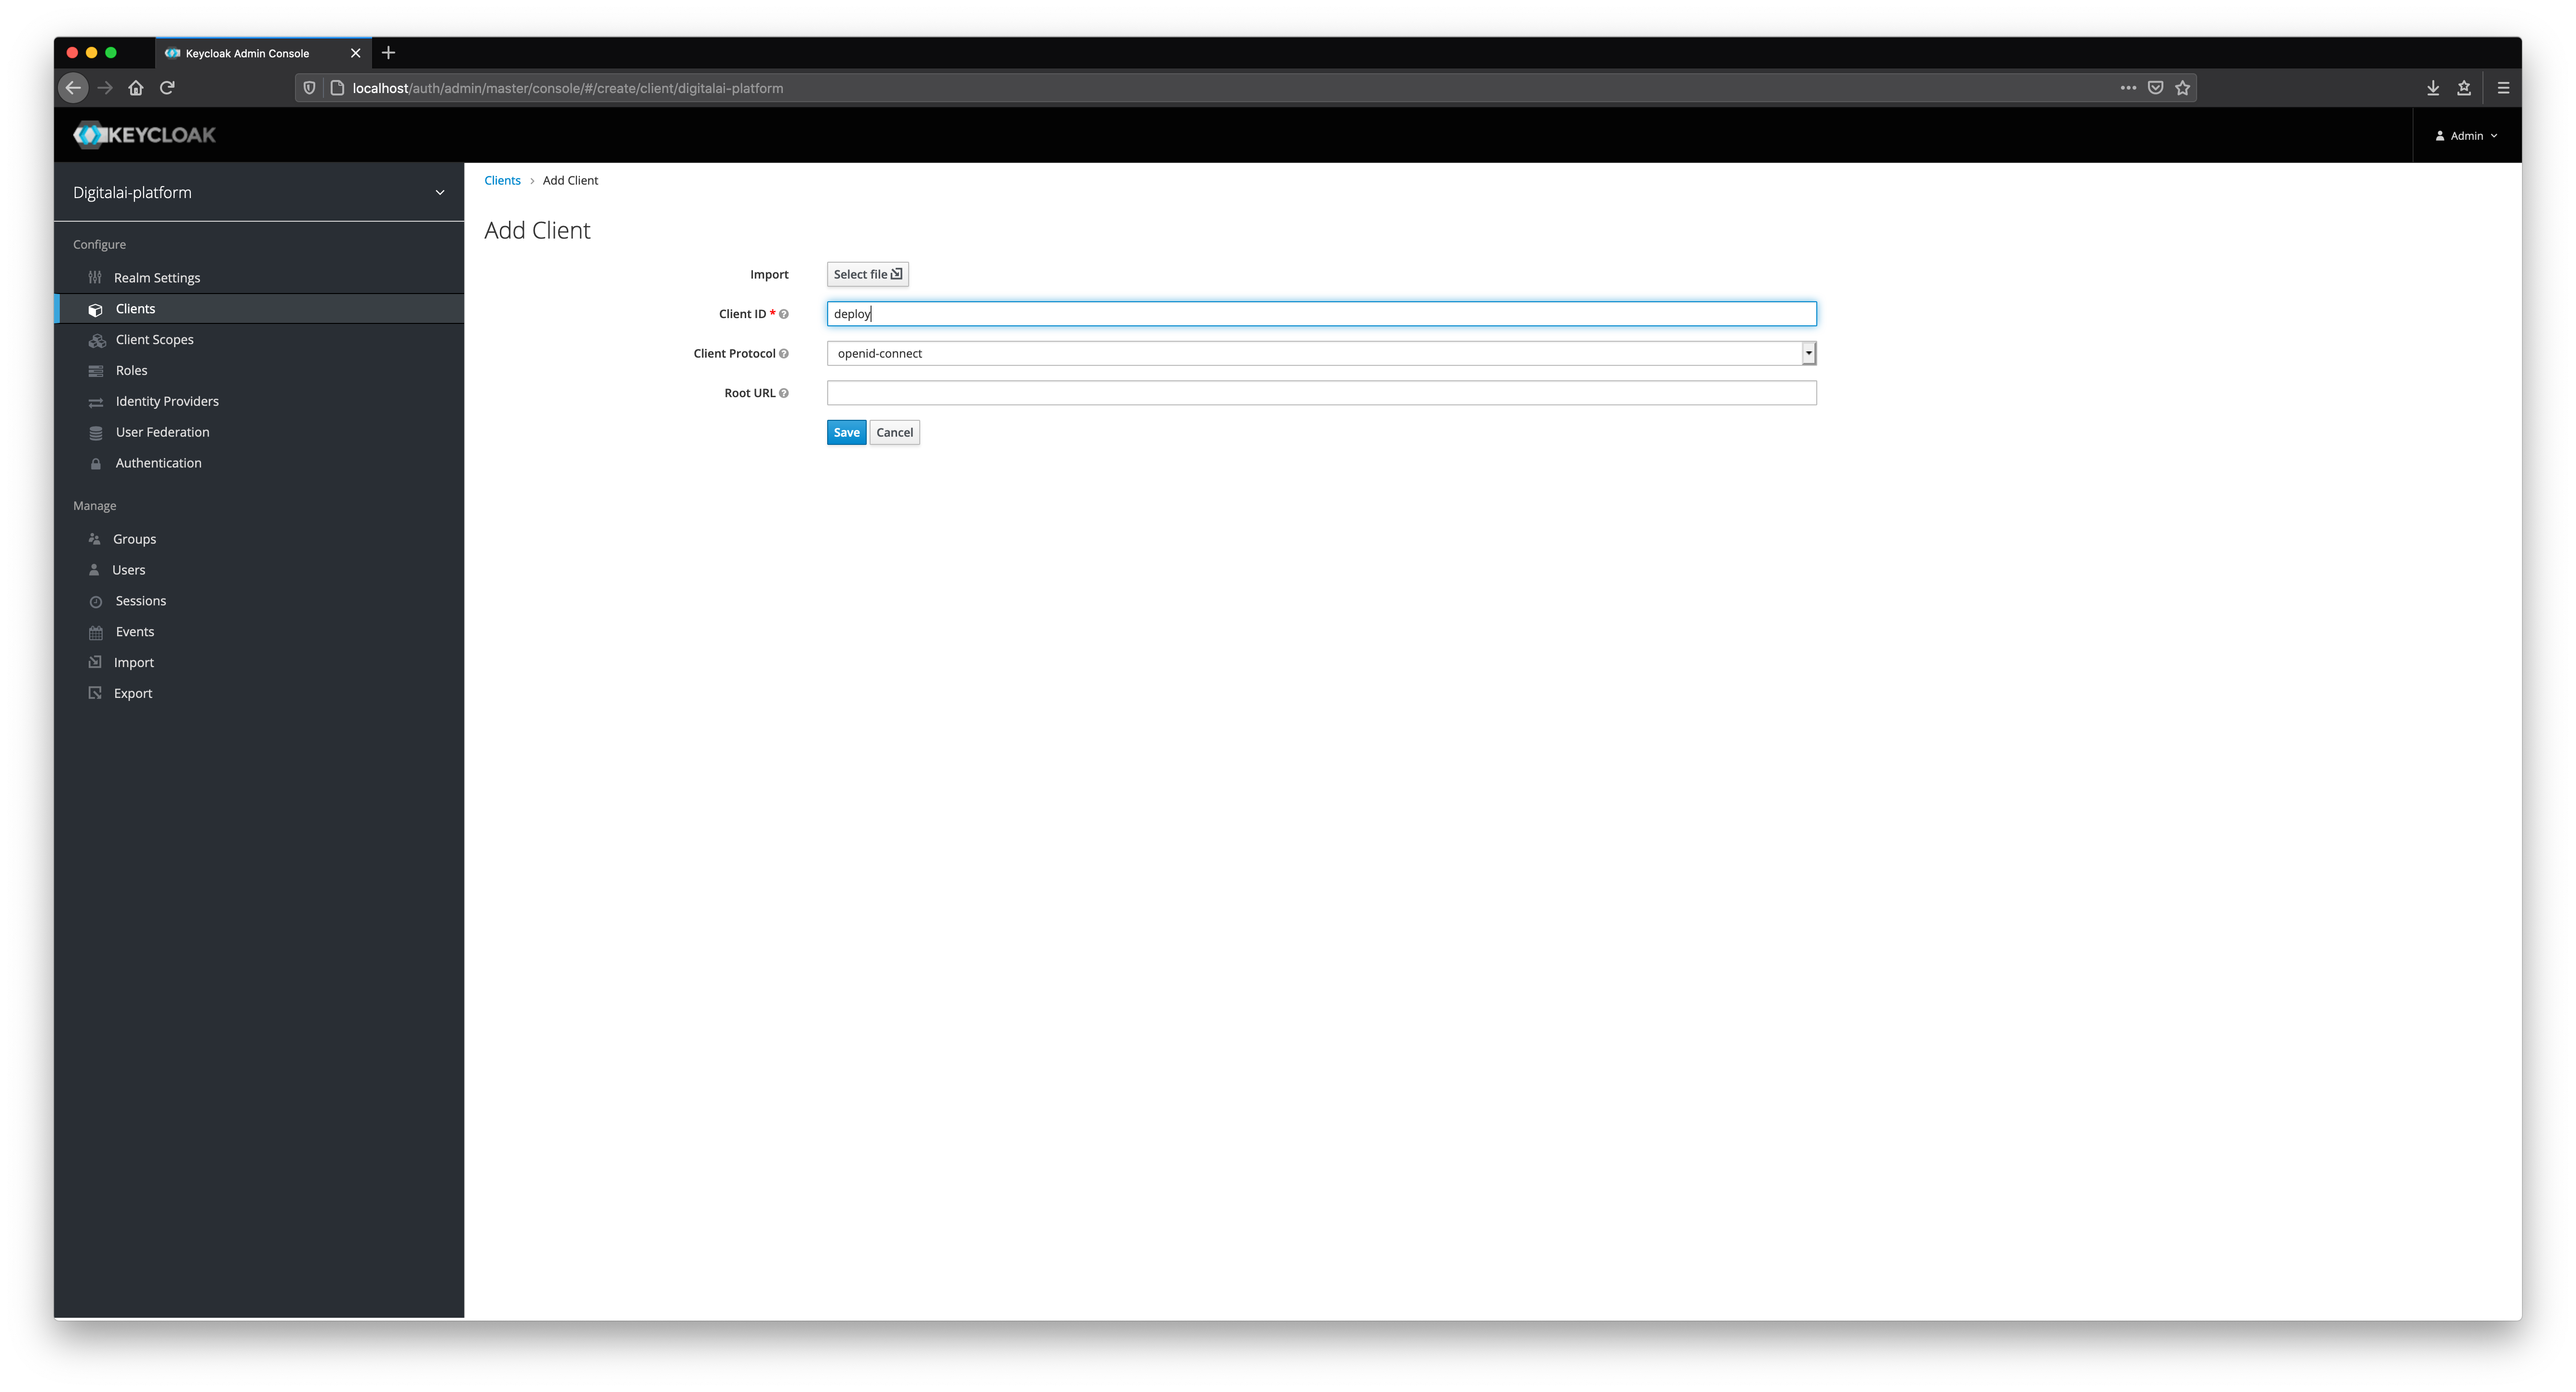
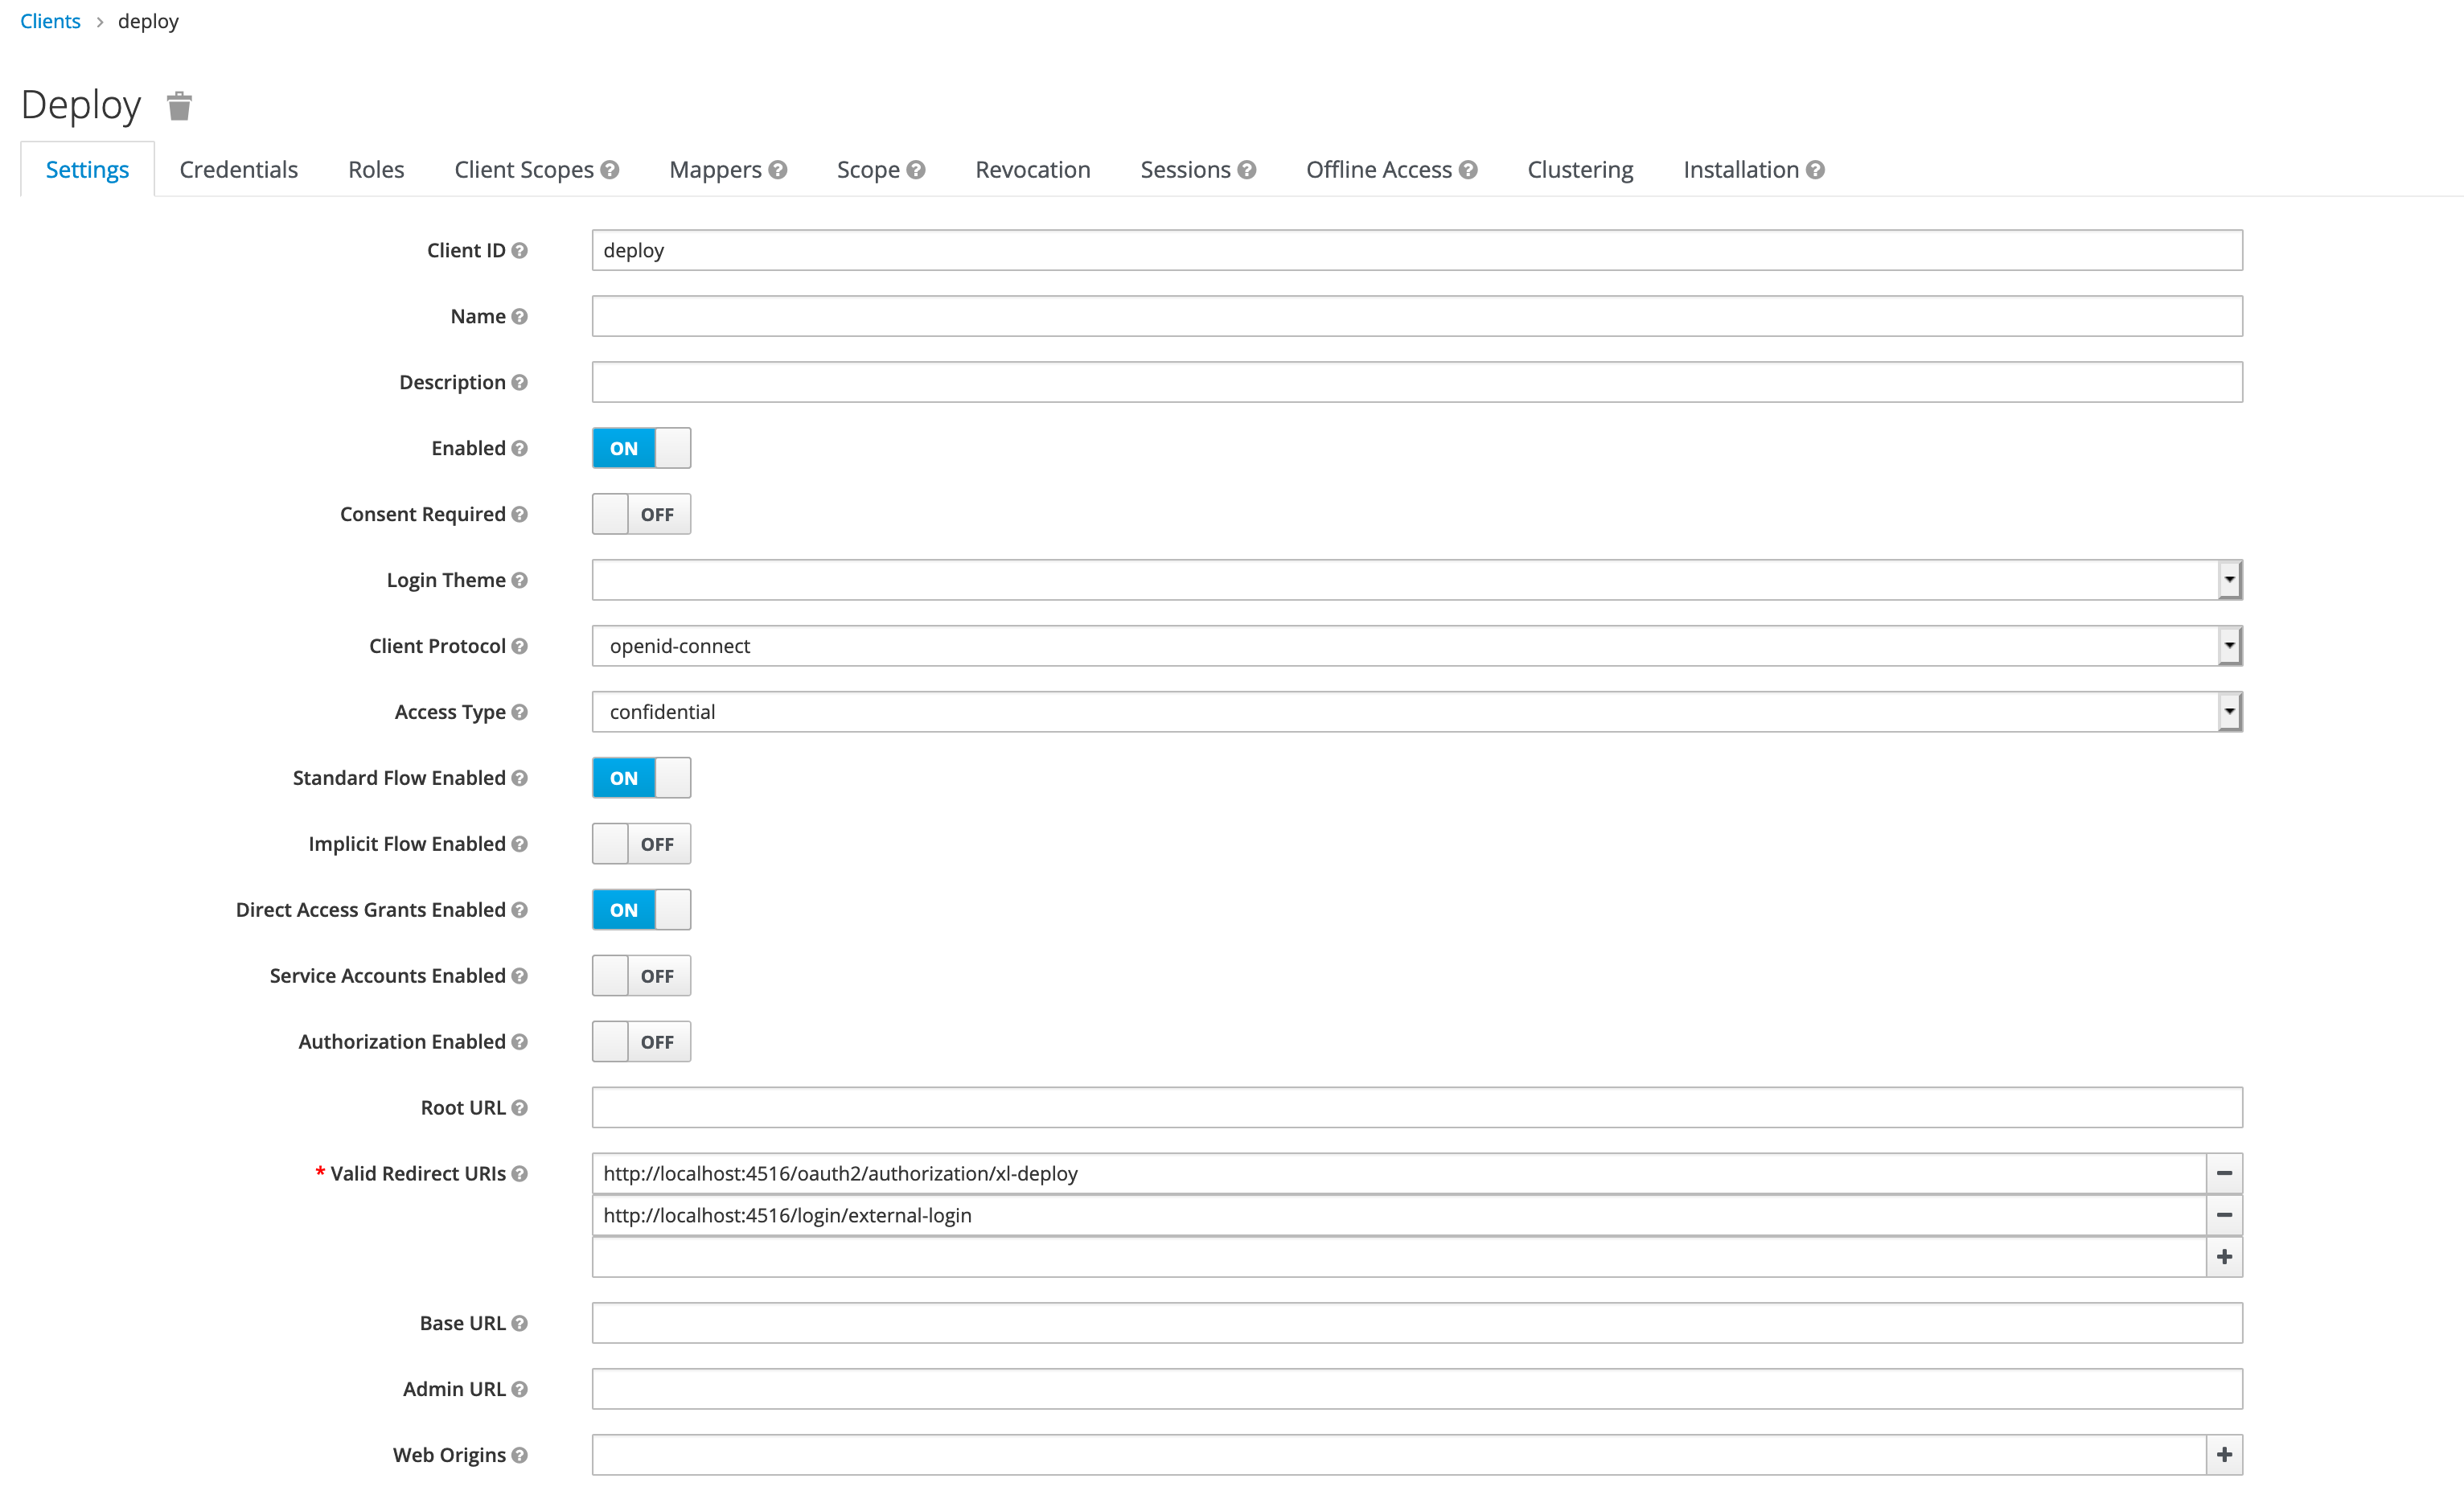
Fill in all of the mandatory fields in the client form. Pay attention to Direct Grant Flow and set its value to direct grant. Change Access Type to confidential.

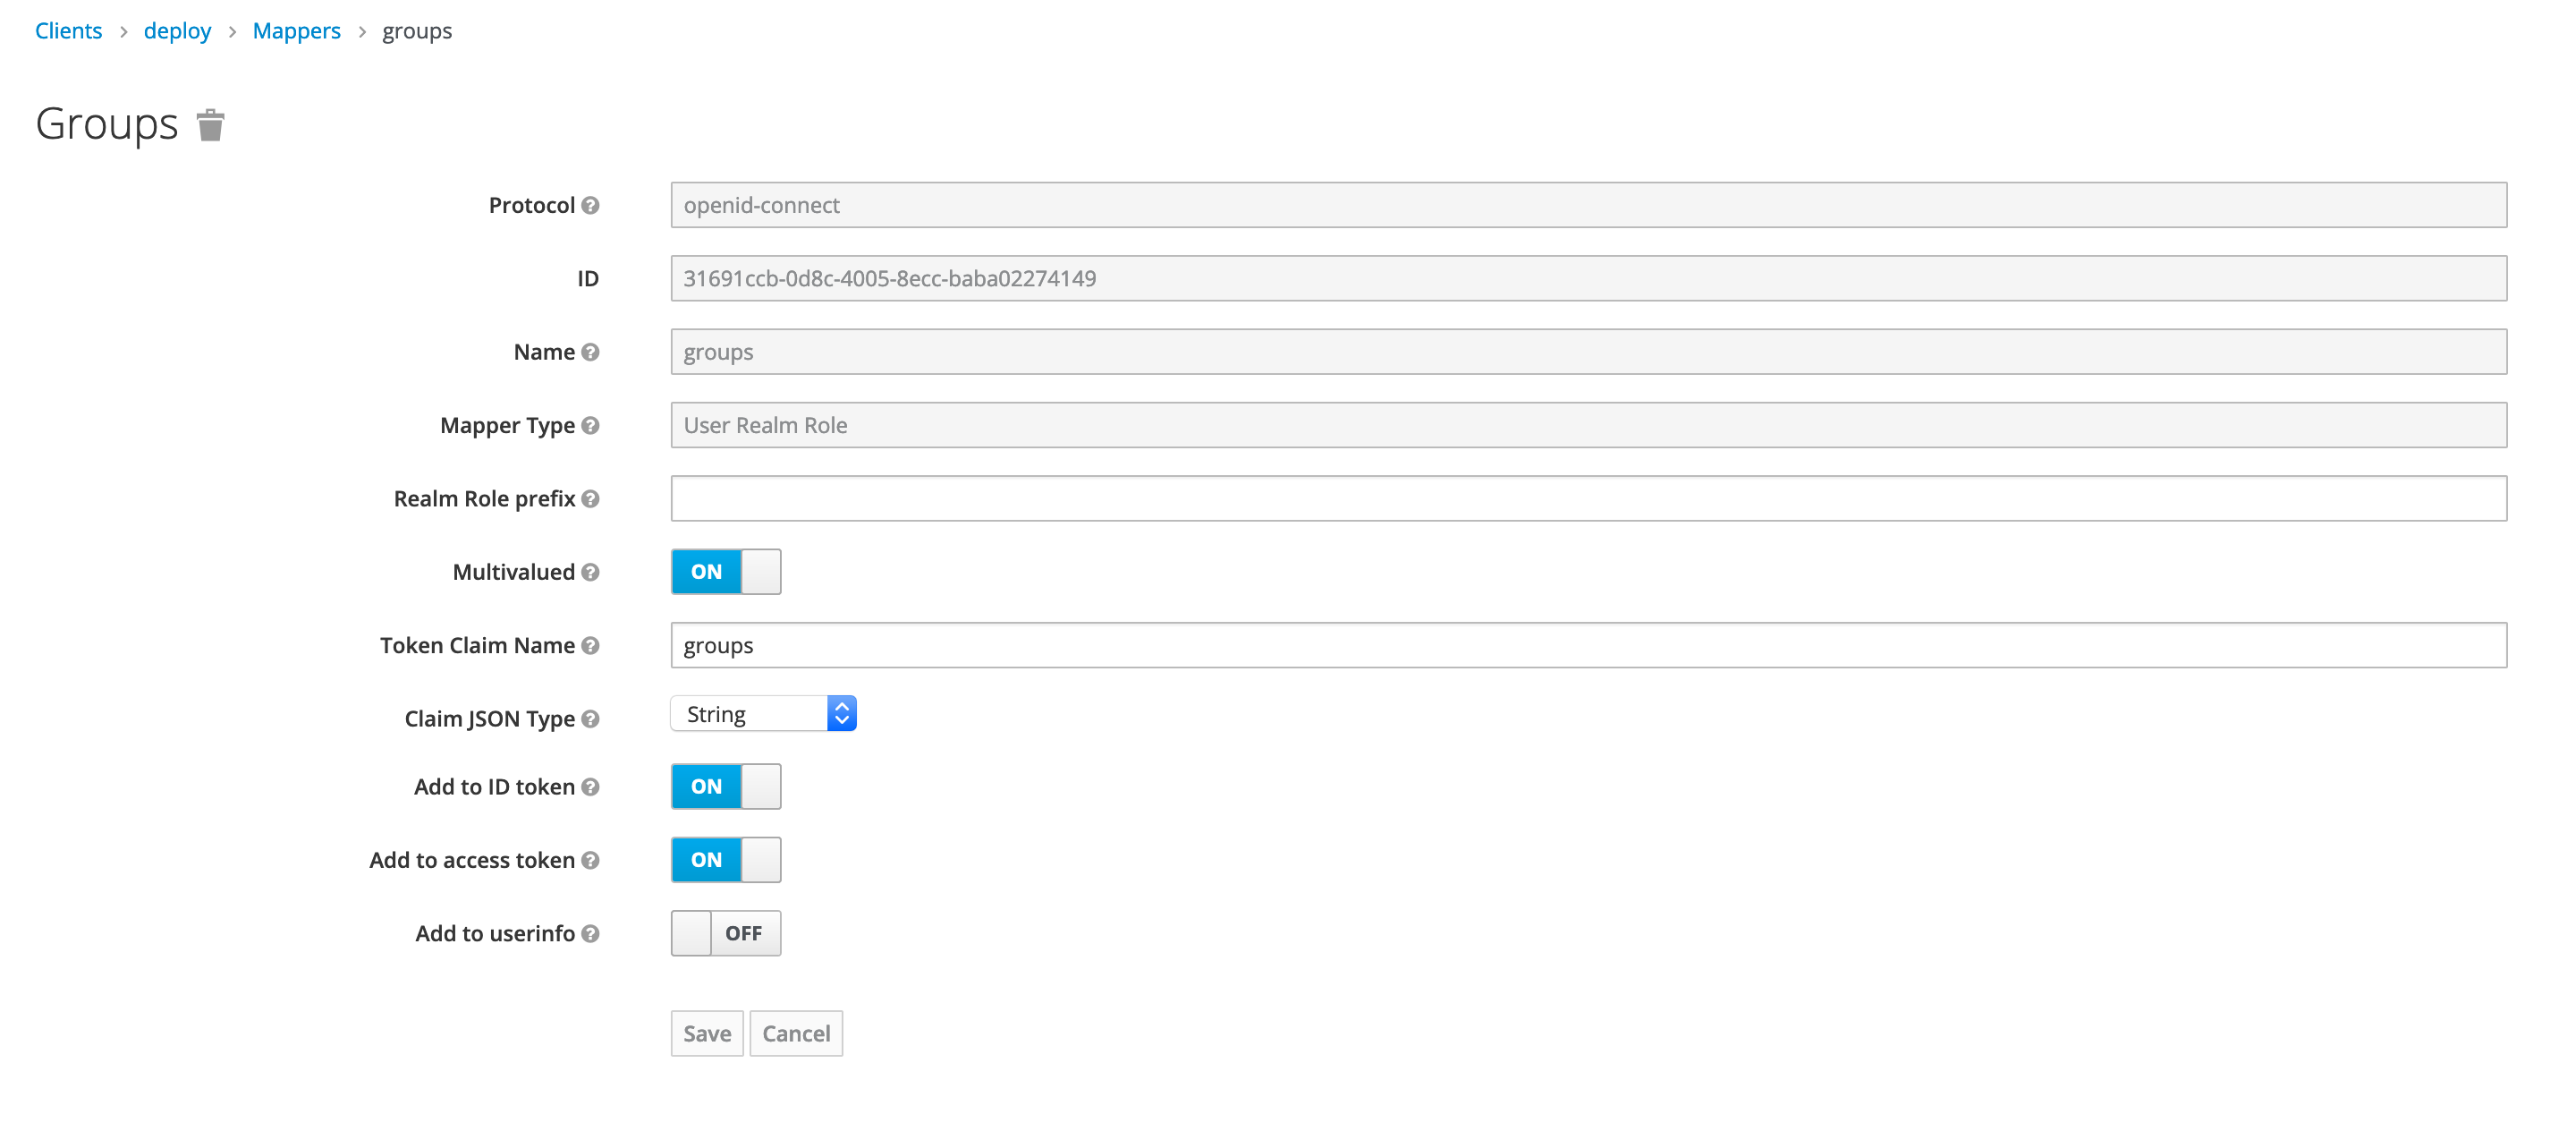
Select builtin mappers for newly created client.

Make sure that username and groups mapping are present in both id token and access token.
Add New Client Scope
Next, we have to create a new client scope for REST APIs, as shown below.

Add New Protocol Mapper
Add a new protocol mapper to add audience information in access token, as shown below.

Set Default Client Scope
Final step is to add client scope deploy-rest-api as default for deploy client, as shown below.

Set Up Client Credentials
You must set up the client authentication method and configure the credentials for the client. You must do this on the Credentials tab. Digital.ai Deploy supports the following authentication methods in Keycloak.
- Client ID and Secret
- Client Secret JWT
- Private Key JWT
For more information, see:
Generate the credentials and keep them handy for later use.

Set Up Digital.ai Deploy
Now let's configure OpenID Connect (OIDC) authentication for Deploy. Follow the instructions at Configure OpenID Connect (OIDC) Authentication For Deploy.
Here's an example OIDC configuration in the deploy-oidc.yaml file to authenticate using Client ID and Client Secret. See Set Up the OpenID Connect (OIDC) Authentication for Deploy to know more about other authentication methods such as Client Secret JWT and Private Key JWT..
deploy.security:
  auth:
    providers:
     oidc:
      loginMethodDescription: "Login using Keycloak"
      clientId: "deploy"
      clientSecret: "ff8a8547-dbe3-4267-ae55-9822d6f02499"
      issuer: "http://localhost/auth/realms/digitalai-platform"
      redirectUri: "http://localhost:4516/login/external-login"
      postLogoutRedirectUri: "http://localhost:4516/oauth2/authorization/xl-deploy"
      idTokenJWSAlg: "<The ID token signature verification algorithm>"
      rolesClaimName: "groups"
      userNameClaimName: "preferred_username"
      emailClaim: "your email claim here"
      fullNameClaim: "your fullName claim here"
Test Your Setup
First we need to assign appropriate permissions in Deploy for users present in Keycloak. The OIDC users and roles are used as principals in Deploy that can be mapped to Deploy roles. Login with internal user and map roles with OIDC roles, as shown below.

Assign appropriate global permissions, as shown below.

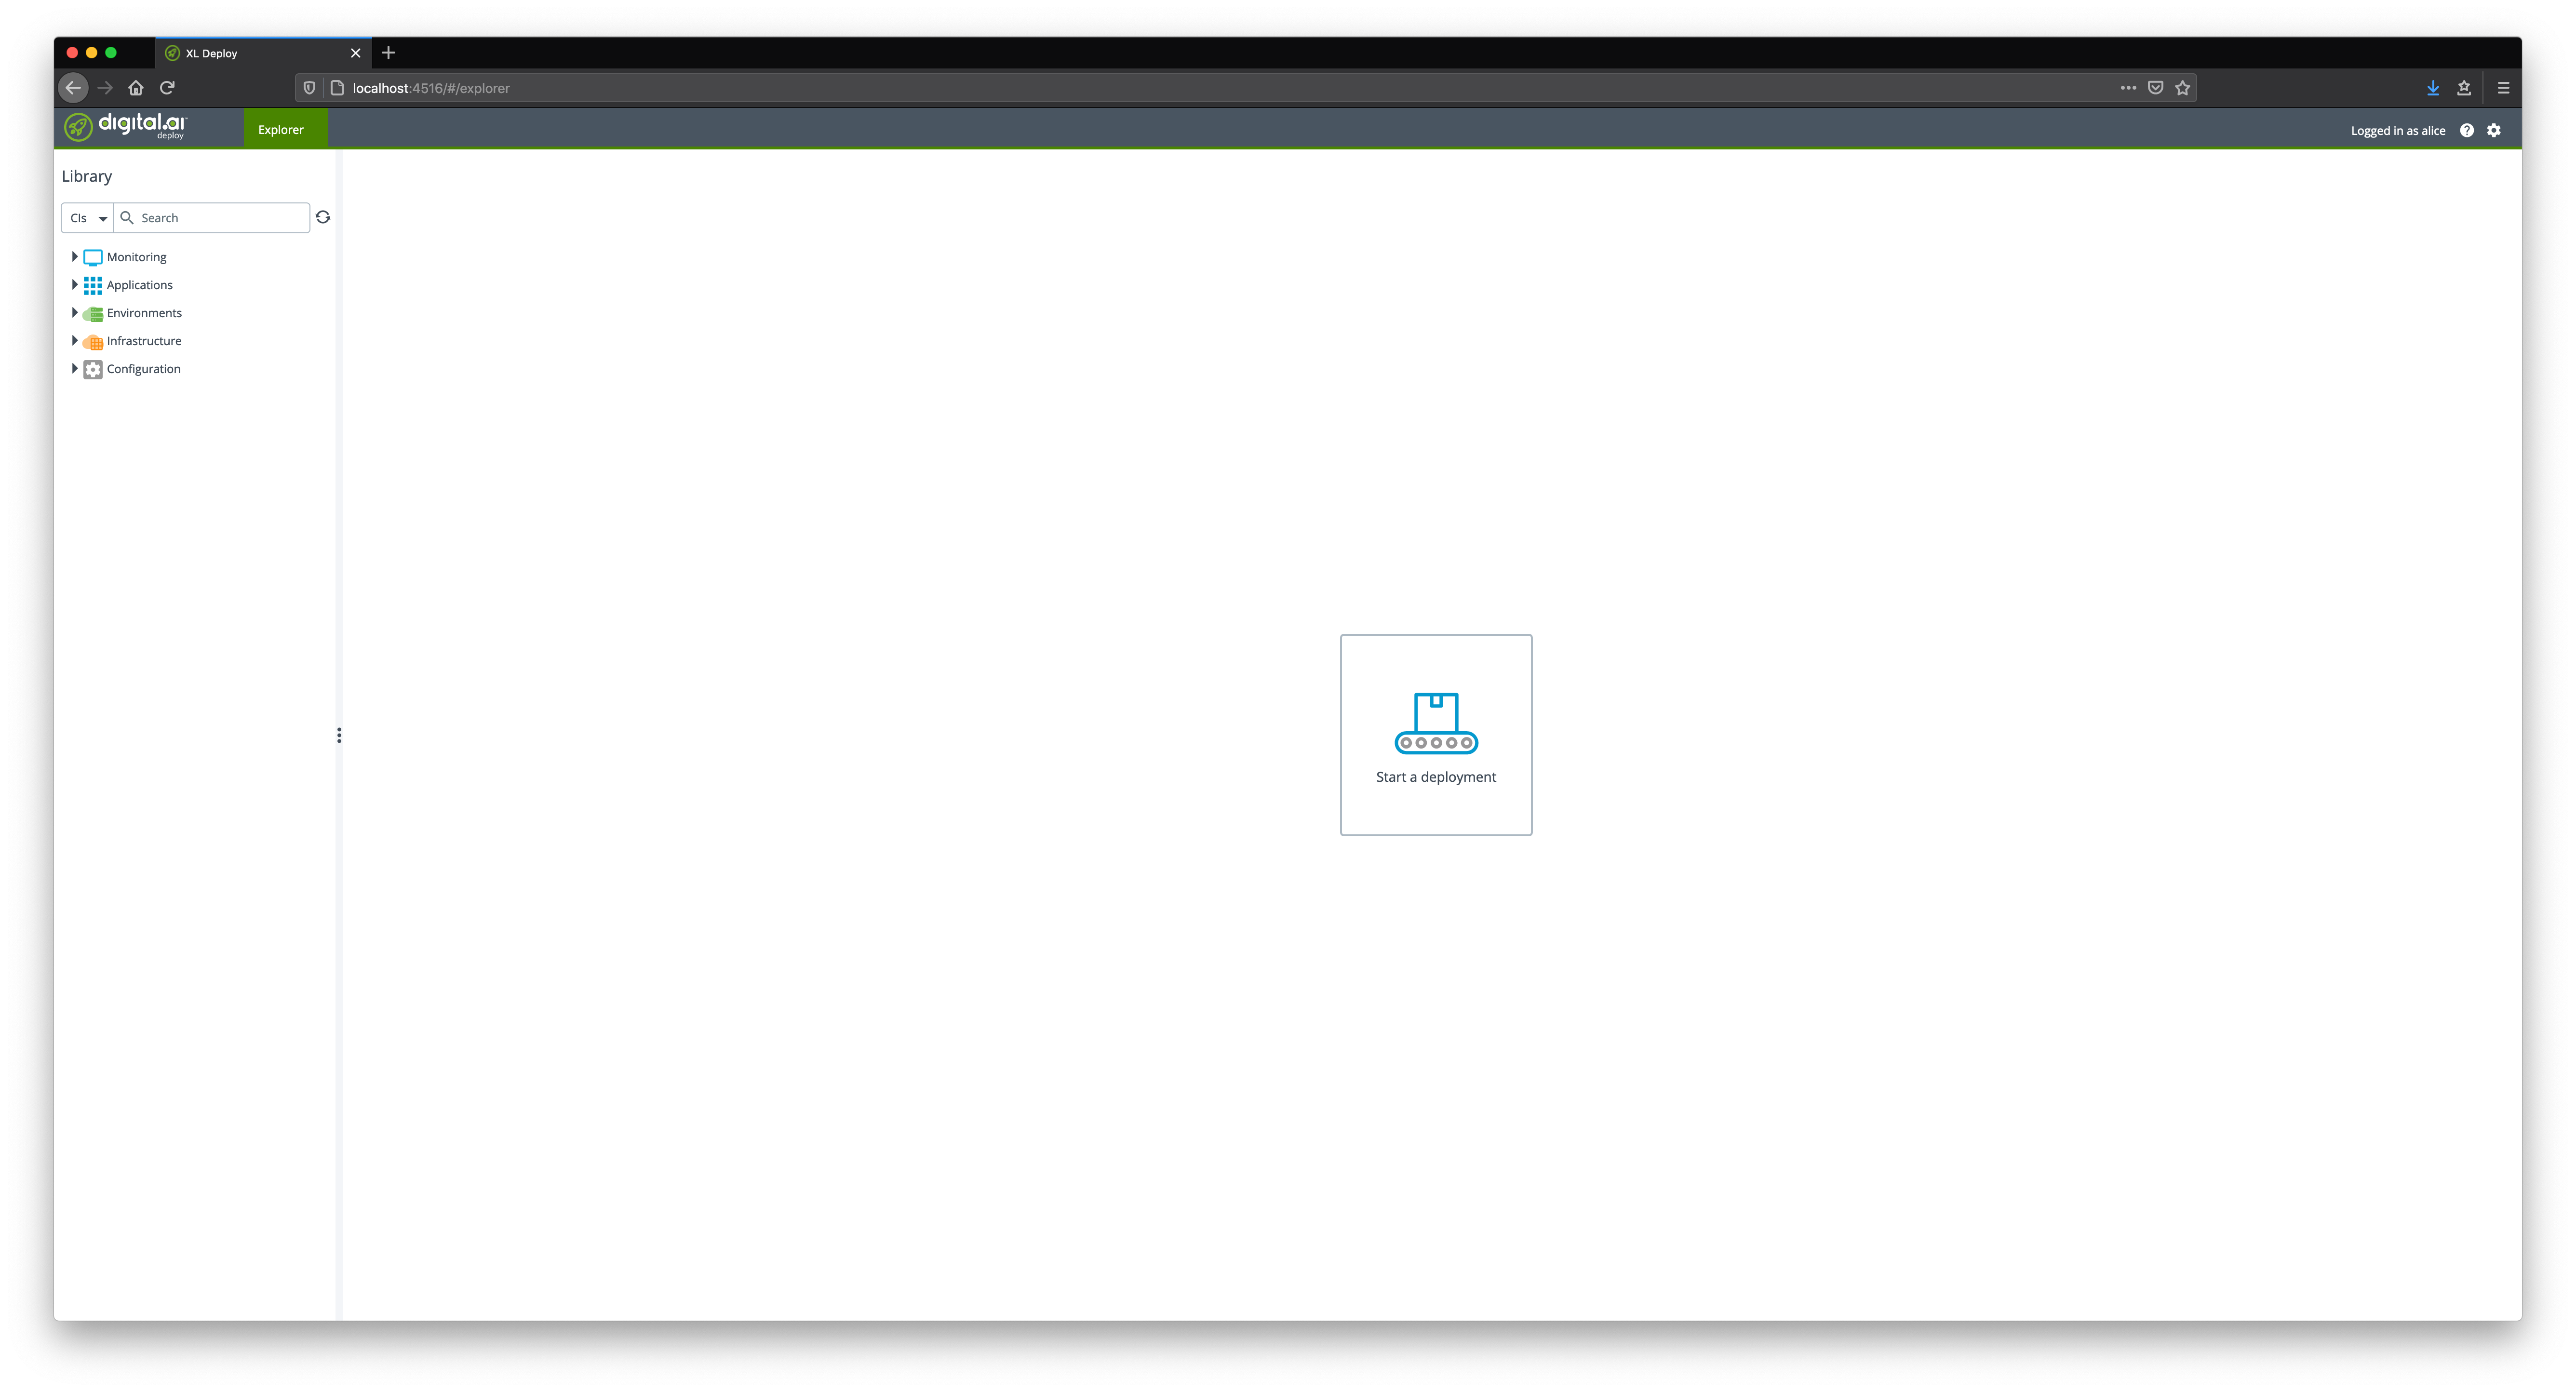
Open your deploy url in browser and you should be redirected to Keycloak login page.
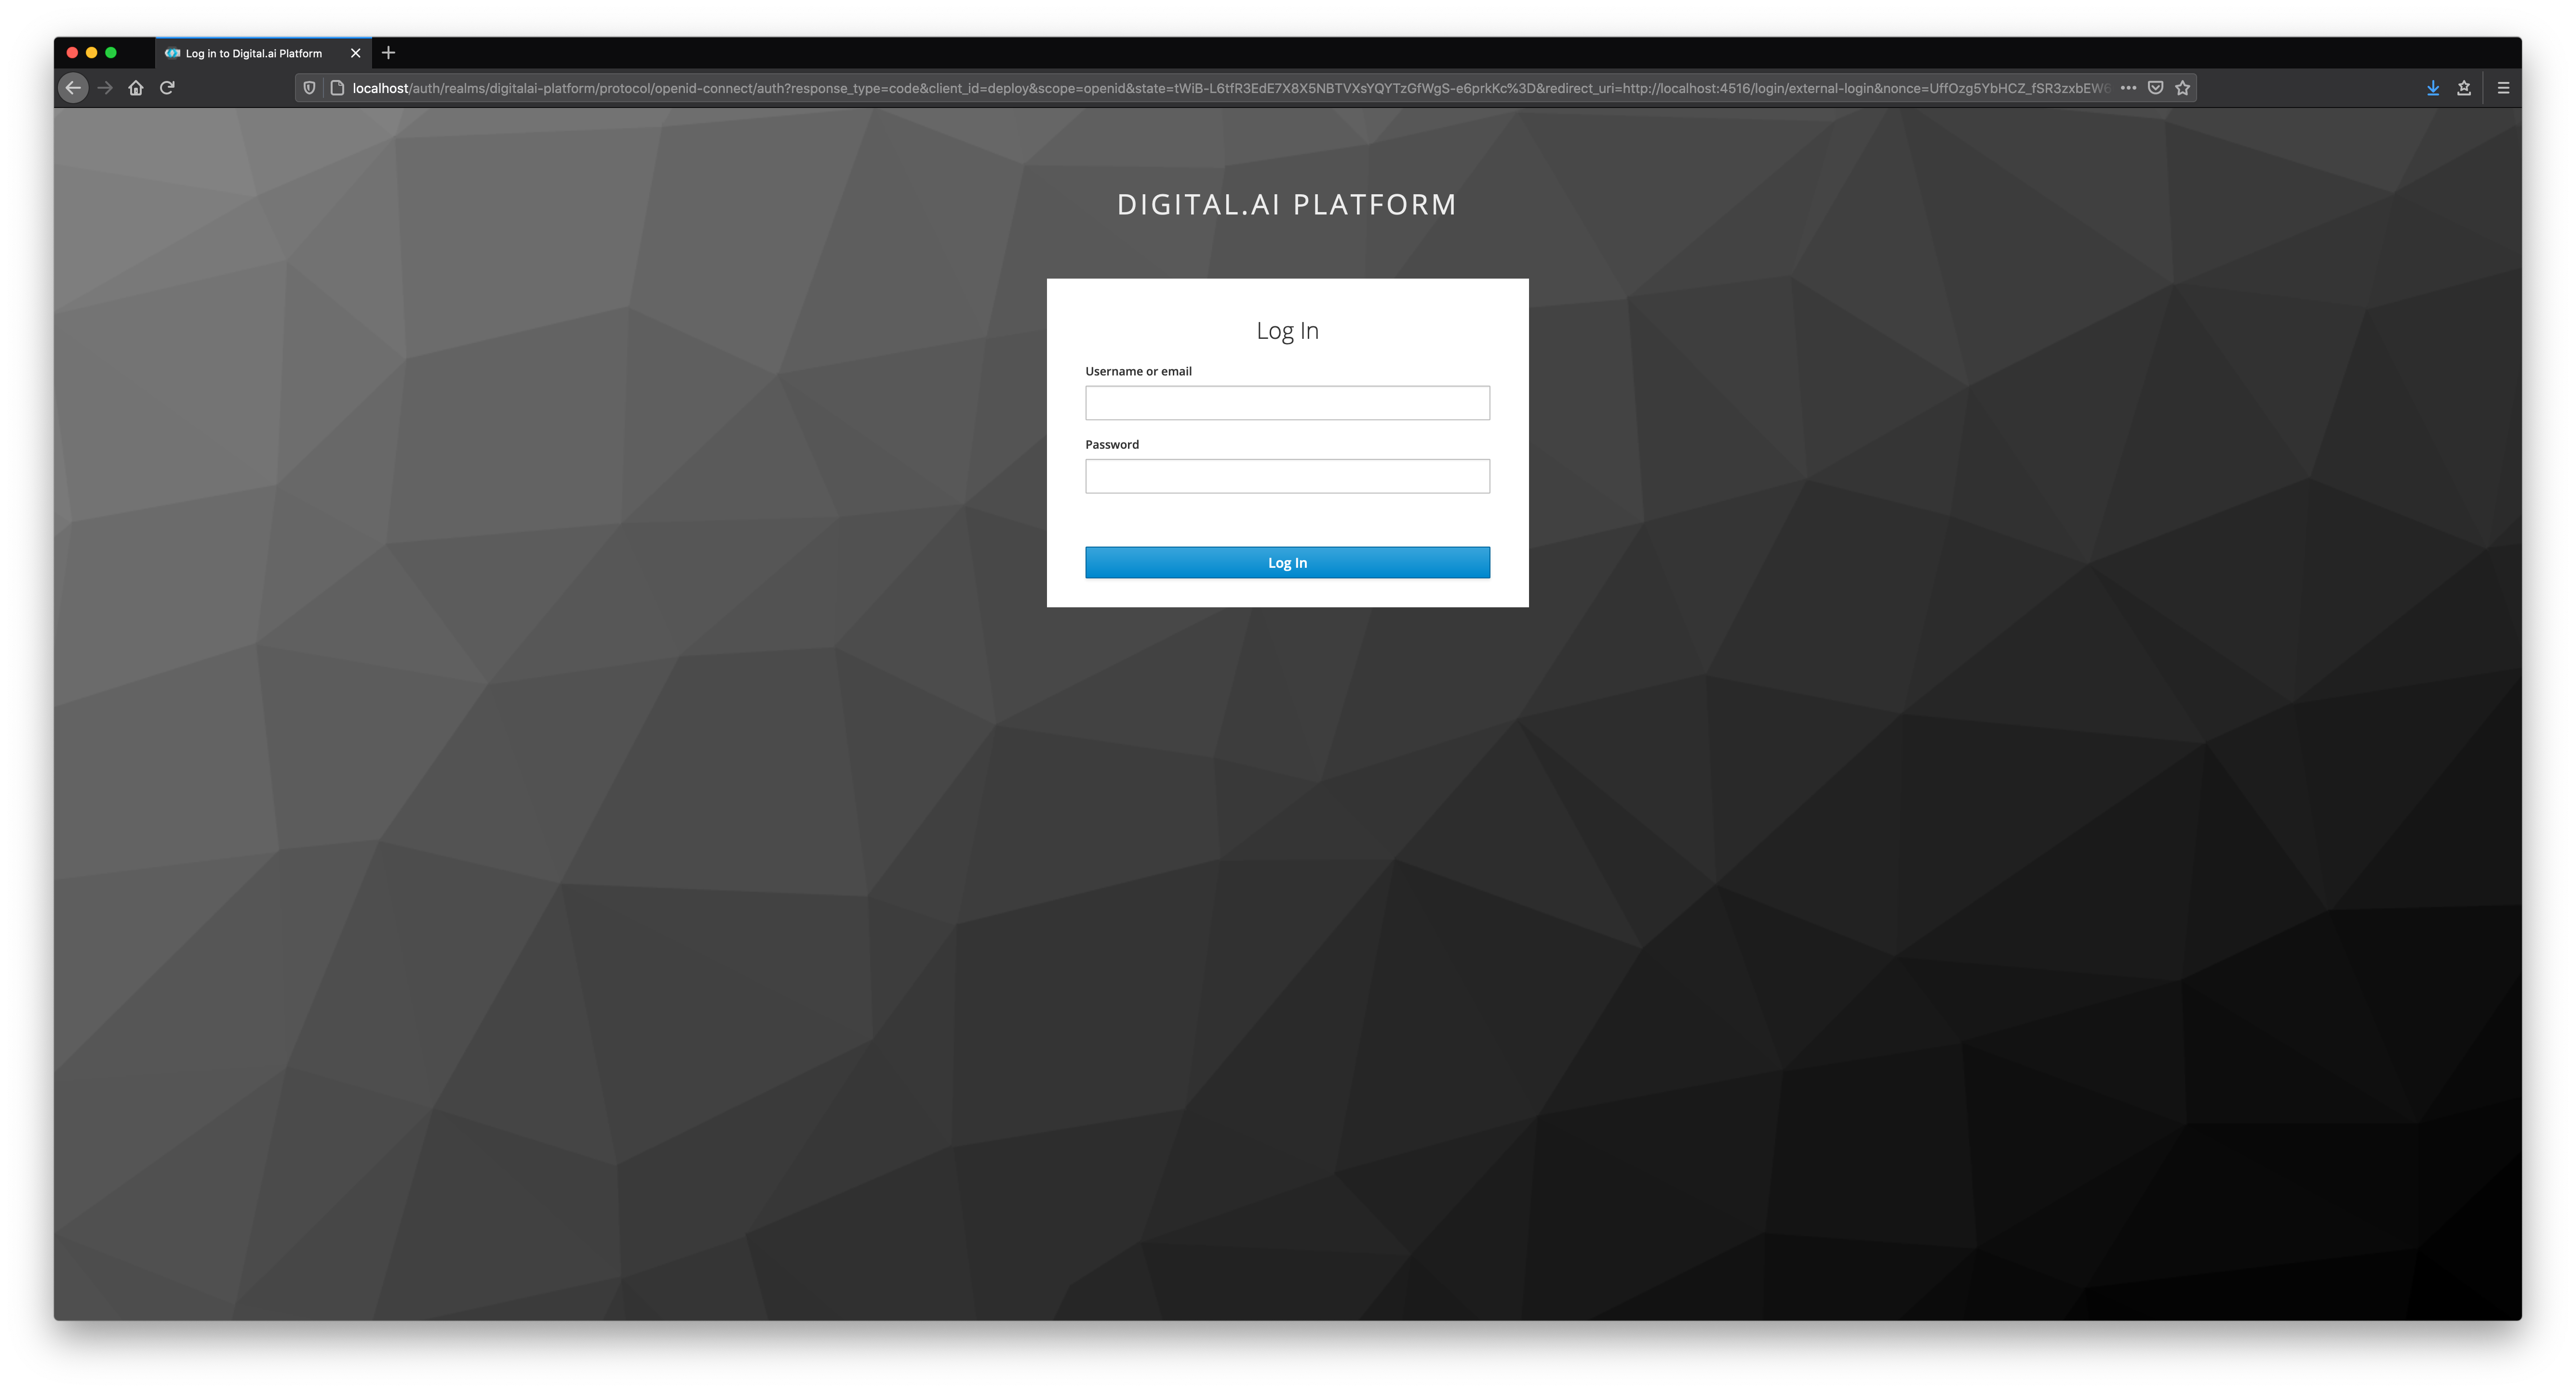
Now, Enter the credentials of any user created on keycloak.
Test Public REST APIs
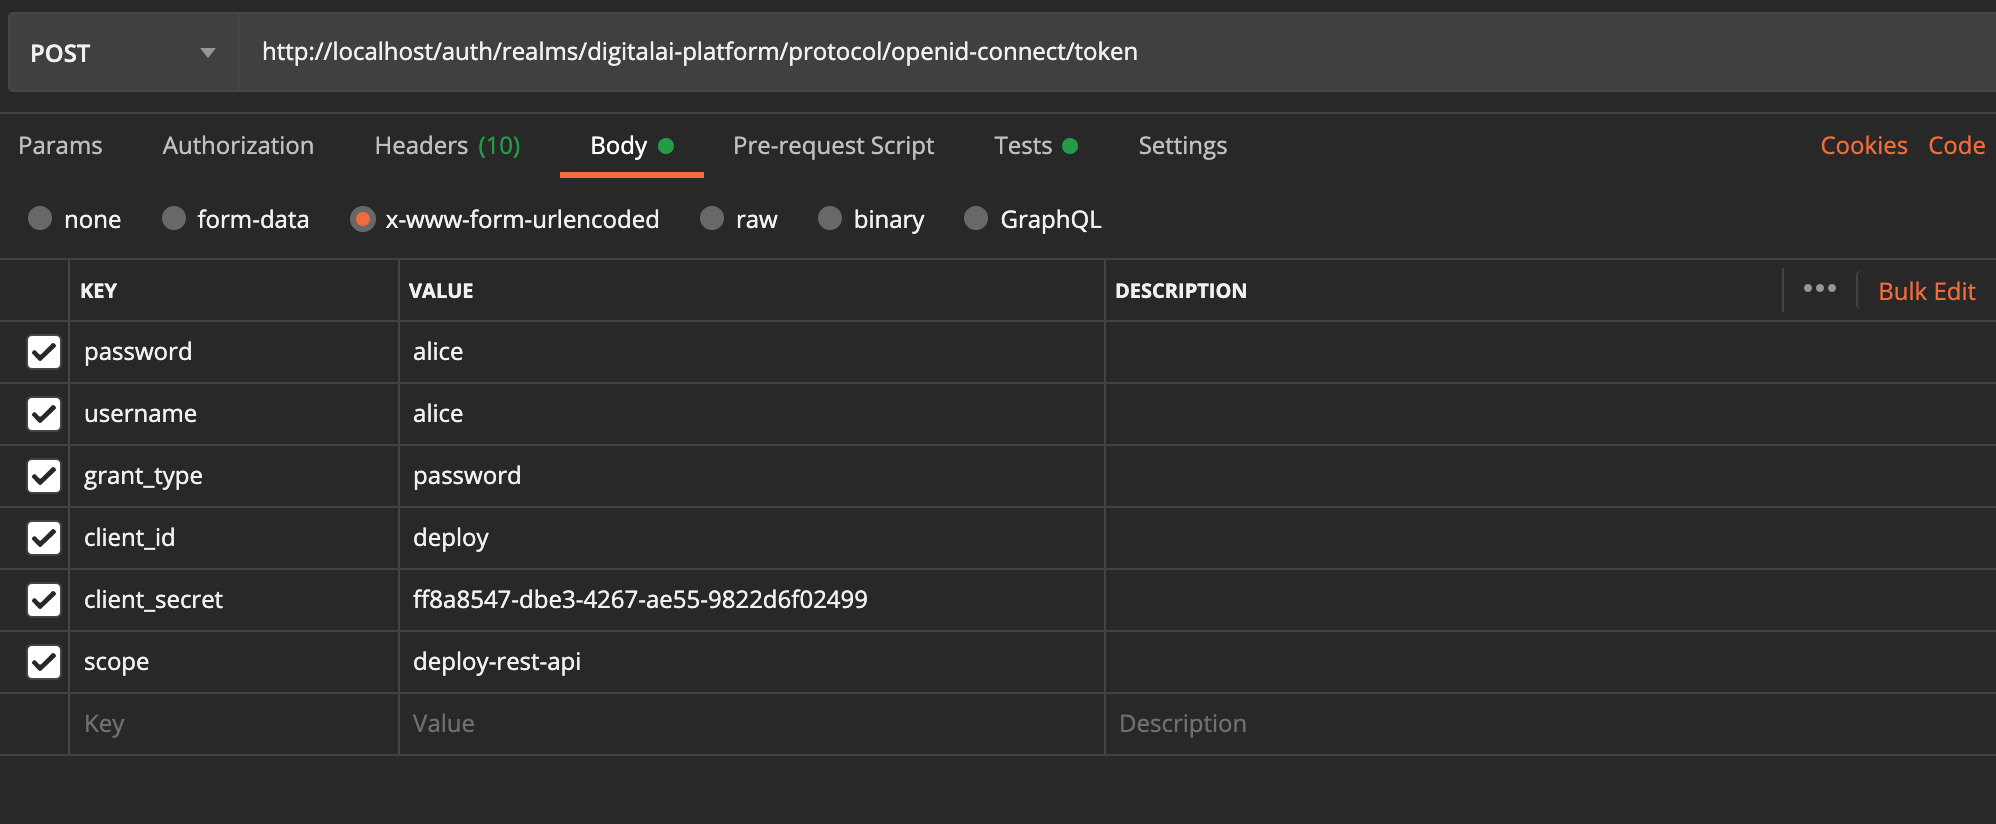
Generate an access token using password grant type flow for your client. You can use curl command, as show. below.
curl -L -X POST 'http://localhost/auth/realms/digitalai-platform/protocol/openid-connect/token' \
-H 'Content-Type: application/x-www-form-urlencoded' \
--data-urlencode 'client_id=deploy' \
--data-urlencode 'grant_type=password' \
--data-urlencode 'client_secret=ff8a8547-dbe3-4267-ae55-9822d6f02499' \
--data-urlencode 'scope=deploy-rest-api' \
--data-urlencode 'username=alice' \
--data-urlencode 'password=alice'
Alternatively, we can use REST API tools like Postman, as shown below.
The response would be a valid JWT Token:
{
    "access_token": "eyJhbGciOiJSUzI1NiIsInR5cCIgOiAiSldUI...Daw3OcJ2aPFzXY1cpHmH0W36TTfgfYGHgnDqB4w",
    "expires_in": 600,
    "refresh_expires_in": 1800,
    "refresh_token": "eyJhbGciOiJIUzI1NiIsInR5cCIgOiAiSldU...YlO6MzdDRhx_J3WShGXesjOmhY",
    "token_type": "bearer",
    "not-before-policy": 0,
    "session_state": "d2c14e42-9bc3-4416-9bea-02aa6adb770e",
    "scope": "profile deploy-rest-api email"
}
We can now pass access_token as Bearer Token to authenticate Release public REST APIs.
curl -L -X GET 'http://localhost:4516/deployit/repository/v3/query?page=0&resultsPerPage=10&parent=Applications' \
-H 'Authorization: Bearer eyJhbGciOiJSUzI1NiIsInR5cCIgOiAiSldUI...Daw3OcJ2aPFzXY1cpHmH0W36TTfgfYGHgnDqB4w'