Use the OpenShift plugin
You can use the Deploy OpenShift plugin to create or destroy OpenShift resources on an OpenShift server.
To use the plugin:
- Download the Deploy OpenShift plugin ZIP from the distribution site.
- Unpack the plugin inside the
XL_DEPLOY_SERVER_HOME/plugins/directory. - Restart Deploy.
With this plugin, types such as OpenShift cloud and tasks specific for creating or removing OpenShift resources are available to use in Deploy.
Make sure that a compatible version of the Kubernetes plugin is also added to the XL_DEPLOY_SERVER_HOME/plugins/ directory.
Setup the OpenShift server with minishift
-
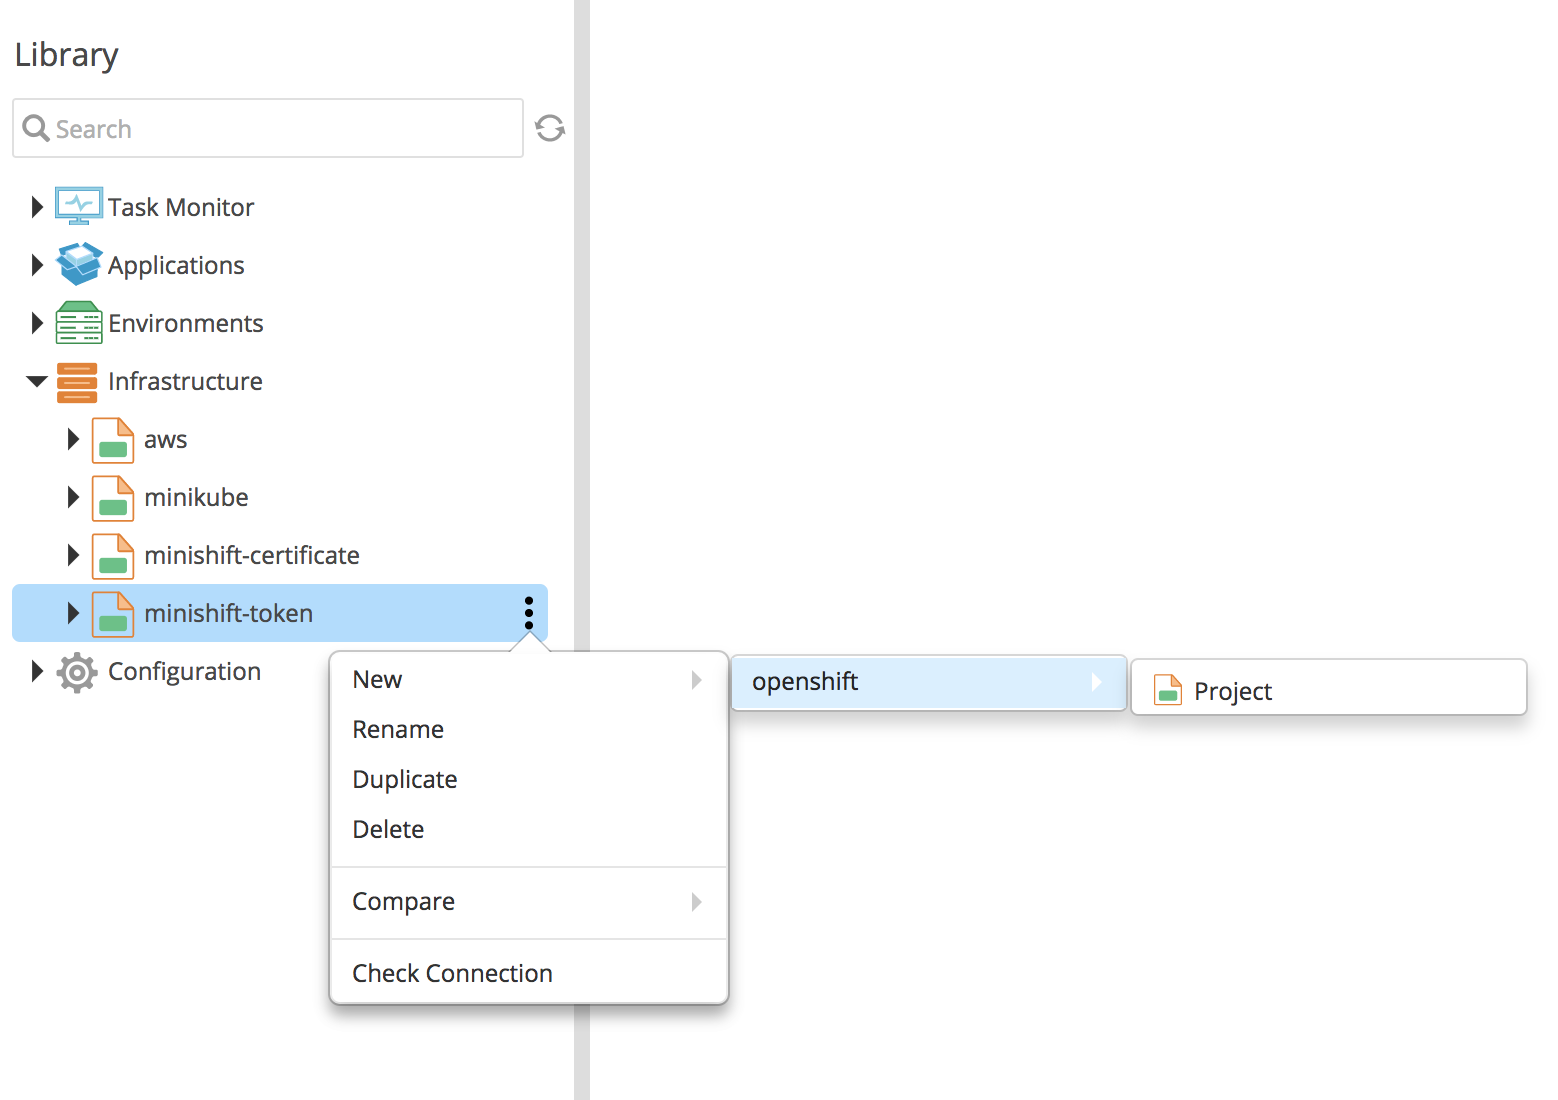
Under Infrastructure, click New and select
openshift.Server. -
Set up the
openshift.Serverauthentication using one of the following methods:-
Client Certificate Authentication. Specify the following required properties:
serverUrl: The URL of the OpenShift serververifyCertificates: Validate the cerificatescaCert: Certification authority certificate for server (example.../.minishift/ca.crt)tlsCert: TLS certificate for master server (example.../.minishift/apiserver.crt)tlsPrivateKey: TLS private key for master server (example.../.minishift/apiserver.key)
-
Token Authentication
openshiftToken: Token used for authentication
-
Verify the OpenShift server connectivity
To verify openshift.Server connectivity go to Infrastructure, select the appropriate authentication node and click Check Connection.
Create a new OpenShift project before any resource can be deployed to it
The openshift.Project is the container for all of the openshift resources. You must have the project deployed through Deploy. The target project must be deployed in a separate package, different than the package containing other OpenShift resources such as pod, deployment.
- The
openshift.ProjectCI requires only the project name. If the project name is not specified, Deploy uses the CI name as project name. - The
openshift.ProjectCI does not allow project name modification.
Use an existing project provided by the OpenShift server
You can use existing projects as follows:
- Create the
openshift.Projectinopenshift.Serverunder Infrastruture. - Provide the
defaultproject name whendefaultproject exists on the OpenShift server so that there is no need to have a provisioning package containing a Project.

Configure OpenShift resources using the YAML-based deployables
The openshift server allows you to configure the openshift resources and Deploy.
You can configure the YAML based openshift resources using the openshift.ResourcesFile CI. This CI requires the YAML file containing the definition of the openshift resources that will be configured on the openshift server.
Details for the deployment order of the openshift resources through multiple YAML based CI include:
- You can have separate YAML files for
openshiftresource. - Deployment order and YAML files should be in accordance with the resources dependency.
- Deployment order across YAML-based CI is managed by Create Order, Modify Order, and Destroy Order.
Use the CI-based deployables to configure OpenShift resources
Deploy also provides CIs for k8s resource deployment. For example: k8s.Pod, k8s.Deployment, openshift.Route. These CIs have some advantages over YAML-based CIs in terms of automatic deployment order. For example, you do not need to specify the order, and it also handles asynchronous create and delete operation of resources.