Get started with the Deploy user interface
This topic provides a brief introduction to some of the key features you will use in Deploy.
The Deploy graphical user interface (GUI) is an HTML5-based UI that enables you to automate and standardize complex deployments in cloud, container, and legacy environments. For more information, see Customize the login screen to configure your login screen.
Customize the initial view
You have two choices for your initial view when you access the Deploy GUI:
- Default view
- Deployment Workspace view
Here is the default view when you log in to Digital.ai Deploy:
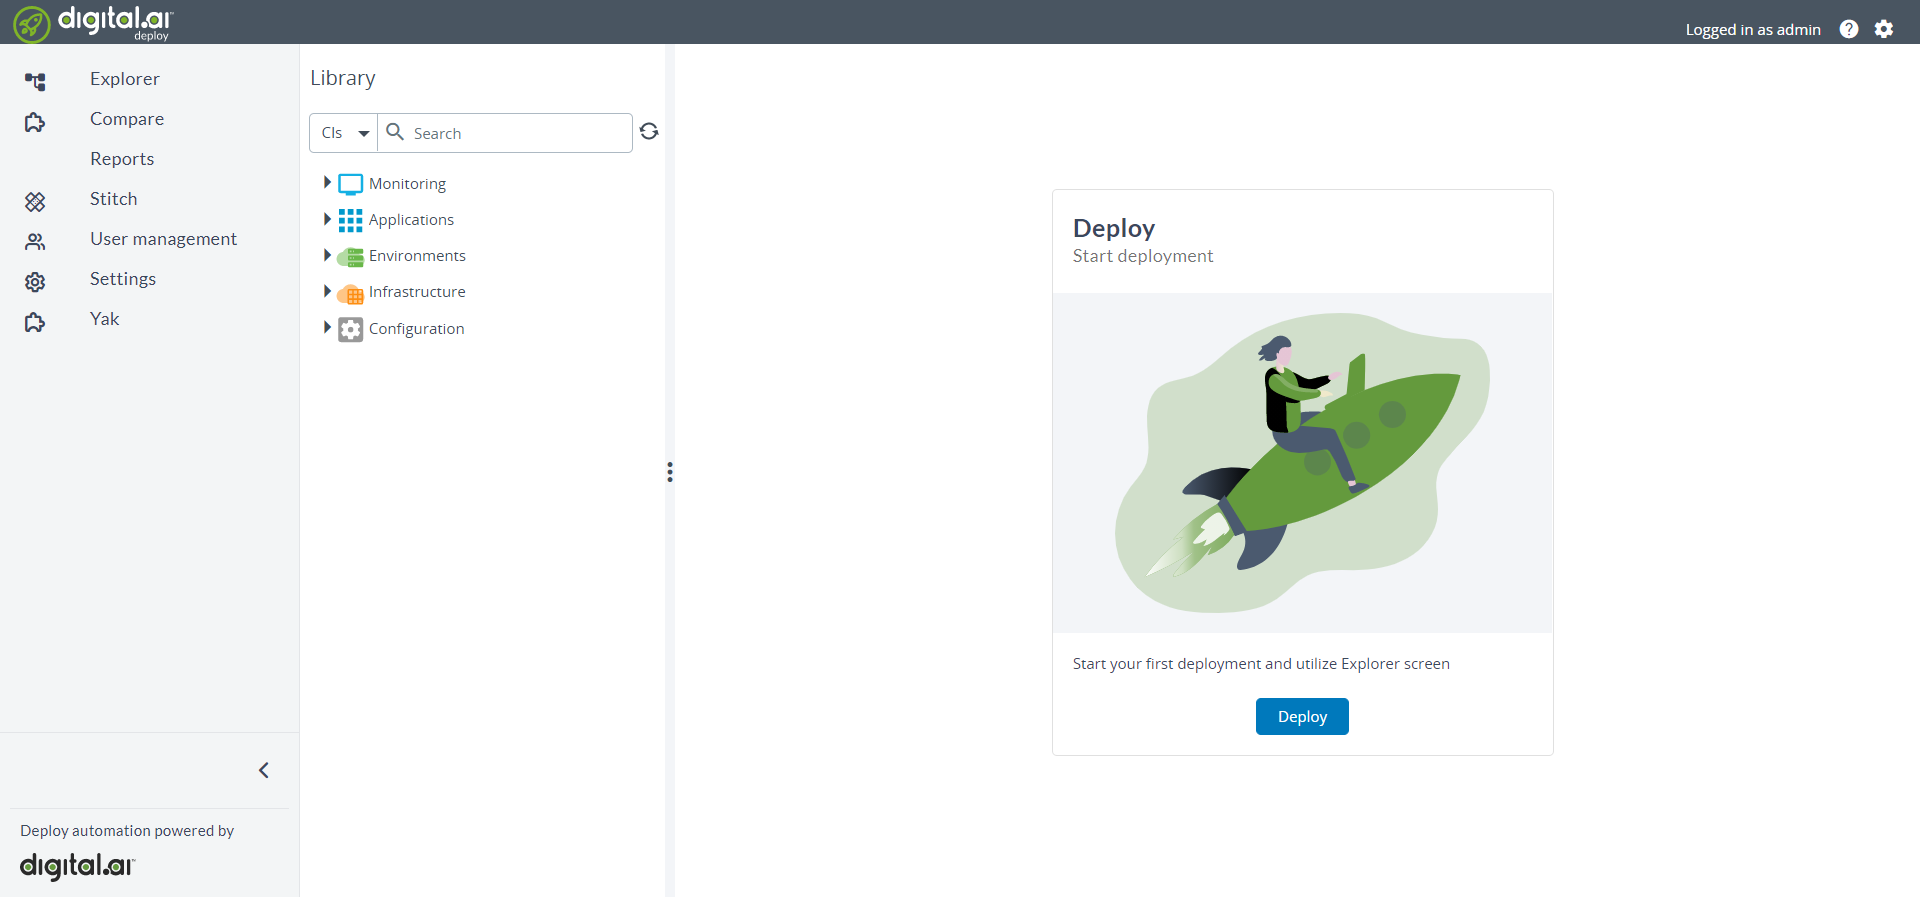
From the default view, clicking Deploy and then Explorer from the left navigation opens the deployment workspace that shows your applications on the left pane and your environments on the right pane.
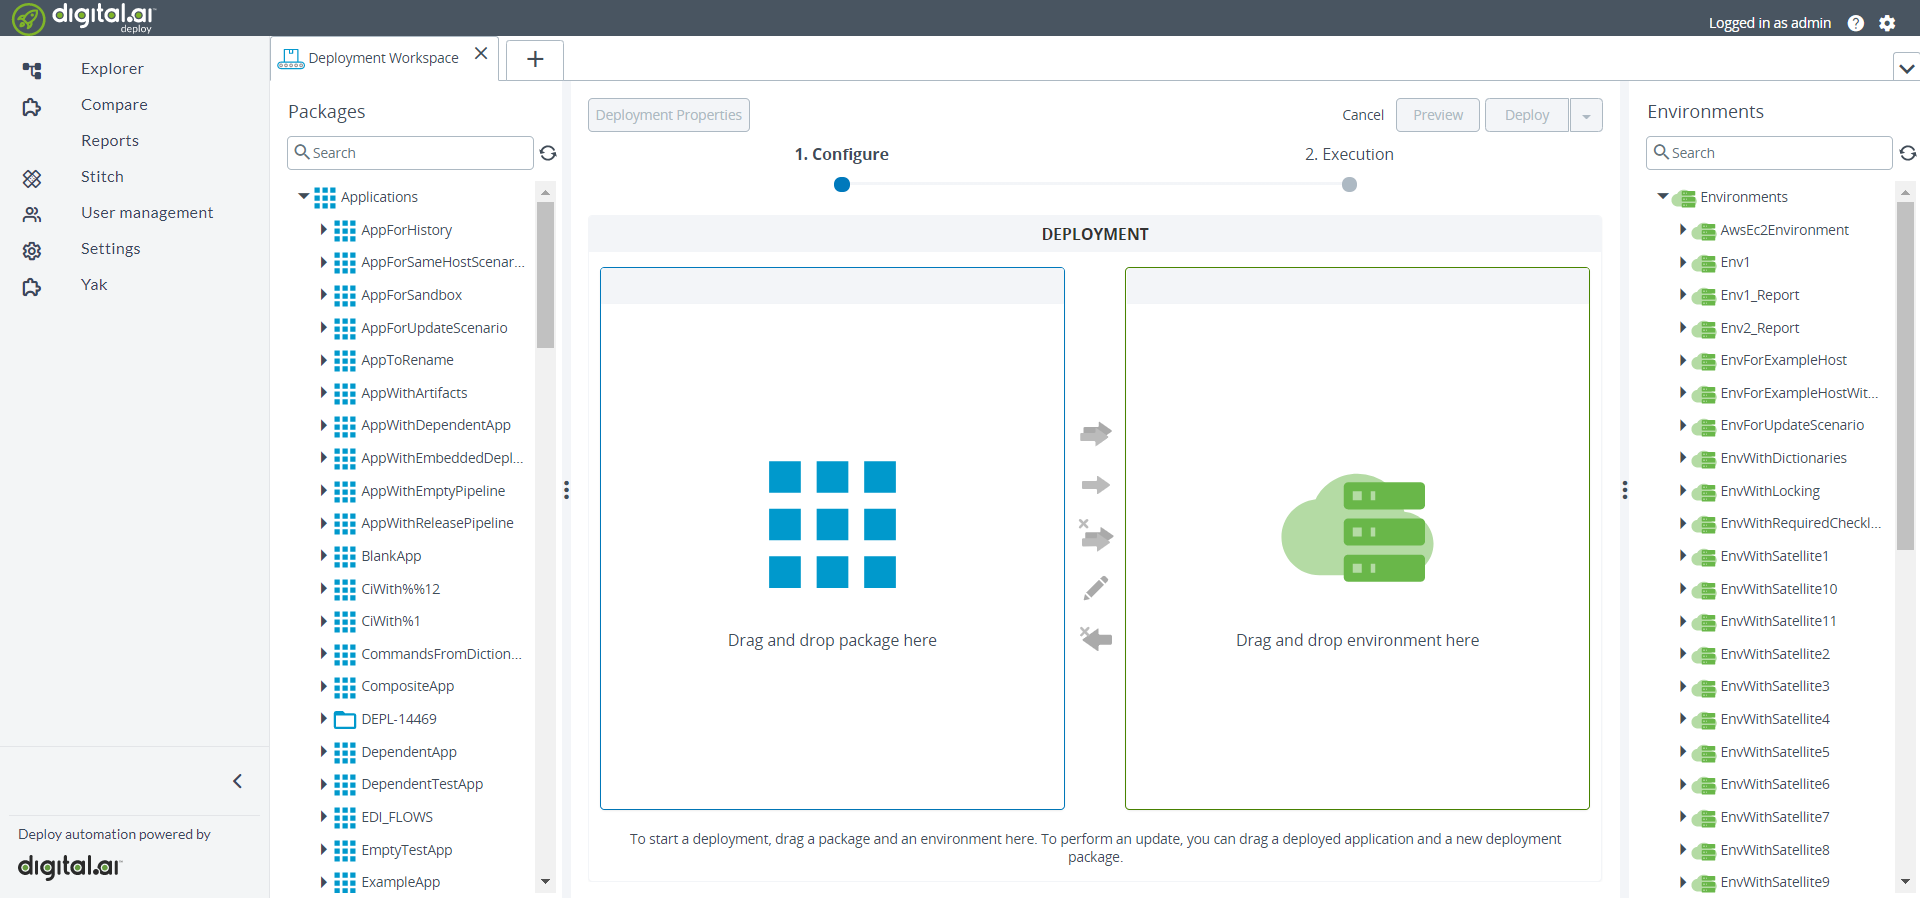
The deployment workspace supports drag and drop for selecting your applications and environments and starting a deployment. For details, see Use the deployment workspace.
If you want to change the initial view to feature the deployment workspace, edit the xld-client-gui.yaml file to include a gui section and specify the landing-page value as deploymentWorkspace:
deploy.gui:
  login:
    auth-html-message: # About showing custom message on login screen
  toastr: # allows to control how long to display a toastr message for each type of message
    error:
      timeout-ms: 0
    info:
      timeout-ms: 10000
    success:
      timeout-ms: 10000
    warning:
      timeout-ms: 10000
  landing-page: explorer # which landing page to display as initial, default value is explorer, could be also "deploymentWorkspace"
  task: # how often to poll the status of the task on task execution screen.
    status:
      poll-interval-ms: 1000
For details about the configuration properties defined in the centralConfiguration folder, see Deploy configuration files.
The basics
Here are some of the common actions you can perform using the GUI:
- Connect Deploy to your infrastructure
- Define your environments
- Import or create deployment packages
- Deploy applications to environments
- Define permissions for users
Examples
This section describes some of the common activities you can perform using the GUI.
Deploy an application from Applications tree
To deploy an application:
-
Click Explorer from the left navigation bar and expand Applications.
-
Locate and expand the application that you want to deploy or provision.
-
Click
next to the desired deployment or provisioning package and select Deploy. The list of available environments appears in a new tab.
-
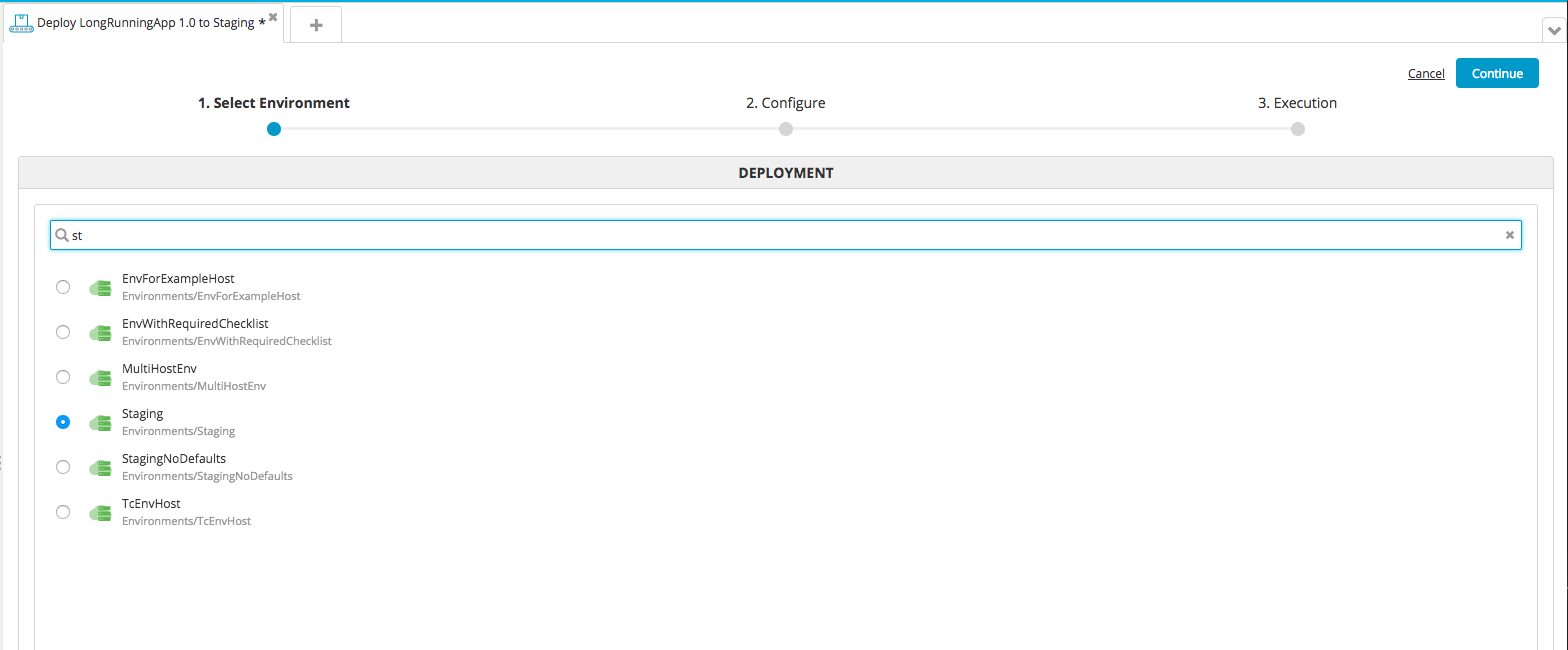
Select the environment where you want to deploy or provision the package and then click Continue.
-
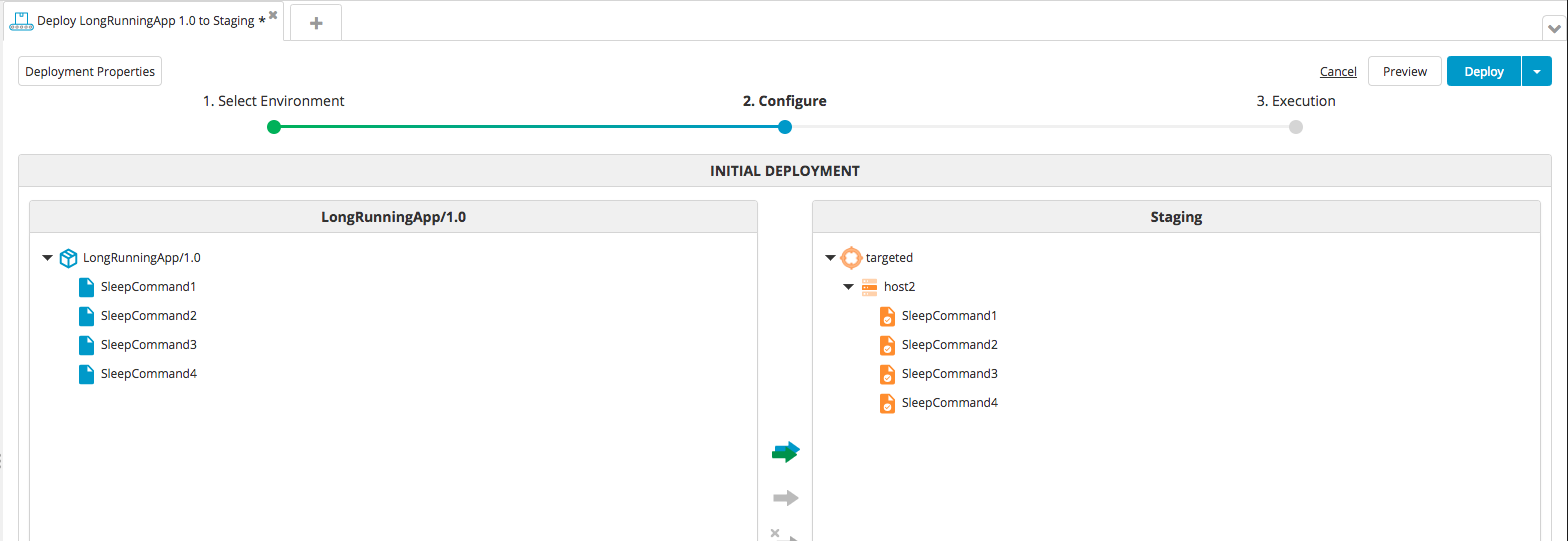
You can optionally change the mapping of deployables to containers using the buttons in the center. To edit the properties of a deployed, double-click it. To edit the deployment properties, click Deployment Properties.
-
To start the deployment immediately, click Deploy. If you want to skip steps or insert pauses, click the arrow next to Deploy and select Modify plan. If you want to schedule the deployment to execute at a future time, click the arrow and select Schedule.
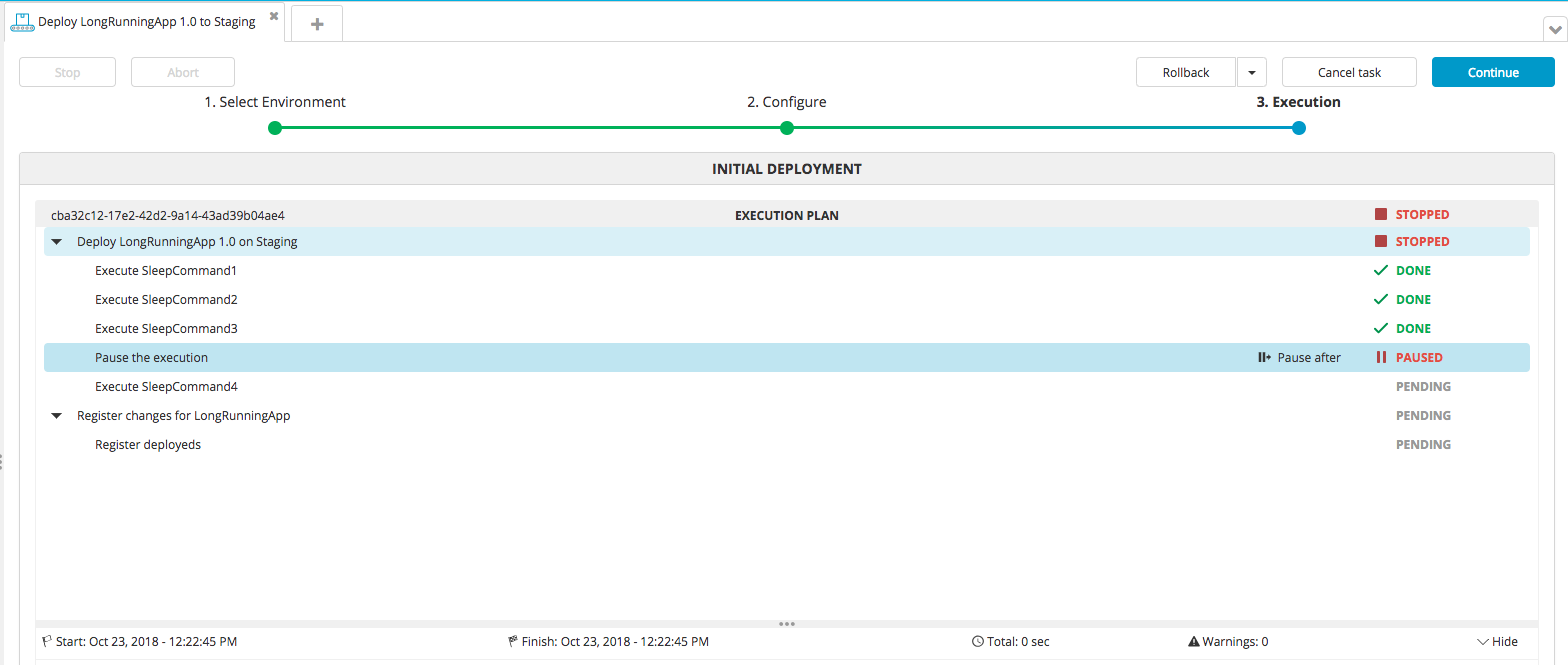
For more detailed information, see Deploy an application.
Update a deployed application
To update a deployed application, you can do one of the following:
- Locate the deployment or provisioning package under Applications, click
, and select Deploy.
- Locate and expand the environment under Environments, click
next to the deployed application, and select Update deployment.
For more detailed information, see Update a deployed application.
Undeploy an application
To undeploy a deployed application, locate and expand the environment under Environments, click next to the deployed application, and select Undeploy.
For more detailed information, see Undeploy an application.
Roll back a deployment
To roll back a deployment or undeployment task, click Rollback. As with deployment, you can roll back immediately, review the plan before executing it, or schedule the rollback for a later time.
Schedule a task
To schedule an initial deployment, update deployment, undeployment, or rollback task, select Schedule on the task. Select the desired date and time and then click Schedule.
For more detailed information, see Schedule or reschedule a task.
Monitor active tasks
To monitor active tasks, click Explorer from the left navigation bar and expand Monitoring. You can view active deployment tasks or active control tasks. Click Refresh to see the latest information about active tasks.
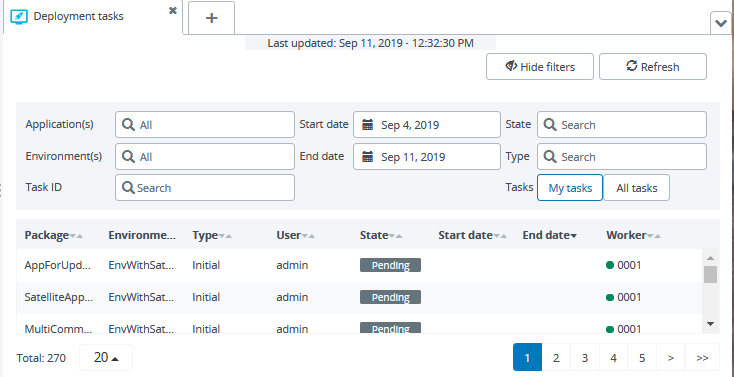
For more detailed information about monitoring and filtering, see Using the Monitoring view.
View a deployment report
To view a deployment report, click Reports from the left navigation bar and then click Deployments.
This feature requires the report#view permission.
Click Refresh to see the latest report information.
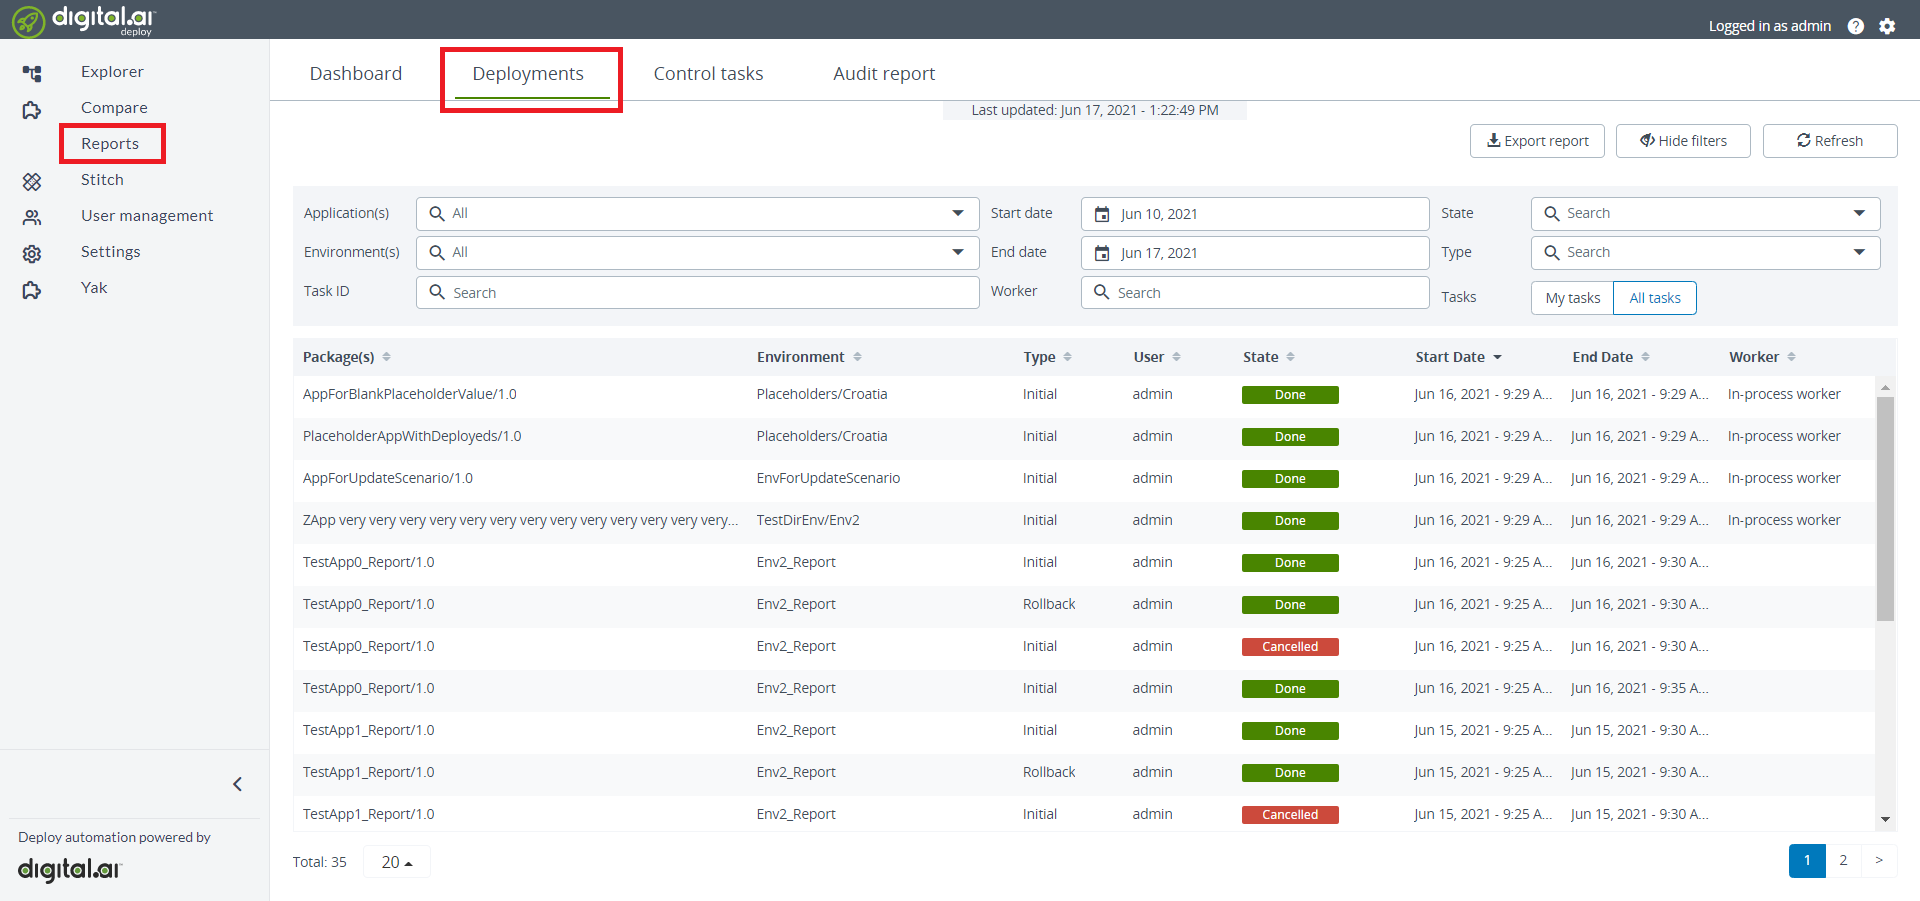
For more detailed information see Using Deploy reports
Manage roles and permissions
To establish and manage your access control scheme, click User management from the left navigation bar.
This feature requires the security#edit global permission.
For more detailed information, see roles and global permissions.
Manage roles
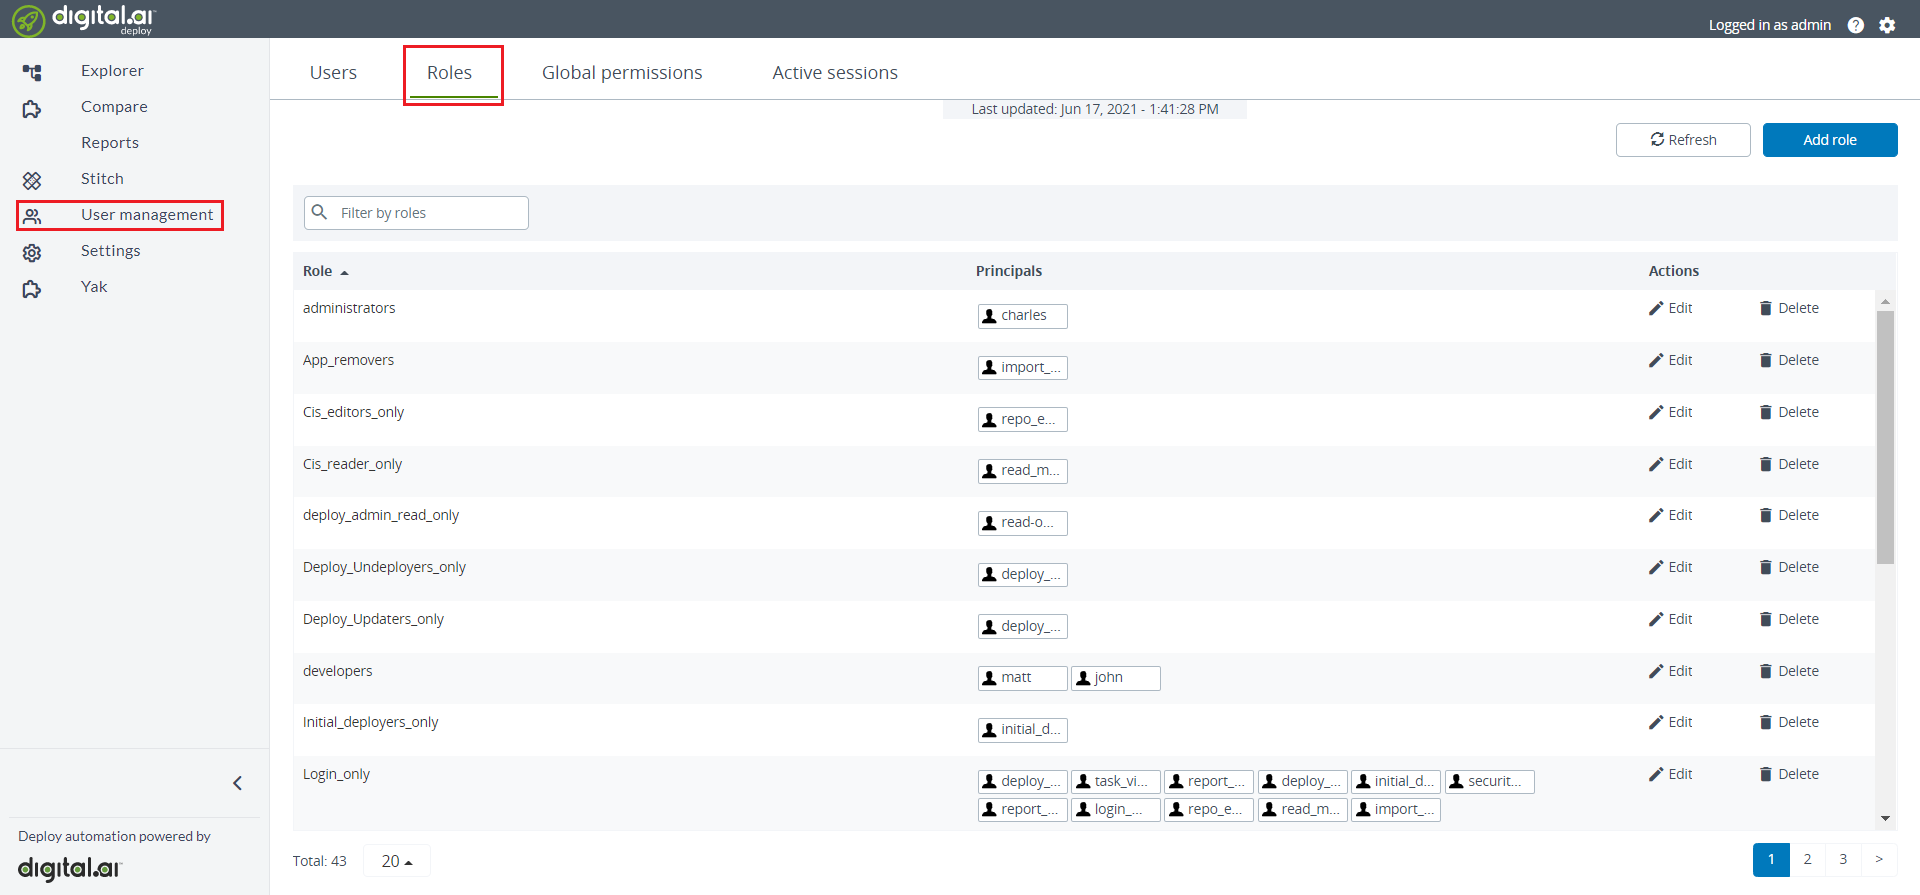
To manage roles, click User management from the left navigation bar and then click Roles.
Assign global permissions
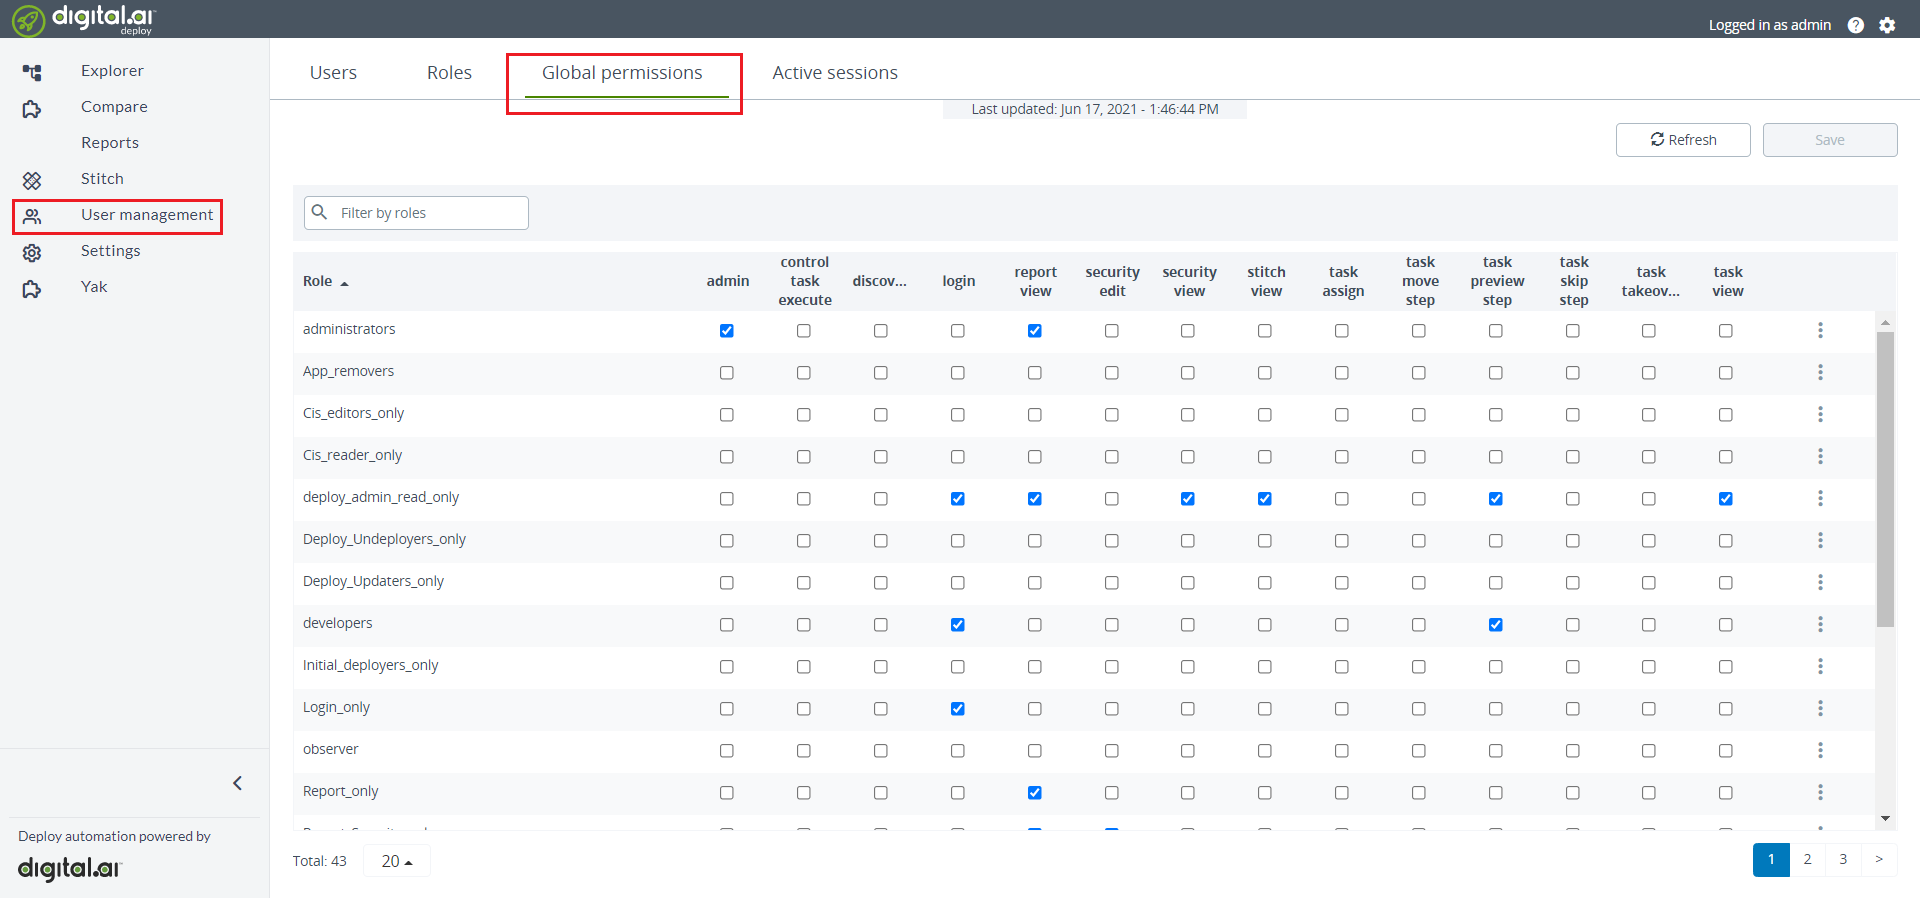
To assign global permissions to roles, click User management from the left navigation bar and then click Global Permissions.
Assign local permissions
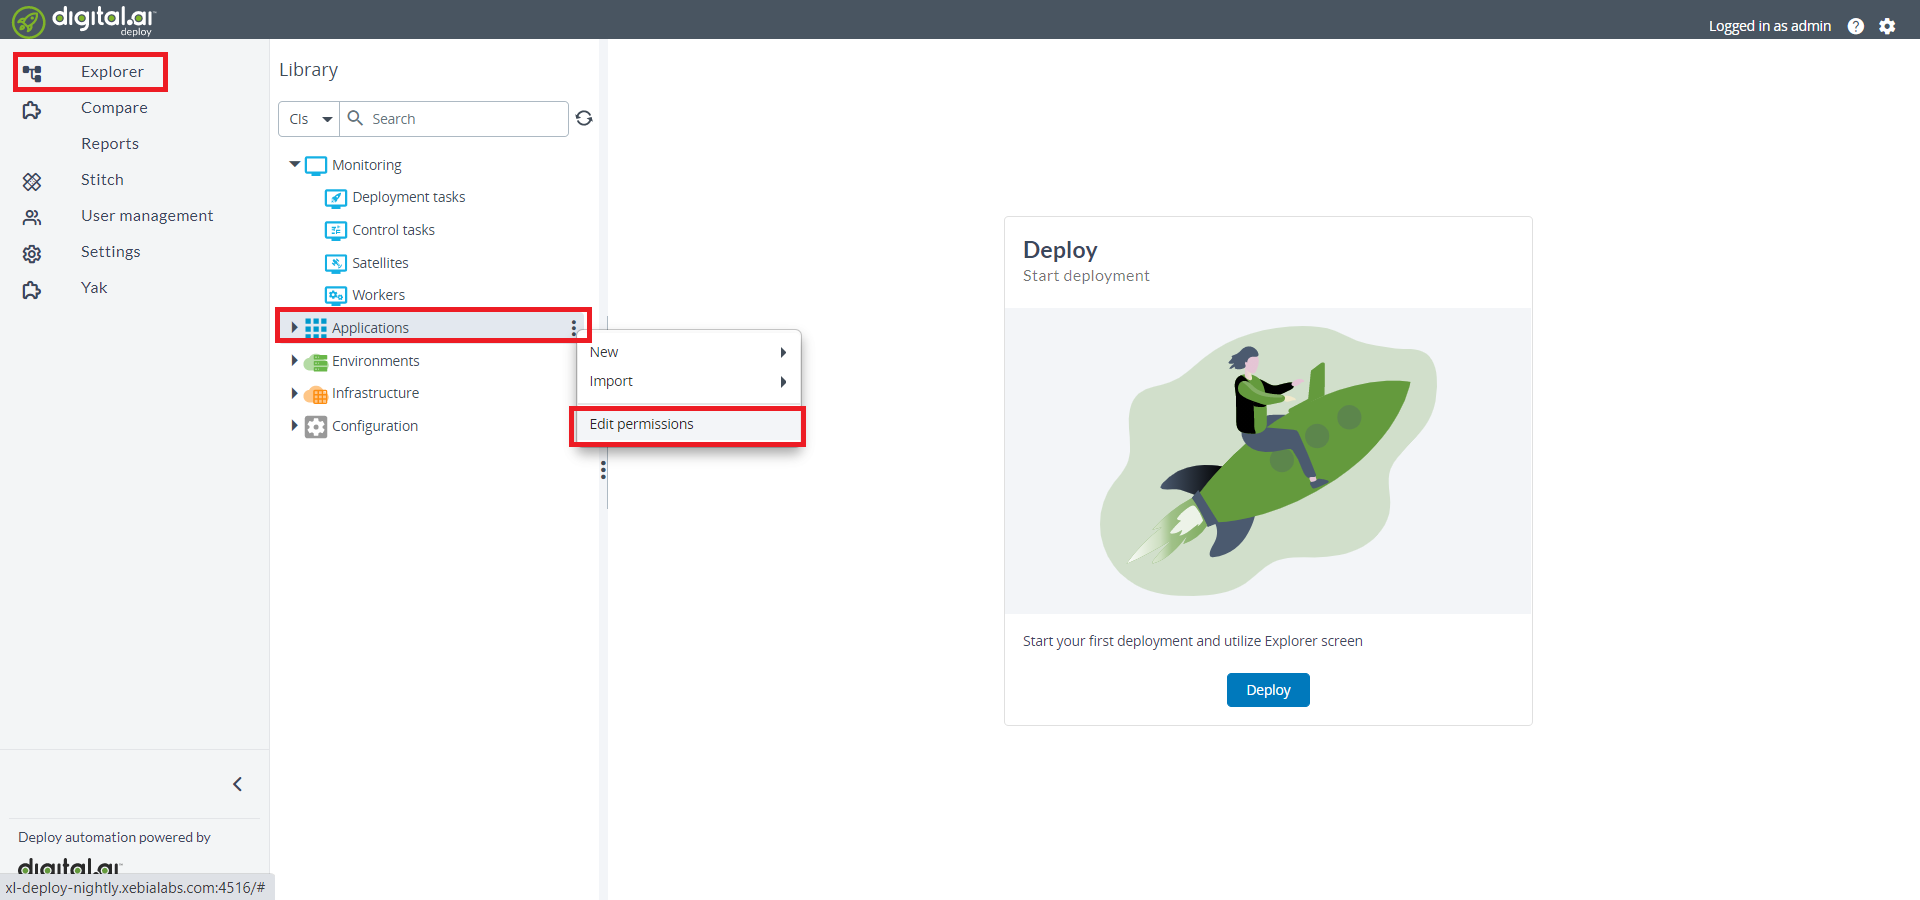
To assign to roles, click Explorer from the left navigation bar, click on a root node or directory, and then select Edit permissions.
