Deploy a batch application on JBoss using Batch-Jberet
This topic describes how to configure an environment for running batch application and manage batch using the Batch-Jberet subsystem in JBoss DM plugin.
It assumes you have the JBoss Domain plugin installed.
Step 1 - Connect to your infrastructure
Connect Digital.ai Deploy to the host on which JBoss is running. Follow the instructions for the host's operating system and the connection protocol that you want Digital.ai Deploy to use. For more information, see :
Step 2 - Add your middleware
When Digital.ai Deploy can communicate with your host, it will scan for middleware containers and automatically add them to the Repository for you. For more information, see:
Step 3 - Add a stand-alone JBoss server
To add a stand-alone JBoss server:
-
Hover over the host that you created, click
, and select Discover > jbossdm > StandaloneServer.
-
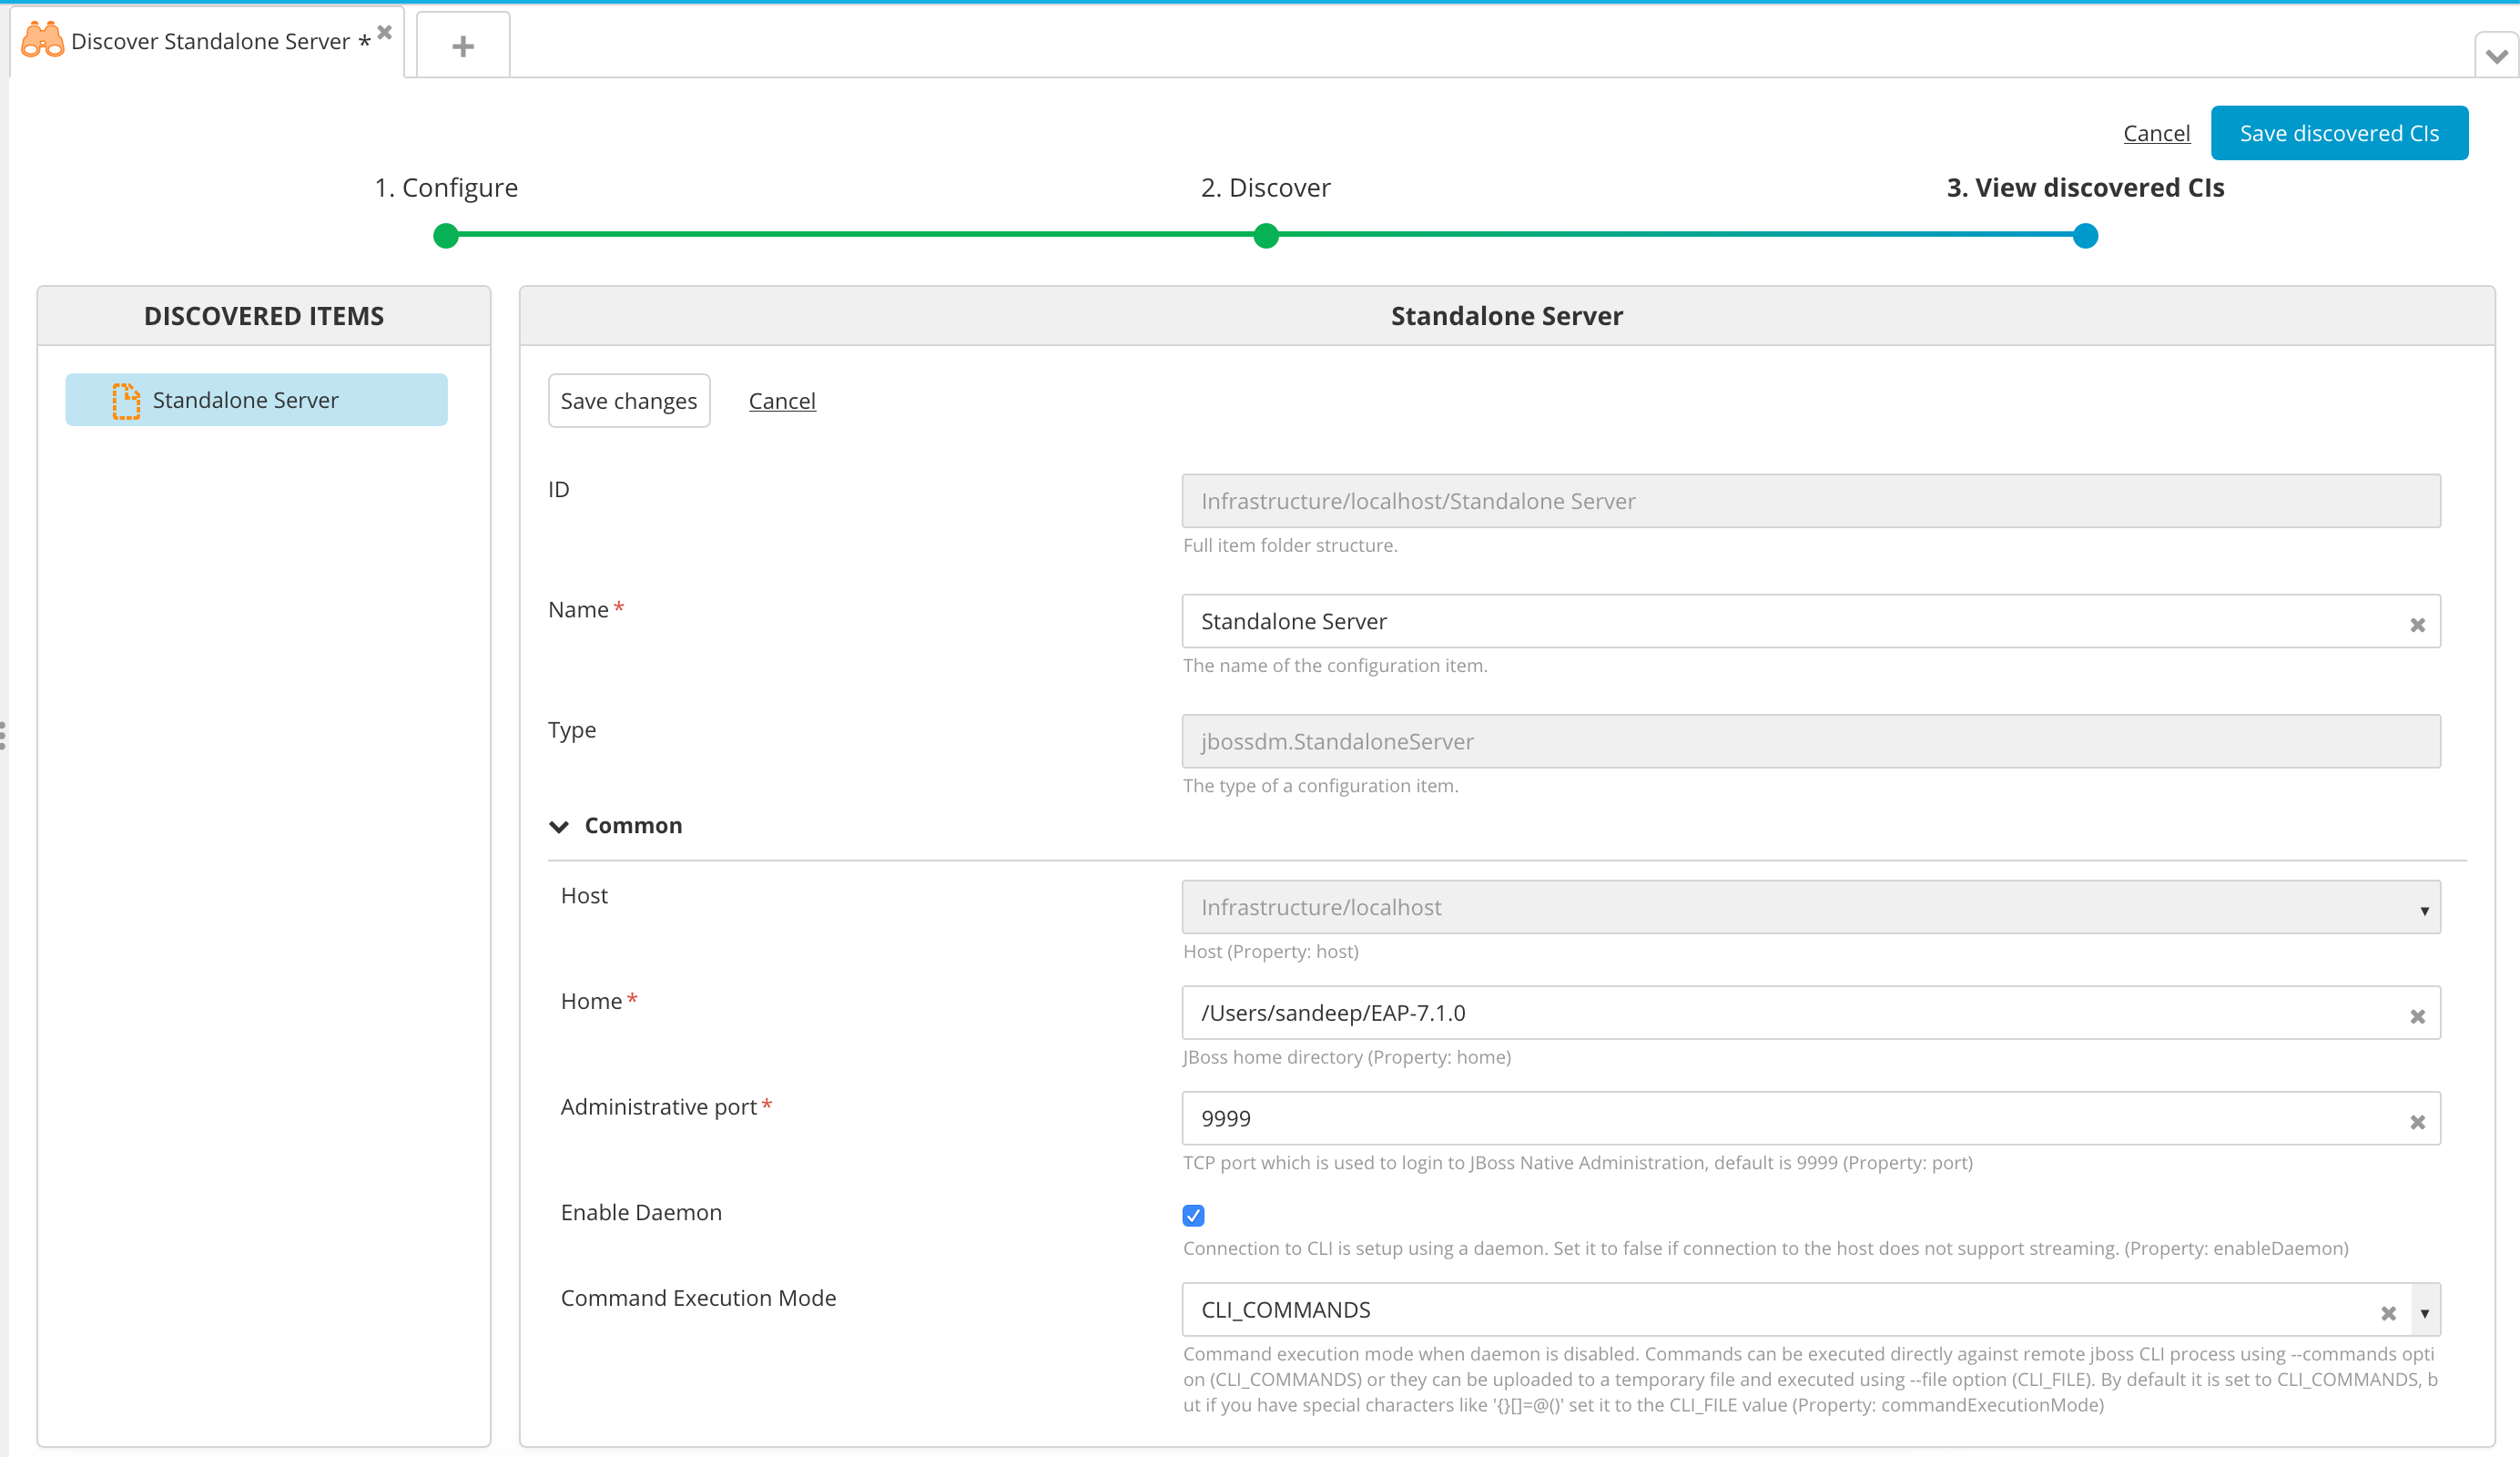
In the Name field, enter a name for the server.
-
In the Home field, enter the JBoss home directory. For example,
/opt/jbossdm7/. -
In the Administrative username and Administrative password fields, enter the user name and password used to log in to JBoss Native Administration.
-
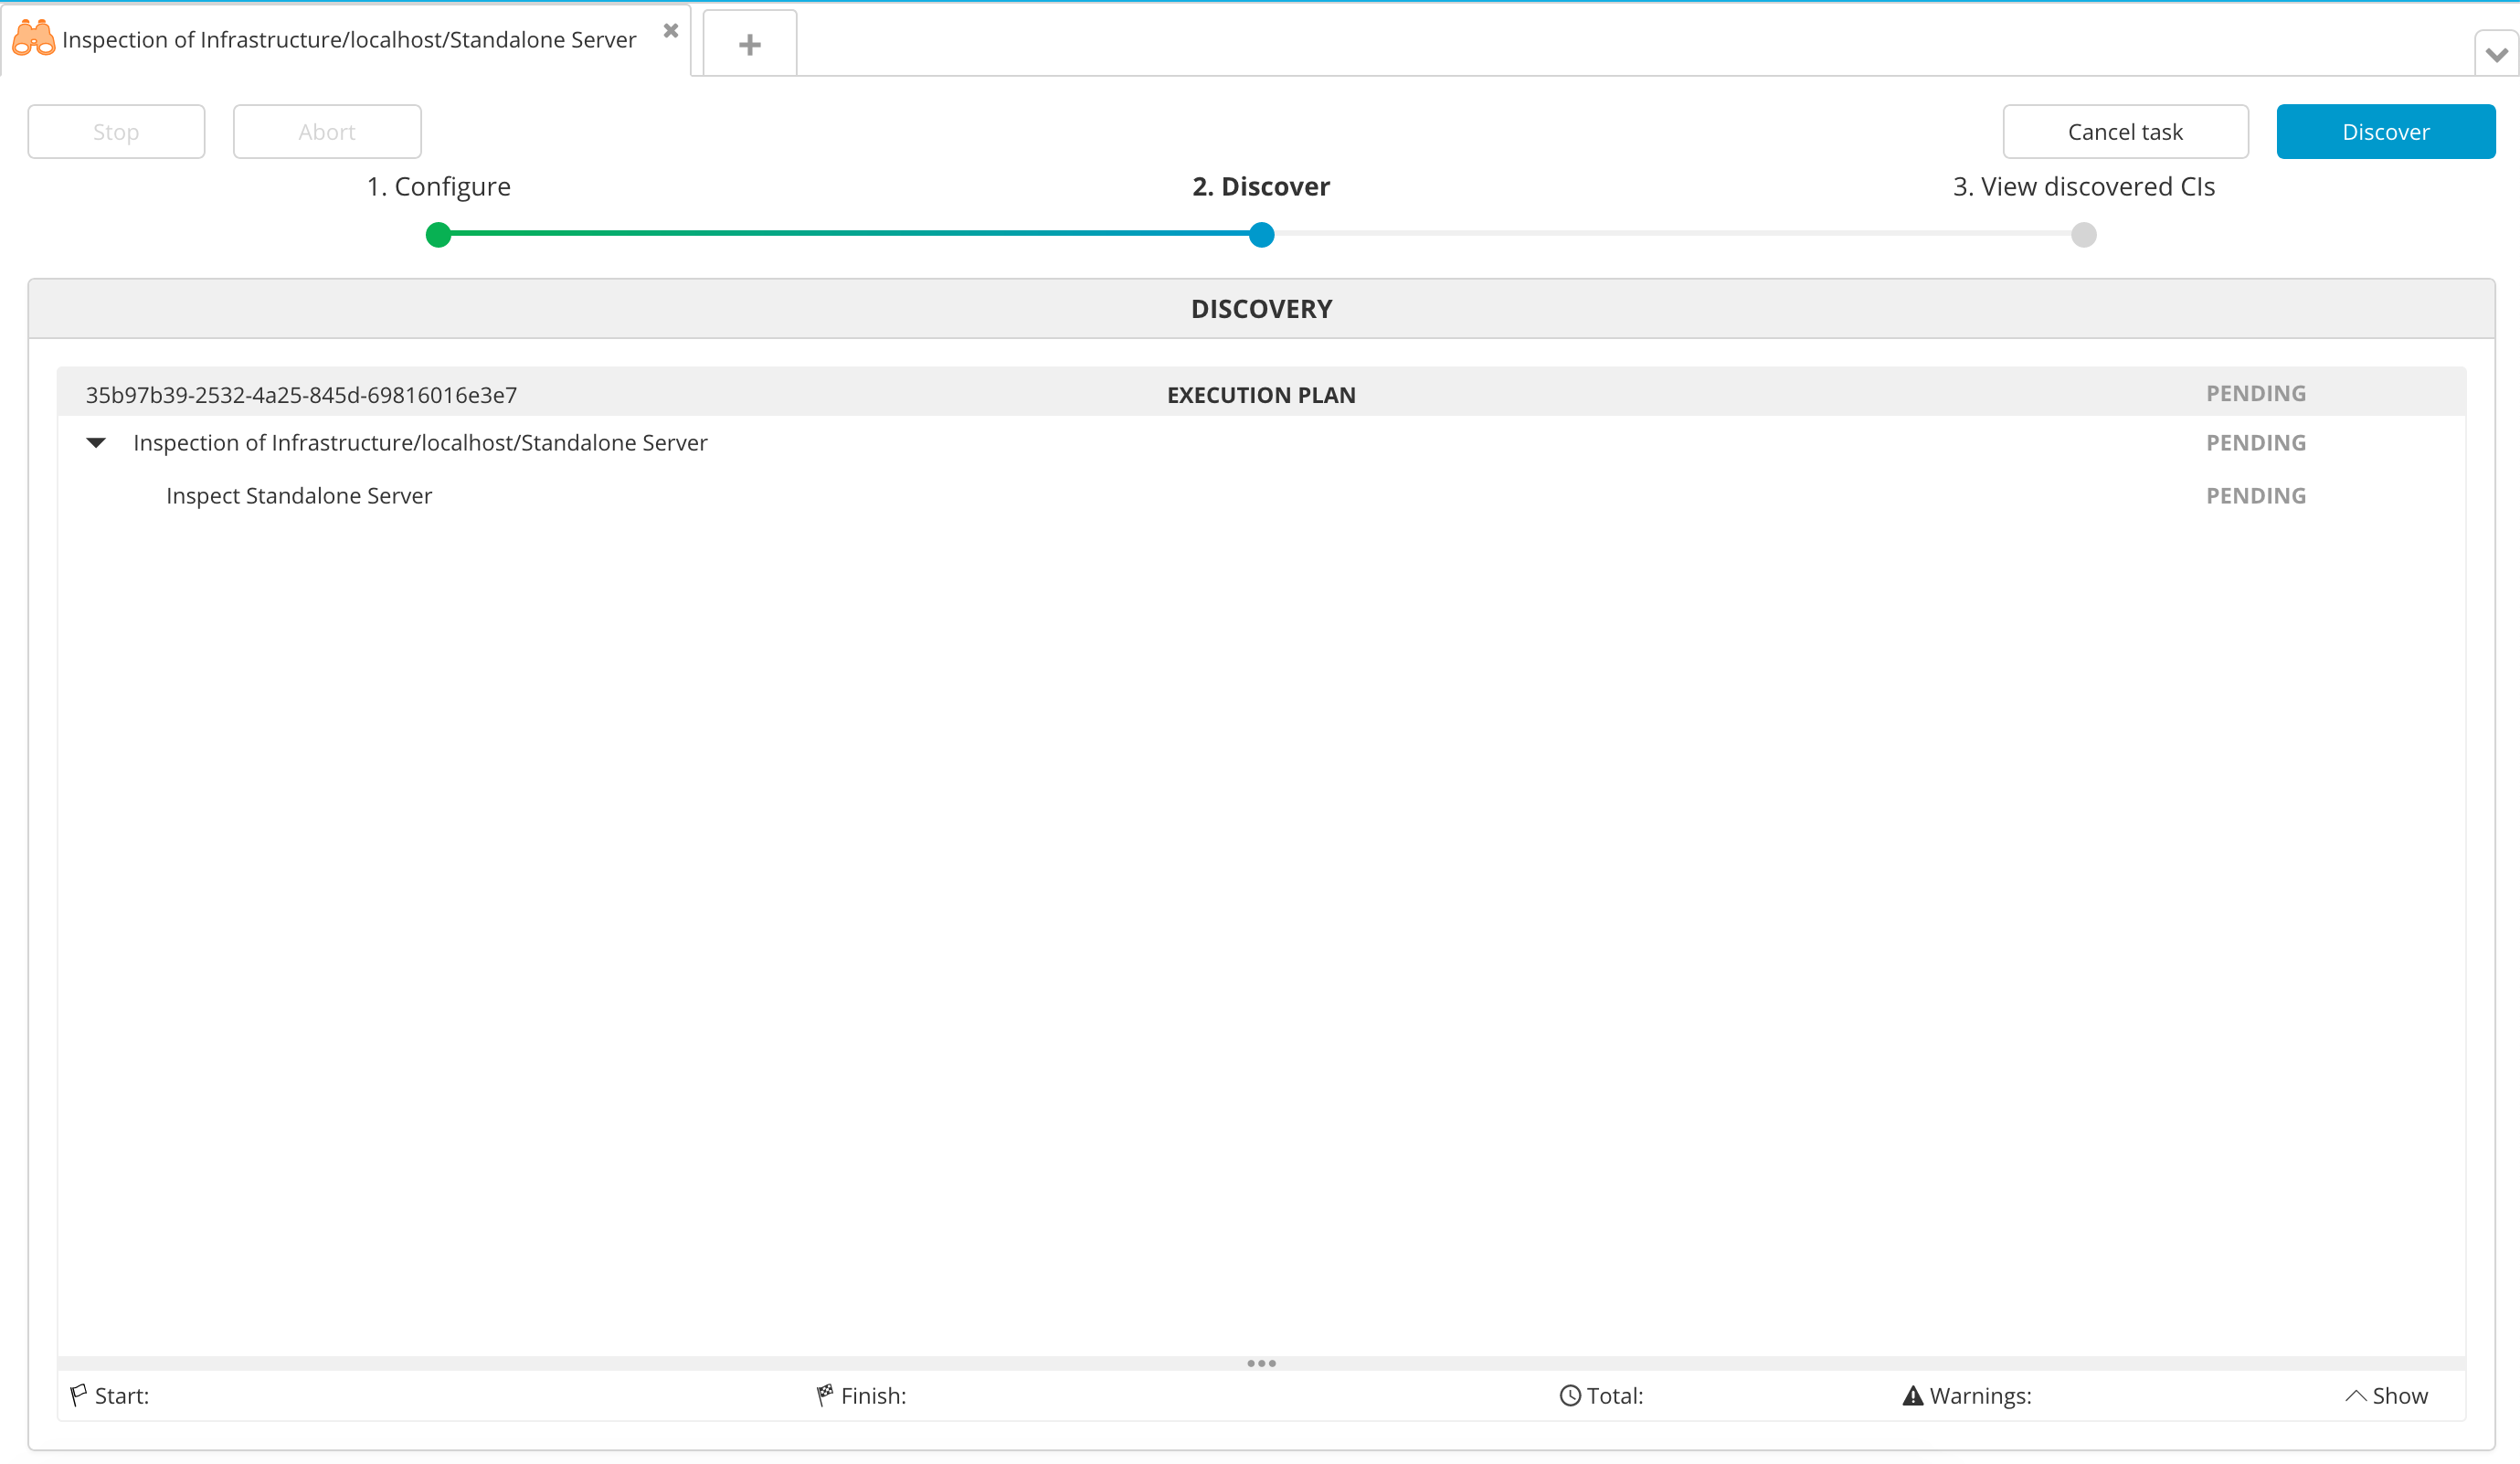
Click Next. A plan appears with the steps that Deploy will execute to discover the middleware on the host.

-
Click Execute. Deploy executes the plan. If the plan succeeds, the steps state will be DONE.
-
Click Next to see the middleware containers that Deploy discovered. You can click each item to view its properties.

-
Click Save. Deploy saves the items in the Repository.
Step 4 - Create an environment
An environment is a grouping of infrastructure and middleware items such as hosts, servers, clusters, etc. An environment is used as the target of a deployment, enabling you to map deployables to members of the environment.
To create an environment where you can deploy a sample application, follow the procedure described in Create an environment in Deploy .
To deploy to a JBoss Domain, you must add a jbossdm.ServerGroup to the environment. To deploy to a stand-alone JBoss server, you must add the jbossdm.StandaloneServer to the environment.
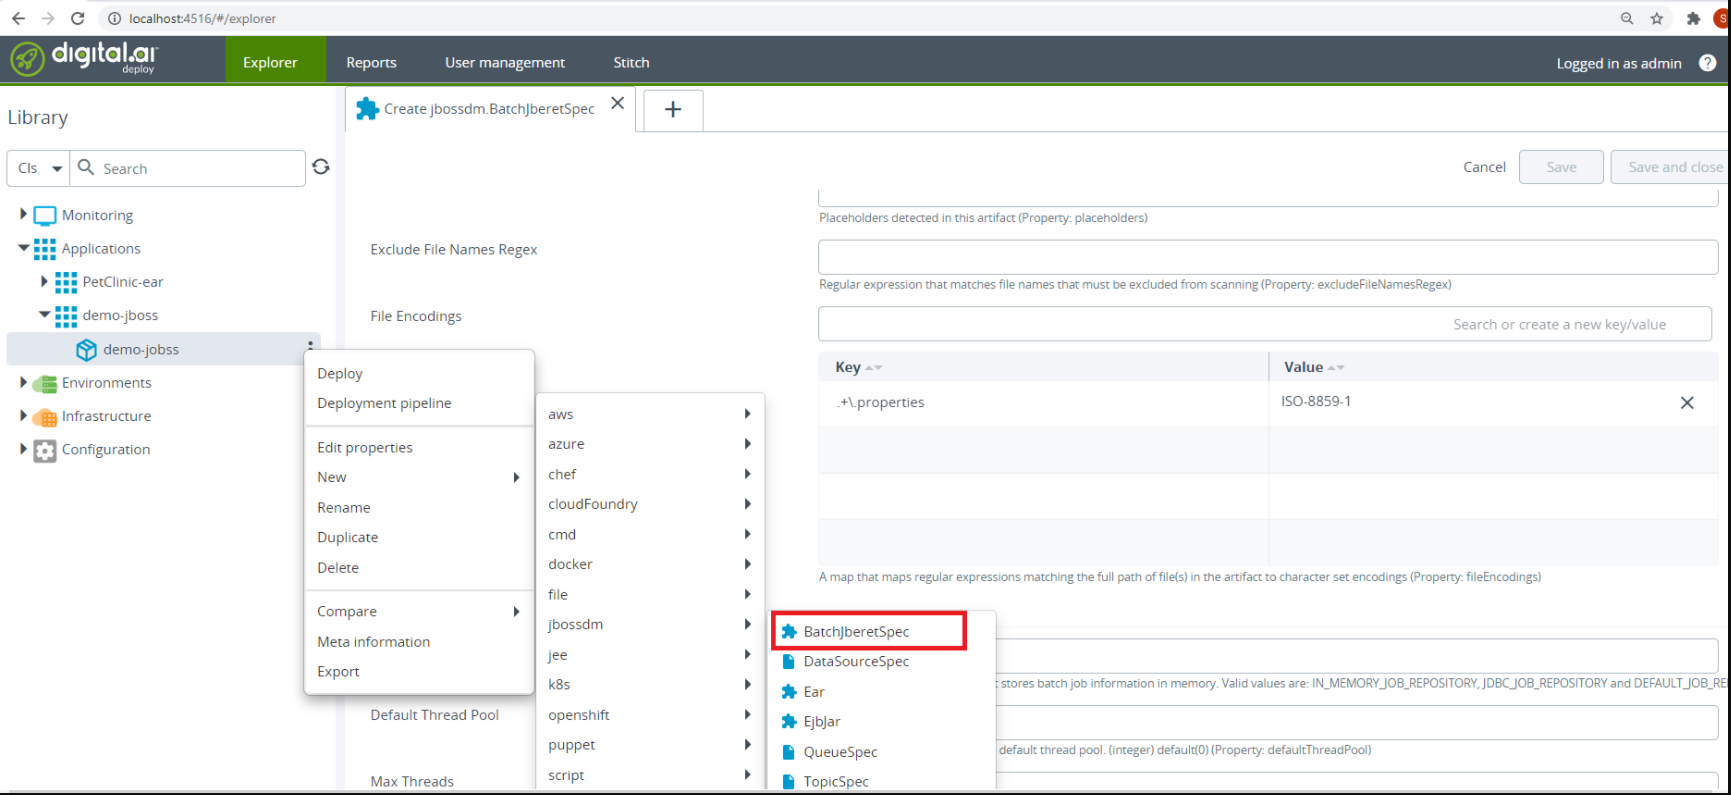
Step 5 - Configure the BatchJberetSpec sample application

Configure the Properties in BatchJberetSpec:
- Default Job Repository: Name of the repositories for storing batch job information using the management CLI.
- Is JDBC Repository: true if you are using the JDBC repository or false.
- Datasource: You must specify the name of the Datasource for connecting to the database if Is JDBC Repository = true.
- Default Thread Pool: When adding a thread pool, you must specify the
max-threads, which should always be greater than3as two threads are reserved to ensure partition jobs can execute as expected. - Max Threads: Maximum number of threads.
- Keepalive Time: Set a
keepalive-timevalue. If required, or the default value will be 10. - Deployment Name: Name of the deployment.
- Job XML Name: You can start a batch job by providing the job XML file.
- Properties: Any properties to use when starting the batch job.
Note: Important points that should be considered while the deployment of the batch application.
- Deployed war file should be a batch application.
- The batch application should have the job XML file under the following path:
/resources/META-INF/batch-jobs/ - The name of the job XML file should be identical otherwise it will give following error.

- While deployment the name of the default repository should be unique otherwise it will give a duplicate resource error.
- While deployment the name of the default thread pool should be unique otherwise it will give a duplicate resource error.
- The properties are in key-value pair format.
Step 6 - Deploy the batch application
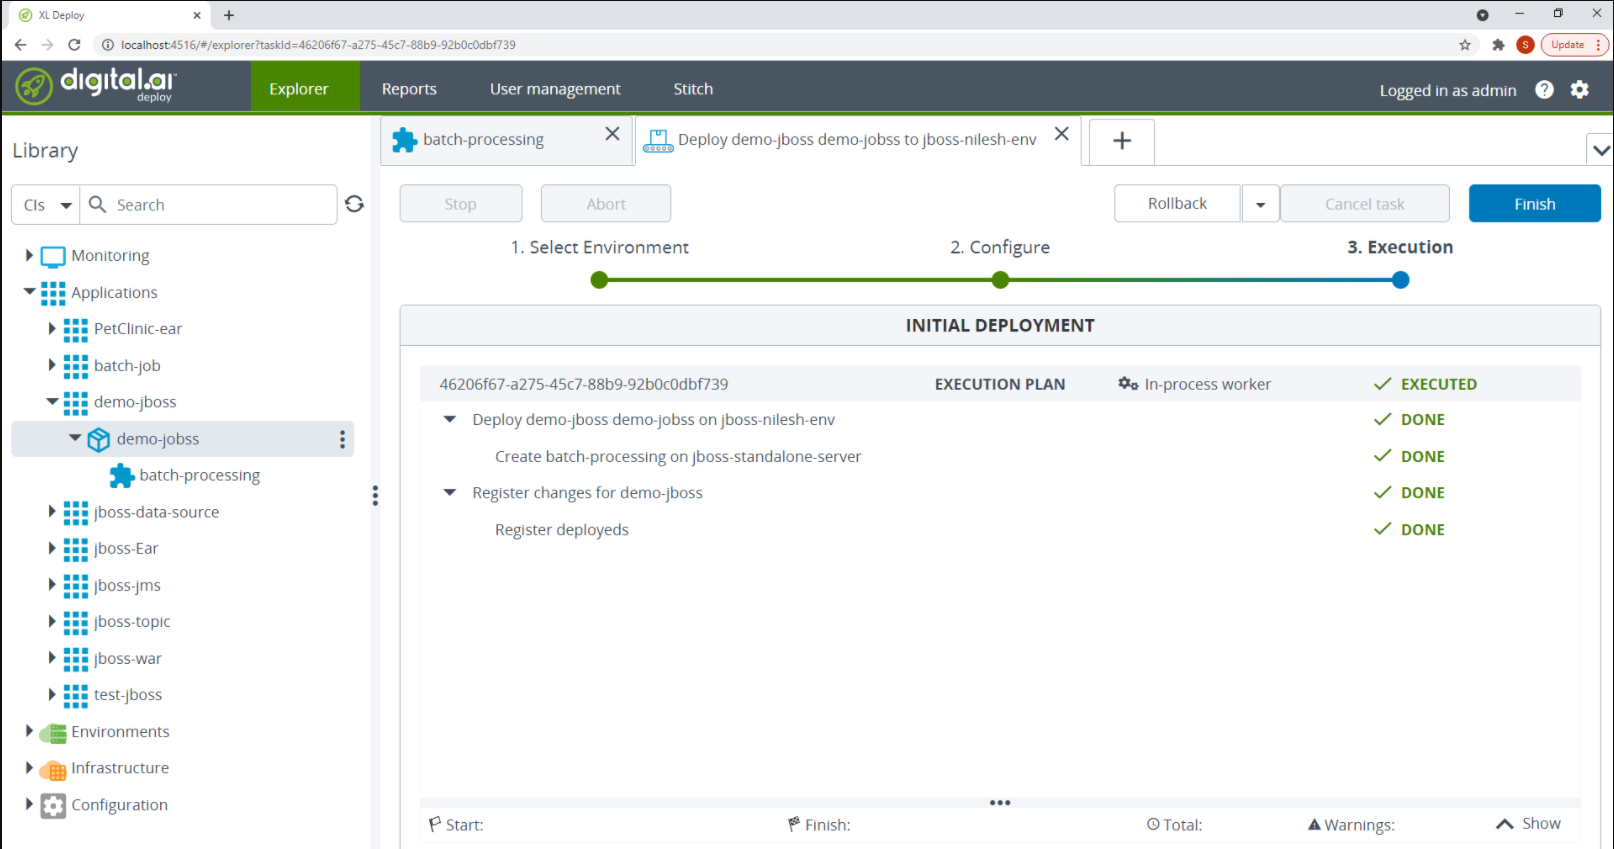
To deploy the sample application, follow the steps described in Deploy an application.

If the deployment succeeds, the state of the deployment plan is EXECUTED.
Verify the deployment
To verify the deployment, go to http://IP:PORT/<deployment_name>, where IP and PORT are the IP address and port of the server where the application was deployed.
To verify the deployment from JBoss CLI use the following command:
deployment info
The output should include the name of your deployed application
For example, If your deployed application name is batch-processing then output as follows
