Deploy an App in IBM WebSphere AS
After you have installed Deploy and the IBM WebSphere plugin, log in to Deploy and follow these instructions to:
- Connect Deploy to your IBM WebSphere Application Server (WAS) Network Deployment (ND) or Base installation
- Discover your WAS middleware containers
- Create an environment where you can deploy applications
- Import a sample application into Deploy
- Deploy the sample application to the environment that you created
Connect to your infrastructure
First, you need to connect Deploy to the host on which wsadmin is running. Typically this is:
- The host where the WebSphere Deployment Manager is running, if you use WebSphere ND
- The WebSphere server, if you use WebSphere Base
Follow the instructions for the host's operating system and the connection protocol that you want Deploy to use:
Accept WebSphere trusted certificate
If wsadmin has not been used on your WebSphere Deployment Manager or unmanaged server before, you must set up a trusted certificate to allow Deploy to deploy to WebSphere. Refer to Troubleshoot a WAS connection for more information.
Add your middleware
Once Deploy can communicate with your host, it can scan for middleware containers and automatically add them to the repository for you. You can:
Add a WebSphere ND cell
To add a WebSphere ND cell:
-
Right-click the host that you created and select Discover > was > DeploymentManager.
If you do not see the was option in the menu, verify that the WebSphere plugin is installed.
-
In the Name box, enter a name for the cell.
-
In the WebSphere Installation Path box, enter the path to the deployment manager profile; for example,
/opt/ws/6.1/appserver/profiles/AppSrv01. -
In the Administrative port, Administrative username, and Administrative password boxes, optionally enter the TCP port, user name, and password to use when connecting to WebSphere using
wsadmin. -
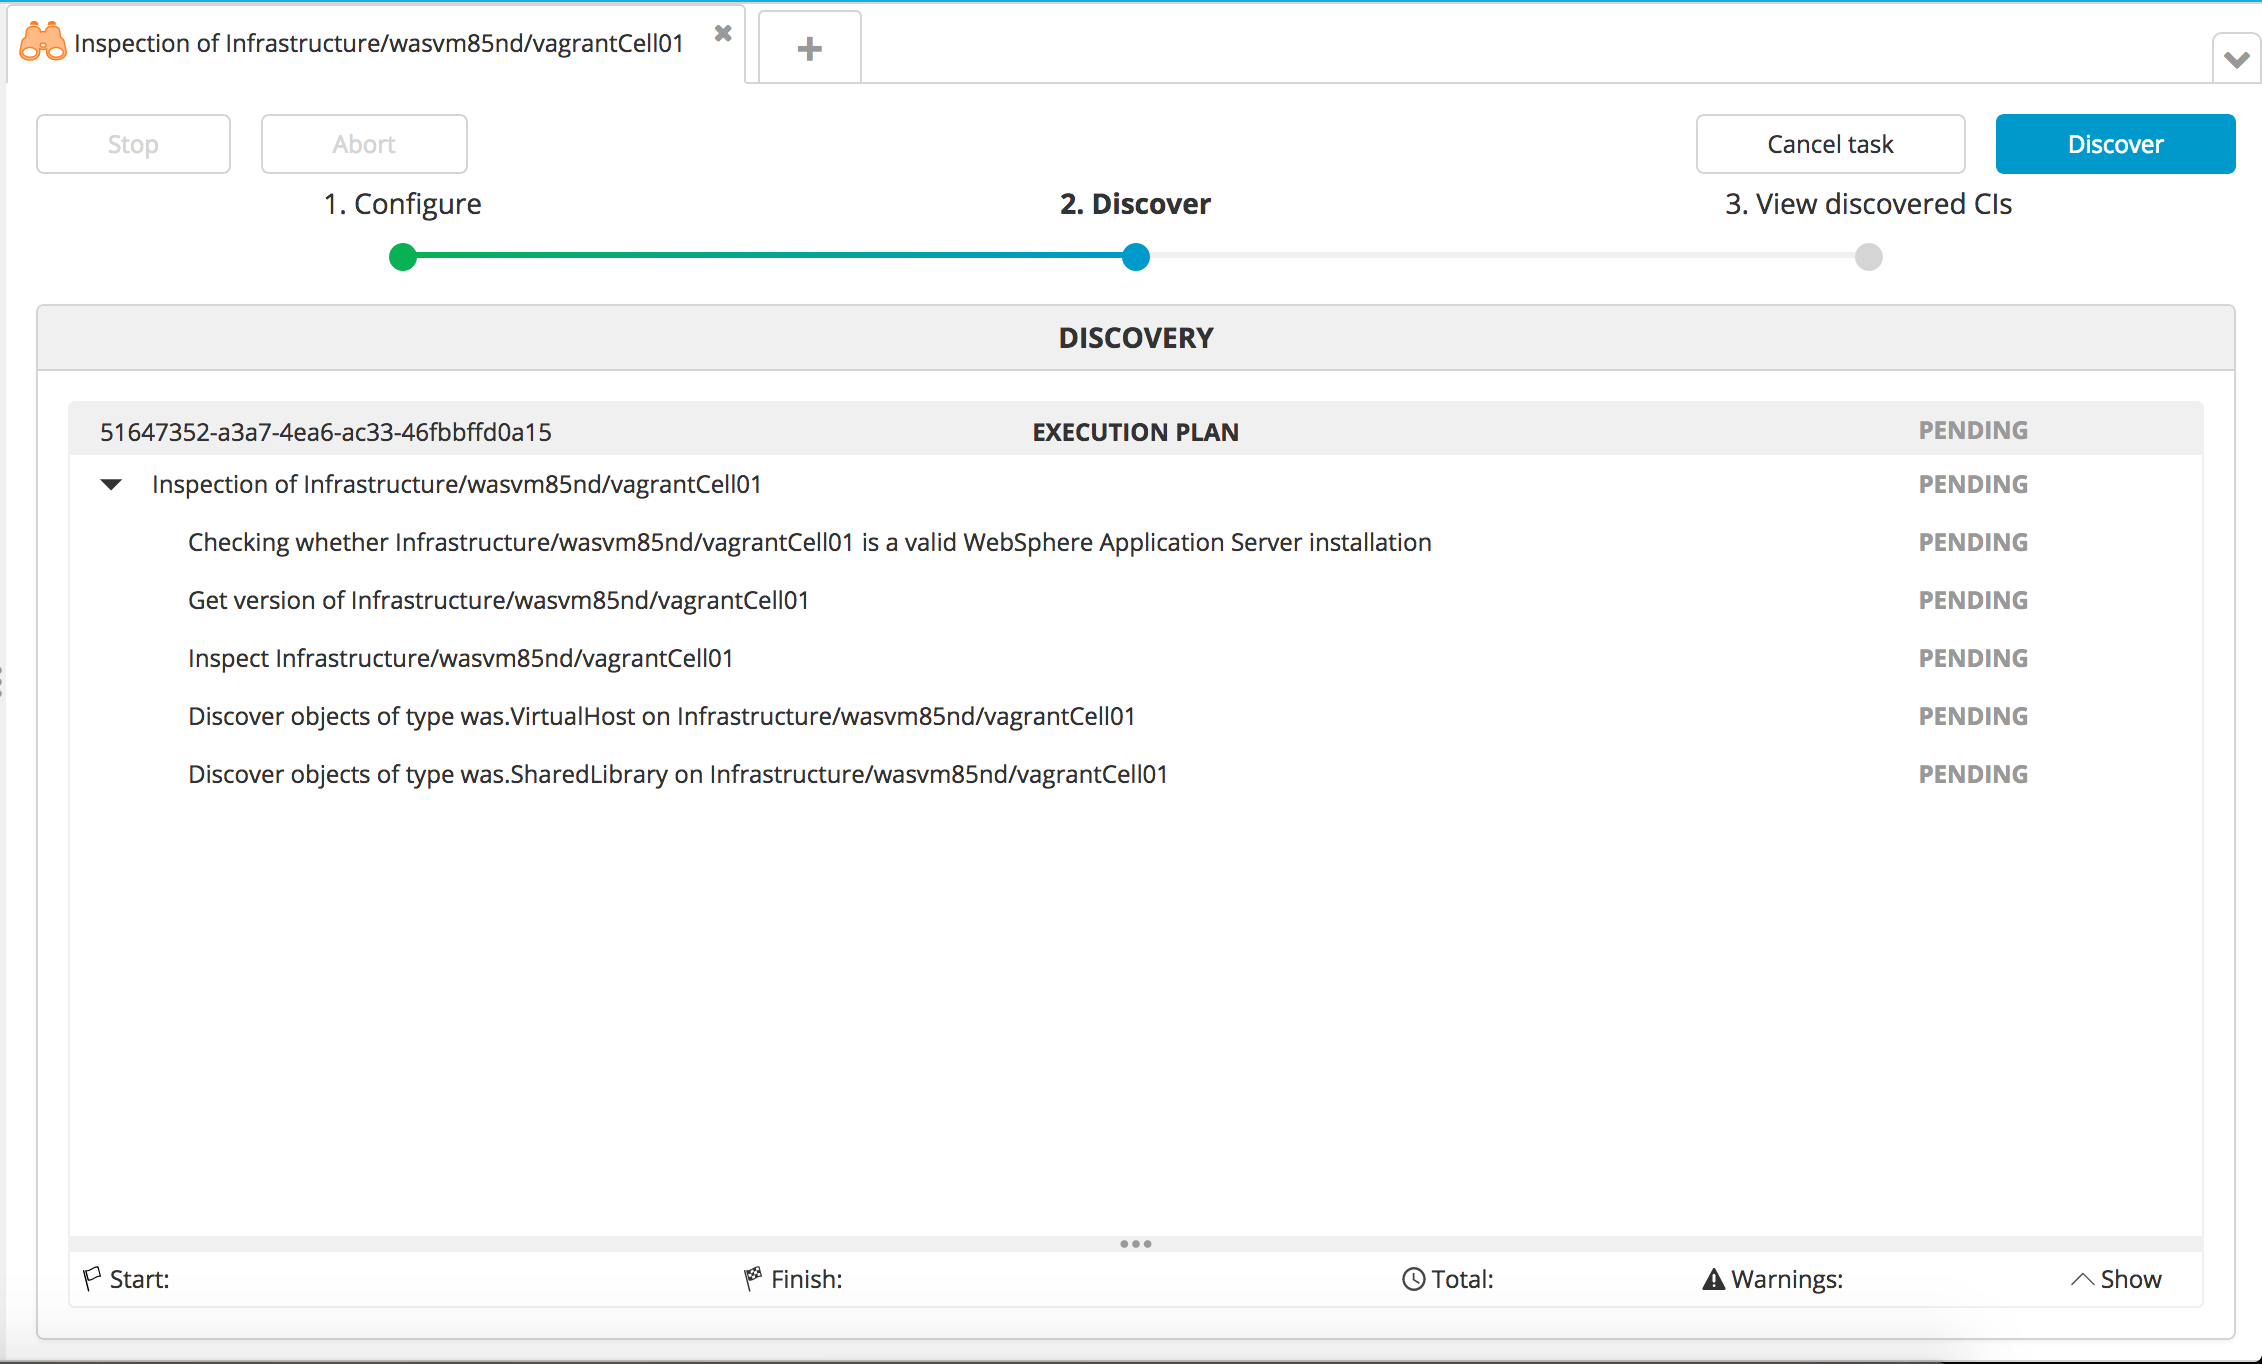
Click Next. A plan appears with the steps that Deploy will execute to discover the middleware on the host.
-
Click Execute. Deploy executes the plan. If it succeeds, the state of the steps will be DONE.
-
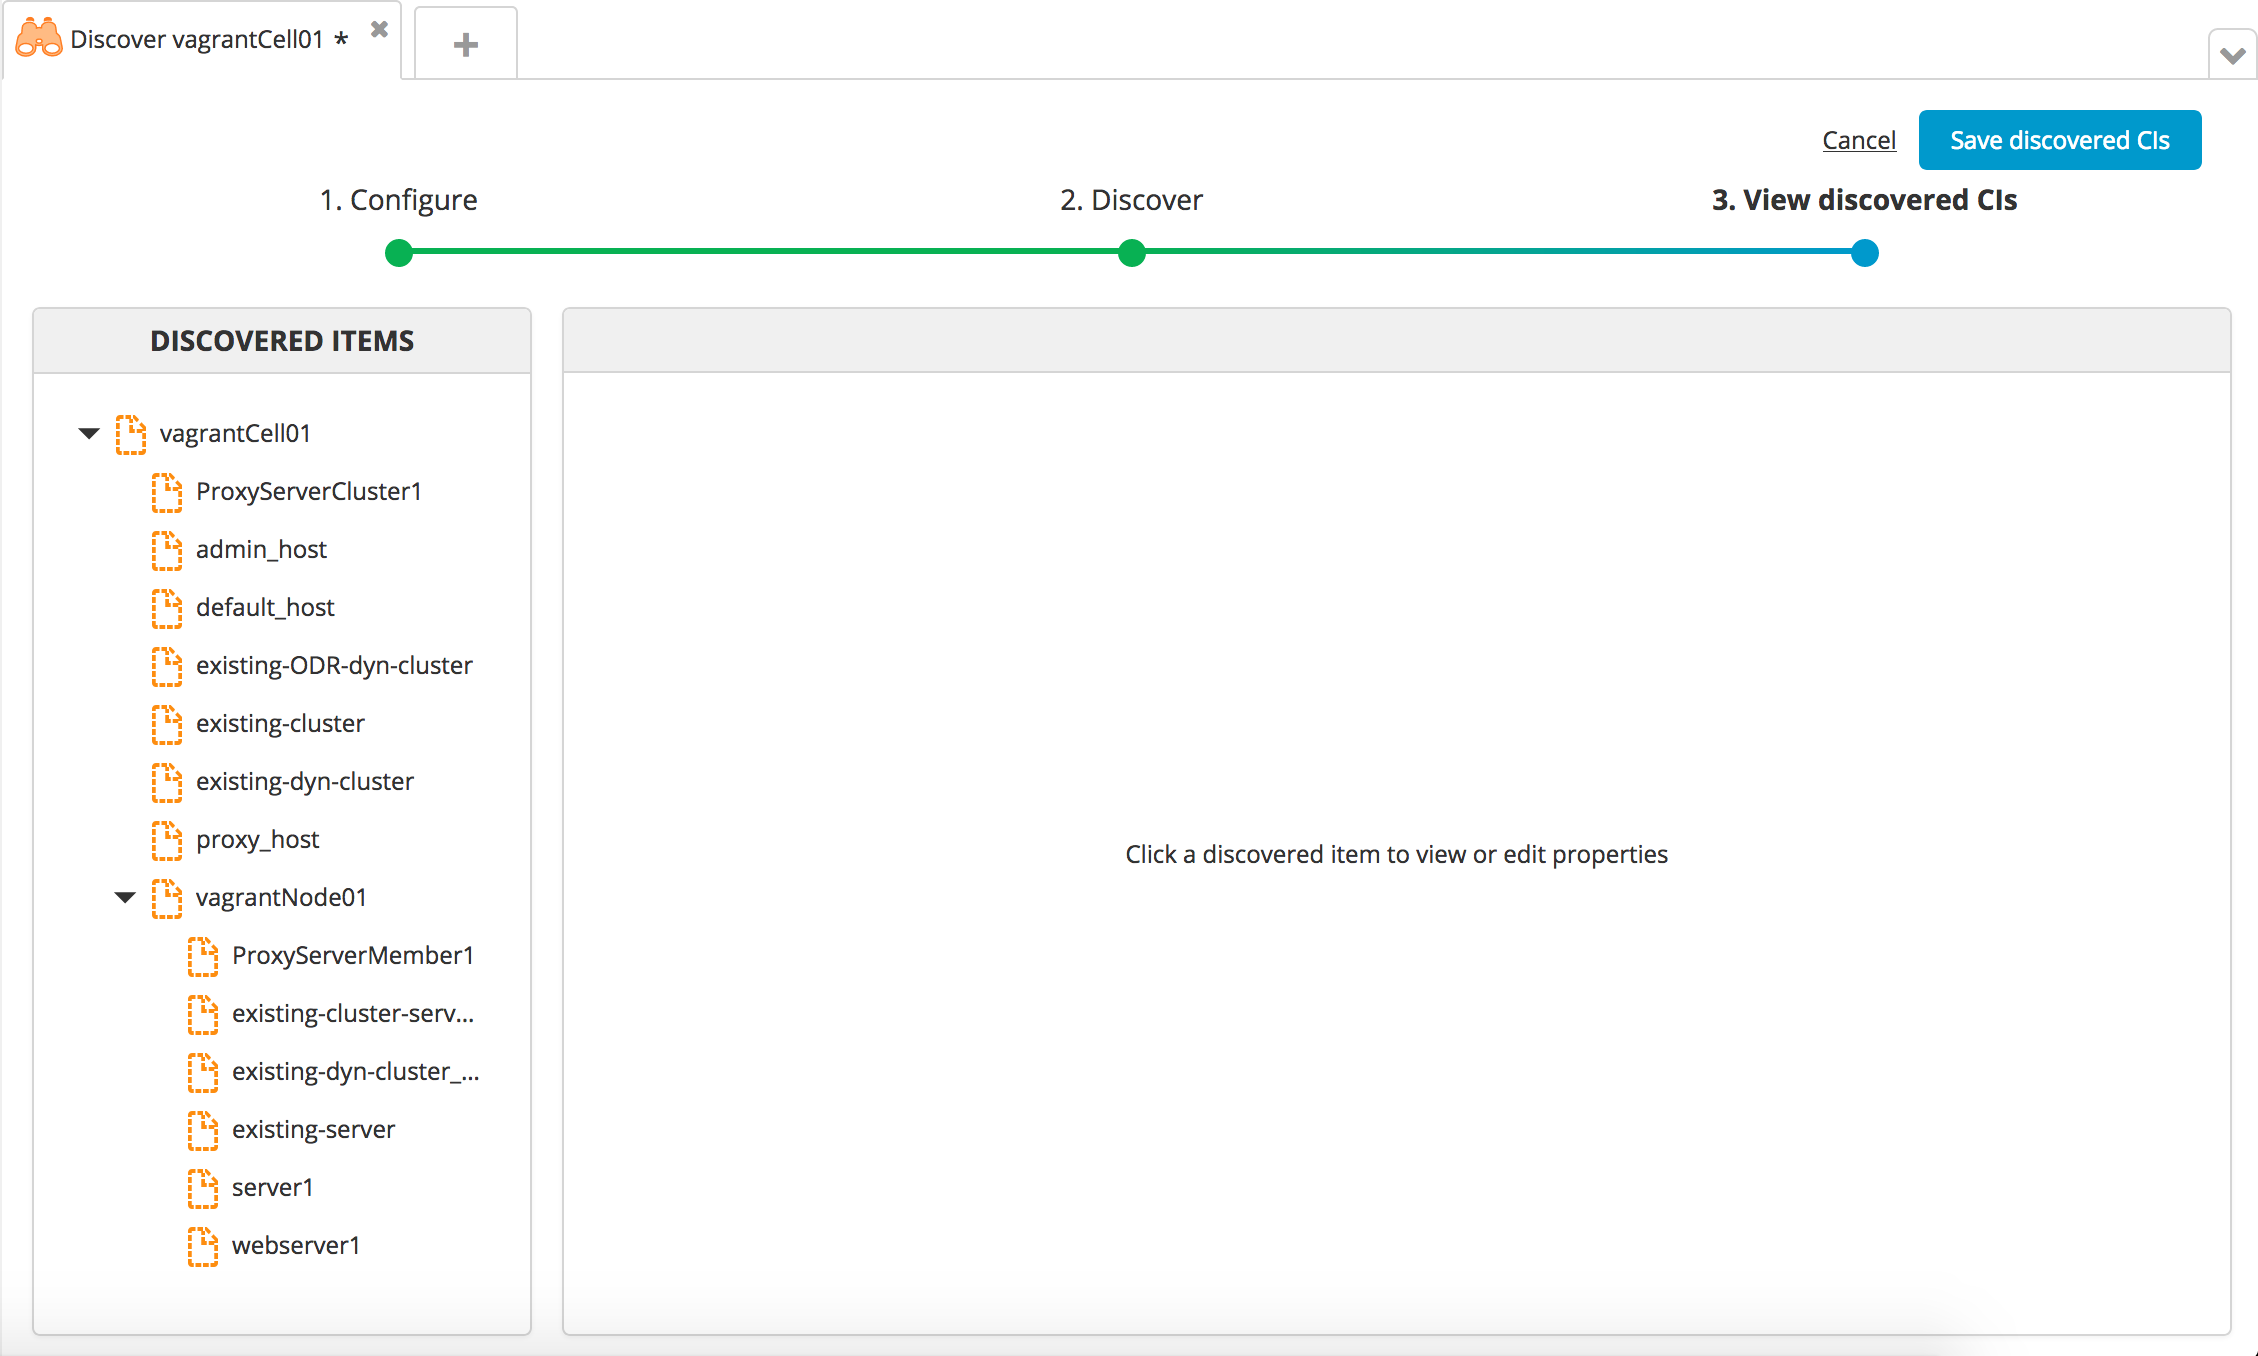
Click Next. Deploy shows the items that it discovered.
-
You can click each item to view its properties. If an item is missing a required property value, a red triangle displays next to it. Provide the missing value and click Apply to save your changes.
-
Click Save to save the items in the repository.
Add an unmanaged server for WebSphere Base
To add an unmanaged server for WebSphere Base:
-
Right-click the host that you created and select Discover > was > UnmanagedServer.
-
In the Name box, enter a name for the server.
-
In the WebSphere Installation Path box, enter the path to the WebSphere profile; for example,
/opt/IBM/WebSphere/AppServer/profiles/AppSrv01 -
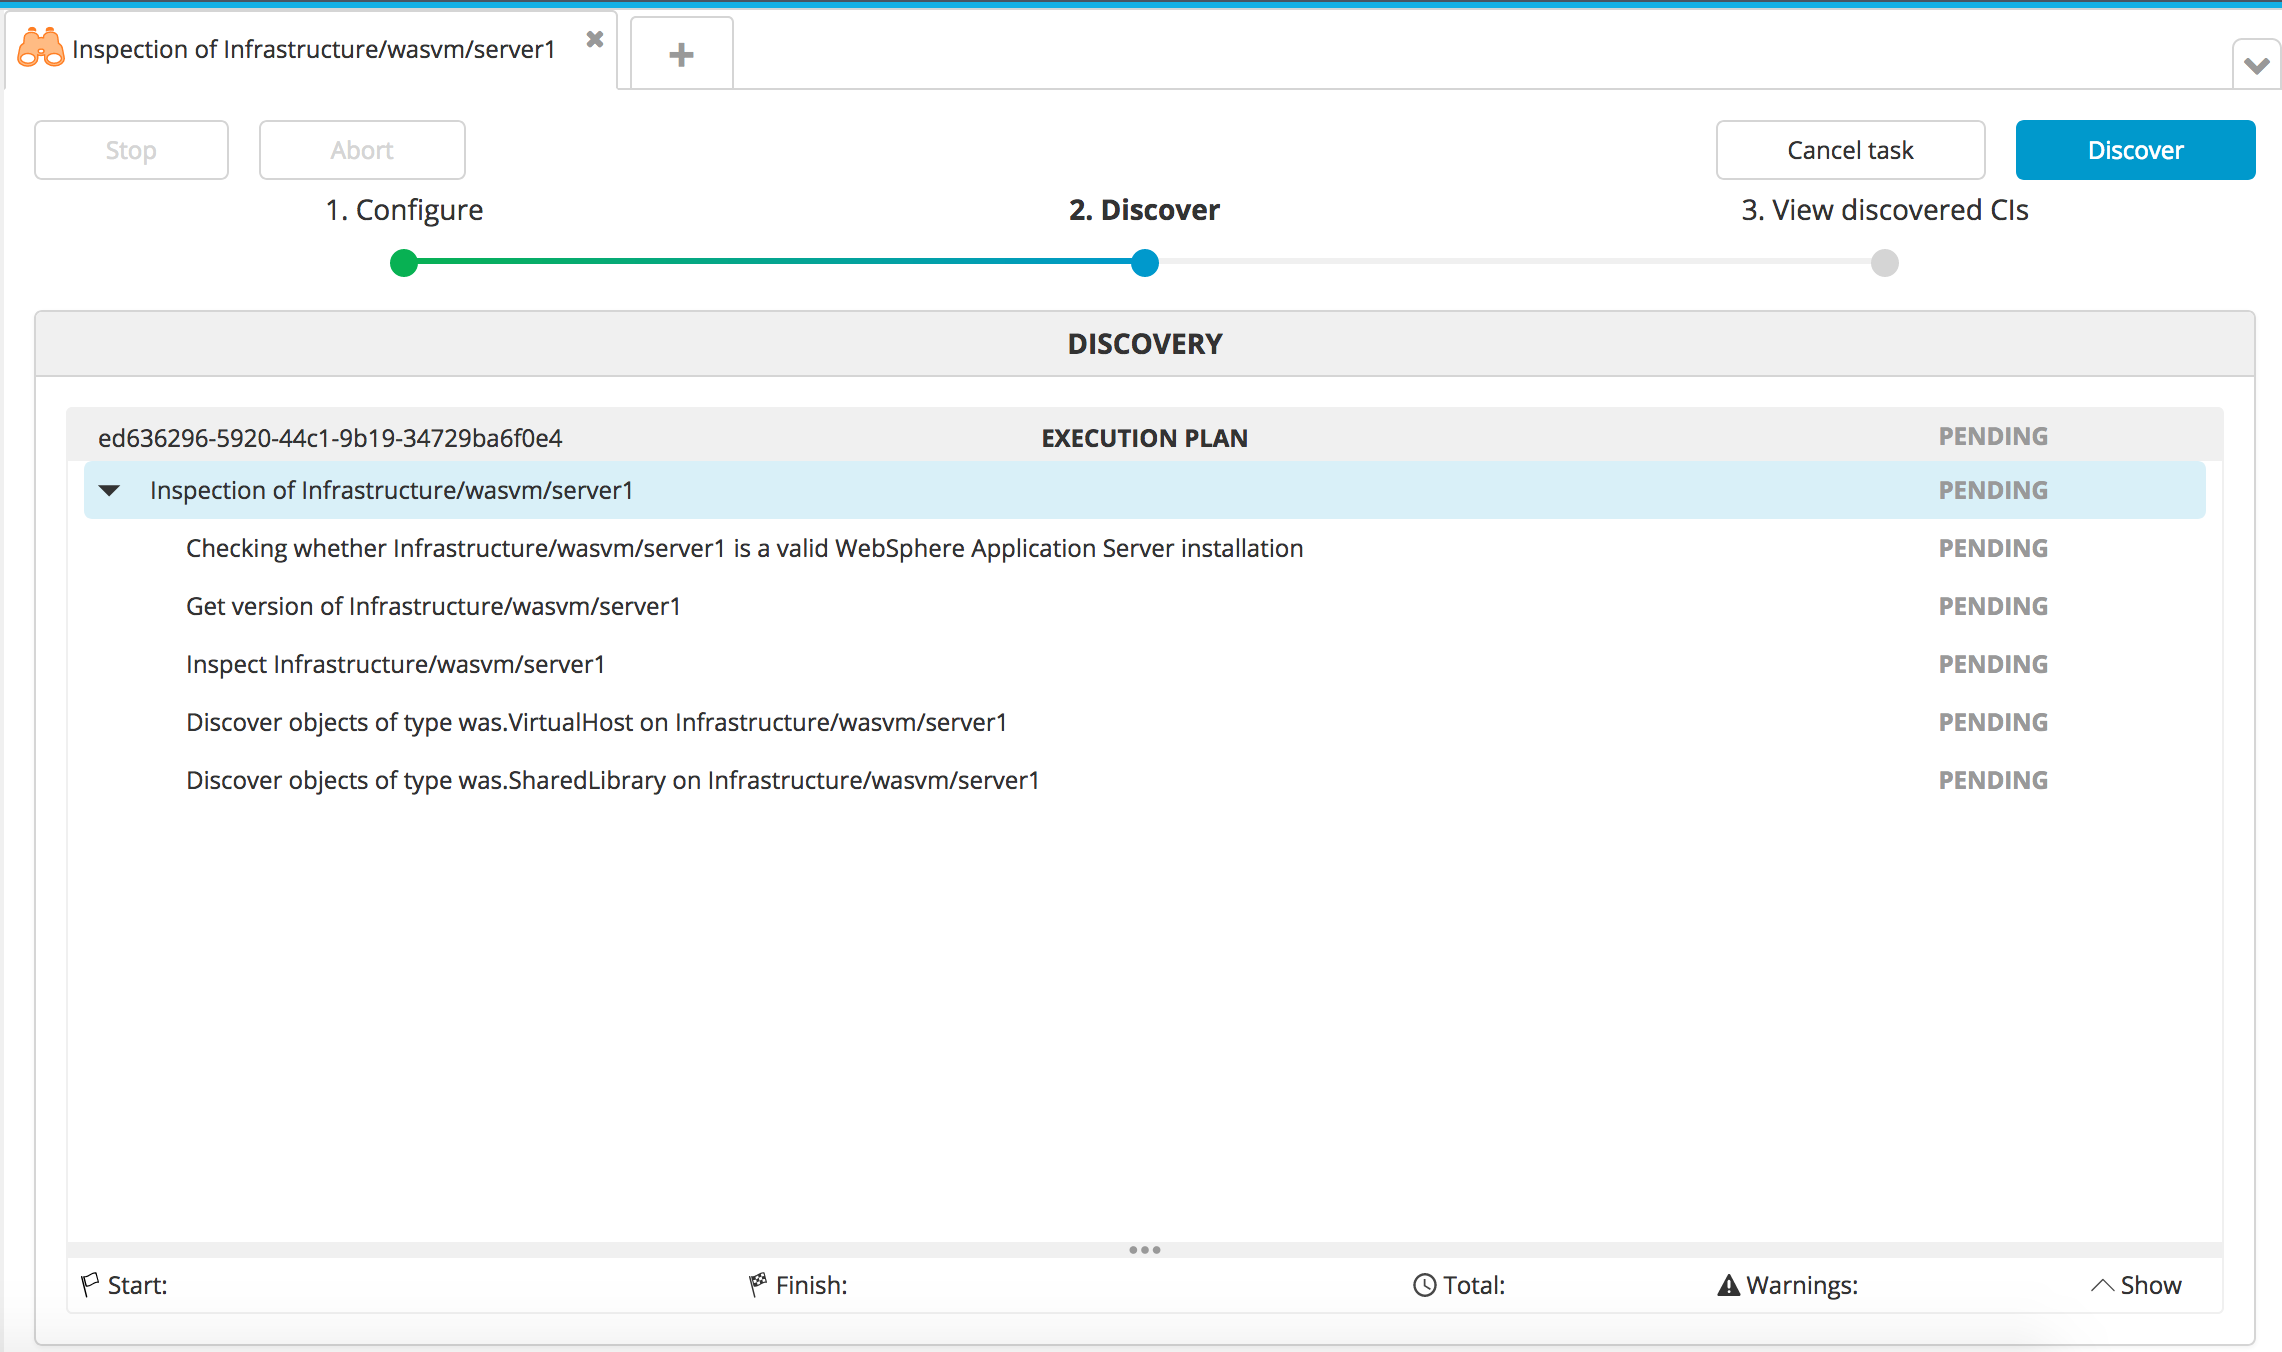
Click Next. A plan displays with the steps that Deploy will execute to discover the middleware on the host.
-
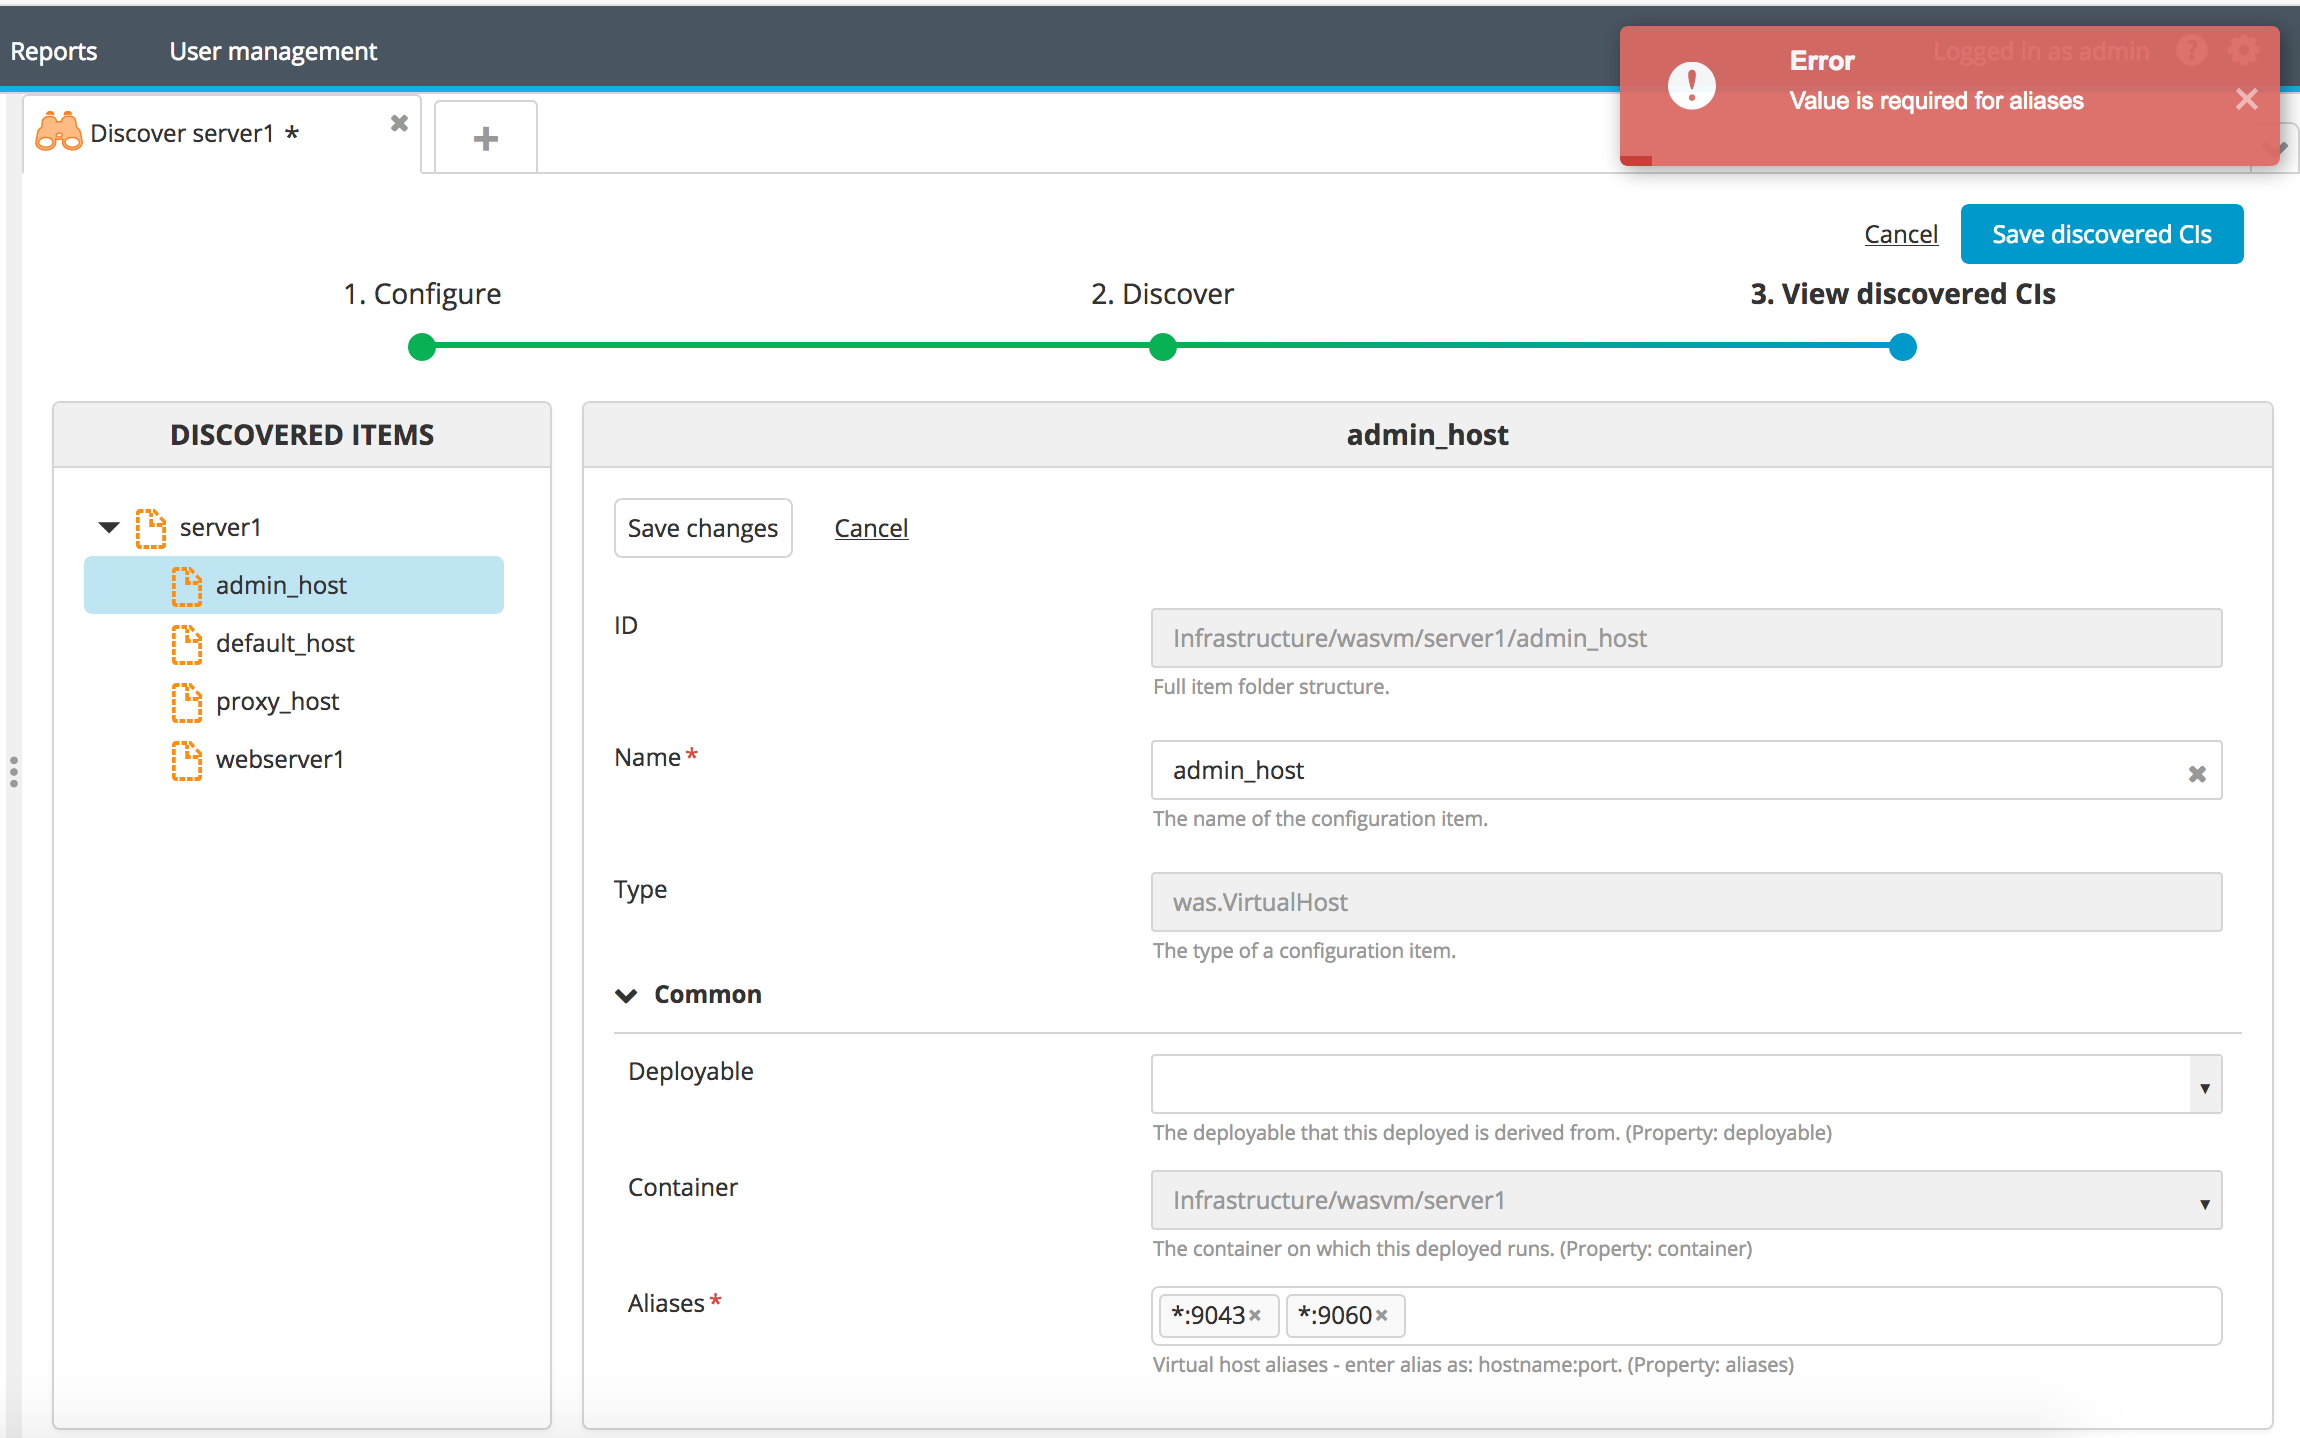
Click Execute. Deploy executes the plan. If it succeeds, the state of the steps will be DONE.
-
Click each item to view its properties. If an item is missing a required property value, a red triangle displays next to it. Provide the missing value and click Apply to save your changes.
-
Click Save to save the items in the Repository.
Create an environment
An environment is a grouping of infrastructure and middleware items such as hosts, servers, clusters, and so on. An environment is used as the target of a deployment, allowing you to map deployables to members of the environment.
Follow these instructions to create an environment where you can deploy a sample application.
To deploy to WebSphere ND, you must add a was.Cluster and a was.NodeAgent to the environment. To deploy to WebSphere Base, you must add a was.UnmanagedServer to the environment.
Import the sample application
You can now deploy the sample application to the environment that you created.
Follow these instructions to deploy the application.
If the deployment appears to hang on a step, Deploy may have encountered an issue with the SSL certificate. See Accept WebSphere trusted certificate for more information. If this is the case, click Abort to abort the operation and stop the deployment.
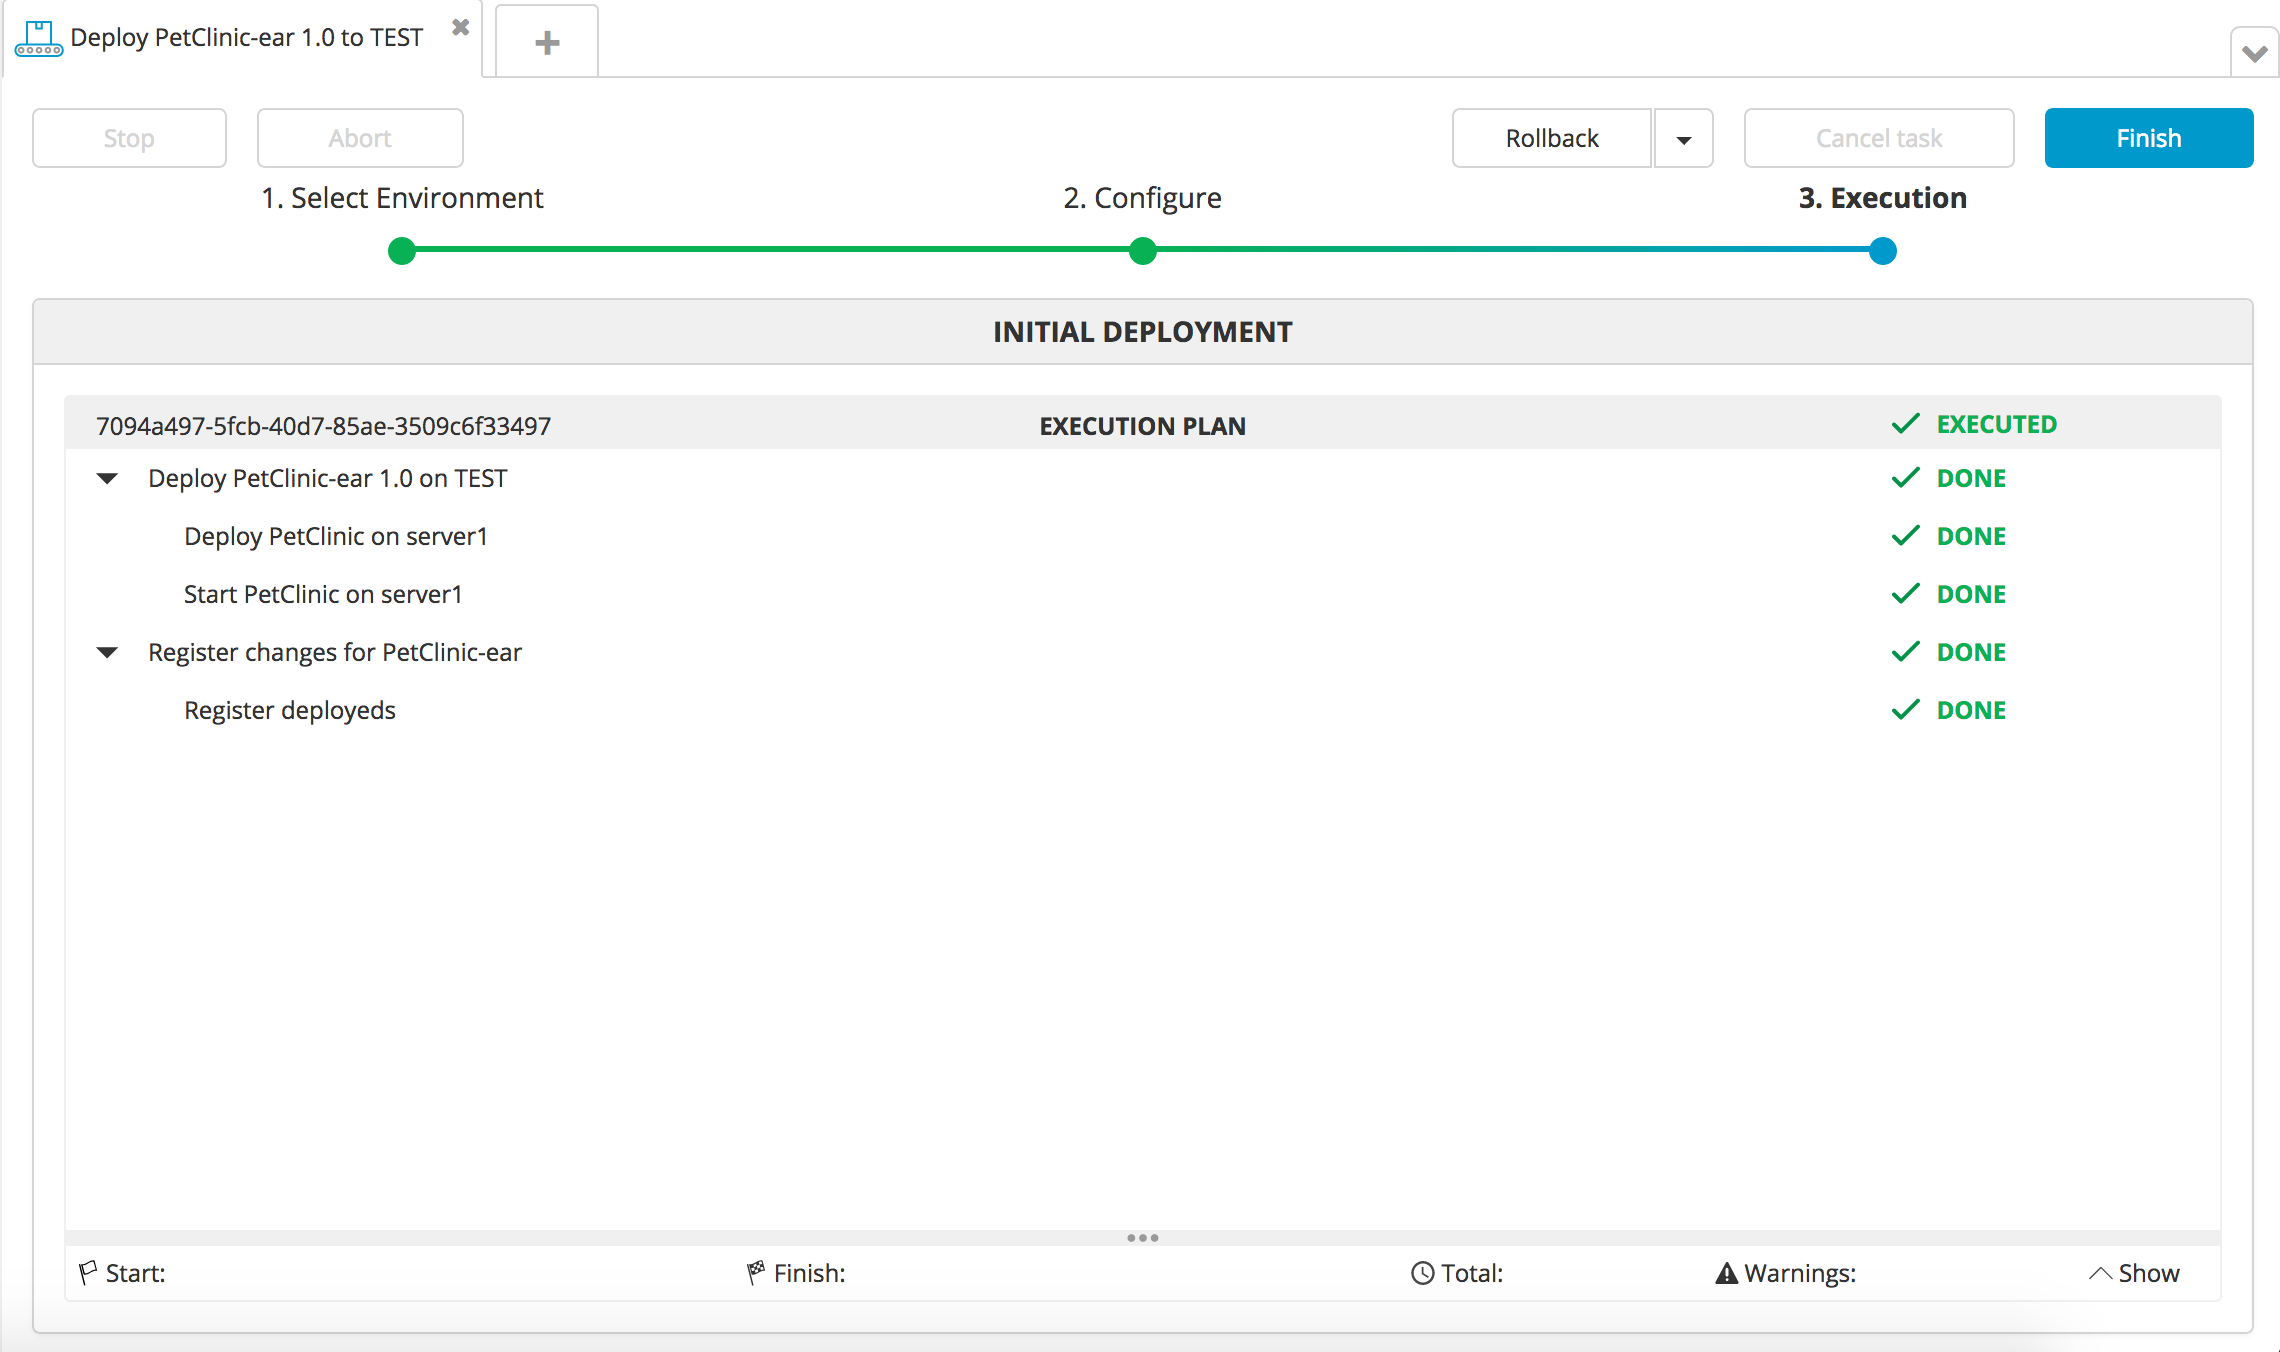
If the deployment succeeds, the state of the deployment plan is EXECUTED.
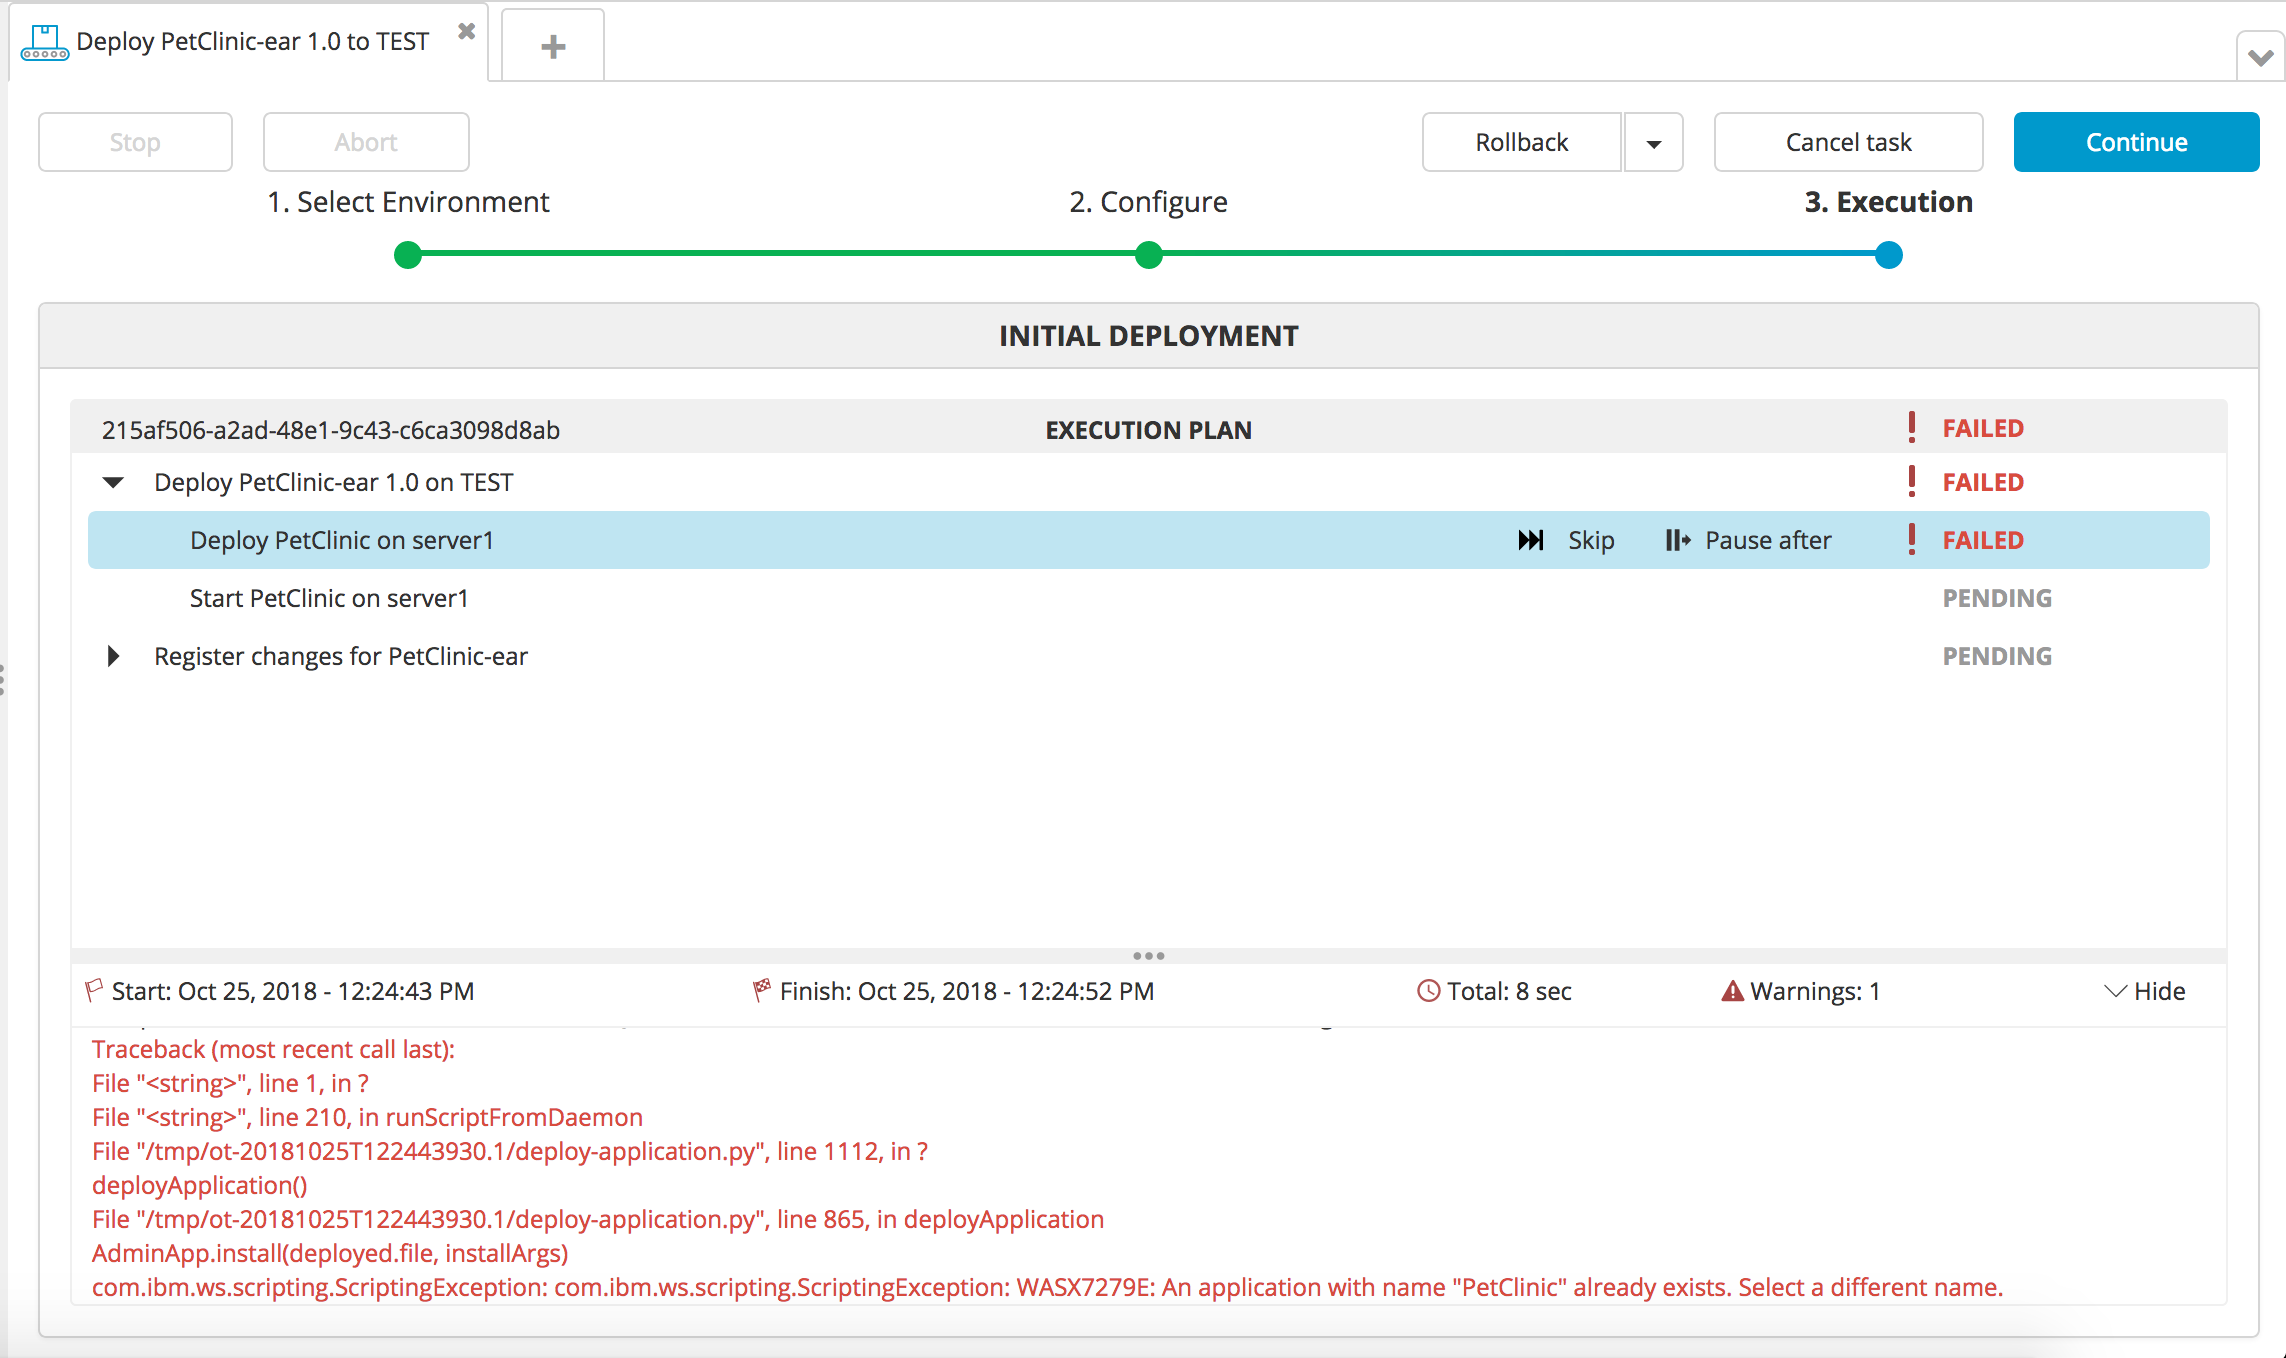
If the deployment fails, click the failed step to see information about the failure. In some cases, you can correct the error and try again.
Verify the deployment
To verify the deployment, go to http://IP:PORT/petclinic, where IP and PORT are the IP address and port of the server where the application was deployed; for example, the node in a WebSphere ND environment or the server in a WebSphere Base environment.

What's next
After you've connected Deploy to your middleware and deployed a sample application, you can start thinking about how to package and deploy your own applications with Deploy. To learn more, see:
- IBM WebSphere Application Server plugin
- Getting started with Deploy: Understanding packages
- Preparing your application for Deploy
Get help
You can always ask questions and connect with other users in our forums.