Set Blackout Period
This topic explains how to create, edit, and manage blackout periods to prevent certain tasks from running during specified time frames.
To create, edit, or delete a blackout period, you must have the Admin or Edit Blackout Period global permissions.
Create a Blackout Period
A blackout period prevents specific tasks from starting during a defined time range.
To create a blackout period:
-
In the navigation pane, under RELEASES, click Releases.
-
Click the Calendar tab to switch to calendar view.
-
Hover over the desired day and click the ellipsis menu
 .
. -
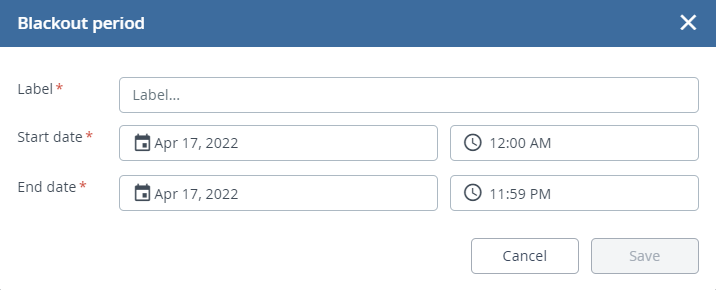
In the Blackout Period dialog:
- Enter a descriptive name in the Label field
- Select the start date and time
- Select the end date and time
-
Click Save.
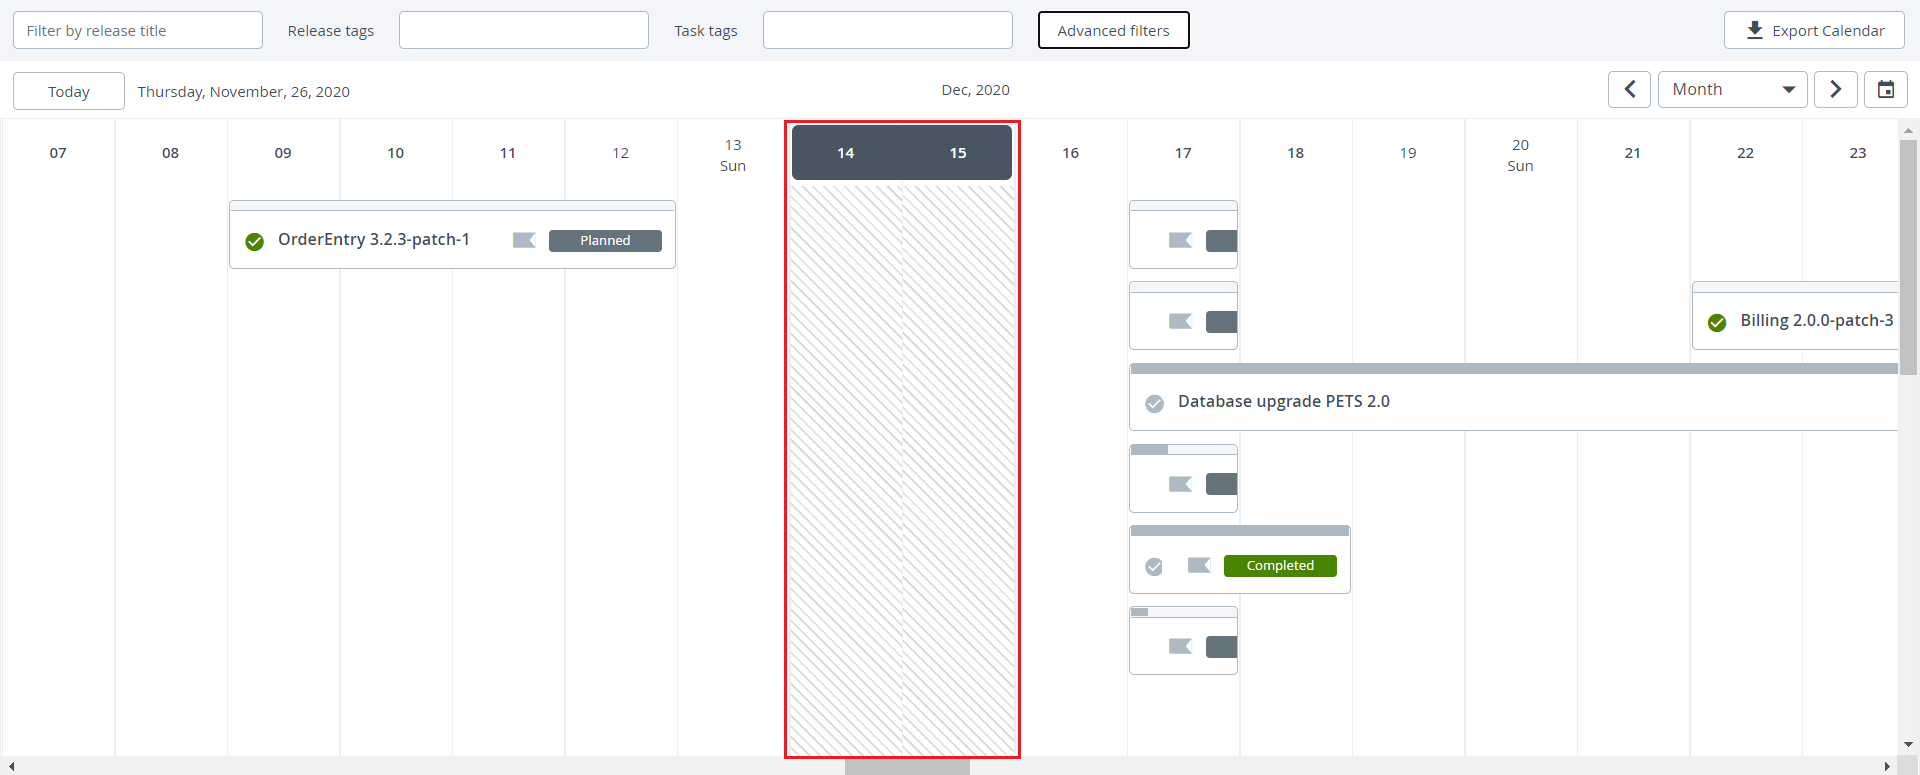
You can see all the blackout periods in the calendar view. On the calendar, the blackout period appears as a black marked area.
Tasks in Blackout Period
All the tasks can be prevented from starting during a blackout period. You can do this by postponing each task until blackout period is over.
If a task is already running, it cannot be postponed.
To Postpone a Task:
-
In the left navigation bar, under the Releases, select Releases.
-
Select the release and then the task you want to postpone.
-
Click the Scheduling tab in the left panel.
-
Turn on the Postpone during blackout toggle to postpone tasks during the blackout period.
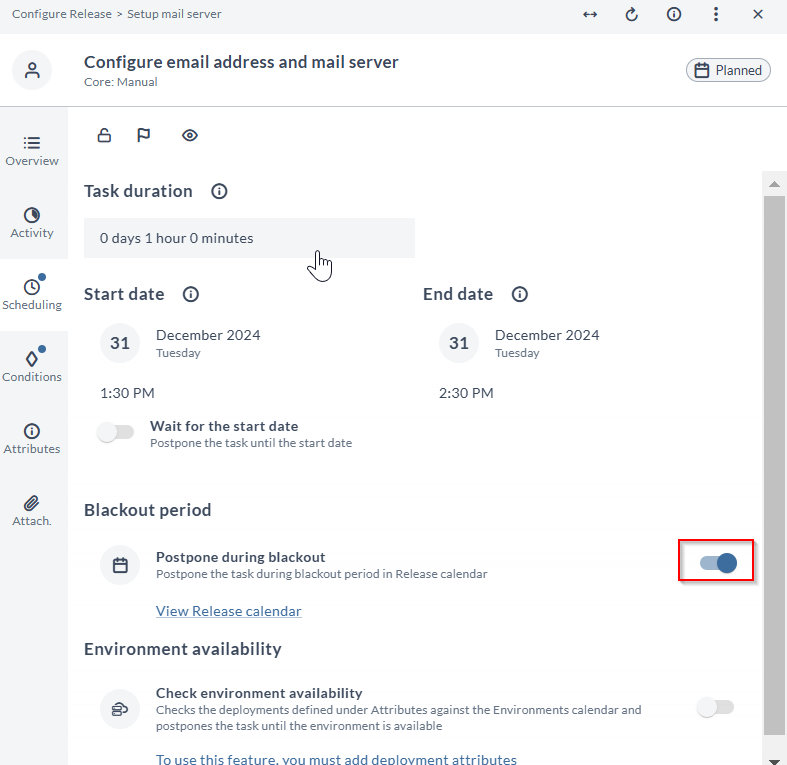
The task scheduled start date is reset to 1 minute after the set end date of the blackout period.
If a task is postponed during blackout period, you can manually override the setting and start the task immediately.
To enable, disable, or override the Postpone during blackout period setting on a task, you must have the Admin global permissions or the Edit Task Blackout release permissions.
Edit Blackout Period
To edit a blackout period:
-
In the left navigation bar, under the Releases, select Releases.
-
Click the Calendar tab and select the blackout period you want to edit.
 The Blackout period dialog appears.
 -
Edit the required properties.
-
Click Save.
Delete Blackout Period
To delete a blackout period:
-
In the left navigation bar, under the Releases, select Releases.
-
Click the Calendar tab and select the blackout period you want to delete.
The Delete Blackout dialog appears.
-
Click Delete.
noteIf a task is set to Postpone during blackout period and you delete the blackout period, the task retains the current scheduled start date.