Connect to Deploy Servers
This topic describes how to connect Release to Deploy servers, enabling seamless integration for deployment automation.
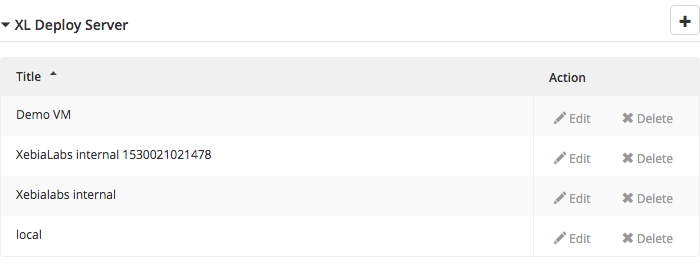
To configure connections between Release and Deploy servers, click Connections under Configuration from the navigation pane, and go to the Deploy Server section.
The Deploy server configuration is only available to users who have the Admin global permission.

To add a server:
-
Click Add Deploy Server.
-
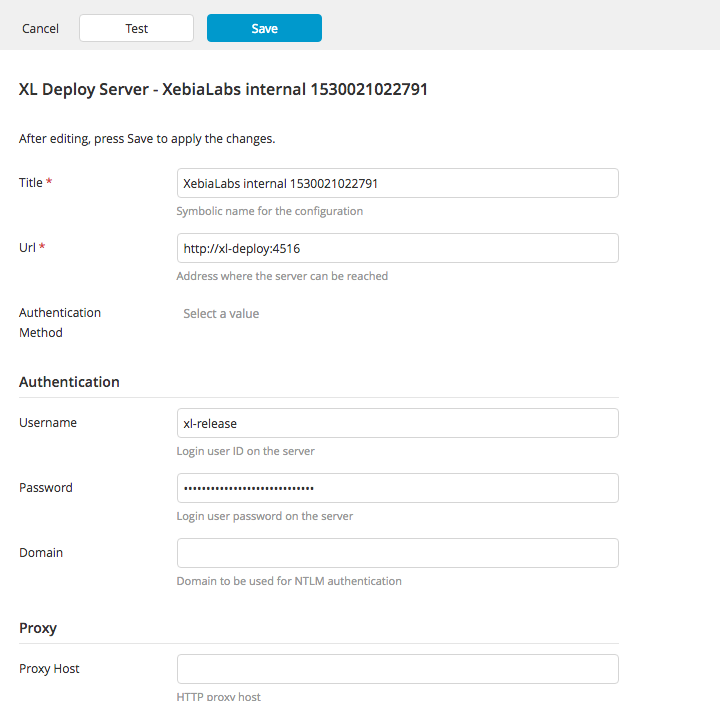
In the Title box, enter a name for the server. This is how the server will be identified in Release.
-
In the URL box, enter the address at which the server is reachable. This is the same address you use to access the Deploy user interface.
-
In the Username and Password boxes, enter the credentials of the Deploy user that Release will use to log in. Release uses this user to query Deploy for the applications and environments that are available.
It is recommended that you create an Deploy user with read-only rights for Release to use. To perform deployments, specify a user and password directly in the Deploy task. This provides fine-grained access control from Release to Deploy. If you do not specify a user in the Deploy task, then Release will use the user configured on the Deploy server to perform deployments (provided that user has deployment rights in Deploy).
-
Click Test to test if Release can log in to the Deploy server with the configured address and credentials.
-
Click Save to save the server.
