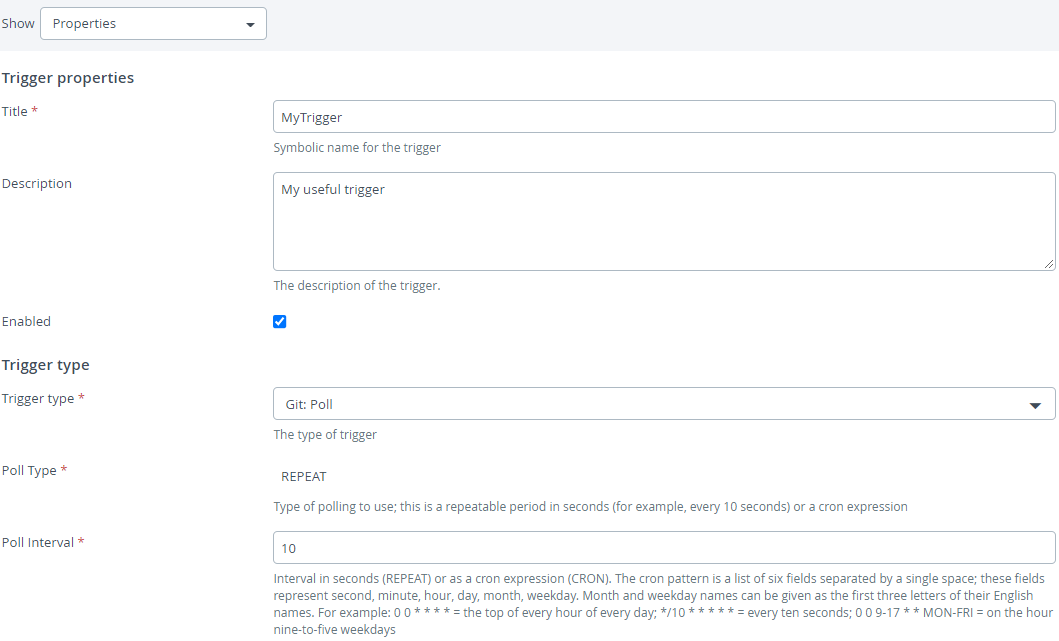
Git Triggers
The Release Git trigger periodically polls a Git repository and triggers a release when it detects a new commit.
Set up a Git repository
To set up a Git repository:
In Release, from the navigation pane, go to Configuration> Connections.
- Next to Git: Repository, click + .
- In the Title box, type the name of the repository.
- In the URL box, type the server address.
- In the Username and Password boxes, enter the server log-in user ID and password.
- Click Save to save the repository.
Add a Git trigger to a template
To create a Git trigger:
-
Add a trigger to the template, as described in Create a release trigger.
-
In the Git Repository box, type the Git repository to poll.
-
In the Branch box, optionally type the Git branch that the trigger should watch.
-
In the Username and Password boxes, type the log-in user ID and password to use to connect to the repository. You can leave these fields blank if authentication is not required.

-
Finish saving the trigger, as described in Create a release trigger.
Output properties
The output of the Git trigger is a Commit Id, which corresponds to the SHA1 of the new commit.
Specific permission
The Git trigger may require an edition of the XL_RELEASE_SERVER_HOME/conf/script.policy file. Ensure that the following line is present in the file:
	grant {
	    ...

        permission  java.net.NetPermission "getProxySelector";

	    ...
	};
You must restart the Release server after changing the XL_RELEASE_SERVER_HOME/conf/script.policy file.
Manage triggers
The Triggers management page displays an actionable list of all triggers that you have permissions to view and manage, and provides the entry point for creating new triggers. For details, see Triggers.