Deploy an application
This topic outlines the process for deploying an application using the Deployment Wizard in Deploy, including options for managing and troubleshooting deployments.
To complete this tutorial, you must have your Deploy infrastructure and environment defined, and have added or imported an application to Deploy. For more information, see Connect Deploy to your infrastructure, Create an environment in Deploy, and Import a package instructions.
Deploy using the deployment wizard
To deploy an application to an environment:
- Expand Applications, and then expand the application that you want to deploy.
- Hover over the deployment package or provisioning package, click
, then click Deploy. A new tab appears in the right pane.
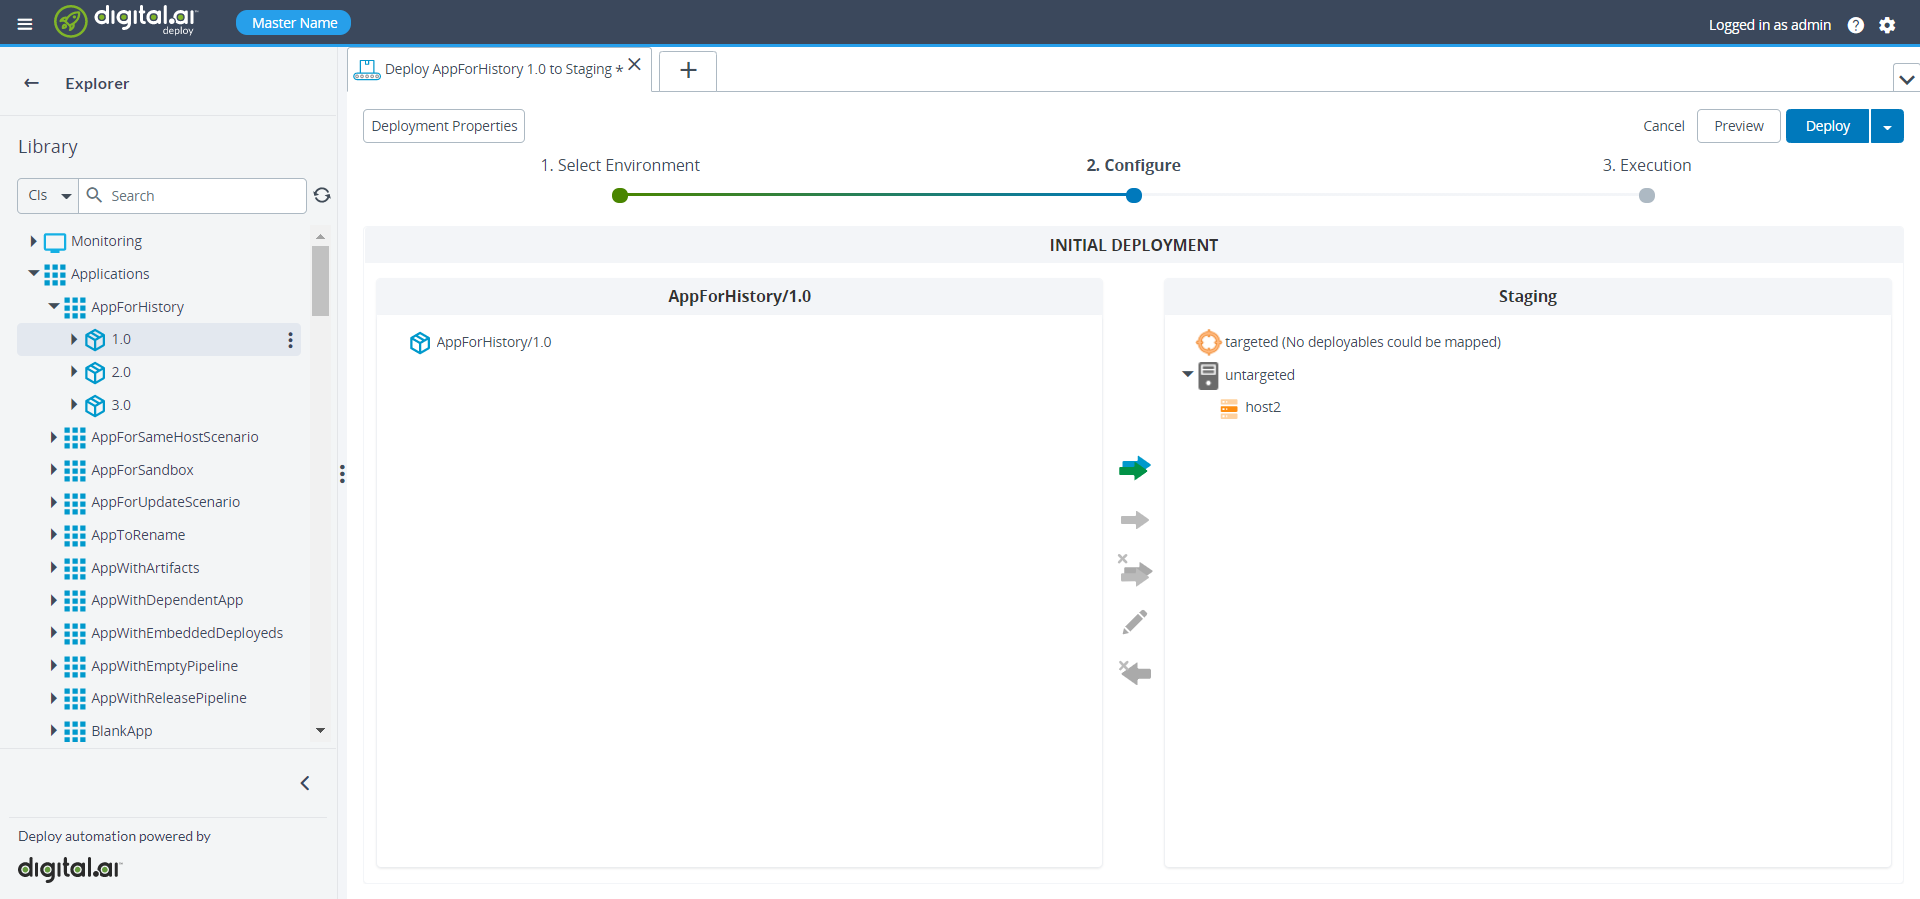
- In the new tab, select the target environment. You can filter the list of environments by typing in the Search box at the top.
- Click Continue.

You can also optionally do:
- View or edit the properties of a deployed item by double-clicking it.
- Double-click an application to view the summary screen and click Edit properties to change the application properties.
- View the relationship between deployables and deployeds by clicking them.
- Click Deployment Properties to configure properties such as orchestrators.
- Click Force Redeploy to skip delta analysis and install the application by overriding the already deployed application. For more information, see Force Redeploy.
- Click Preview to preview the deployment plan that Deploy generates. You can double-click each step to see the script that Deploy will use to execute the step. In preview mode, when you click a deployable, deployed, or a step, Deploy highlights all the related deployables, deployeds, and steps.
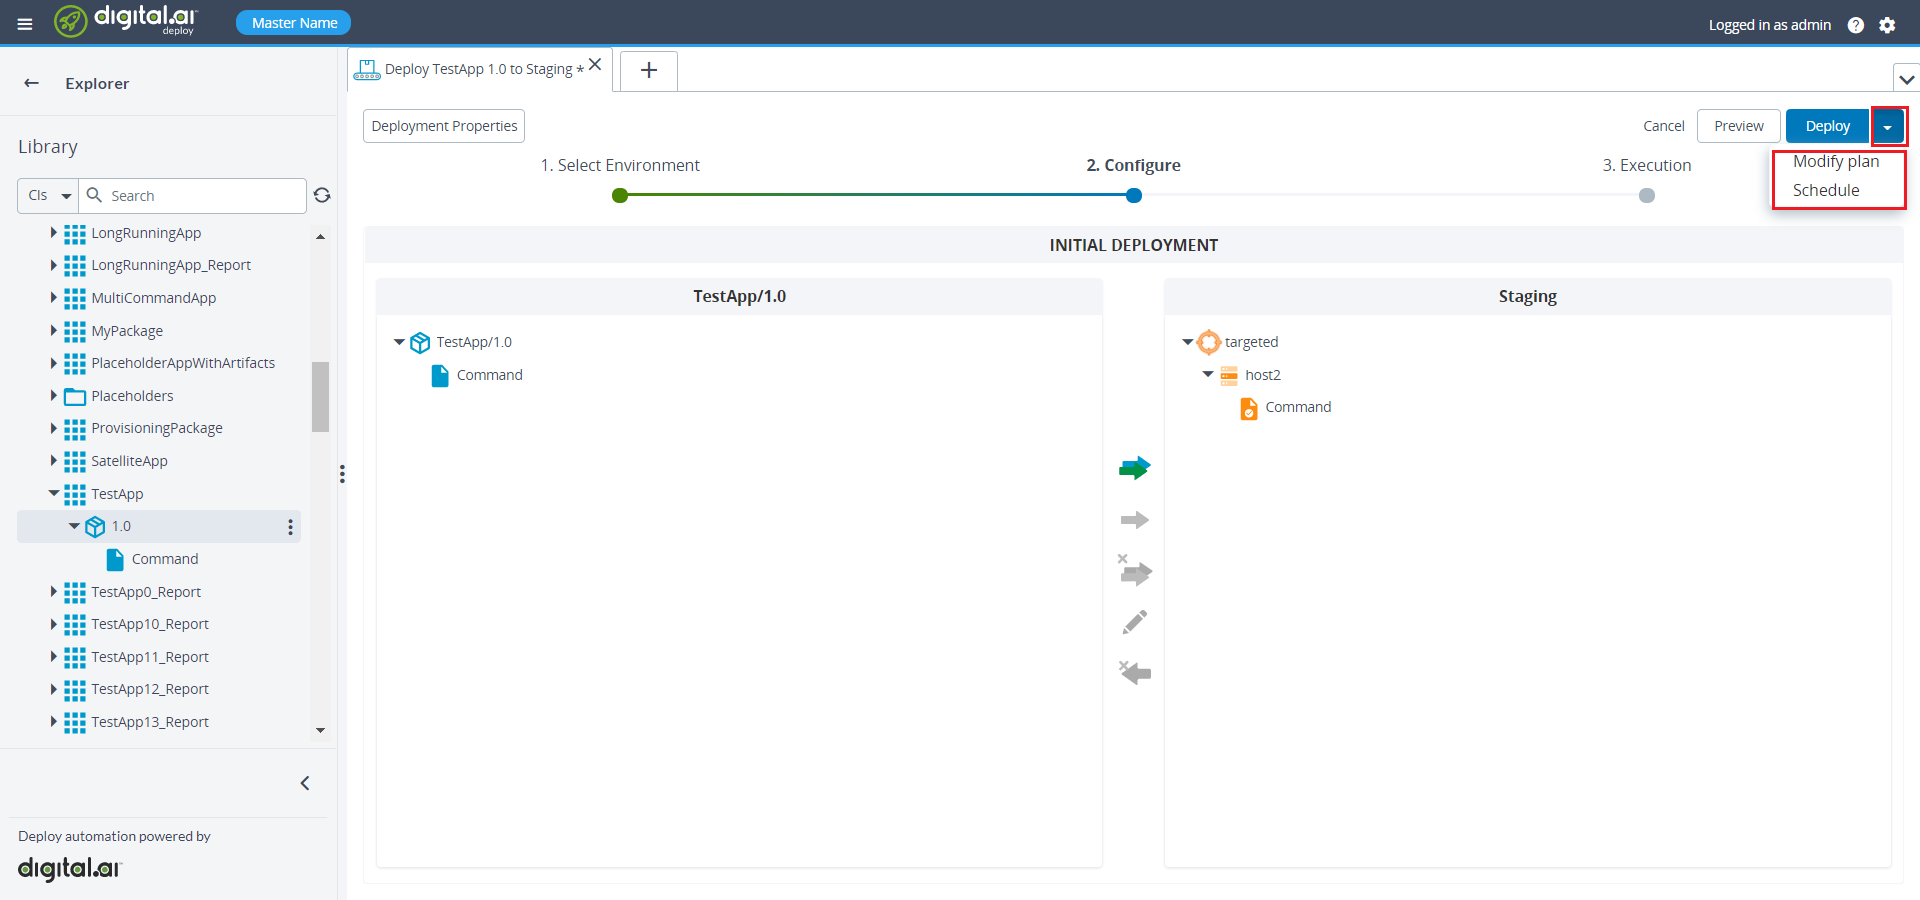
- Click the arrow icon on the Deploy button and select Modify plan to adjust the deployment plan by skipping steps or inserting pauses.

-
After the deployment is completed, click on deployment properties. Under policies, select Archive or Noop using the dropdown of On success Policy.
5.1 Archive: Once the deployment of an application is completed that is archived. So, no more additional actions are required, and the task goes directly to the archive.
5.2 Noop: Once application deployment is completed; the application must wait for the input without misbehaving.
-
Click Deploy to start executing the plan.
Note: If the server does not have the capacity to immediately start executing the plan, it will be in a
QUEUEDstate until the server has sufficient capacity.

If a step in the deployment fails, Deploy stops executing and marks the step as FAILED. Click the step to see information about the failure in the output log.
Use the deployment workspace
You can open the deployment workspace by clicking the Start a deployment tile on the Welcome screen. A new Deployment tab is opened.
- In the left pane, under Packages, locate the application and expand it to see the versions (deployment packages).
- In the right pane, under Environment, locate the environment.
- Drag the version of the application that you want to deploy and drop it on the environment where you want to deploy.
- Click Deploy to start executing the plan.
Deploy latest version
To deploy the latest version of an application:
- Expand Applications in the left pane.
- Hover over the application, click
, then select Deploy latest.
The deployment packages in Deploy are sorted using Semantic Versioning (SemVer) 2.0.0 and lexicographically. The packages that are defined using SemVer are displayed first and other packages are sorted in lexicographical ordering.
When you want to deploy the latest version of an application, Deploy selects the last version of the deployment package from the list of sorted packages. For more information, see UDM CI Reference
Example of deployment package sorting
- 1.0
- 2.0
- 2.0-alpha
- 2.0-alpha1
- 3.0
- 4.0
- 5.0
- 6.0
- 7.0
- 8.0
- 9.0
- 10.0
- 11.0
In this example, the latest version of the application is 11.0.
Mapping deployables using the GUI
You can manually map a specific deployable by dragging it from the left side and dropping it on a specific container in the deployment execution screen. The cursor will indicate whether it is possible to map the deployable type to the container type.
Skip a deployment step
The task#skip_step permission is required to skip a deployment step. For more information, see Roles and permissions in Deploy
You can adjust the deployment plan so that one or more steps are skipped. To do so, select a step and click Skip.
You can select multiple steps using the CTRL/CMD or SHIFT button and skip the steps by clicking Skip selected steps.
Add a pause step
To insert pause steps in the deployment plan, hover over the step, just above or below, where you want to pause and click Pause before or Pause after.
Stop, abort, or cancel an executing deployment
You can stop or abort an executing deployment, then continue or cancel it. For information, see Stopping, aborting, or canceling a deployment.
Continue after a failed step
If a step in the deployment fails, Deploy stops executing the deployment and marks the step as FAILED.
In some cases, you can click Continue to retry the failed step. If the step is incorrect and should be skipped, select it and click Skip, and then click Continue.
Rollback a deployment
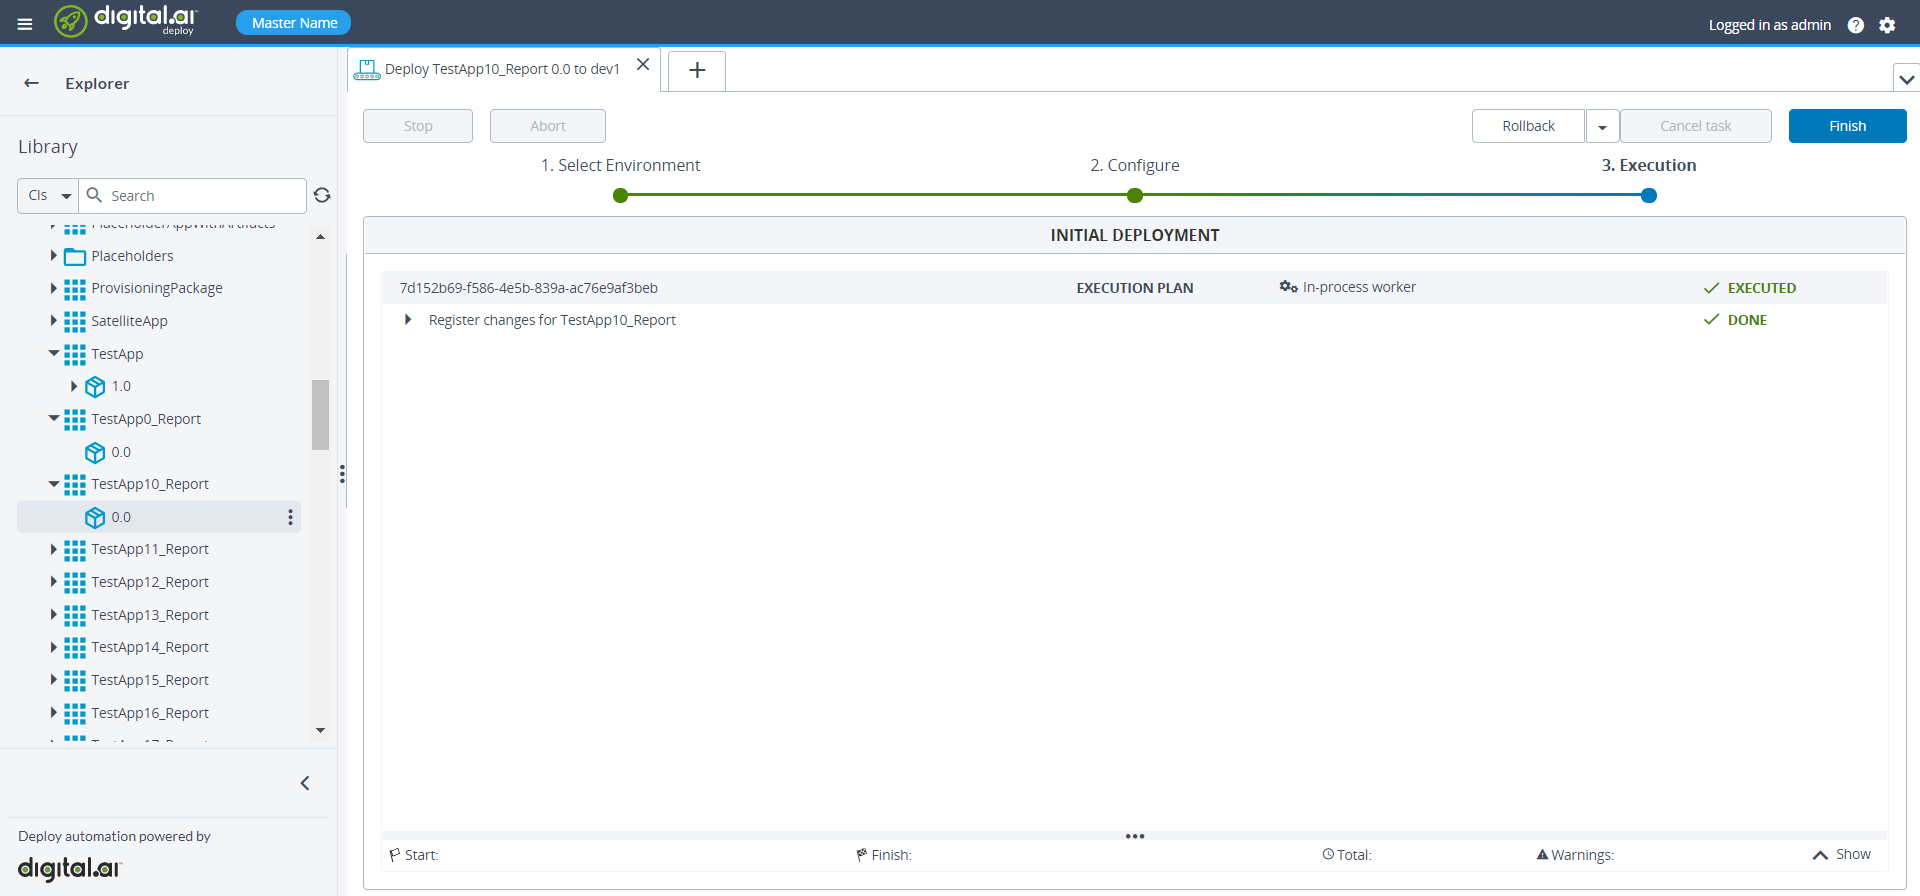
To rollback a deployment that is in a STOPPED or EXECUTED state, click Rollback on the deployment plan.
You can perform one of three actions:
- Select Rollback to open the rollback execution window and start executing the plan.
- Select Modify plan if you want to make changes to the rollback plan. Click Rollback when you want to start the executing the plan.
- Select Schedule to open the rollback schedule window. Select the date and time that you want to execute the rollback task. Specify the time using your local timezone. Click Schedule.
Executing the rollback plan will revert the deployment to the previous version of the deployed application, or applications, if the deployment involved multiple dependencies. It will also revert the deployeds created on execution. For more information, see Application dependencies in Deploy.