Mobile Studio - Android - Build Your First Test
This tutorial shows you how to build or execute test cases on Android devices connected to the cloud using the Appium Driver or Digital.ai Testing Automation client.
To develop a test, you need to open a device in Automation Mode
Prepare Your Application
-
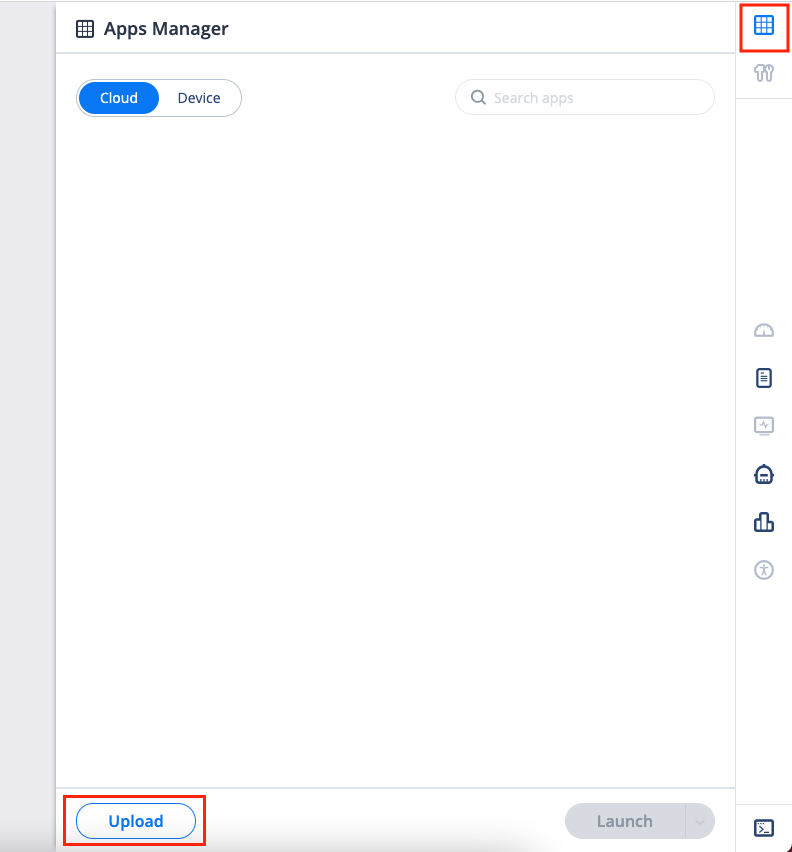
Click on the Apps Manager button.
-
Click Upload.
-
Click Browse Files, then click the desired Application from your local hard drive.
-
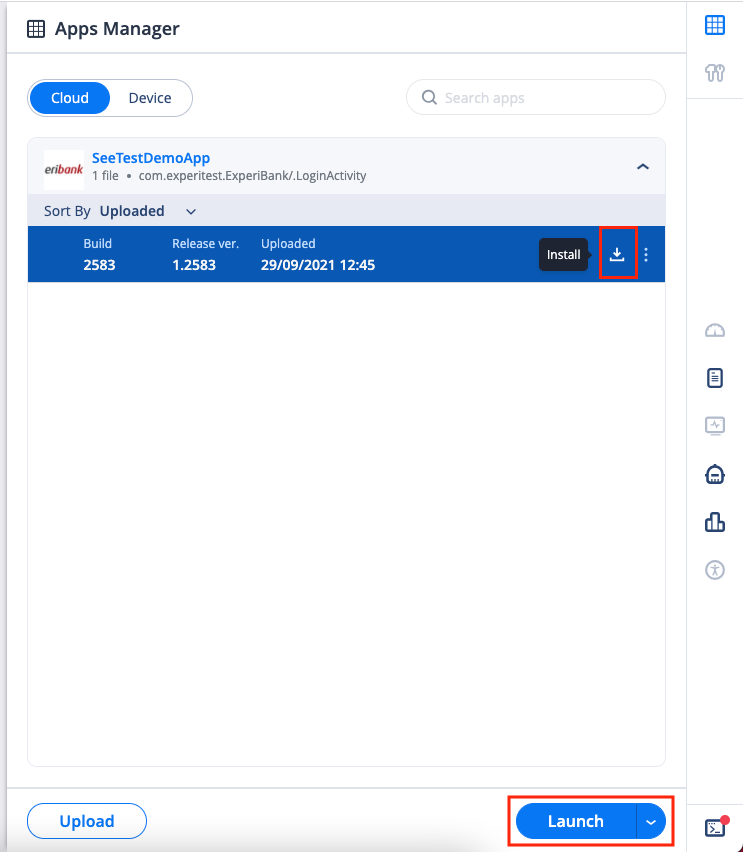
Click Upload. Once the application is uploaded, you see the application on the drawer.
-
Select the application, then click Launch.
Open the Object Spy
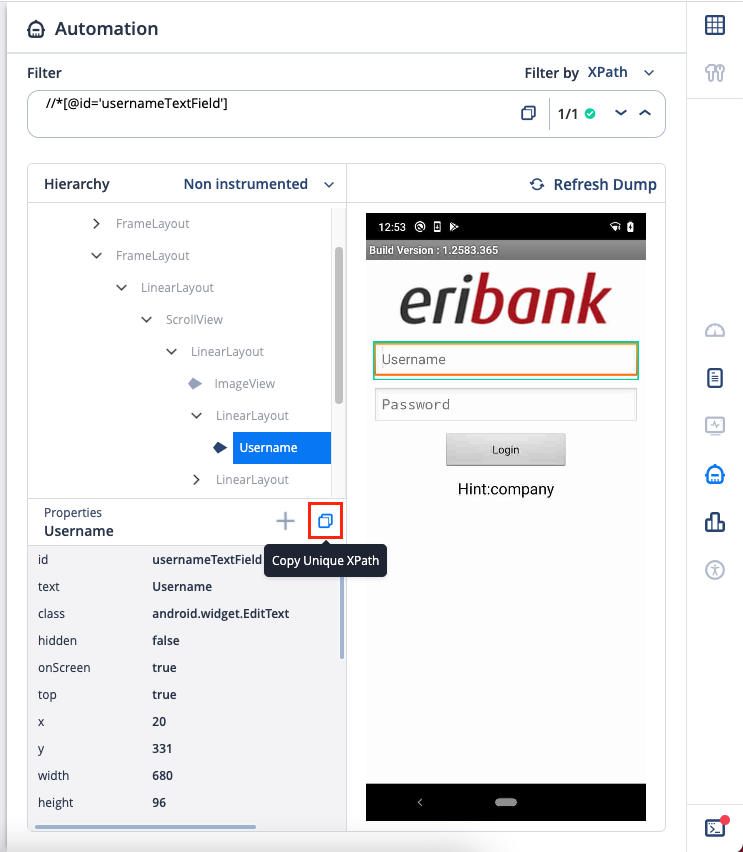
The Object Spy provides a visual representation of the application objects layout**.**
The object spy allows you to select an element and see its properties. You can either select an element by traversing through the Hierarchy tree on the left OR you can select a box from the image on the right.
To use the Object Spy:
- Select an element.
- Click Copy Unique XPathThe XPath is copied to the clipboard and also added to the filter box.
Create a Project with a Java IDE
You can either create a new Appium project, or create a Maven project.
Create a New Appium Project in Eclipse (Gradle \ Maven)
-
Click File->New→ Other → Gradle Project.
-
Select Create a simple project (skip archetype selection), then click Next.
-
Open the newly created project.
-
Open the build.gradle file.
-
Replace the generated content with the following:
build.gradle Expand source
apply plugin: 'java'
apply plugin: 'maven'
apply plugin: 'eclipse'

repositories {

     maven { url "http://repo.experitest.com:8010/Maven2/" }
     /* Optional Use the Cloud server as a maven repository
     // maven { url "<Your Cloud URL>/download-file" }
     */
    maven { url "http://repo.maven.apache.org/maven2" }

     mavenCentral()
}
dependencies {
    compile group: 'com.experitest', name: 'appium', version:'4.1.2'
} -
Run the clean, cleanEclipse, and Eclipse tasks to prepare your eclipse environment.
Maven
-
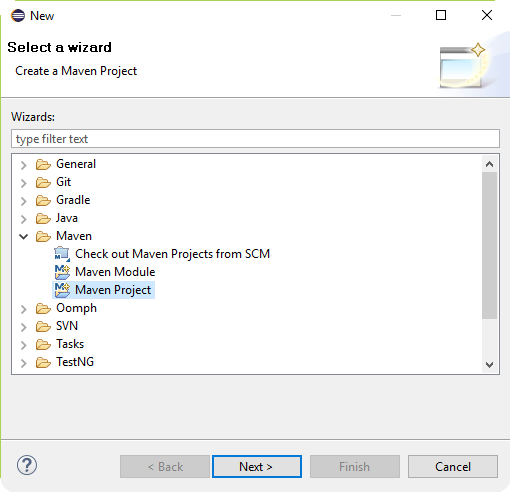
Click File->New->Other... → Maven Project.
-
Select Create A simple project. **
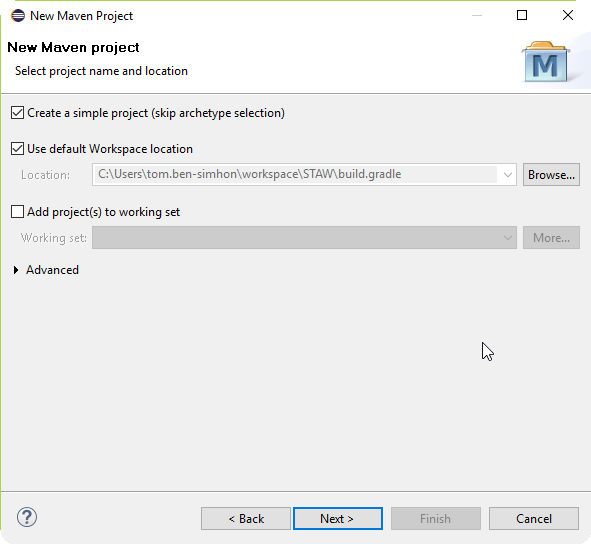
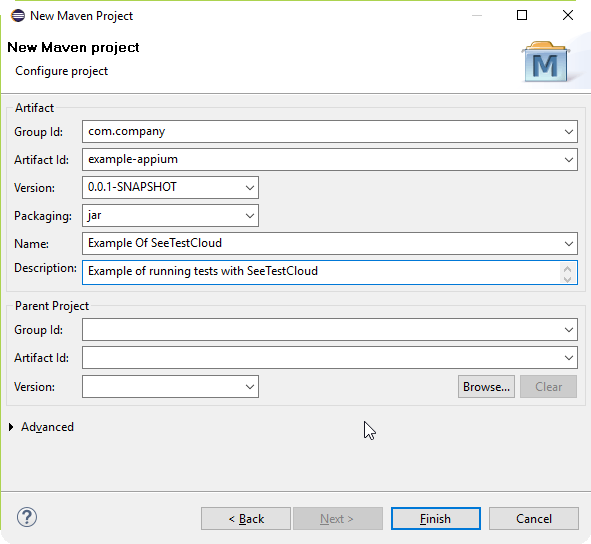
**
-
Open the source of your project POM.xml file.**
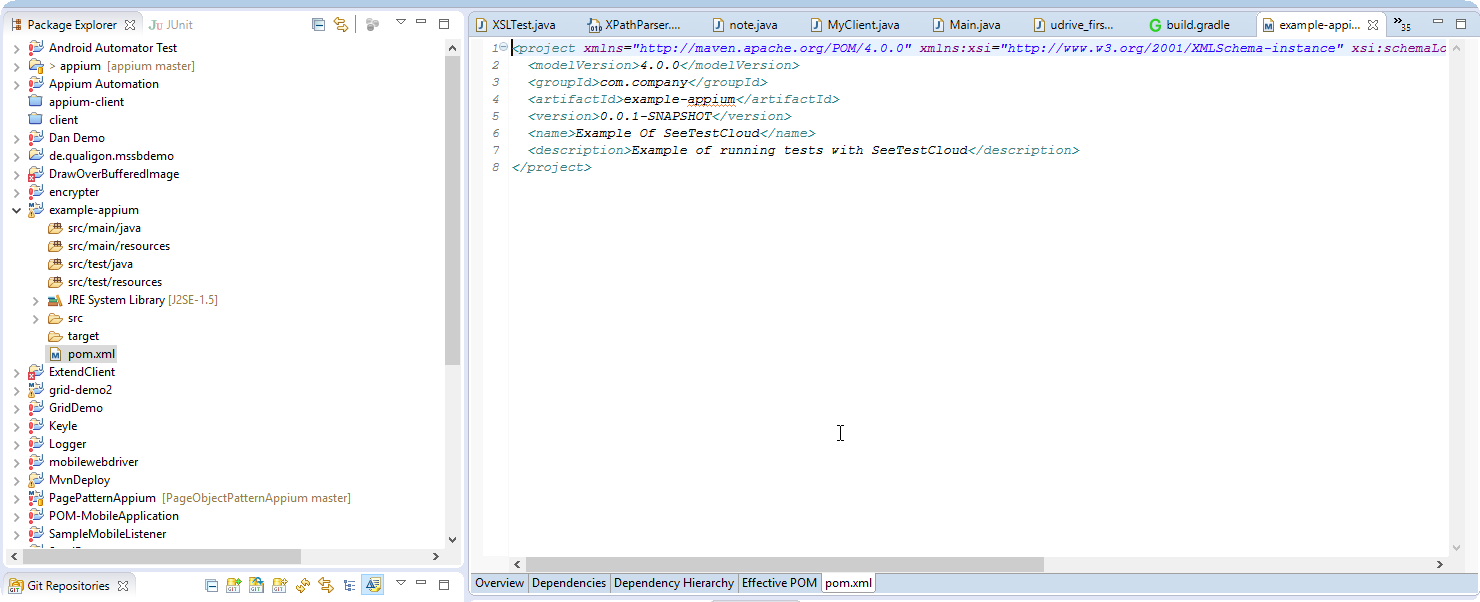
**
-
Replace the content with this code:
pom.xml Expand source
<project>
    <modelVersion>4.0.0</modelVersion>
    <groupId>Your.Group.Id</groupId>
    <artifactId>Your.Artifact.Id</artifactId>
    <version>Your.Version</version>
    <repositories>
            <repository>
            <releases>
                <enabled>true</enabled>
                <updatePolicy>always</updatePolicy>
                <checksumPolicy>fail</checksumPolicy>
            </releases>
            <id>Experitest.repo1</id>
            <name>CloudRepository</name>
            <url>http://repo.experitest.com:8010/Maven2/</url>
            <layout>default</layout>
        </repository>
    </repositories>

<dependencies>
    <dependency>
    <groupId>com.experitest</groupId>
    <artifactId>appium</artifactId>
    <version>4.1.2</version>
    </dependency>
</dependencies>
</project>
Write Your First Test Class
Create a Test Class under src/test/java in your project.
Replace <server> with the appropriate URL.
- Public Digital.ai Testing Cloud - https://cloud.seetest.io/wd/hub/.
- Dedicated Digital.ai Testing Cloud environment - Your own domain. For example: https://company.experitest.com/wd/hub/
- On-premises Digital.ai Testing Cloud environment - Your designated URL. For example: https://company.com/wd/hub
FirstTest Expand source
import java.net.MalformedURLException;
import java.net.URL;
import org.junit.*;
import org.openqa.selenium.By;
import org.openqa.selenium.remote.DesiredCapabilities;
import io.appium.java_client.android.AndroidDriver;
import io.appium.java_client.remote.MobileCapabilityType;

public class FirstTest {

	AndroidDriver driver;
	@Before
	public void setUp() throws MalformedURLException{
		DesiredCapabilities dc = new DesiredCapabilities();
		dc.setCapability(MobileCapabilityType.UDID, <DEIVCE_UDID>); //Place here the UDID of the device
		dc.setCapability("username", <USERNAME>); //Your Digital.ai Testing Username
		dc.setCapability("password", <PASSWORD>); //Your Digital.ai Testing Password
        // If you wish to Continue with the current session, WITHOUT INSTALLING AND LAUNCHING THE APP, comment the line below
		dc.setCapability(MobileCapabilityType.APP, "C:\\APPS\\eribank.apk");
		driver = new AndroidDriver<>(new URL(<server>), dc);
	}
	@Test
	public void exampleTest(){
		driver.findElement(By.xpath("//*[@id='usernameTextField']")).sendKeys("company");
		driver.findElement(By.xpath("//*[@id='passwordTextField']")).sendKeys("company");
		driver.findElement(By.xpath("//*[@text='Login']")).click();
		driver.findElement(By.xpath("//*[@text='Logout']")).click();
	}

	@After
	public void tearDown(){
		driver.quit();
	}
}