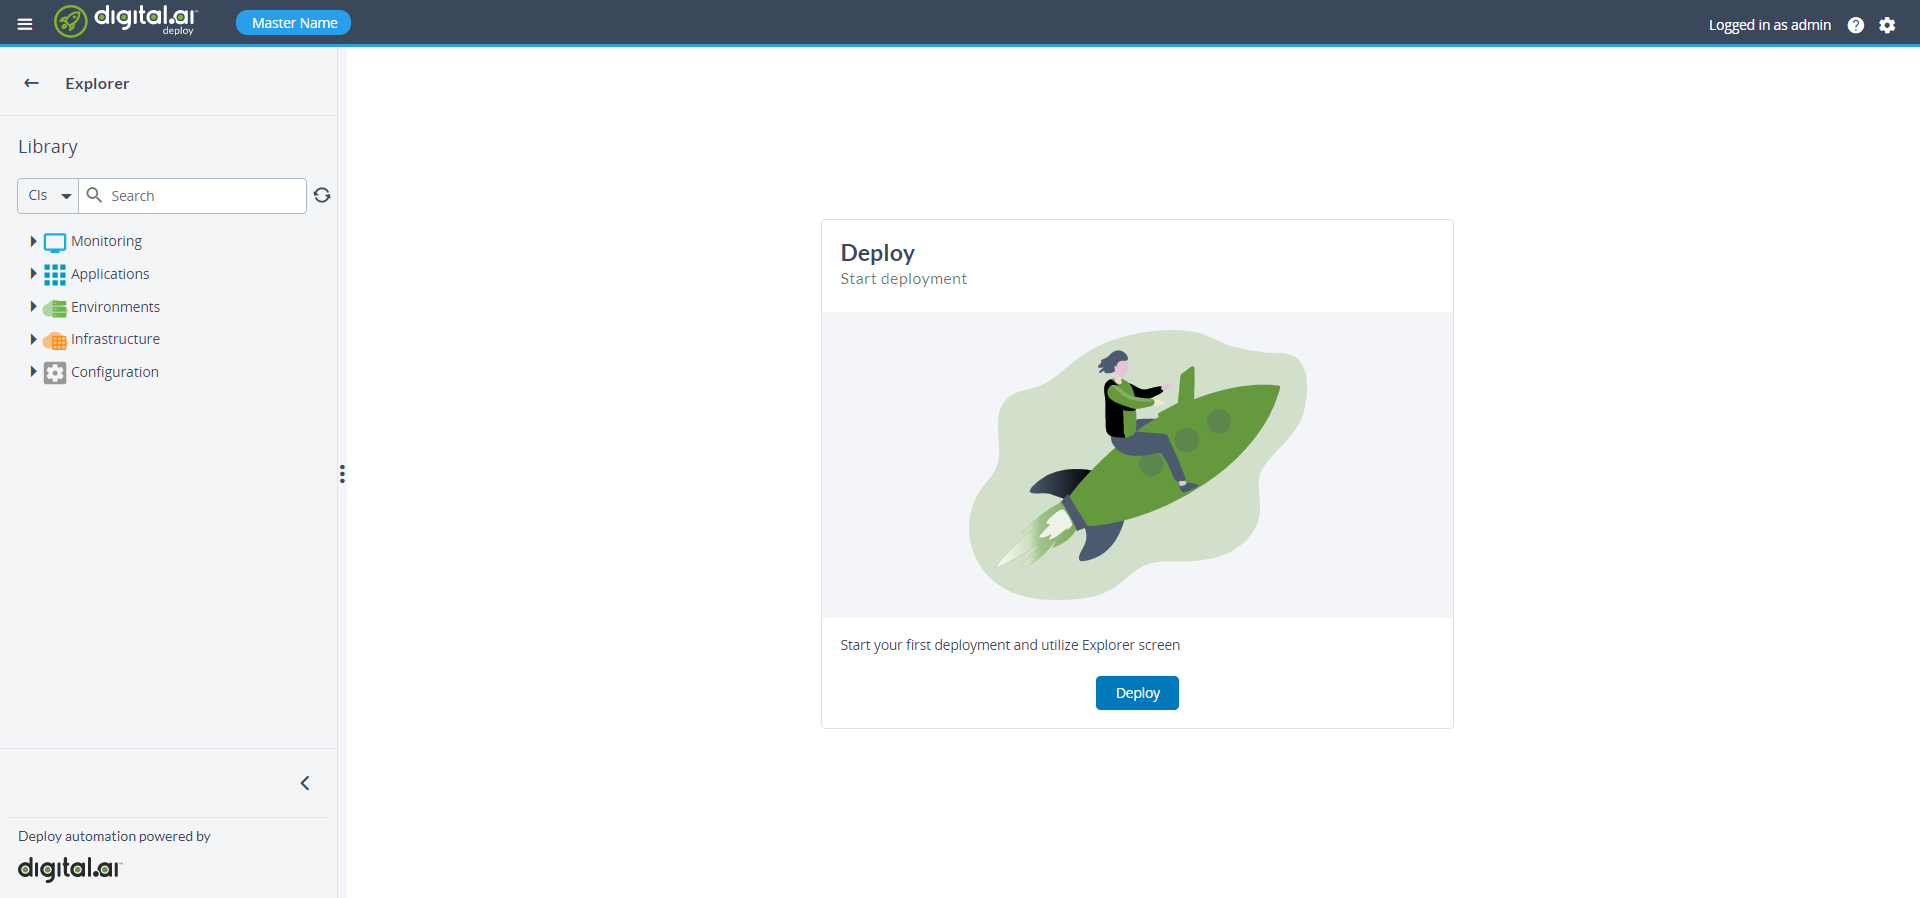
Deploy Explorer
Use the Deploy Explorer to view and manage the configuration items (CIs) in your repository, deploy and undeploy applications, connect to your infrastructures, and provision and deprovision environments.

Work with CIs
In the Explorer, you will see the contents of your repository in the left pane. When you create or open a CI, you can edit its properties in the right pane.
If another user changes CIs you will not see the changes immediately among your expanded nodes. New information is fetched when a node is expanded or the page is refreshed. To see up-to-date information in the tree, click the "Refresh" icon. All the changes, including newly created, updated or deleted CIs from your deployments - will be reflected immediately.
Create a CI
To create a new CI, locate the where you want to create it in the left pane, hover over it and click , then select New. A new tab opens in the right pane.
Open and edit a CI
- To open and edit and existing CI:
- Double-click the CI in left pane. A new tab opens in the right pane with the CI properties.
- To view the summary screen of an application or satellite, double-click the application.
- To edit the properties of the application or satellite, click Edit properties in the summary screen.
- Click Save to save your changes. To discard your changes without saving, click Cancel. You can also click on Save and close to save your changes and click the current tab.
Rename a CI
To rename an existing CI:
- Locate the CI in the left pane, hover over it and click
, then select Rename.
- Change the name of the CI.
- Press ENTER to save your changes. To cancel without saving your changes, press ESC or click another CI in the left pane.
Duplicate a CI
To duplicate an existing CI:
- Locate the CI in the left pane, hover over it and click
, then Duplicate.
- A new CI appears in the left pane with a number appended to its name. For example, if you duplicate an application called MyApp, the Explorer creates an application called MyApp (1). You can then rename or edit the new CI as required.
- Double-click the duplicated application to view the summary screen and click Edit properties to change the application properties.
Delete a CI
To delete an existing CI:
- Locate it in the left pane, hover over it and click
, and then select Delete.
- Confirm or cancel the deletion.
Search for CIs
To search for a CI:
- Under Library in the left pane, from the drop-down menu, select the type of CI you want to search for:
- View all CIs
- Applications - search in the Applications tree
- Environments - search in the Environments tree
- Infrastructure - search in the Infrastructure tree
- Configuration - search in the Configuration tree
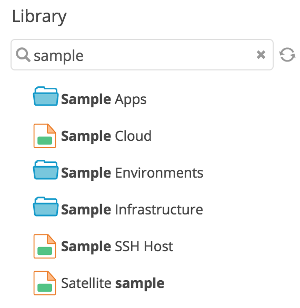
- Type a search term in the Search box and press ENTER. If results are found, they will appear in the left pane.
To open a CI from the search results, double-click it.
To clear the search results, click in the Search box.

Search for placeholders
You can search for global defined placeholders in dictionaries to see in which applications and environments the placeholders are used. The search results shows only the placeholder for which you have view permissions.
To search for a placeholder:
- Under Library in the left pane, from the drop-down menu, select the Placeholders.
- Type a search term in the Search box and press ENTER. If results are found, they will appear in the left pane.
To open the placeholder details from the search results, double-click it.
The placeholder details display a list of dictionaries where the placeholder is defined and a list of environments where the placeholder is used.
You can filter the dictionaries list and the environment list individually.
Important: The placeholder details do not display sensitive information or secret values such as passwords or vault information.
To clear the search results, click in the Search box.
Note: The search results only display defined placeholders in applications and environments and does not show resolved placeholders.
Modify dictionary values
Search for a placeholder, and double click it or go to the resolved placeholders in an environment, click the key and open it.
The placeholder management screen displays the keys defined in all dictionaries.
To modify the value of a key in multiple dictionaries:
- Select the dictionaries from the list where you want to modify the value of the key.
- Click Edit selected.
- Specify new value. The value is applied to all the keys in all the selected dictionaries.
- To save changes, click Save.
Deploy an application
To use the Explorer to deploy an application:
-
In the top navigation bar, click explorer.
-
Expand Applications, and then expand the application you want to deploy.
-
Hover over the deployment package or provisioning package, click
, then select Deploy. A new tab appears in the right pane.
-
In the new tab, select the target environment. You can filter the list of environments by typing in the Search box at the top. To see the full path of an environment in the list, hover over it with your mouse pointer.
-
Click Continue.
-
You can optionally:
- View or edit the properties of a deployed item by double-clicking it.
- Click Deployment Properties to configure properties such as orchestrators. For more information, see Understanding Orchestrators
- Click Force Redeploy to skip delta analysis and install the application by overriding the already deployed application. For more information, see Force Redeploy.
-
Click Execute to start executing the plan immediately.
- If the server does not have the capacity to immediately start executing the plan, it will be in a
QUEUEDstate until the server has sufficient capacity. - If a step in the deployment fails, Deploy stops executing and marks the step as
FAILED. Click the step to see information about the failure in the output log.
- If the server does not have the capacity to immediately start executing the plan, it will be in a
Stop, abort, or cancel an executing deployment
You can stop or abort an executing deployment, then continue or cancel it. For information, see Stop, abort, or cancel a deployment.
Continue after a failed step
If a step in the deployment fails, Deploy stops executing the deployment and marks the step as FAILED. In some cases, you can click Continue to retry the failed step. If the step is incorrect and should be skipped, select it and click Skip, then click Continue.
Pause before or after a step
If you need to stop a deployment after a step, you can use Pause Before and Pause After, which you can choose for each step.
Roll back a deployment
To roll back a deployment that is in a STOPPED or EXECUTED state, click Rollback on the deployment plan. Executing the rollback plan will revert the deployment to the previous version of the deployed application, or applications, if the deployment involved multiple dependencies. It will also revert the deployeds created on execution. For more information, see Application dependencies in Deploy.
Update a deployed application
To update a deployed application using the Explorer:
-
Expand Environments, and then expand the environment where the application is deployed.
-
Hover over the application, click
, then select Update. A new tab appears in the right pane.
-
In the new tab, select the version. You can filter the list of versions by typing in the Search box at the top.
-
Click Continue.
-
You can optionally:
- View or edit the properties of a deployed item by double-clicking it.
- Click Deployment Properties to configure properties such as orchestrators. For more information, see Understanding Orchestrators.
-
Click Execute to start executing the plan immediately.
If the server does not have the capacity to immediately start executing the plan, it will be in a
QUEUEDstate until the server has sufficient capacity.If a step in the update fails, Deploy stops executing and marks the step as
FAILED. Click the step to see information about the failure in the output log.
As an alternative, you can use the Deployment Workspace and drag and drop an Environment or deployed application. If the same application was already deployed on that environment - an update deployment will take a place.
Undeploy an application
To use the Explorer to undeploy an application:
-
Expand Environments, and then expand the environment where the application is deployed.
-
Hover over the application, click
, then select Undeploy. A new tab appears in the right pane.
-
Optionally, configure properties such as orchestrators. For more information, see Understanding Orchestrators.
-
Click Execute to start executing the plan immediately.
If the server does not have the capacity to immediately start executing the plan, it will be in a
QUEUEDstate until the server has sufficient capacity.If a step in the undeployment fails, Deploy stops executing and marks the step as
FAILED. Click the step to see information about the failure in the output log.