Use provisioning outputs in templates
This topic provides information on using provisioning outputs in templates.
In Deploy, a provisioning package is a collection of:
- Provisionables: These contain settings that are needed to provision a cloud-based environment.
- Provisioners: These execute actions in the environment after it is set up.
- Templates: These create configuration items (CIs) in Deploy during the provisioning process.
When you map a provisioning package to an environment, Deploy creates provisioneds. These are the actual properties, manifests, scripts, and so on. Deploy will use these to provision the environment.
If you use a provisioned property such as the IP address or host name of a provisioned server in a template, the property will not have a value until provisioning is done. You can use contextual placeholders for these types of properties. Contextual placeholders can be used for all properties of provisioneds. The format for contextual placeholders is {{% ... %}}.
You can also use contextual placeholders for output properties of some CI types. Deploy automatically populates output property values after provisioning is complete.
Example: After you provision an Amazon Elastic Compute Cloud (EC2) AMI, the aws.ec2.Instance configuration item (CI) will contain its instance ID, public IP address, and public host name. For information about properties, see the AWS Plugin Reference.
Sample provisioning output usage
To provision an Amazon EC2 AMI and apply a Puppet manifest to it, you qill require a host for the Puppet manifest. To obtain the host address, the AMI must be provisioned using a contextual placeholder:
-
In the top bar, Click Explorer.
-
Expand Applications, then expand the application.
-
Hover over the application, click
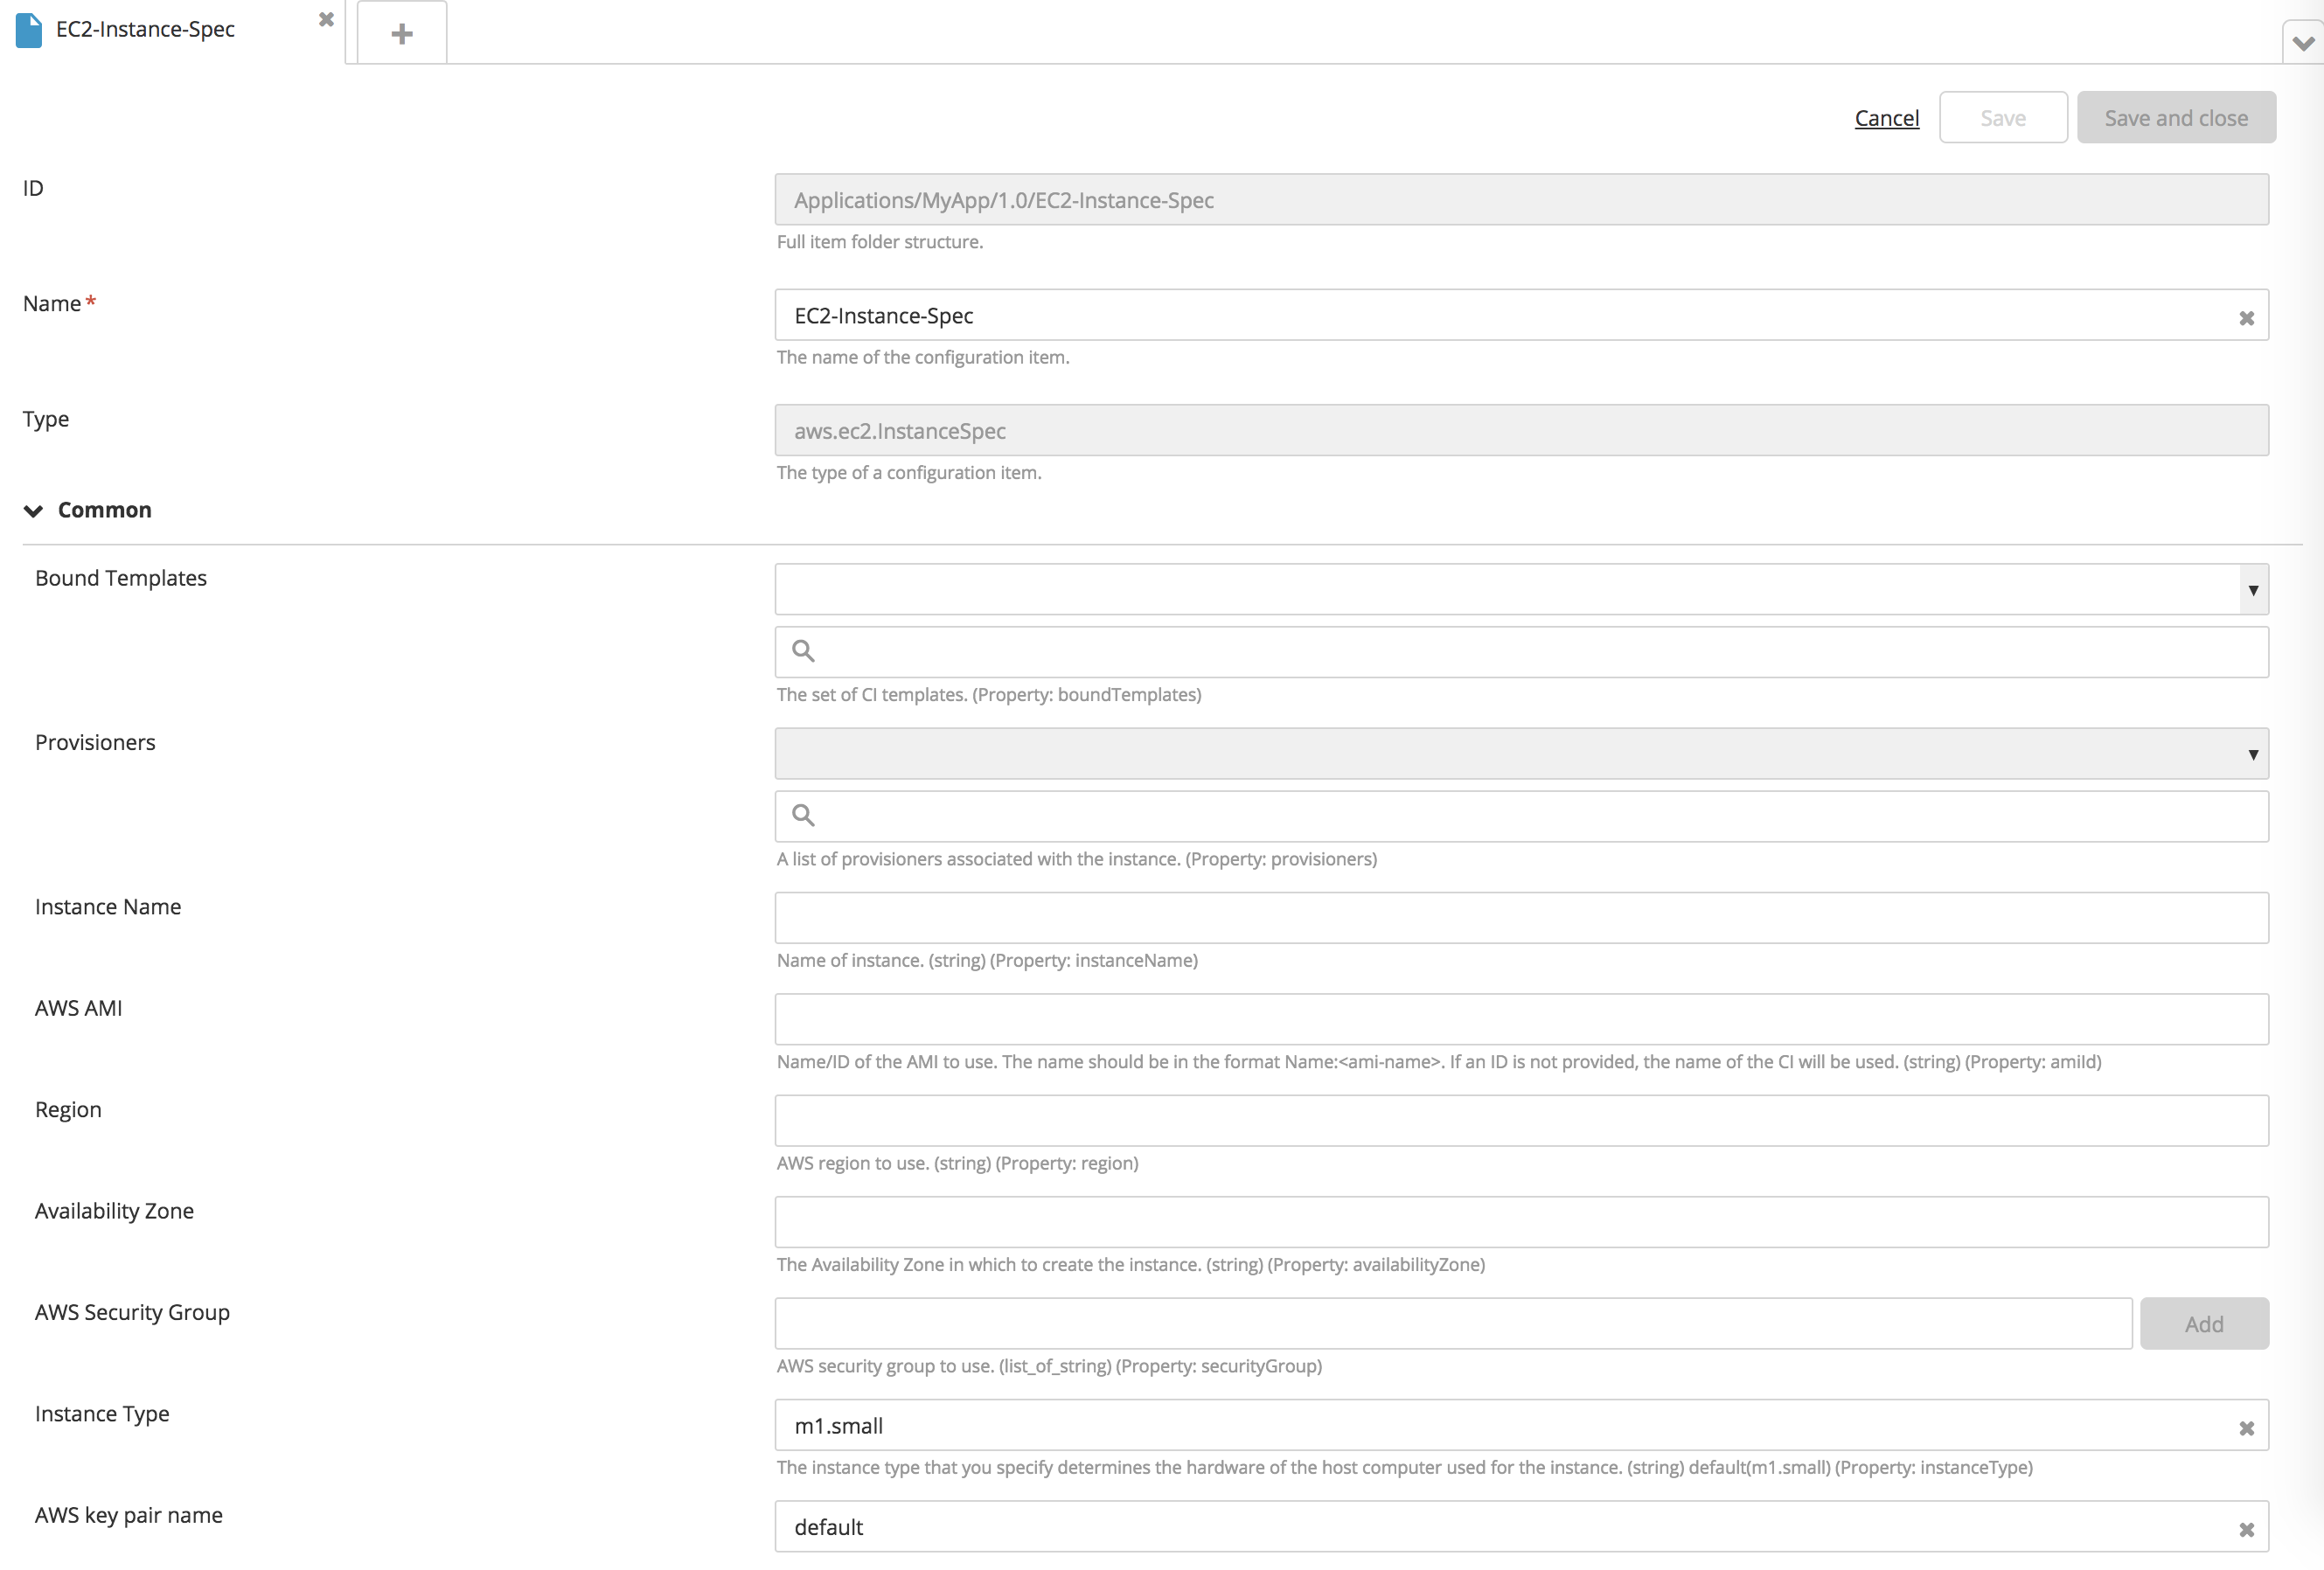
and select New > aws > ec2 > InstanceSpec.
-
In the Name field, enter
EC2-Instance-Spec -
Fill in the required fields and save the CI.
-
Hover over the application, click
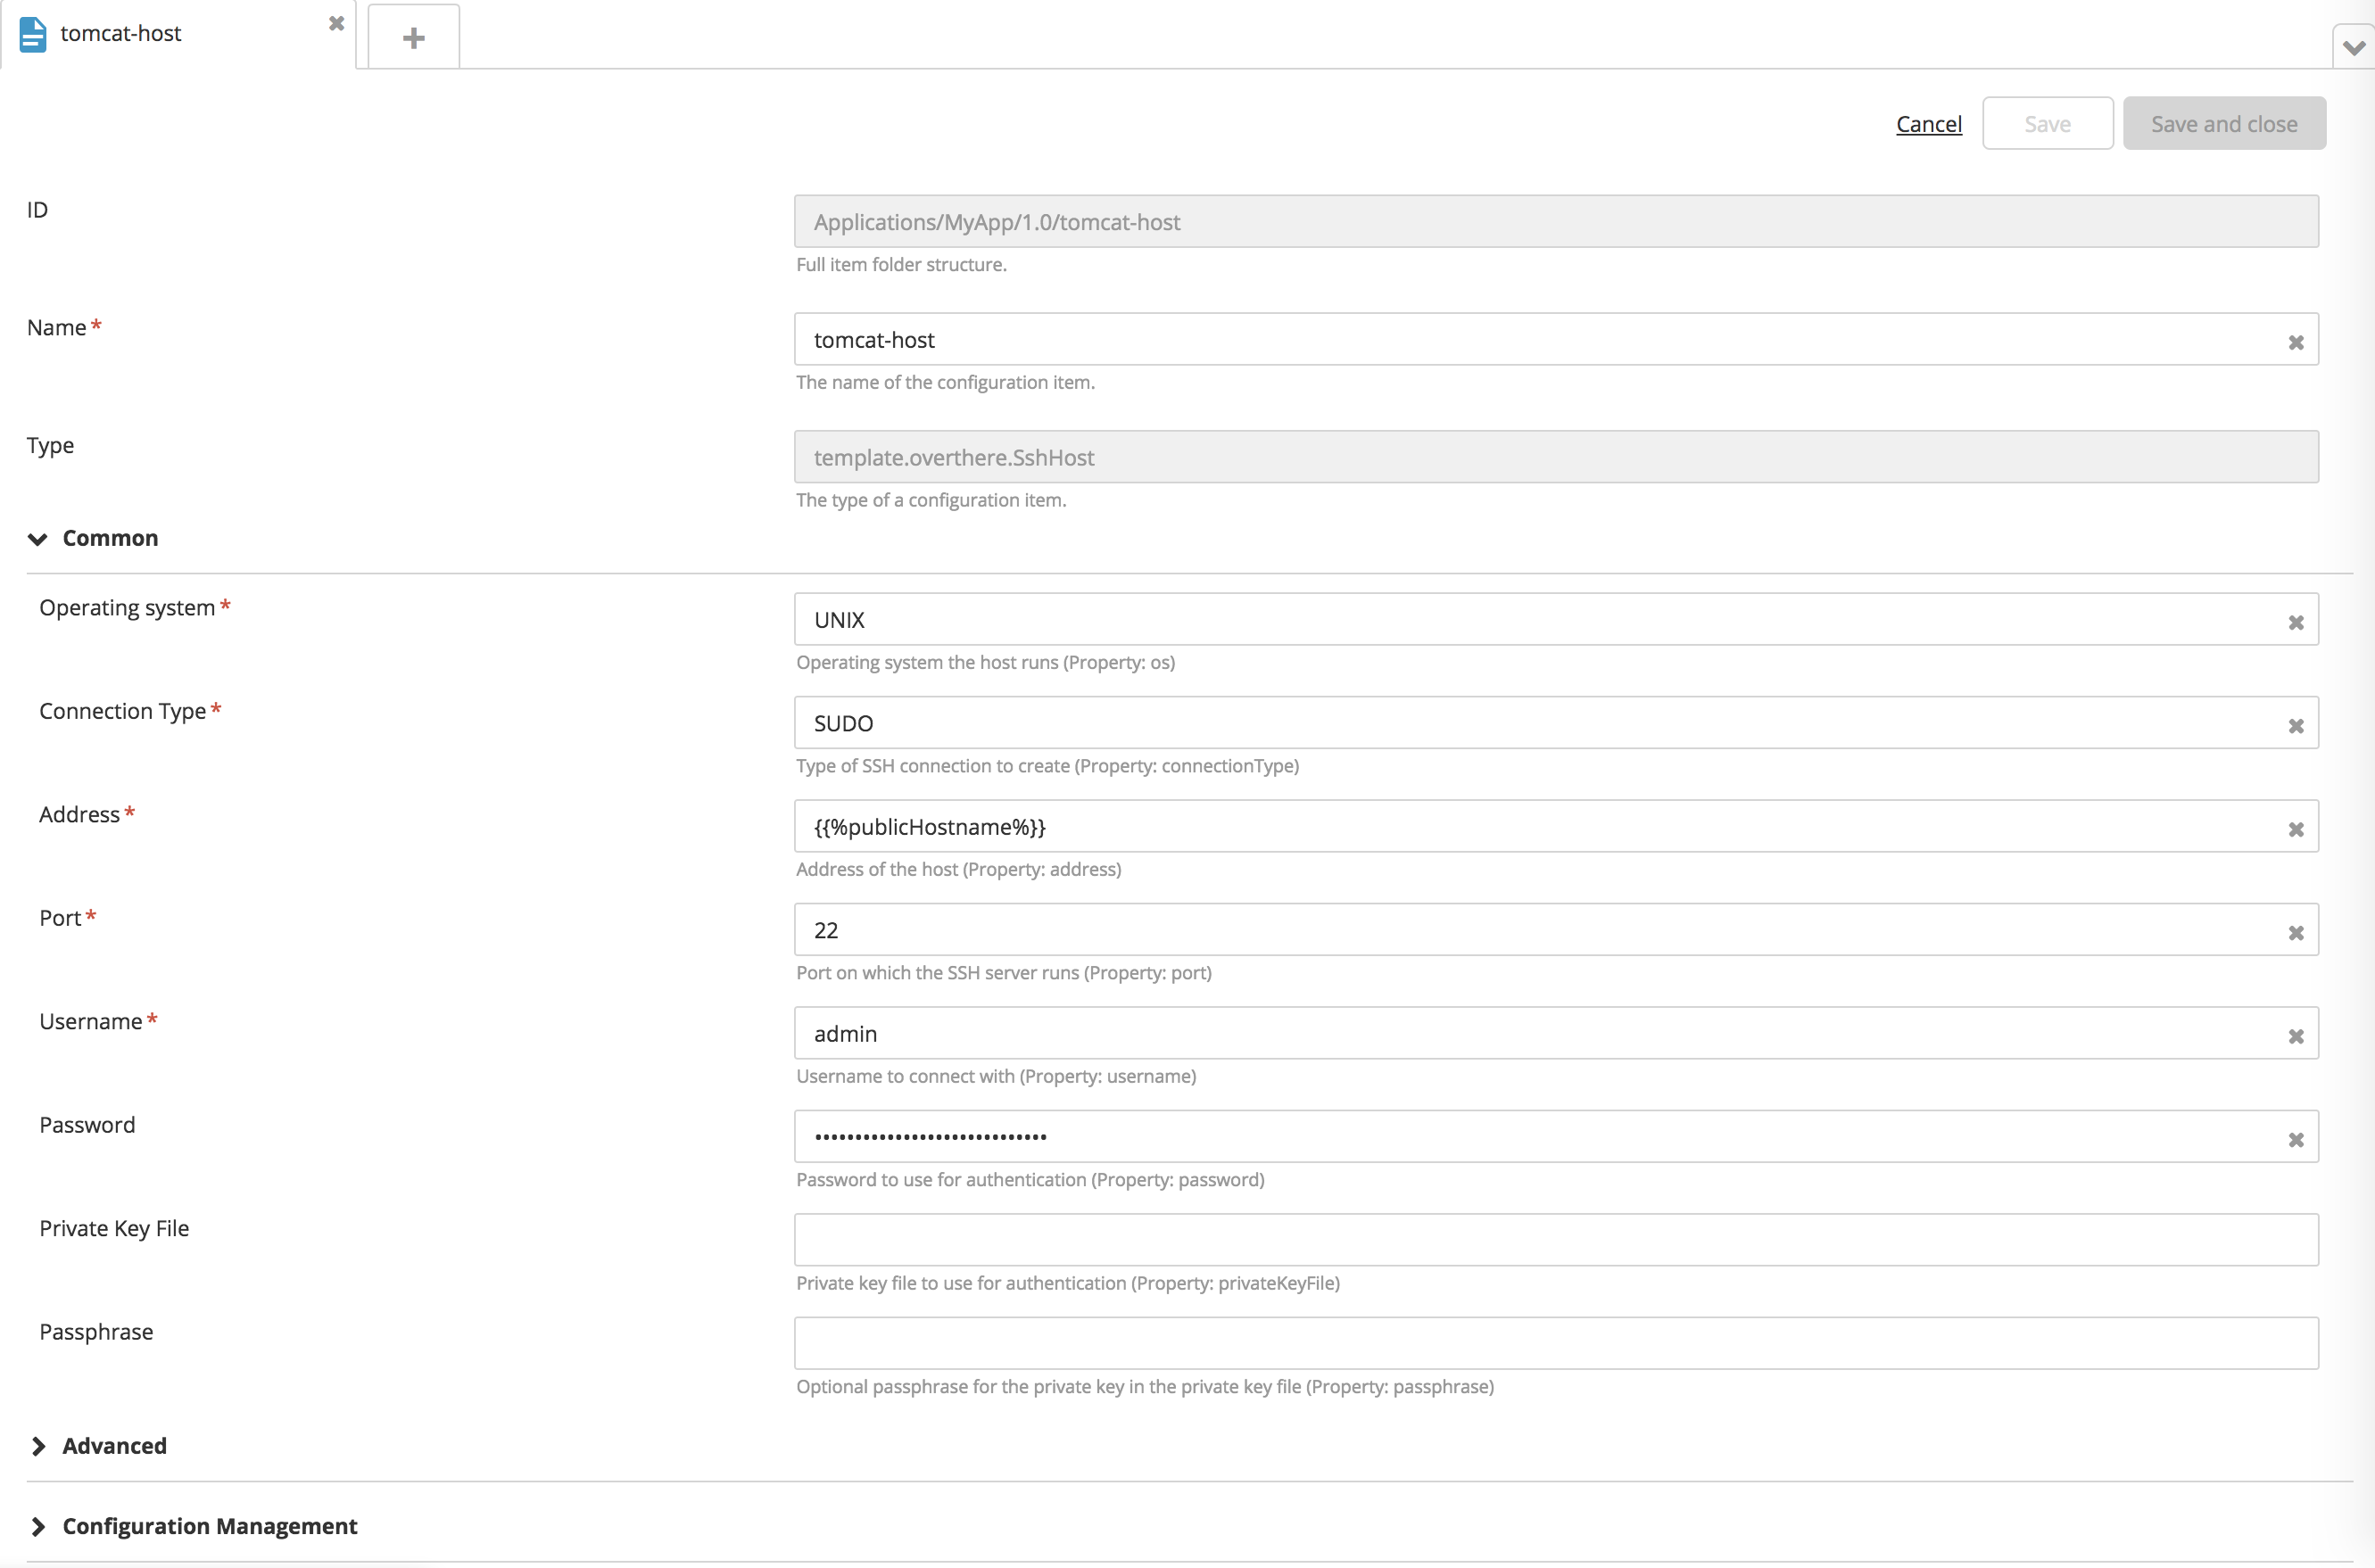
and select New > template > overthere > SshHost.
-
In the Name field, enter
tomcat-host. -
Fill in the required properties, setting the Address property to
{{%publicHostname%}}. -
Click Save.
-
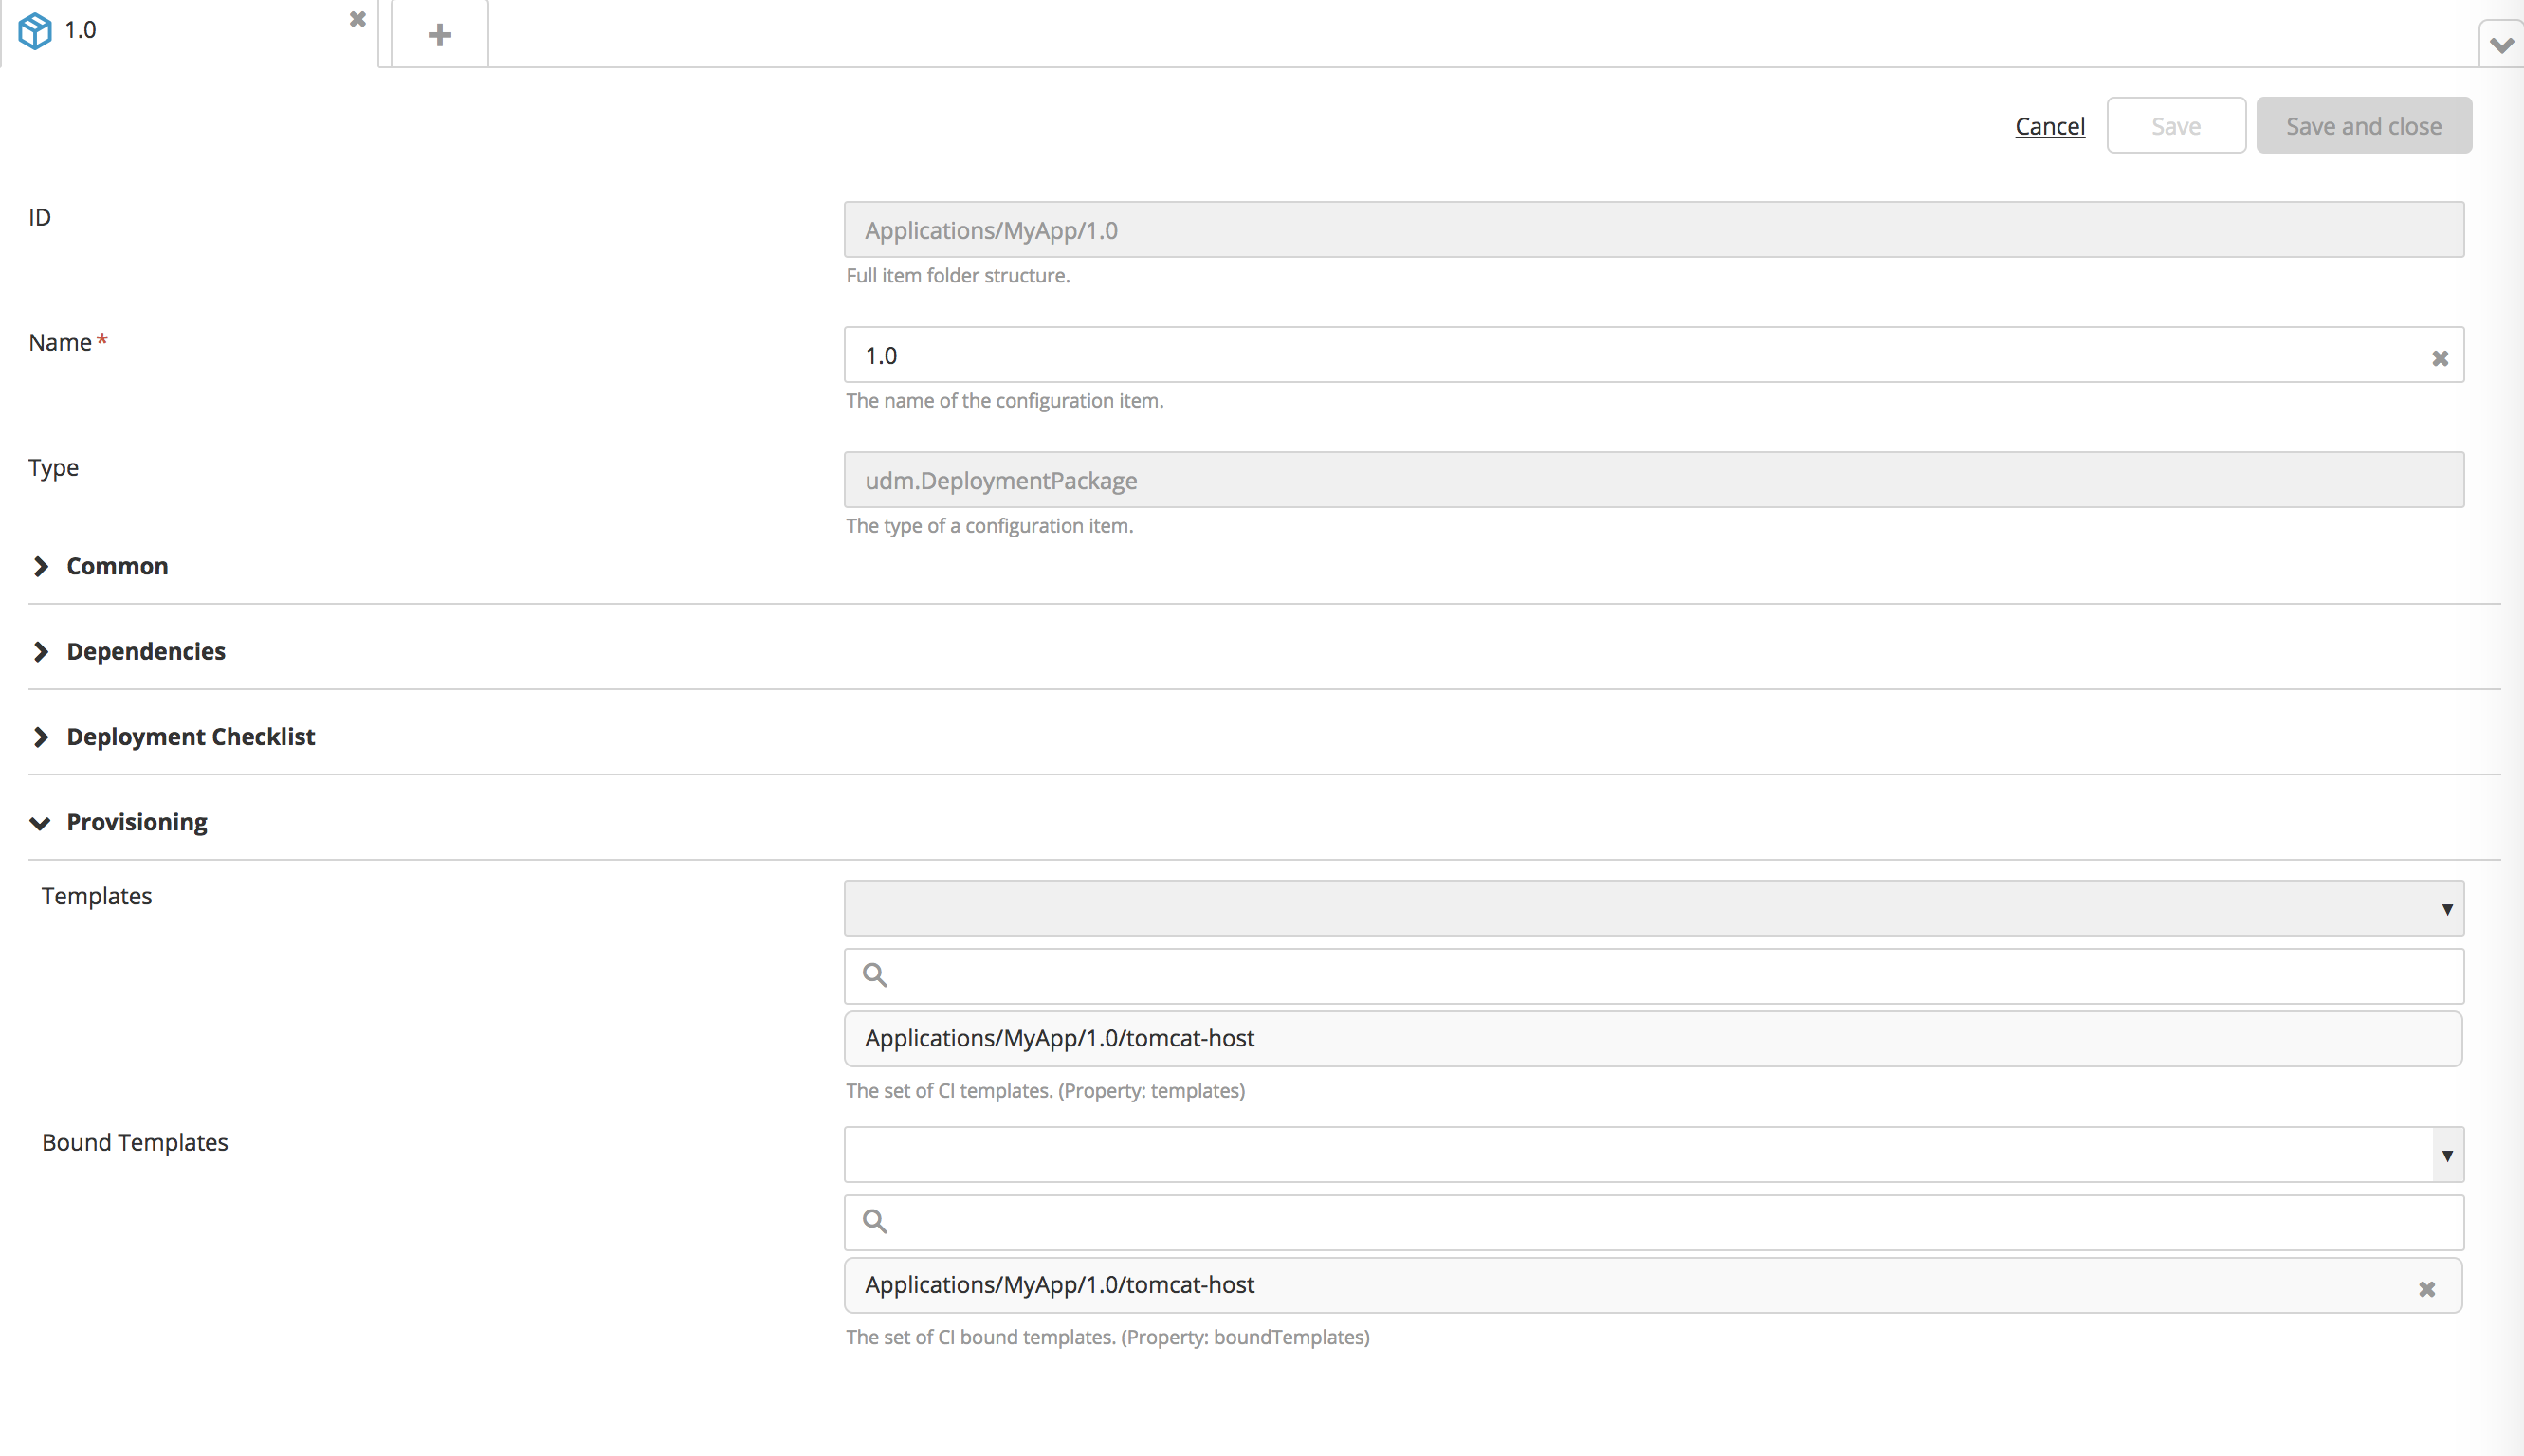
Double-click the package.
-
Under Provisioning, click the Bound Templates field, and add
tomcat-hostto the list.
This ensures that Deploy will save the generated overthere.SshHost CI in the Repository.
-
Hover over EC2-Instance-Spec, click
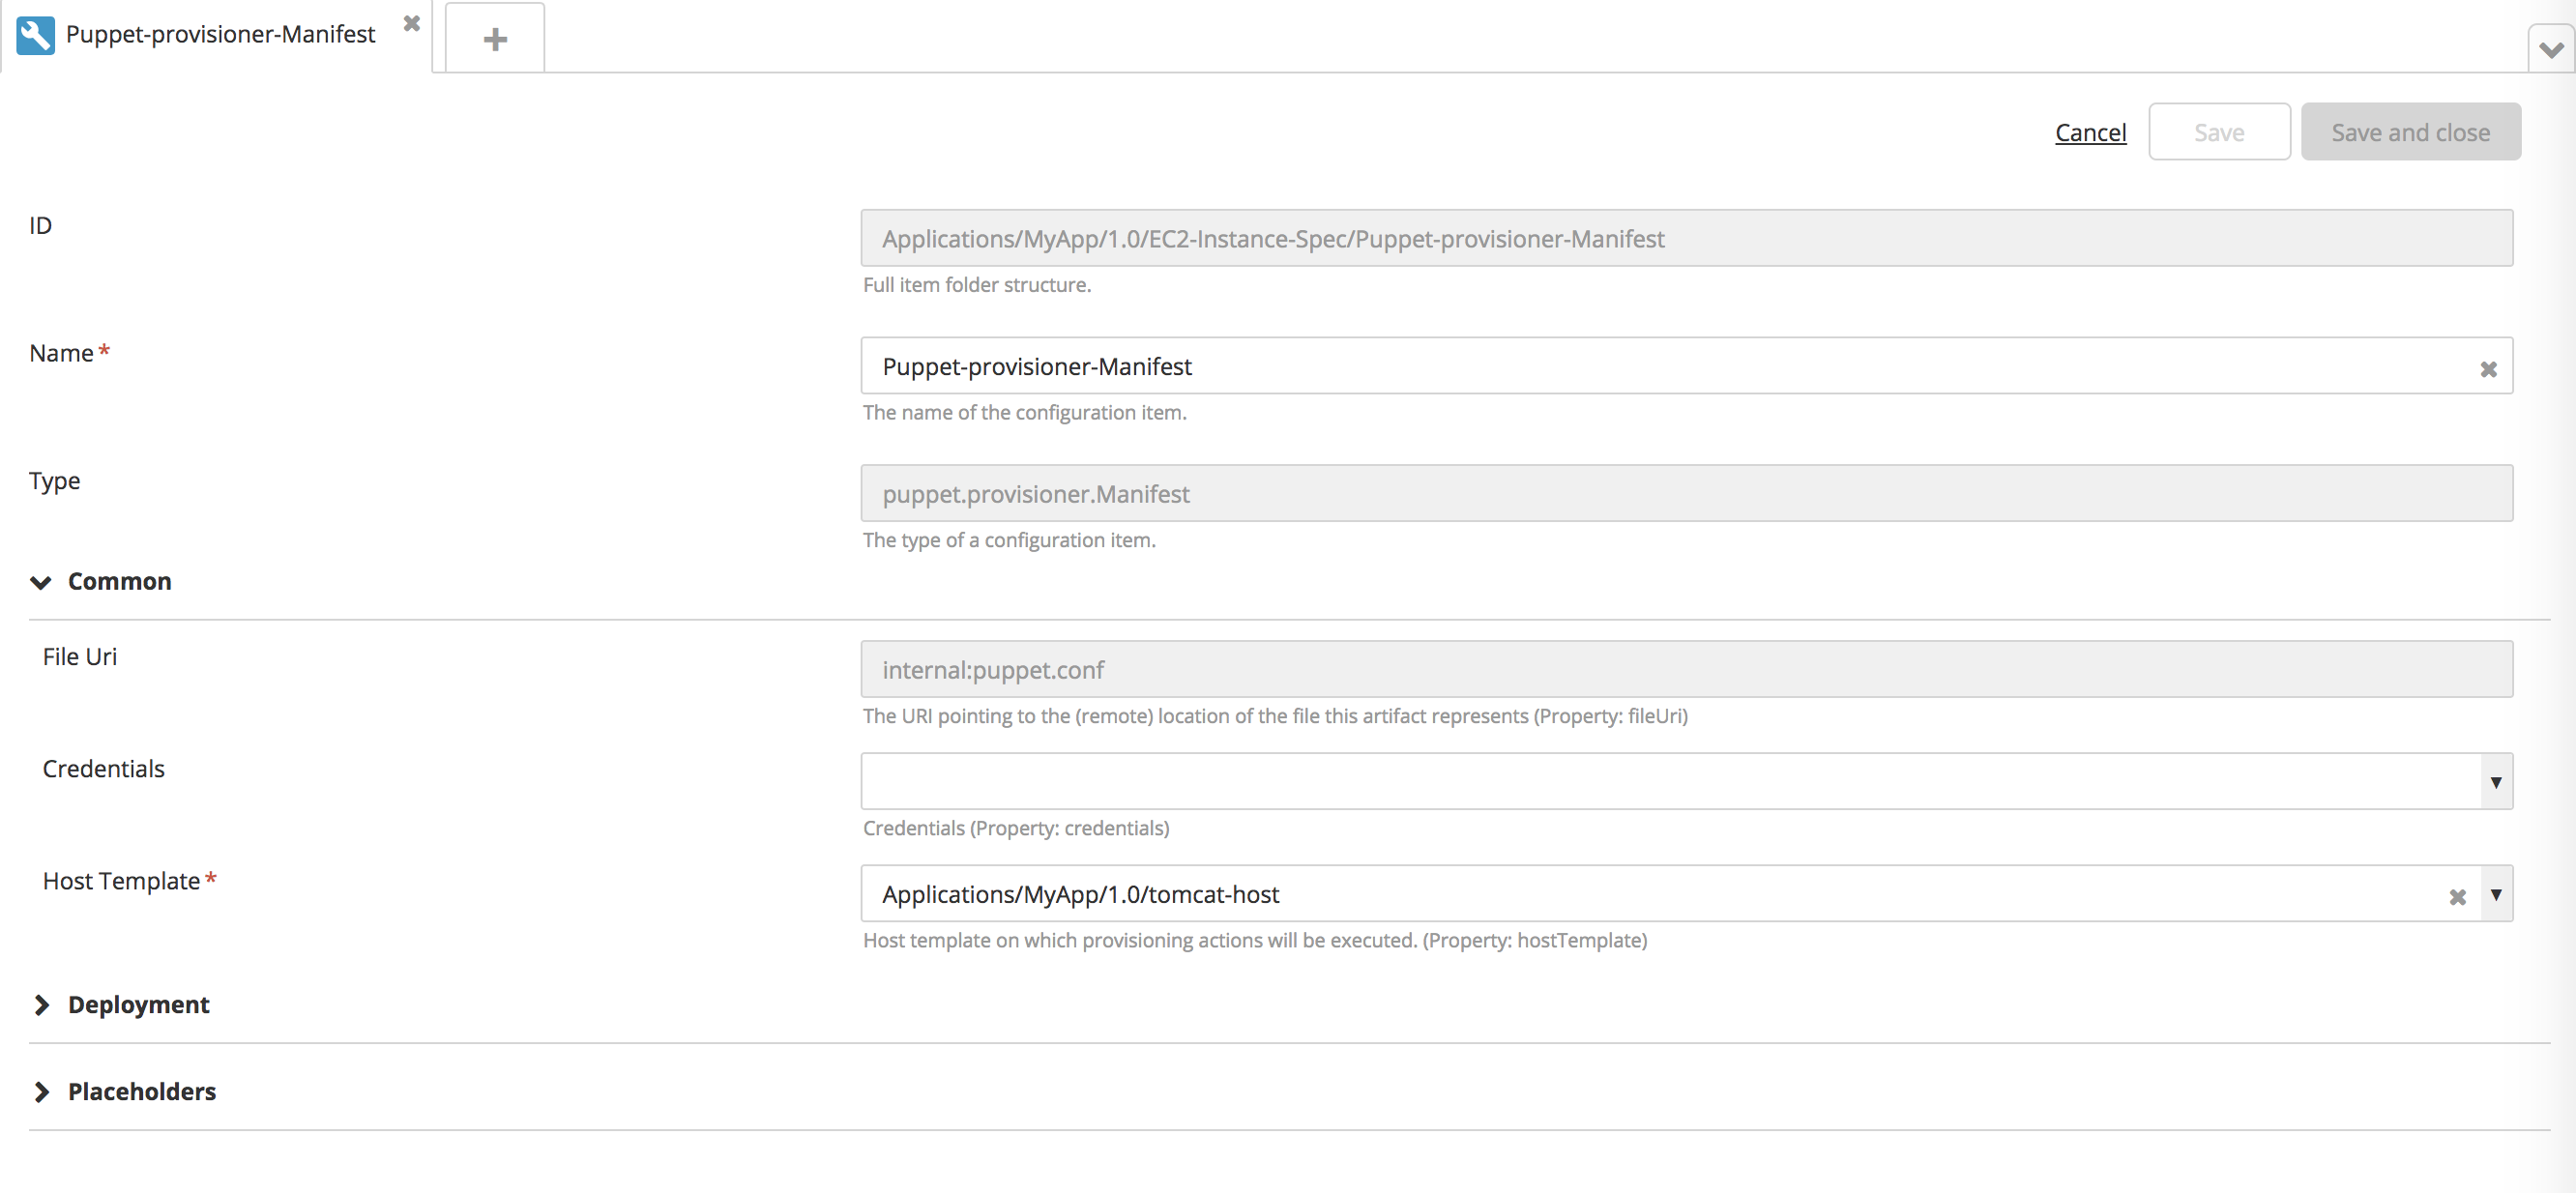
, and select New > puppet > provisioner > Manifest.
-
In the Name field, enter
Puppet-provisioner-Manifest. -
In the Host Template field, select the
tomcat-hostCI that you created. -
Fill in the required properties.
-
Click Save.
-
Double-click an environment that contains an Amazon EC2 provider.
-
Under the Provisioning section, click the Directory Path field, and enter the directory where you want to save the generated
overthere.SshHostCI.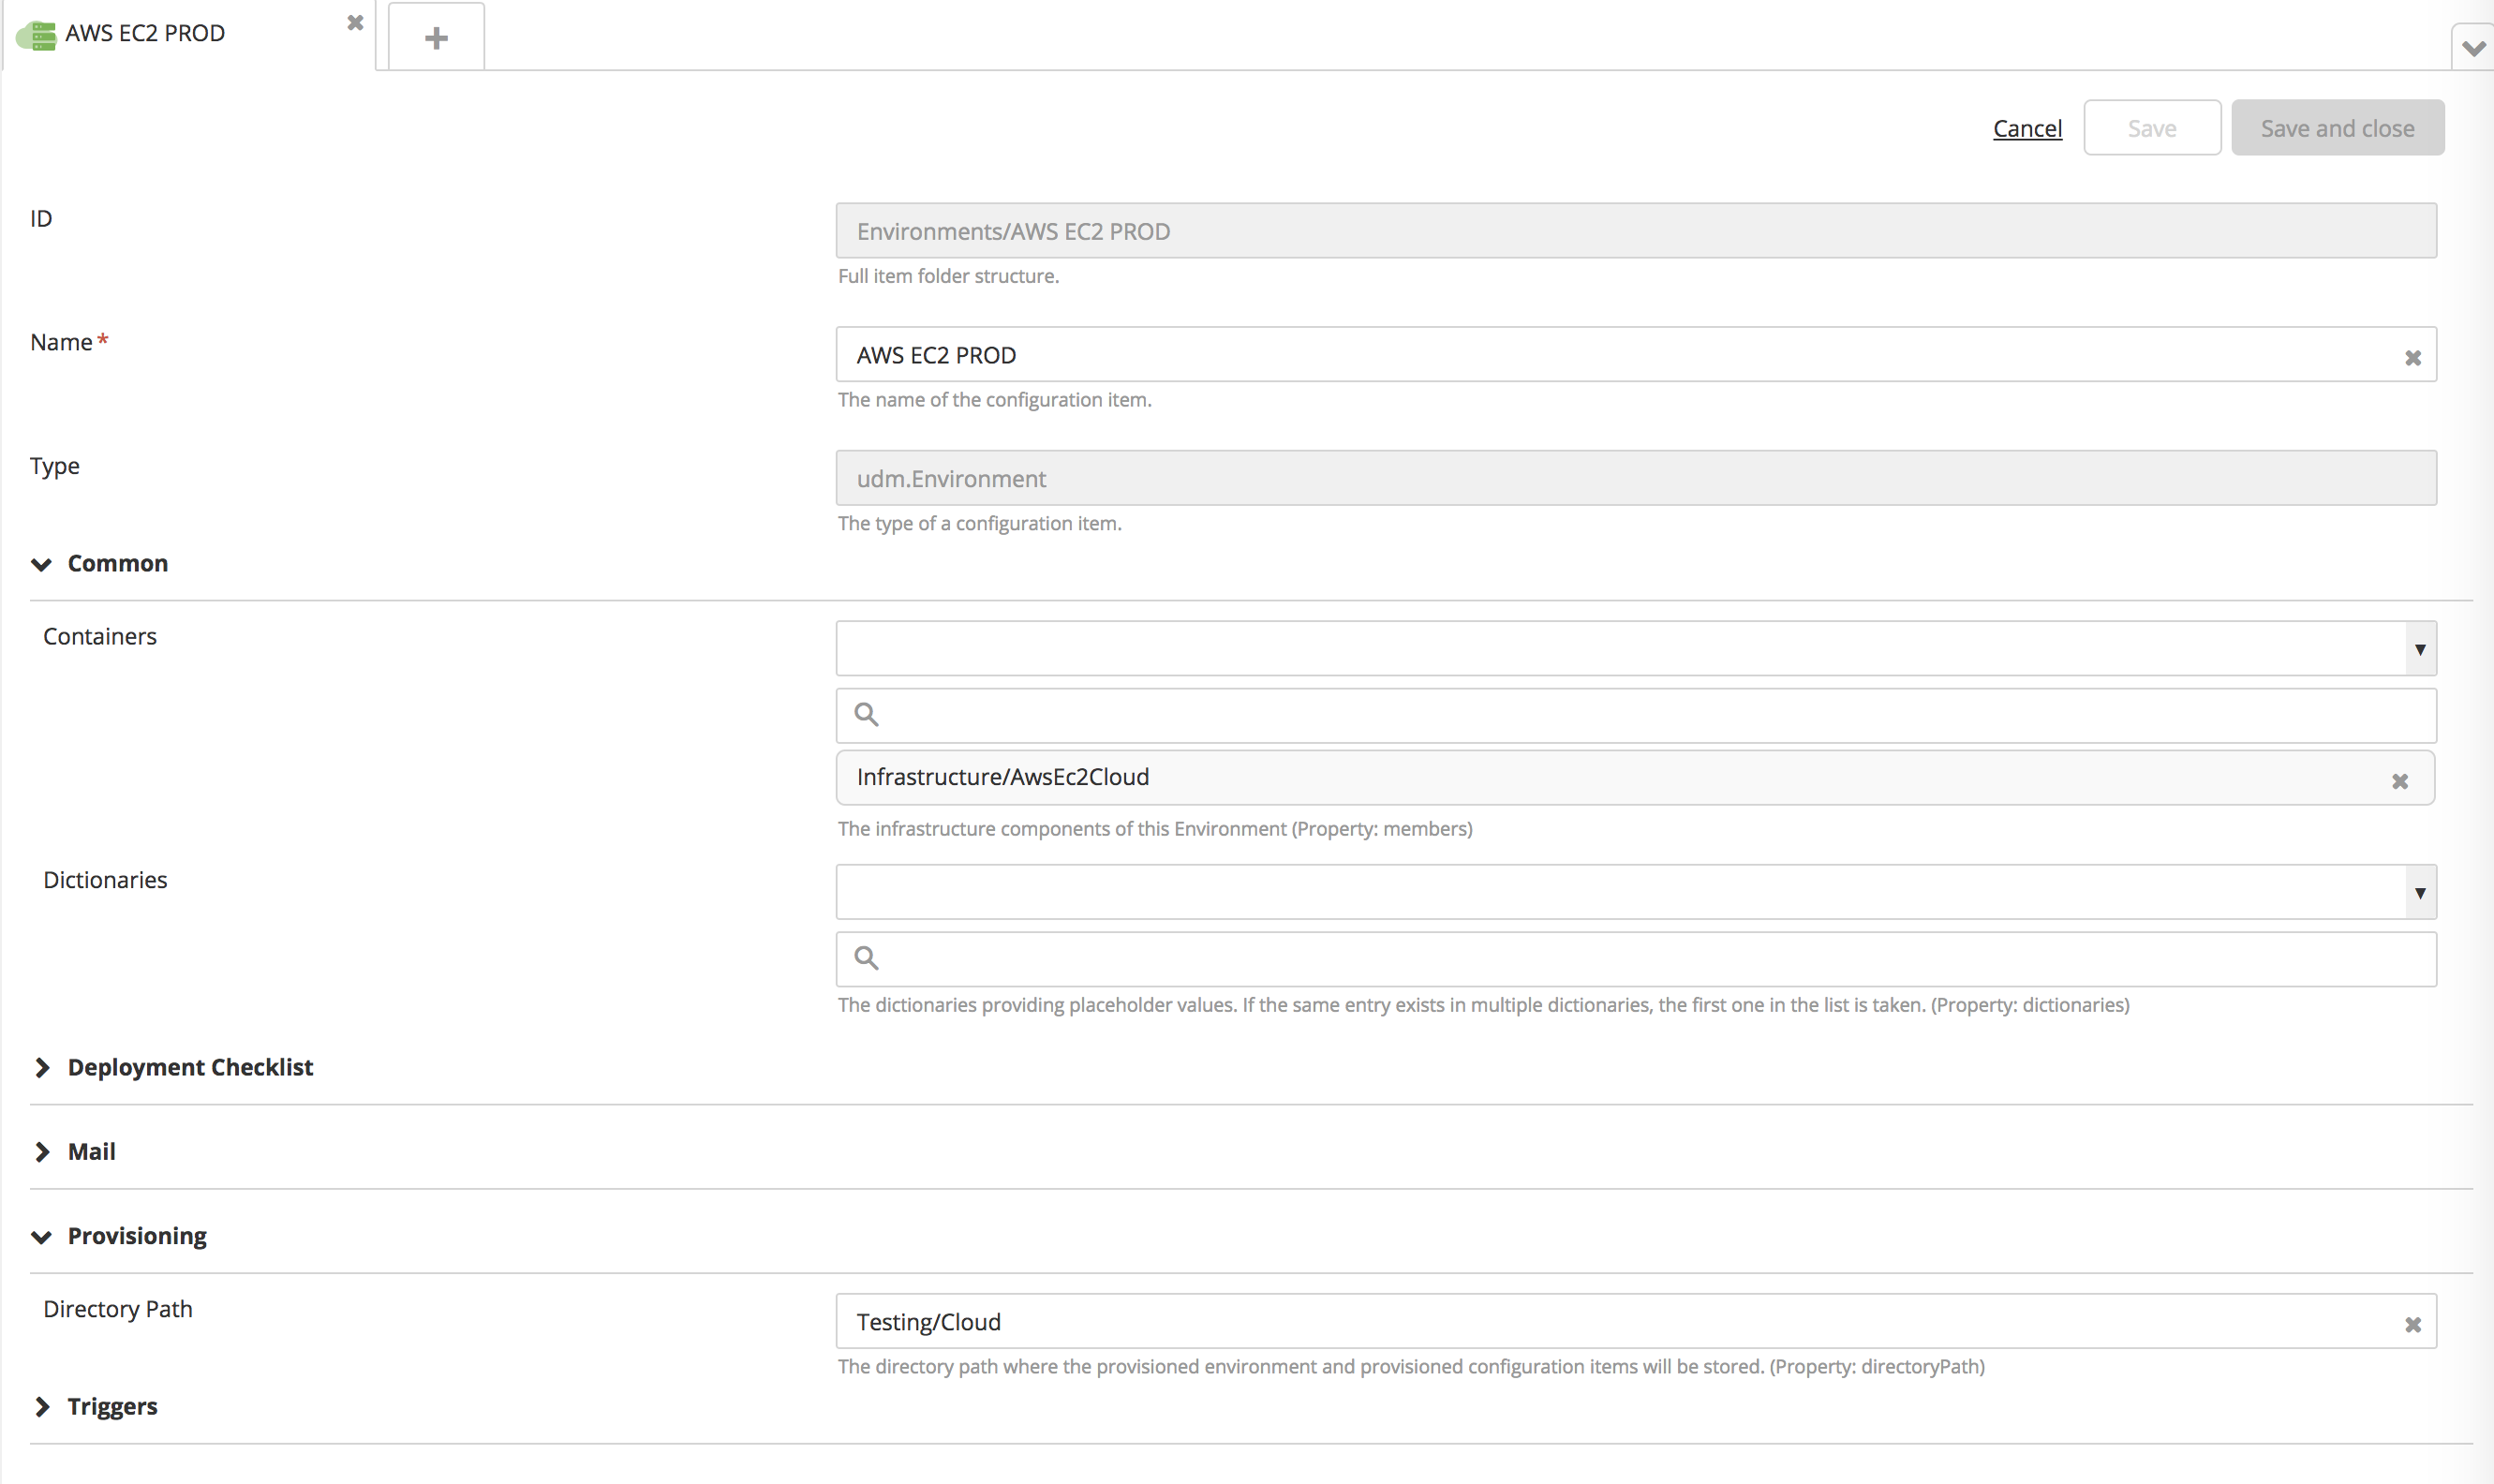
The directory must already exist under Infrastructure.
-
Provision the package to an environment that contains an Amazon EC2 provider.
During provisioning, Deploy will create an SSH host, using the public host name of the provisioned AMI as its address.