Perform canary deployments
This topic describes how to perform "canary" deployments using Deploy. Canary deployment is a pattern in which applications or features are released to a subset of users before being rolled out across the entire user base. This is typically done to reduce the risk when releasing new features, so any issues impact a smaller portion of the overall user base.
In Deploy, you can implement a canary deployment by:
- Dividing your infrastructure and middleware into groups.
- Applying an orchestrator to deploy to each group sequentially.
- Inserting pauses between deployment to each group.
You can perform a canary deployment using a Canary orchestrator from the community supported xld-custom-orchestrators-plugin. For more information, see xld-custom-orchestrators-plugin.
Step 1 Specify deployment groups
Maintain the model of your target infrastructure in Deploy's repository. After you have saved infrastructure items and middleware containers in Deploy, you can organize them in groups through a property called Deployment Group Number.
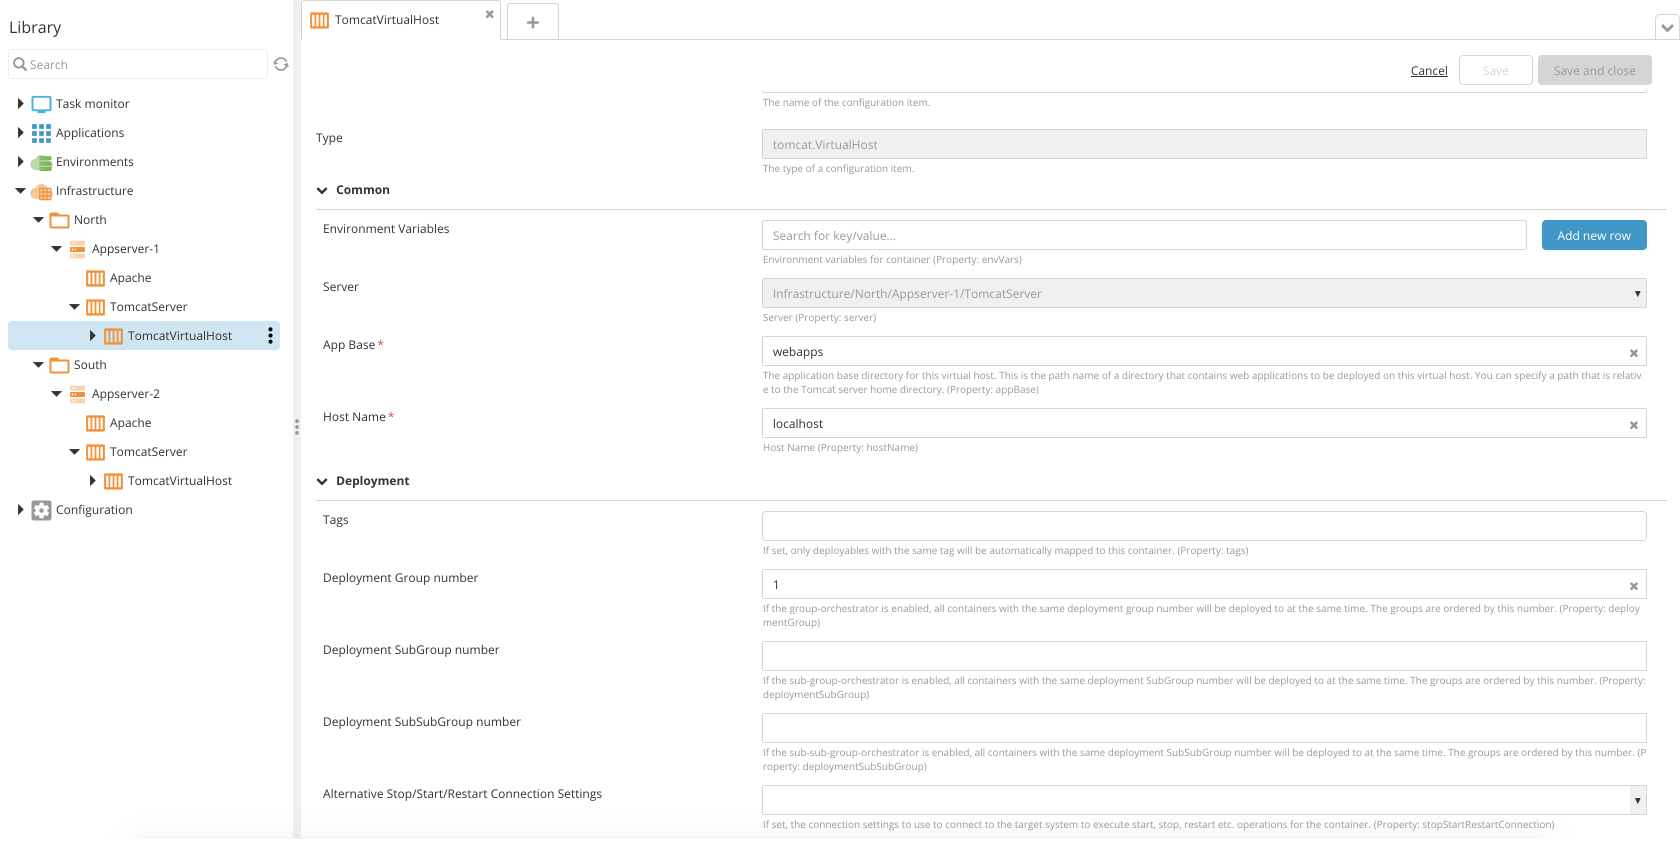
Example: If you have two data centers called North and South, load balanced for geographical reasons, assign a deployment group number to each container in each datacenter.
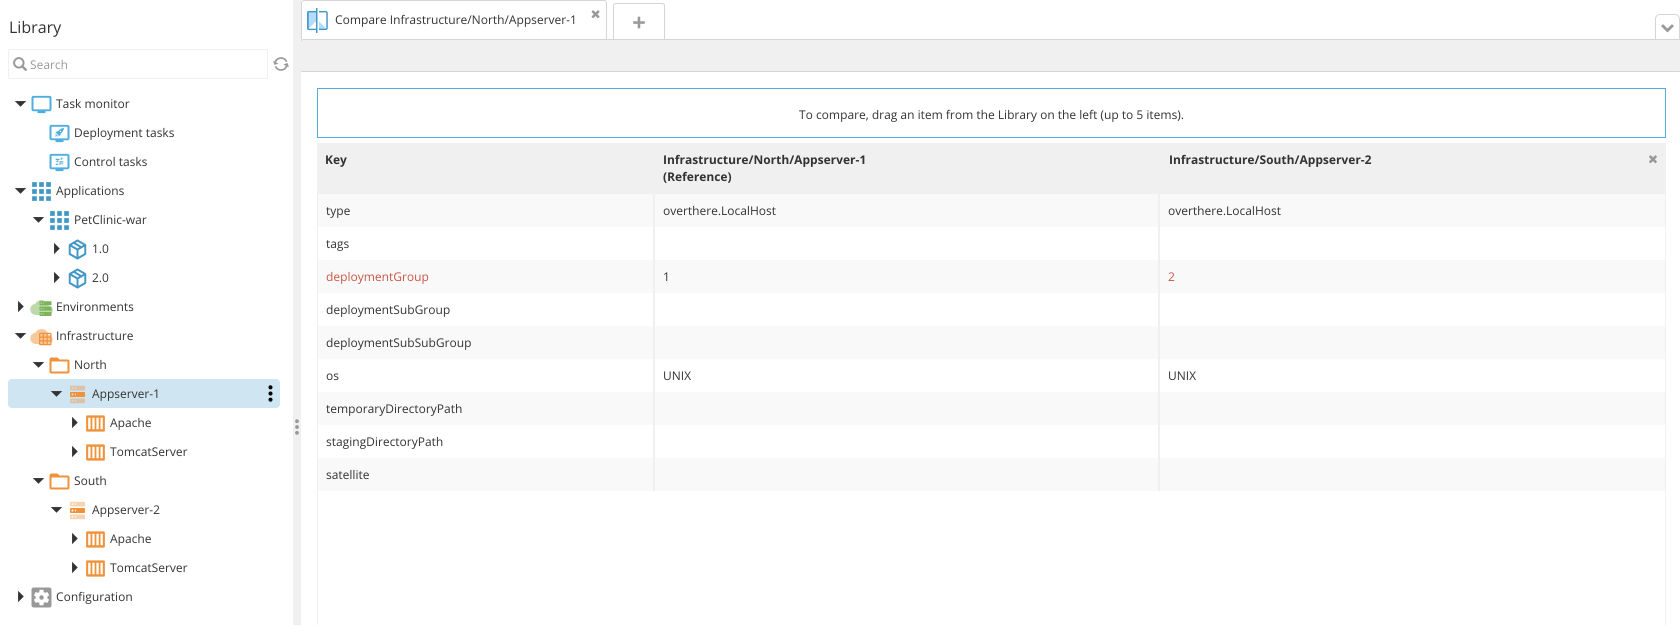
Step 2 Set up the deployment with an orchestrator
In Deploy, use the orchestration feature to generate a deployment plan in different ways. Use this to satisfy requirements such as rolling deployments, canary deployments, and blue/green deployments.
You can apply one or more orchestrators to an application, and parameterize them to have ultimate flexibility in how a deployment to your environments is performed.
To use the deployment group feature with orchestrators:
- Set up the deployment in the Deploy GUI by selecting a deployment package and an environment.
- Click Preview to see a live preview of the generated deployment plan.
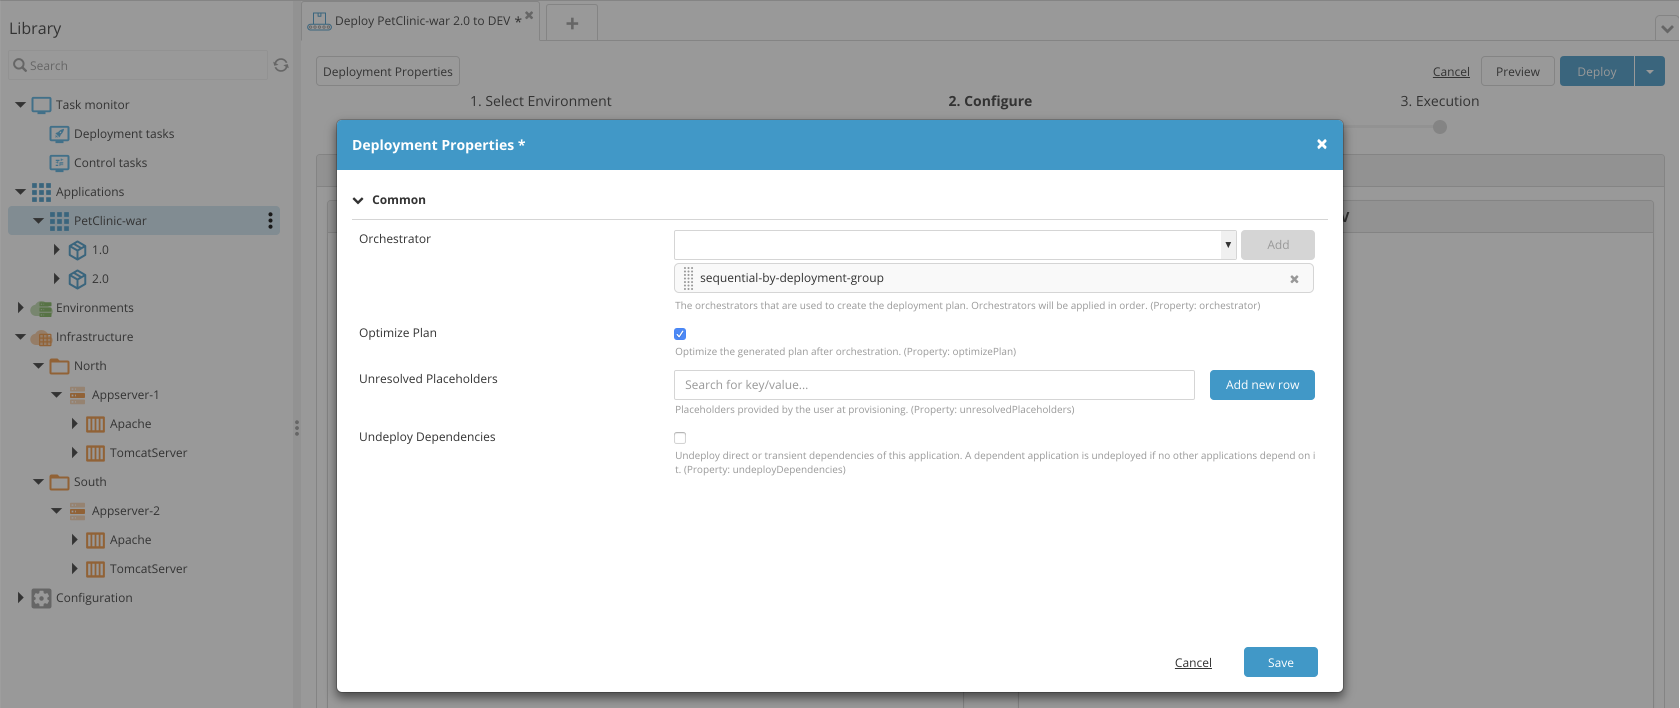
- Click Deployment Properties and double-click the
sequential-by-deployment-grouporchestrator to select it. - Click OK.
Step 3 Review the deployment plan
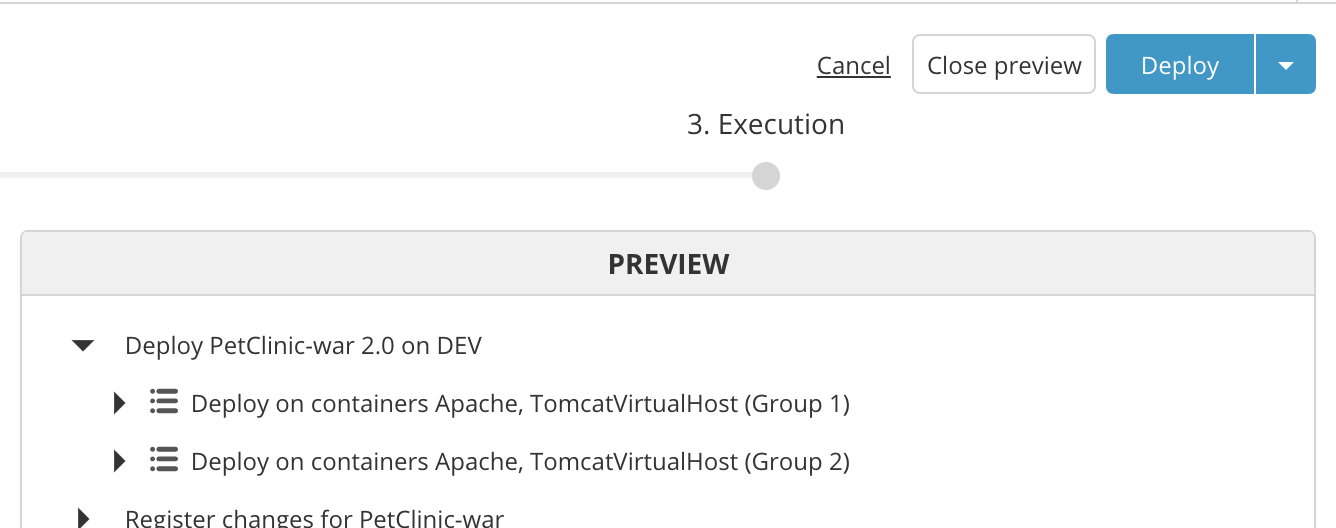
After you select an orchestrator, Deploy updates the preview of the deployment plan. While reviewing the plan, you will see that the application will be deployed to one group, the next group, and so on.
Step 4 Add pauses to the plan
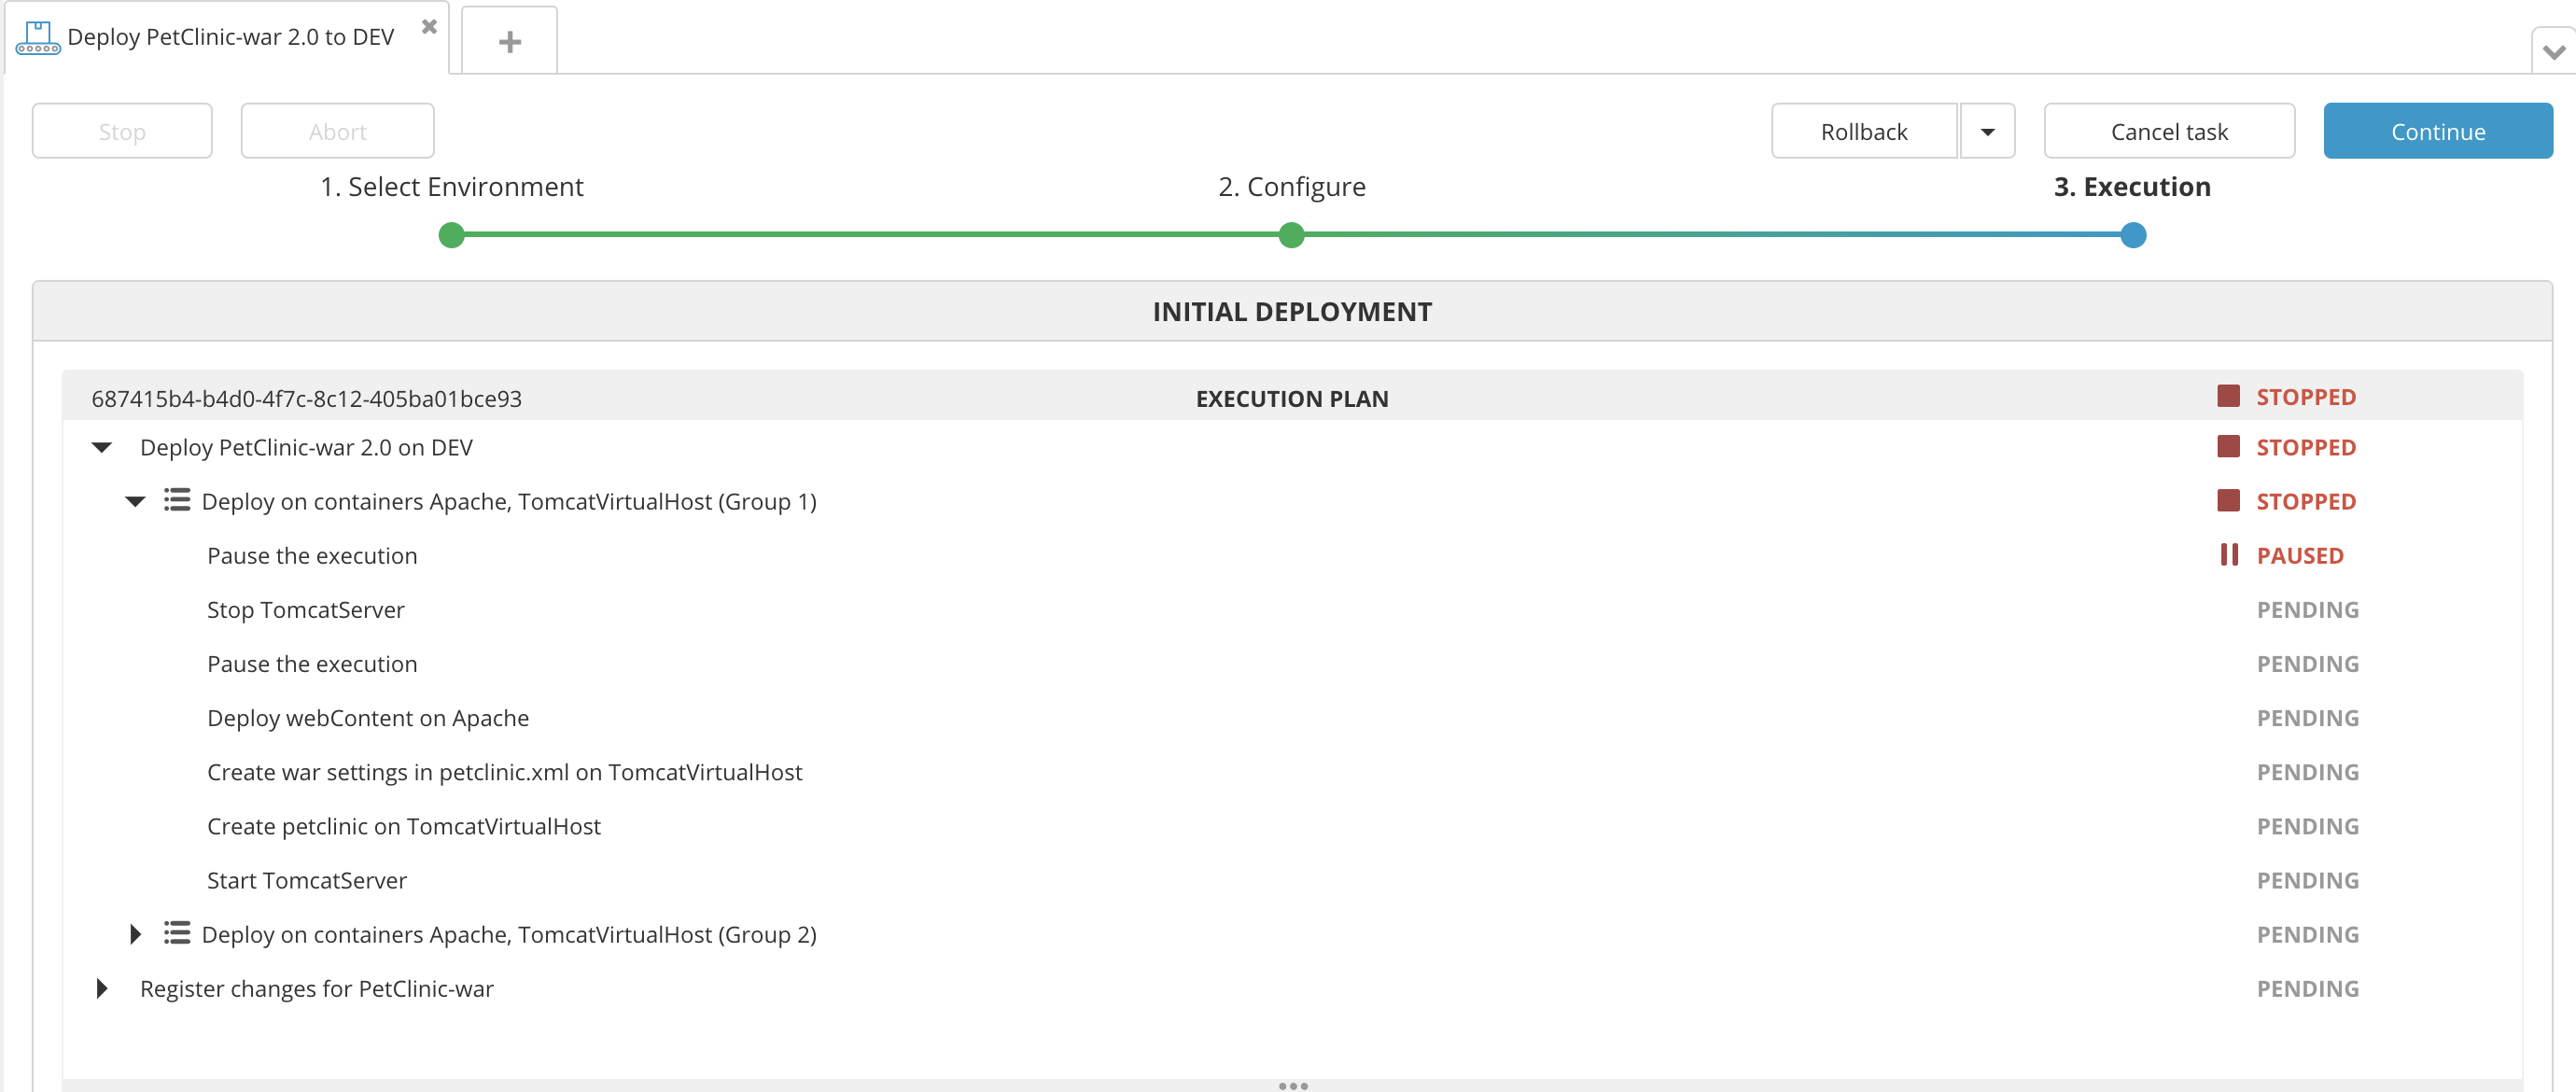
You can insert pause steps in the deployment plan, to progress through the deployment at your own pace. Each pause step halts the deployment process, and you must click Continue to resume it.
To add pause steps to the deployment plan:
- Click the dropdown button next to the Deploy button.
- Click Modify plan.
- Click the step before which or after which you want to insert a pause (ensure you expand the blocks of steps).
- Select Pause Before or Pause After.

Step 5 Execute the plan
To start the deployment, click Deploy. Each time Deploy reaches a pause step, it will stop execution. You can verify the results of that part of the deployment. When you are ready to resume deployment execution, click Continue.
Specifying orchestrators in advance
Instead of specifying orchestrators when you set up the deployment, you can specify them as a property of the deployment package:
- Expand Applications, expand the desired application, and double-click the version you want to update.
- Enter the exact name (case-sensitive) of an orchestrator in the Orchestrator box on the Common section or select one from the suggestions in the dropdown list. You can also enter a placeholder that will be filled by a dictionary. Example:
{{ orchestrator }}.
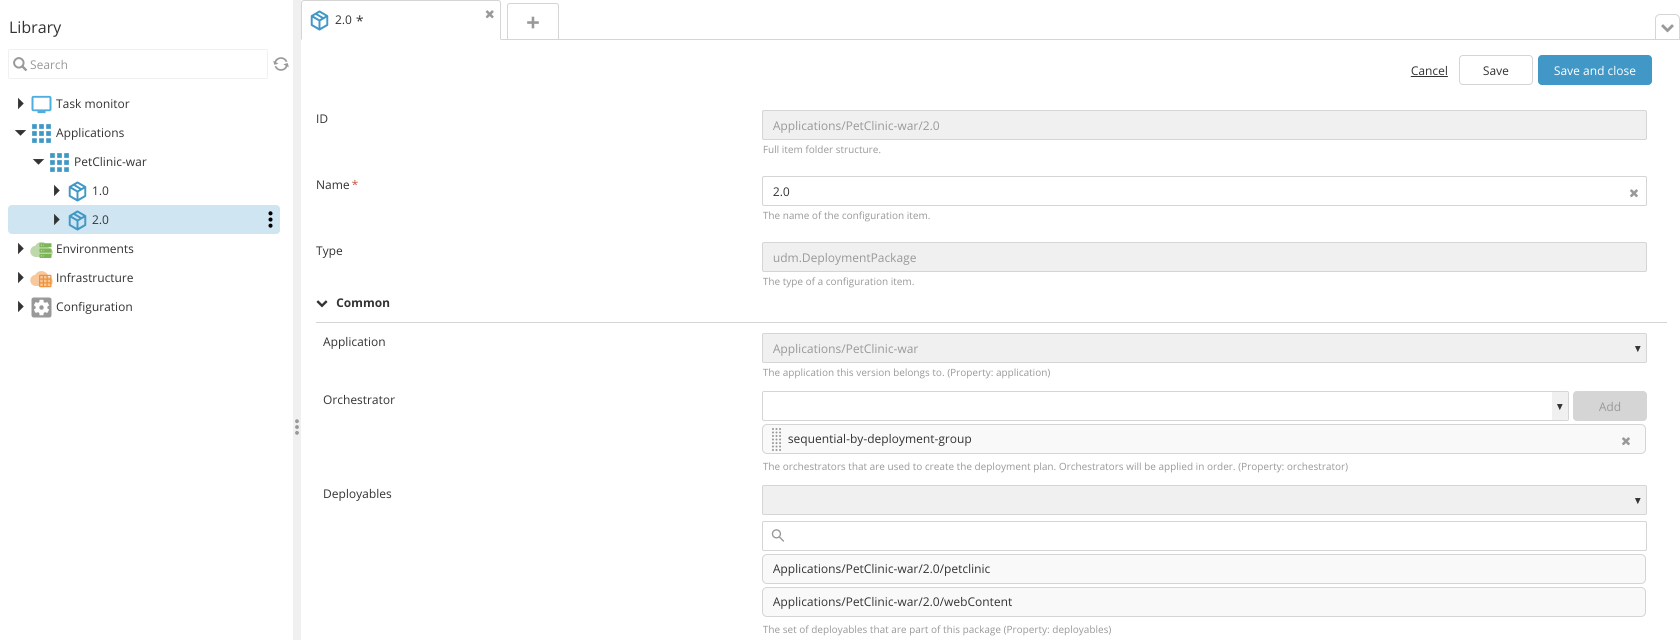
You can see the names of the available orchestrators when you move focus to the the Orchestrator box.