Profile Settings
This how-to guide explains how to configure and manage your user profile settings in Release. You can update personal details, change your password, adjust regional preferences, select your default landing page, and manage product analytics and guidance options.
- Access and update your profile information. See Personal Settings for User.
- Change your account password. See Change Password.
- Configure regional and localization preferences. See Personal Regional Settings.
- Set your default landing pages. See UI settings.
- Manage product analytics and in-product guidance settings. See Product Analytics and Guidance.
To edit your Release user profile:
- Click the profile icon in the top-right corner of the page.
- From the menu, select your profile name.
The Personal settings page opens, where you can update your profile information.
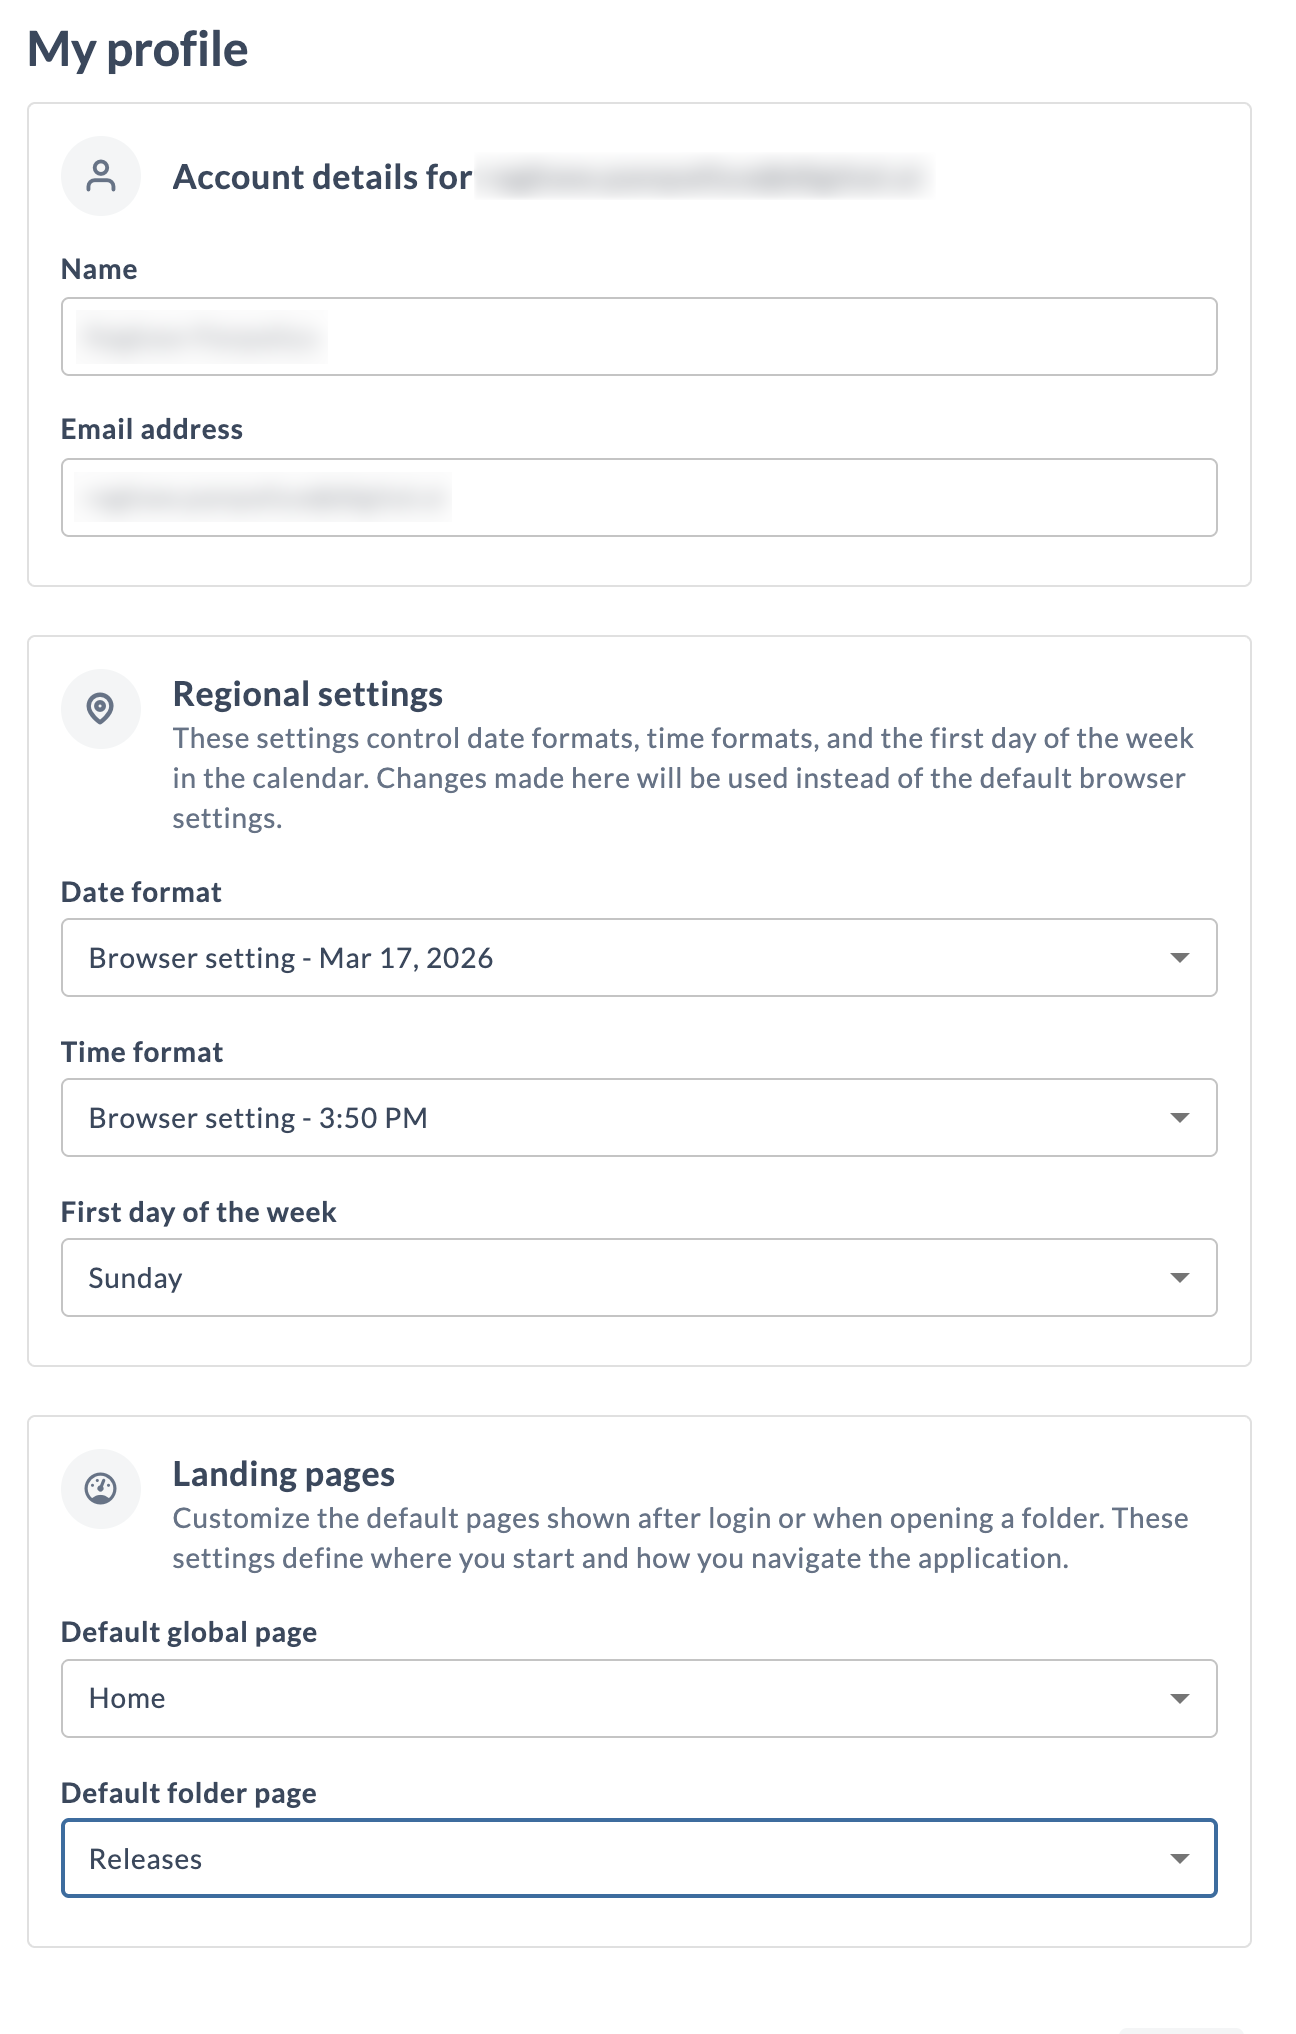
Personal Settings for User
The email address is required to send notifications, such as when a task that is assigned to you starts.
When the Release server is configured to use your company's LDAP directory, it will attempt to automatically find your name and your email address. You can change the name and address that the server has found.
Change Password
You can change your password directly from your profile settings if you are an internal user. Follow these steps:
- Go to User Management > User Profile.
- In the Change Password section, enter your previous password in the Previous password field.
- Enter your new password in the New password field. Make sure your new password meets the required criteria (see password requirements displayed below the field).
- Confirm your new password by entering it again in the Confirm new password field.
- Click Save or the relevant button to apply your changes.
If you are an external user (for example, authenticated via LDAP or Active Directory), you cannot change your password from Release. Please contact your system administrator or use your organization's password management system.
Personal Regional Settings
You can customize how dates, times, and the first day of the week are displayed in Release to match your personal or regional preferences.
Date Format
You can use the format from the language defined in your browser or choose a predefined date format:
- Month first: Uses the
M/d/yyformat for short date,MMM d, yfor medium date andMMMM d, yfor long date representation. - Day first: Uses the
dd/MM/yy,dd MMM yanddd MMMM yformats. - Year first: Uses the
yy/MM/dd,y MMM ddandy MMMM ddformats. - Browser default: Uses the date formats defined by your browser’s language.
Time Format
You can use the format from the language defined in your browser or choose a predefined time format:
- 24 hours: Uses the 24-hour format.
- 12 hours: Uses the 12-hour format with AM/PM.
- Browser default: Uses the time formats defined by you browser's language.
First Day of Week
You can use the first day of the week as defined in your browser's settings or choose a predefined values:
- Sunday: The week starts on Sunday.
- Monday: The week starts on Monday.
- Browser default: The week starts according to your browser's language.
UI Settings
The UI settings section lets you choose default landing pages for both global and folder contexts.
Default Global Page
This setting controls the first page displayed when you log in to Release. You can set the default landing page to one of the following:
- Home (default)
- Folders
- Tasks
- Releases
- Templates
Default Folder Page
This setting controls which page opens when you click and enter any folder. You can set the folder landing page to one of the following:
- Releases (default)
- Templates
When switching folders from the top menu folder switcher, Release keeps you on the current page where possible. For example, if you are on Deliveries page, switching folders keeps you on Deliveries page in the selected folder.
Product Analytics and Guidance
The Product Analytics and Guidance feature provides in-app walkthroughs, usage analytics, guidance and release notes by integrating with the Pendo.io platform.
By default, the Product Analytics and Guidance feature is enabled. If you want to disable the feature, clear the Analytics and Guidance checkbox.
This option is only available if the Allow Users to Opt-Out checkbox is selected in Feature Settings.