Working with tasks
This topic explains how to work with tasks in Release.
To edit a task in a template or release, go to the release flow editor and click the task.
In Release you can lock tasks. When a task is locked only users with lock permissions are able to edit or unlock it. A locked task appears striped to indicate that it is locked. For more information, see Configuring lock tasks.
Editing Task Fields
To edit a field in a task, click it, and make changes, and then press Enter or click outside the field to finish editing. In large text fields, you can press Enter to start a new line and click the checkmark icon to save.
To cancel your changes, press Esc. To cancel your changes in a large text field, click the round cancel icon.
Your edits to the task details are saved immediately.
Title and Description
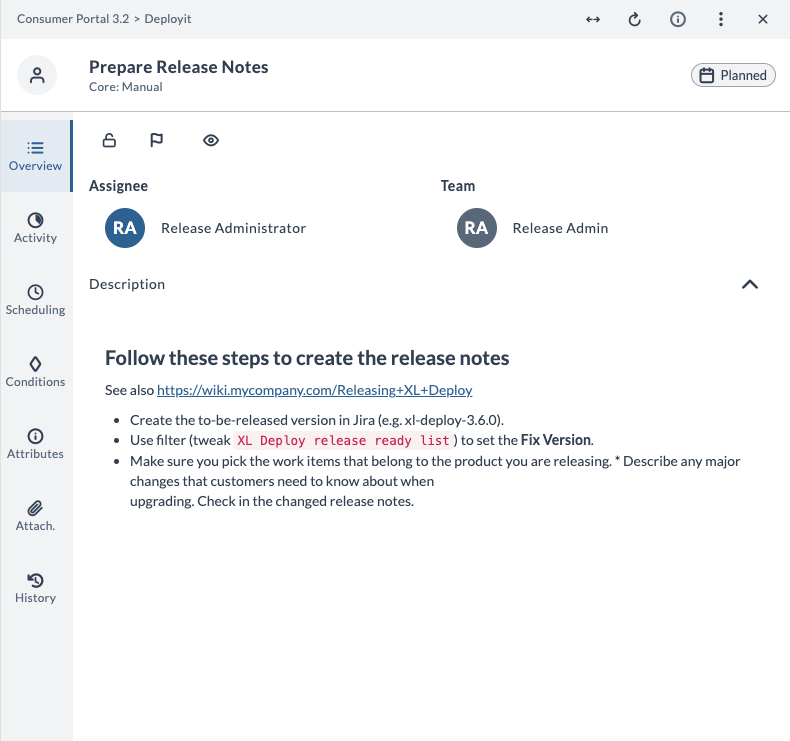
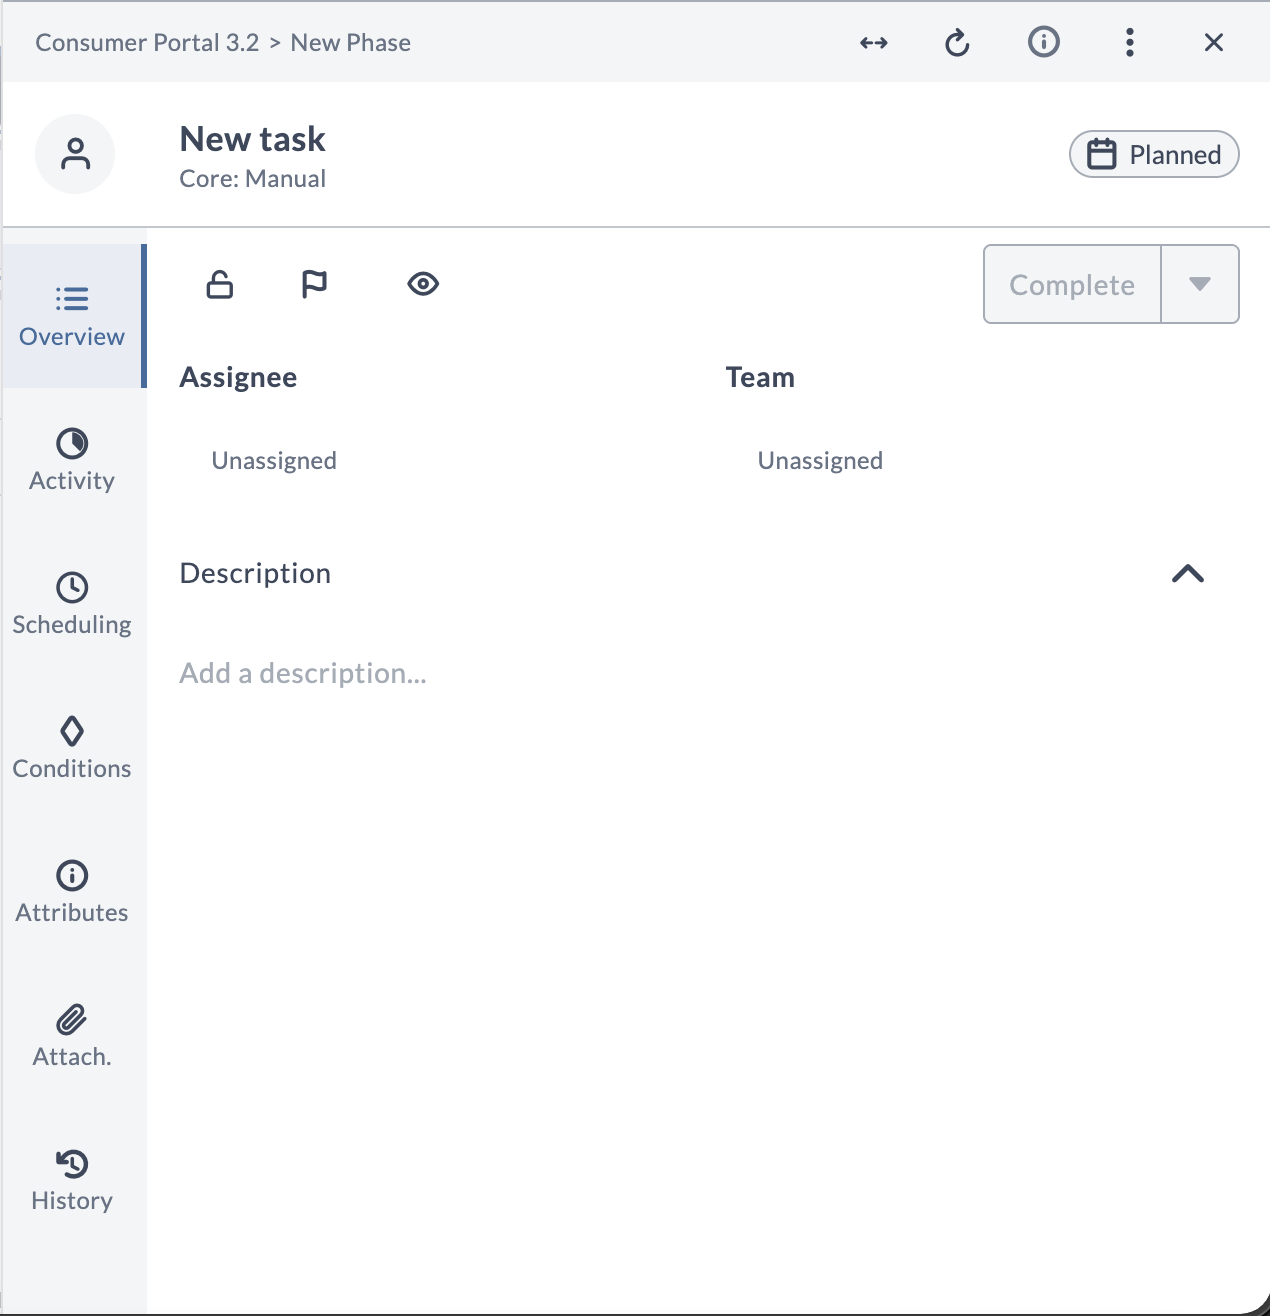
The task title appears at the top of the task drawer. To change the title, click it. The task type (for example, "Core: Manual") is displayed below the title.
Above the task title, a breadcrumb shows the release and phase that the task belongs to. In this example, the release is "Consumer Portal 3.2" and the phase is "Deployit". Click the release name to go to the Release Flow editor.
The Overview tab displays the Assignee and Team fields at the top, followed by the Description section. The left sidebar provides navigation to other tabs such as Activity, Scheduling, Conditions, Attributes, Attachments, and History.
For releases created before an upgrade, the Tasks view will not display phase information until progress is made on that release.
To edit the task description, click it. Use the description to describe the purpose of the task and instructions on how to complete it.
Release supports the Markdown syntax for styled text such as: headers, bold text, italicized tex, hyperlinks, bulleted lists, and so on. For more information, Use Markdown in Release.
Use hyperlinks to refer to documents published elsewhere, such as on a wiki or SharePoint server.
Task Status and Transitions
Use the following buttons to indicate that something has happened on the task. These buttons are only available when the task is assigned to you:
-
Complete: The task is done. You can optionally add a comment about the completion of the task. After completion, Release advances to the next task in the phase and sends the appropriate notifications.
-
Skip: No work was needed or could be done, and you have moved on to another task. You can use this option for tasks that are not relevant to the release. You are required to enter a comment explaining why you skipped the task. Release marks the task as complete and moves on to the next task.
-
Fail: An unforeseen event is impeding the completion of the task or you do not know how to complete the task. If the task does not have a failure handler configured, the release flow stops, and Release notifies the release owner.
Attributes
Use attributes to link deployments to your deliveries.
To link deployments to your deliveries:
- In the release flow editor, click a task.
- Click Attributes.
- Click Add attributes.
- In the Type drop down, select an attribute type.
- In the Application field, enter an application name.
- In the Version field, enter an application version.
- In the Environment field, enter an environment.
- Click OK.
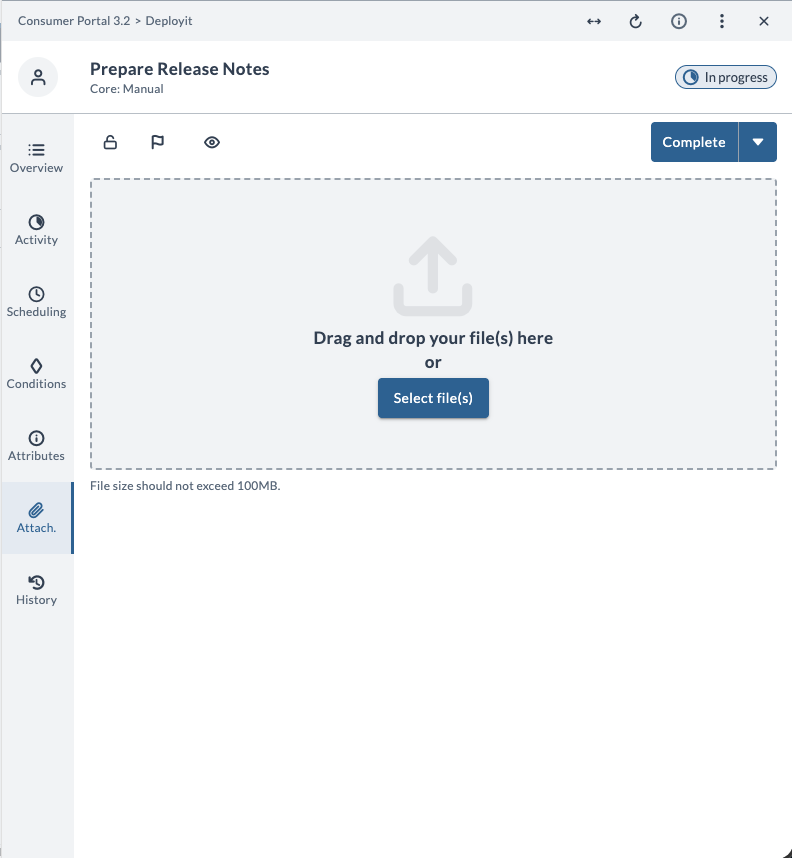
Task Attachments
To attach files to a task, click the Attach. tab in the left sidebar of the task drawer. You can drag and drop files into the upload area or click Select file(s) to browse. The maximum file size is 100MB.
Task Properties
Status
To signal that the timely completion of a task is at risk or that you need some help, without failing the task, use the Status flags in the upper right corner of the task properties. Set status flag icon and text. The status flag appears in all overviews to alert the release manager and other users.
Scheduled Start Date
Use the scheduled start date to schedule a task to be performed at an exact time. For example, a deployment with Deploy that must start at midnight or an email must be sent to all stakeholders at 9:00 AM on Monday.
The task will not start on the scheduled start date if it is not yet active in the flow. All previous tasks must be complete before a scheduled task is started and the scheduled start date is reached. If the previous tasks are completed after the scheduled start date, the task will start the moment it becomes active.
Click the scheduled start date to select a date and time. When executing the release flow, Release will wait until this time to execute the task. While waiting, the task is marked as "Pending".
If a task is set to Postpone during blackout period and you delete the blackout period, the task retains the current scheduled start date.
Dates in Release are displayed using the clients operating system's timezone. Dates and times are formatted according to the browser's language settings.
Due Date
Set a due date on a task to mark the time that the task must be completed.
Duration
Instead of explicitly setting the due date, you can use the duration property to indicate how long a task should last.
If no dates or duration are set, the "inferred" dates and duration appear in grey.
Assigned To
This section indicates the user who is the owner of the task and who is responsible for completing it. It also indicates the team that the task is assigned to. Teams are a way to group users who are involved in the release and who have the same role. For example, you could have a DEV team, QA team and an OPS team. During planning, it can be useful to assign a task to a team because you do not know in advance who will participate in a certain release. If a task is assigned to a team but not to a user, all team members receive an email when the task becomes active.
Any member of the assigned team can perform task transitions (such as Complete, Skip, or Fail) on that task. They do not need the explicit "Perform task transitions" permission. To restrict task transitions to only the assigned team, do not grant the "Perform task transitions" permission to other teams. Users who hold the "Perform task transitions" permission can transition any assigned task in the release, even tasks not assigned to them or their team.
The Assignee and Team fields are displayed at the top of the Overview tab. Click either field to assign a user or team.
Watchers
You can add yourself or other users as watchers on tasks to receive email notifications when events occur on those tasks. To manage watchers, click the eye icon in the task drawer toolbar. A tooltip labeled Add watchers appears.
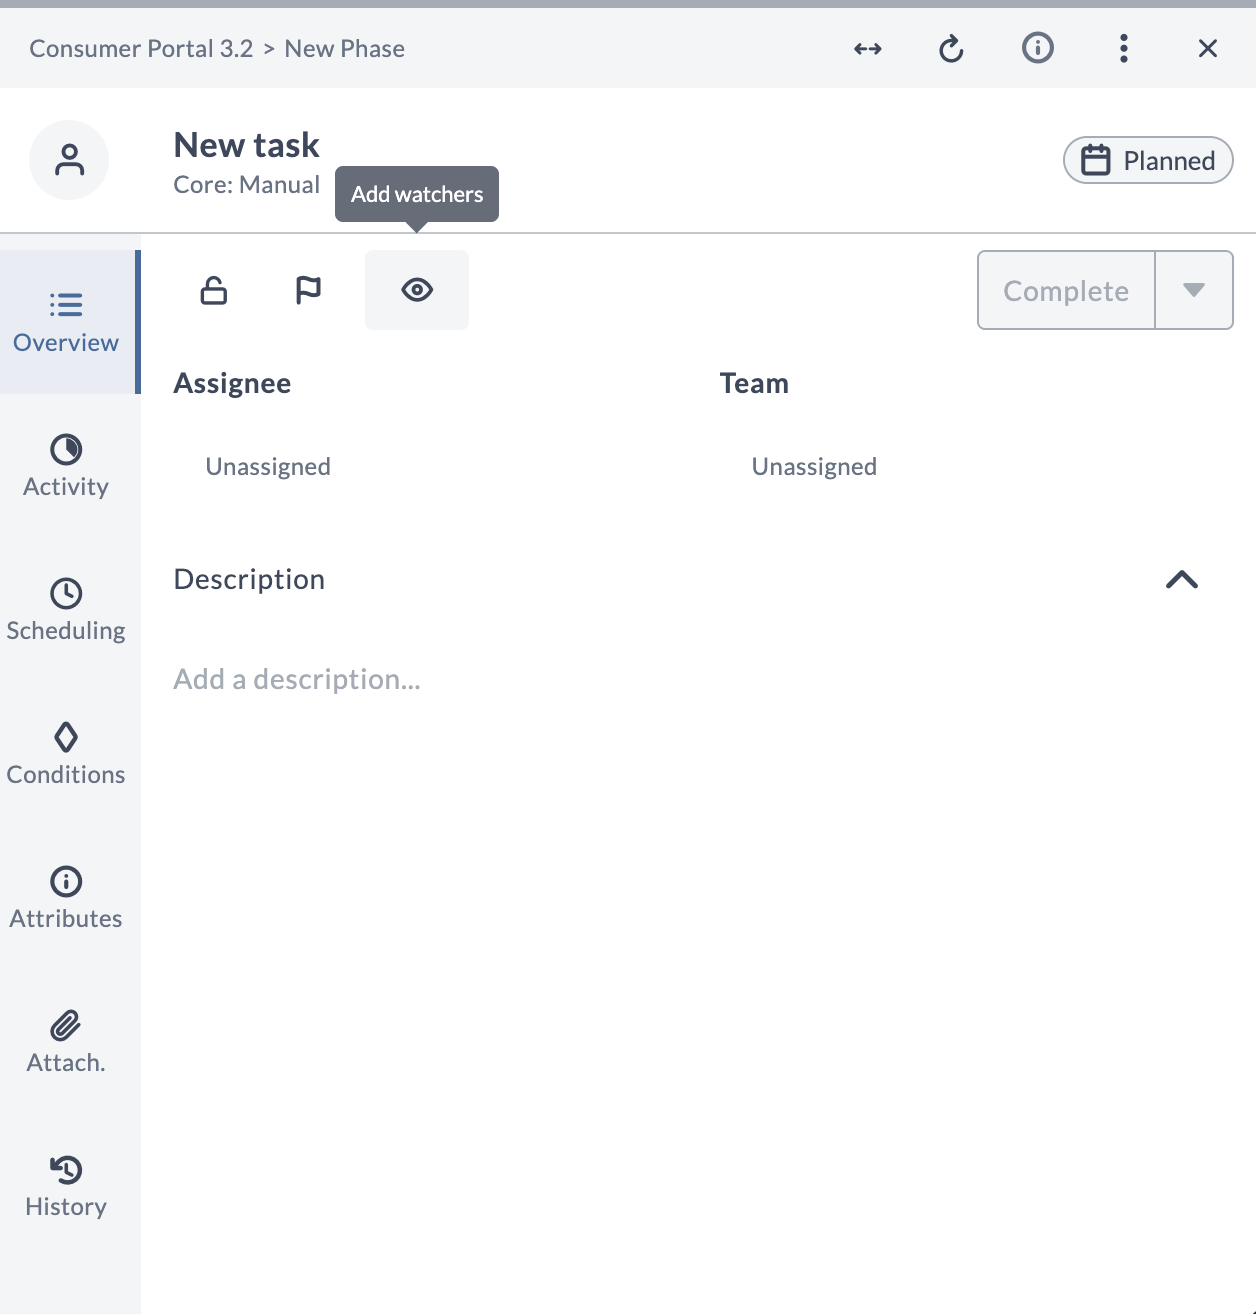
To add other users as watchers on a task, you must have the edit task permission. Click the eye icon, enter the name of the user, and then press Enter.
Tags
Optionally, add tags to tasks. You can then search by tag in the release table view.
To manage tags and attributes, click the Attributes tab in the left sidebar. The tab displays a Tags input field where you can type and add tags, and an Add attribute button for linking deployment metadata such as application, version, and environment.

Configuring Task Timeouts
Digital.ai Release allows you to define maximum execution times for script-based tasks. When enabled, this feature automatically terminates tasks that exceed their configured timeout threshold. By default, timeout monitoring is disabled. You can configure timeouts for:
- Script Tasks
- Custom Script Tasks
You can configure timeout settings using the following options:
Global Timeout Settings
Configure system-wide timeouts in xl-release.conf:
xl {
    timeouts {
        # Script Tasks
        scriptTaskTimeoutEnabled = off # Turn this key on to enable timeout for script tasks
        scriptTaskTimeout = 300 seconds      # Default timeout.  You can increase or decrease the timeout (in seconds) as required

        # Custom Script Tasks
        customScriptTaskTimeoutEnabled = off  #Turn this key on to enable timeout for custom script tasks
        customScriptTaskTimeout = 300 seconds # Default timeout. You can increase or decrease the timeout (in seconds) as required

        # Precondition Tasks
        preconditionTimeoutEnabled = off      # Turn this key on to enable timeout for precondition tasks
        preconditionTimeout = 300 seconds    # Default timeout. you can increase or decrease the timeout (in seconds) as required
    }
}