How to Integrate Release with the Platform
This guide provides step-by-step instructions for integrating Digital.ai Release with the Digital.ai Platform.
The Platform uses your existing single sign-on (SSO) infrastructure to securely authenticate users in Release using the same corporate credentials they already use. Acting as a bridge between your identity provider (IdP) and Release, the Platform grants access to Release based on user data from your IdP, eliminating the need for unique credentials in Release. This integration also allows you to map user groups in your IdP to specific roles in Release.
This guide assumes that you have already installed Release and configured one or more roles. If you have not yet done so, see the Release documentation.
The following diagram summarizes the workflow required to complete this integration:
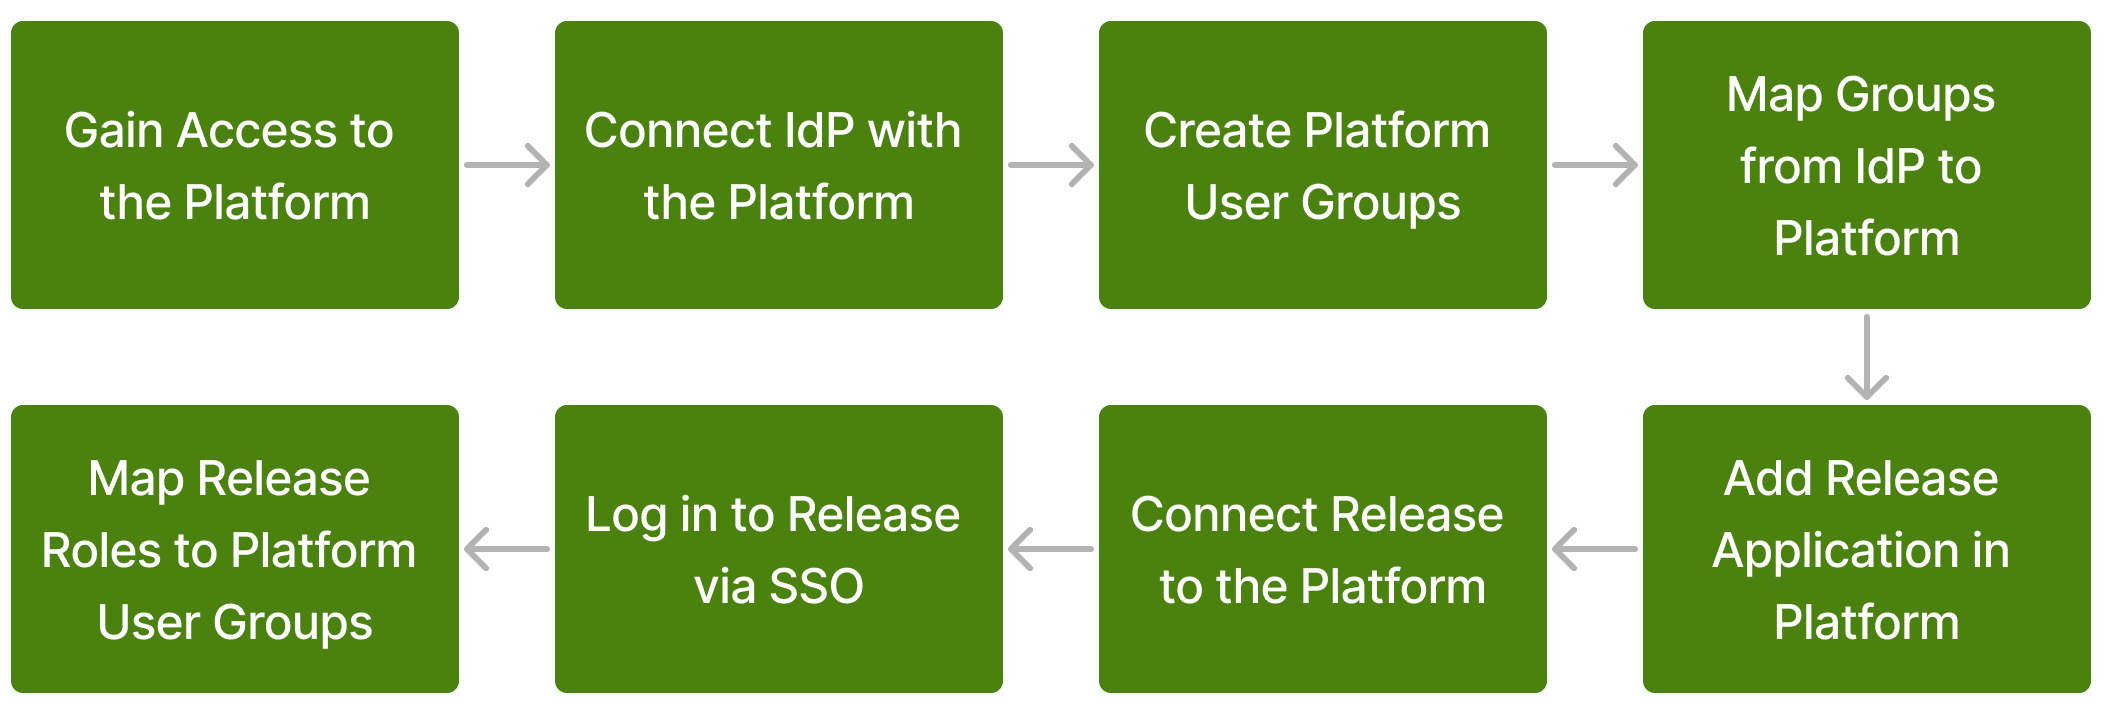
If you have any questions or run into any issues following this guide, please reach out to Customer Support.
Before You Start
Complete the setup described in Prepare the Platform for a Product Integration. That topic covers administrator access, connecting your identity provider, mapping user attributes, and mapping IdP groups to Platform user groups — the work that's the same for every Digital.ai product. This guide picks up from there: it registers Release as an application in the Platform, then covers the Release-side configuration.
Release determines a user's permissions from the Platform user groups that user belongs to, so complete the group mapping step as well. See Map User Groups to Product Roles.
Step 1: Connect Release to the Platform
In this step, you'll learn how to establish a connection between the Platform and your Release instance for user management and login purposes. This step does not cover setting up the Cloud Connector or Data Collector.
Add Release as an Application
First, you need to define your Release instance as an application in the Platform. This lets you download a configuration file that you embed into your Release build so Release understands the configurations you've made in the Platform.
The steps below are the Release version of the registration wizard. For what each wizard page does, the full list of application types, how mappers work, and how to get the client ID and secret again later, see Manage Applications.
- In the left navigation, click Applications.
- Click Applications.
- Click Create application.
- In Select application, choose Release.
- In Instance name, enter a descriptive name for this instance.
- Choose whether this is a production or non-production instance.
- Enter the URL for your Release instance.
- On the Advanced configuration page, click Next.
- On the Mappers page, click Next.
- On the Get client ID & secret page, click Download to download the Release configuration file. This page holds a lot of detail about the Release integration, and the configuration file compiles all of it into a format Release understands. You can return here later to obtain specific details if necessary.
- Click Complete.
Embed the Configuration File into Release
The previous step downloads a file called xl-release.conf, the Release configuration file.
Rename this file to reference.conf and move it to the ENVIRONMENT_NAME/digitalai-release/default-conf directory in your Release instance, where ENVIRONMENT_NAME is the name of the directory where you installed Release.
Restart the Release Server
Restart the Release server and navigate to the appropriate instance URL. If you set a default IdP earlier, you're automatically redirected to the Platform authentication and seamlessly signed in to Release. If not, use the SSO login button to sign in to Release as your SSO user.
Configure Roles in Release
For this last step, you must update your roles in Release so they sync with the Platform user groups you created earlier.
In Release, go to Settings > Users and permissions > Roles and edit any of the roles. In Principals, add the Platform user group name that corresponds to this role. Repeat this for all roles that you want to inherit group assignments. You may optionally want to create new roles for this purpose, depending on how your workflow is configured.
For example, edit the role called Administrator User, and add allAdmins as a Principal for the role.
Next Steps
At this point you have successfully connected Release with the Platform. From here, you can move on to any of the following tasks (and more that aren't listed here):
- Inform your users that they can begin accessing Release with their corporate SSO credentials.
- You may also want to instruct them to stop using their old application-specific login credentials entirely to avoid any confusion caused by using multiple user accounts.
- Begin configuring Analytics dashboards. For more information, see Creating Dashboards.